Home › Utilities › Wondershare Recoverit
Updated
The catalogue note
Recoverit claims to pull back deleted or lost data from Mac storage devices — and with previews before you commit to a restore, it gives you a chance to spot the right file among the debris. The table below covers the basics.
| Item | Detail |
|---|---|
| Version | 14.0.20.6 |
| macOS | 10.14 or later, Intel |
| Languages | English, German, Spanish, Italian, Portuguese, French, Japanese |
It sits alongside Disk Utility and Time Machine as a fallback — not a replacement, but a second pass when those have missed something. The interface is straightforward: scan, preview, recover. No deep disk imaging here, just file-level retrieval for everyday loss.
Sits between Disk Drill's basic scan and Data Rescue's forensic tools
Recoverit sits in a specific part of the data-recovery landscape — not as barebones as Disk Drill's basic scan, nor as forensic as Prosoft Engineering's Data Rescue. Disk Drill on Mac offers a similar file-type catalogue and a preview function, but its free tier limits how much you can actually recover before requiring a licence. Recoverit, from the version I have, does not impose that kind of early wall; you scan and preview freely, and the recovery step is where the activation applies.
Data Rescue leans harder on creating disk images before attempting recovery, which is sensible when the drive is failing but adds an extra step for simple accidental deletion. Recoverit skips that imaging requirement — you select the device and scan directly. That makes it faster when the hardware is healthy and you just emptied the Trash a moment too soon.
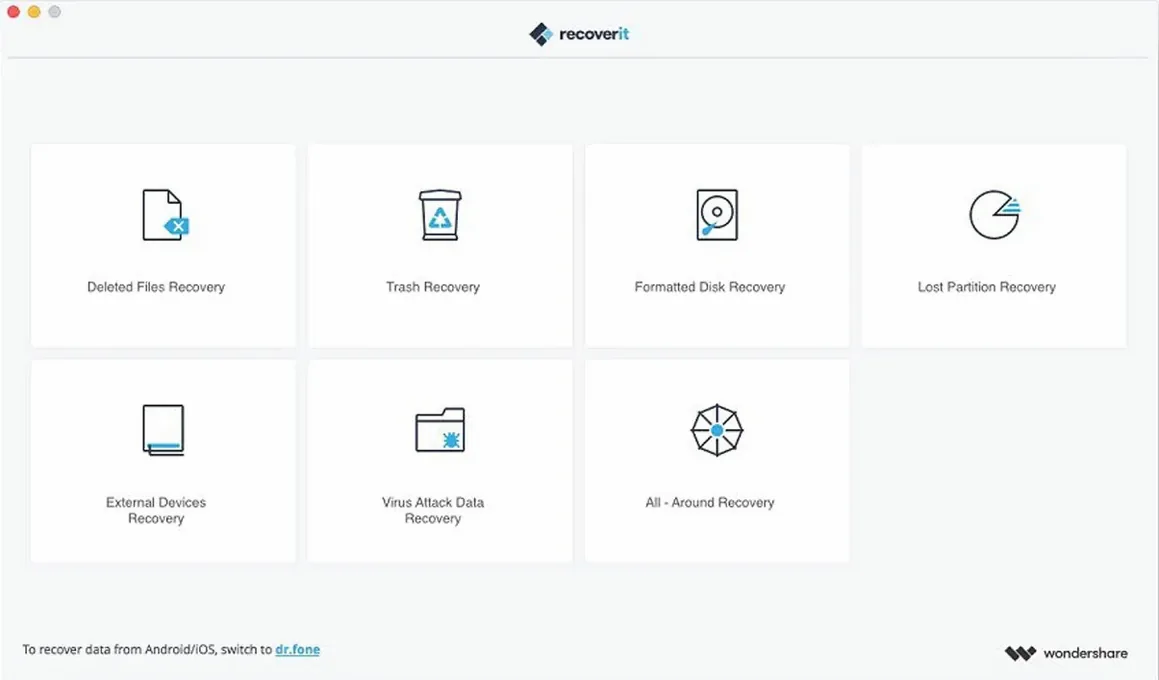
Stellar Data Recovery for Mac shares most of the same format support and scan modes. Where Recoverit differs is in its handling of multiple loss scenarios from one interface: formatted partitions, virus damage, system failures — all presented as options without needing to switch to a separate tool or module. Stellar groups some of those under a "Can't Find Your Data?" helper, whereas Recoverit lists them as direct choices from the start screen.
None of these three is meaningfully faster or slower in my experience — they all wait on the drive speed and the amount of data being scanned. The real difference is in the workflow layout and the format catalogue.
Language selector helps shared studios avoid UI-language friction
Recoverit's interface language selector lets you switch between English, German, Spanish, Italian, Portuguese, French and Japanese before you start a scan. That is useful in shared studio environments where the Mac gets passed between engineers who prefer different UI languages. The setting persists across launches, so you do not reset it each time.
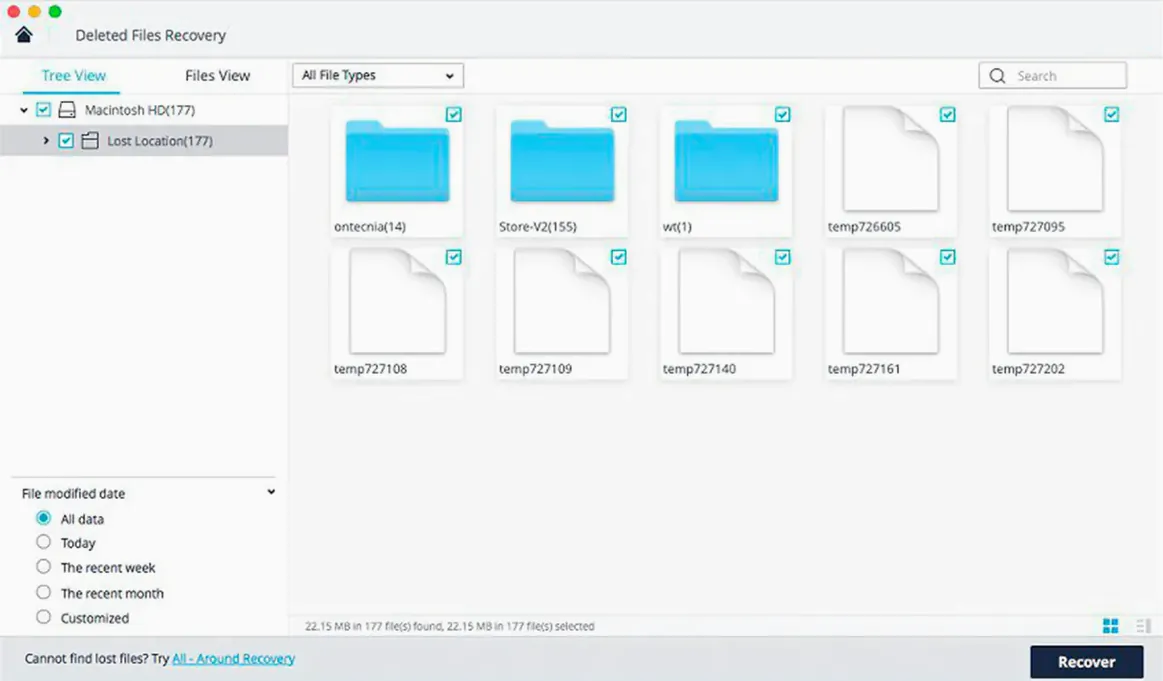
The scan result window groups recovered files by type automatically — documents in one section, images in another, video in a third. This is not unusual, but Recoverit keeps the original folder structure visible alongside the type filter. If you remember which folder the file lived in, you can navigate there directly rather than hunting through a flat list of hundreds of JPEGs.
The preview function works on more than just images and text. It can display RAW camera files (Canon CR2, Nikon NEF, Sony ARW) and video containers like MOV and AVI before you recover them. That matters when you have a card full of takes from a shoot and need to confirm you are restoring the right clip, not just a filename.
Recoverit also handles ZIP and RAR archives in the scan. Most recovery tools will find the archive file itself, but Recoverit attempts to show what is inside it during preview — useful when the archive name is generic and you need to verify contents before pulling it back.
Scanning the wrong volume leads to false-empty results
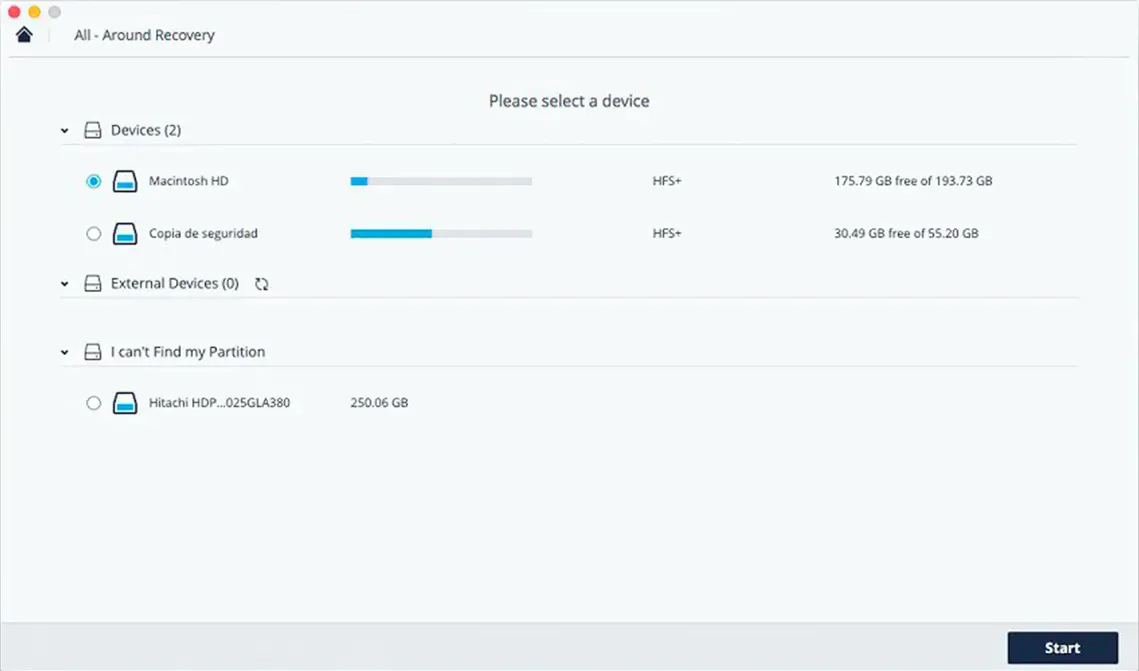
The most common error is scanning the wrong volume. If you deleted a file from the internal SSD and then immediately run a scan on an external USB drive by accident, Recoverit will finish quickly and report nothing — which leads people to assume the file is unrecoverable. Double-check the device selection before you hit scan.
Another mistake is writing new data to the drive between deletion and recovery. Recoverit works at the file level, and if the space occupied by the deleted file has been overwritten by a new document, a system cache or even a Time Movie snapshot, that file is gone. Beginners sometimes install Recoverit onto the same drive they need to recover from, which overwrites the very data they are trying to save. The safer approach is to run Recoverit from a different volume or an external drive.
Stopping a scan mid-way is another pitfall. The initial quick scan finishes in a reasonable time, but the deep scan that follows can take considerably longer. Users sometimes cancel because they see no results after the first few seconds of the deep pass, not realising that the deeper scan progressively uncovers older or more fragmented files. Letting it run to completion gives the fullest picture.
Finally, beginners often skip the preview step and recover everything in bulk. That fills the destination drive with hundreds of files they do not need, many of which are system remnants or corrupted fragments. Previewing a handful of candidates and recovering only those saves time and storage space.
Real-world scenario: a location sound recordist
A location sound recordist finishes a two-day interview shoot and offloads the CompactFlash cards to a MacBook Pro. During the card formatting step, they accidentally hit 'Erase' on the wrong volume — the one containing the day's unbacked-up polyphonic WAV files. The drive is healthy, nothing has been written to it since the mistake, and the files are not in the Trash because the card was reformatted in-camera.
They launch Recoverit, select the formatted card from the device list, and run a scan. The file-type filter is set to Audio, which narrows the results to WAV and MP3 files. The preview pane confirms the first few WAV files play back correctly — no clicks, no silence where dialogue should be. They select the relevant takes and recover them to a separate external SSD.
In this scenario, the key points are: no further writing to the card, a clear scan target, and the ability to preview audio before committing. A tool that required disk imaging first would have added unnecessary time; Recoverit's direct scan suited the urgency of the situation.
Version 14 cleaned up the cluttered start screen into a single device list
The current version, 14.0.20.6, builds on the interface refinements introduced in the 14.x line. Earlier versions of Recoverit for Mac used a more cluttered start screen with multiple click-through steps before reaching the device list. Version 14 consolidated those into a single device-selection view, which reduces the number of clicks to begin a scan.
The file-type filter also became more responsive in this branch. Earlier builds sometimes lagged when switching between categories in a large result set; version 14 handles the list updates more quickly, particularly when previewing RAW images or video files.
Support for newer macOS releases has been updated incrementally. Version 14.0.20.6 runs on macOS 10.14 and later, covering the Mojave through Sonoma span. That is a wider compatibility window than some competitors, which have dropped support for Mojave and Catalina in recent updates.
The format catalogue expanded slightly in the 14.x cycle to include more RAW camera variants and additional email container types. For the typical user, this means fewer "unsupported format" messages when scanning media cards from recent camera models.
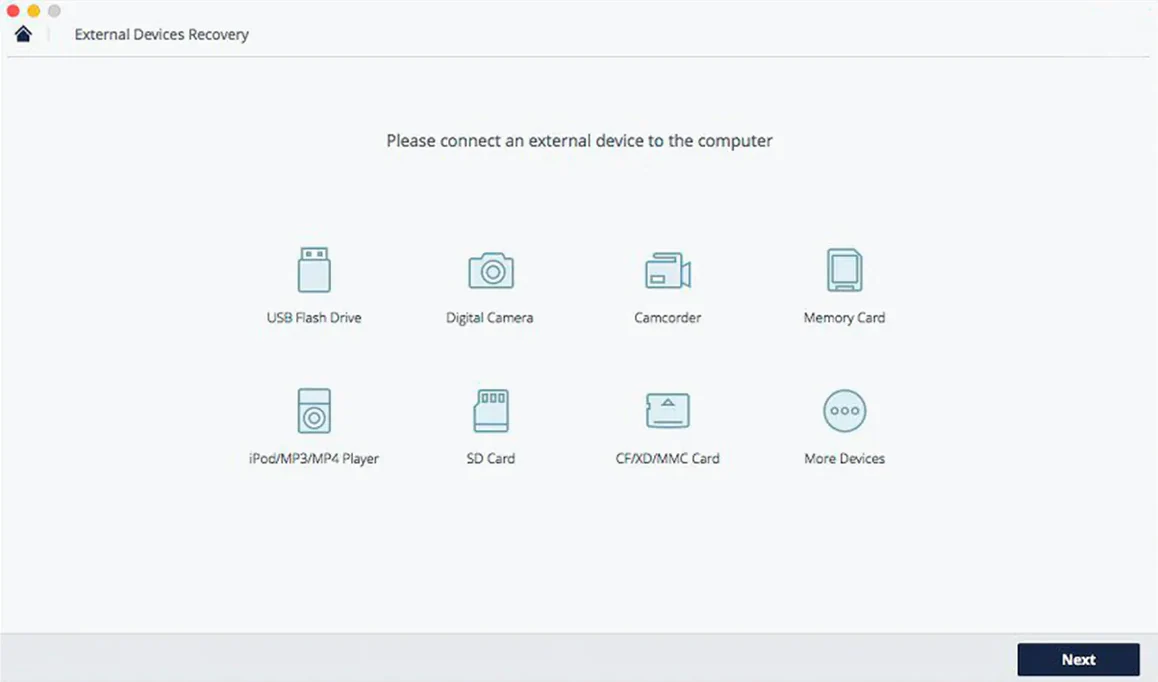
There is also a practical change in how the app handles external drives with multiple partitions. Earlier versions sometimes showed only the physical drive, not the individual volumes. Version 14 lists each volume separately, which prevents the mistake of scanning a whole 2 TB drive when you only need to recover from a 64 GB partition.
For those who still run older versions, the jump to 14.0.20.6 is worth considering mainly for the faster filter response and the clearer device list. The core recovery engine has not been rewritten, but the daily interaction — scanning, filtering, previewing — is noticeably less fiddly.
Before it goes on the Mac
- macOS 10.14 or later
- Intel processor
Questions from the room
Does Recoverit work on Apple Silicon Macs?
No. The Mac version listed here supports Intel-based Macs only.
Can I preview files before recovering them?
Yes. Recoverit lets you preview recoverable files before restoring them.
What types of storage devices does Recoverit support on Mac?
The app recovers data from Mac storage devices — internal drives, external disks and similar media connected to a Mac system.
Installing it on the Mac
- Mount the disk image and open it. Run Open Gatekeeper friendly.
- Press Enter in Terminal to bypass Gatekeeper.
- Drag the app into the Applications folder.
- Launch the app after installation.
Notes from the control room
Sign in or open a catalogue account to leave a note.
No notes from the room yet. If you have used this build for a week, a short note helps the next person.