Final Cut Pro 12.4 (Mac)
Updated
The catalogue note
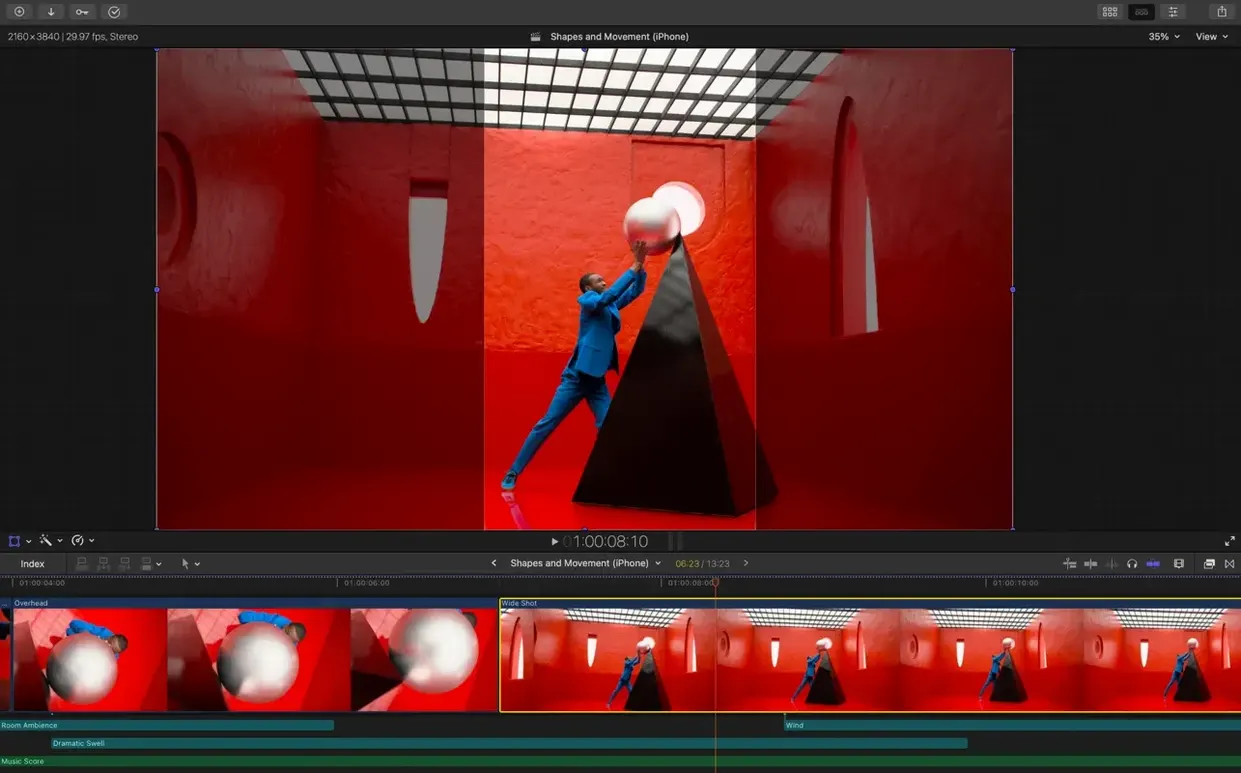
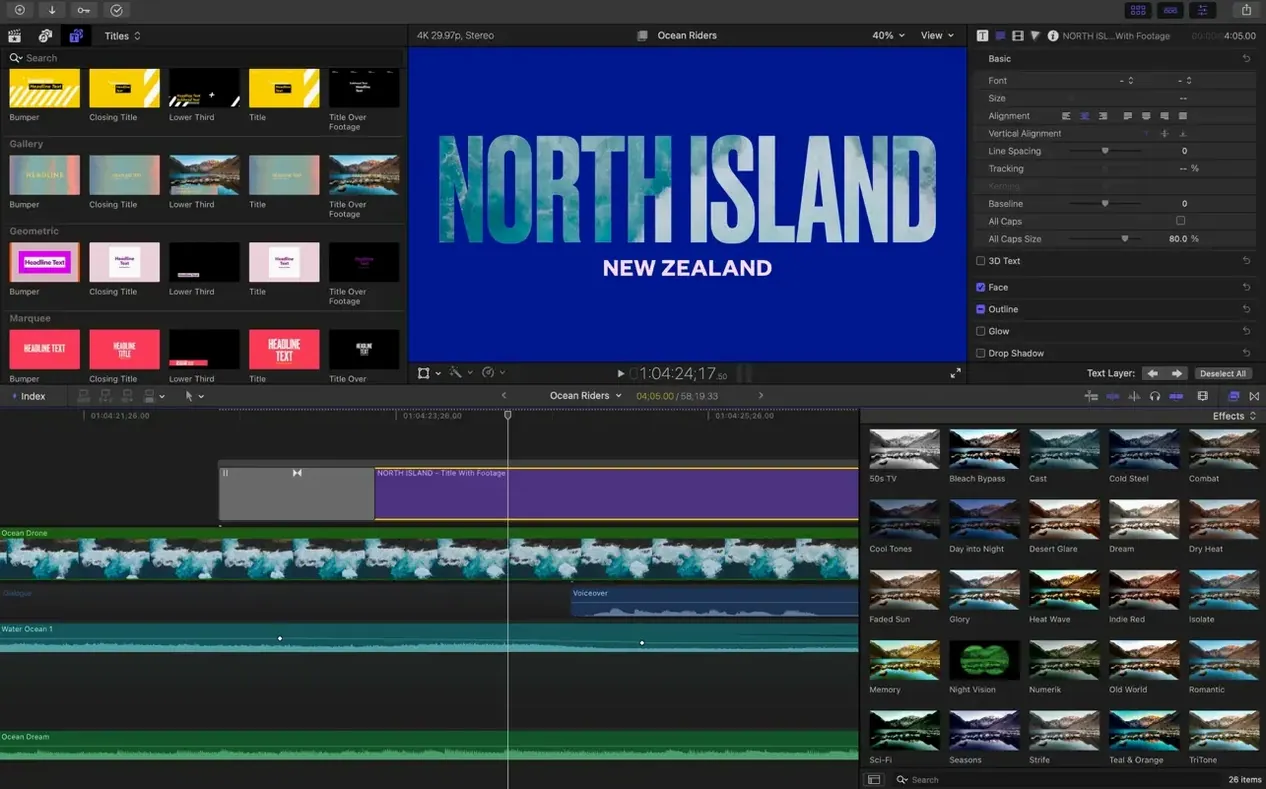
Video editing software tends to accumulate features until the timeline feels like a cockpit. Final Cut Pro has always gone the other way: the magnetic timeline stays clean, and the heavy lifting happens in the background. Version 12.3, released on 30 June 2026, keeps that philosophy while adding tools that used to require separate apps or plugins.
Auto-captions and instant colour matching in Final Cut Pro
- Generate Captions creates subtitles inside the app, with full control over their appearance.
- Auto Mask isolates recognised objects for colour correction or enhancement without rotoscoping.
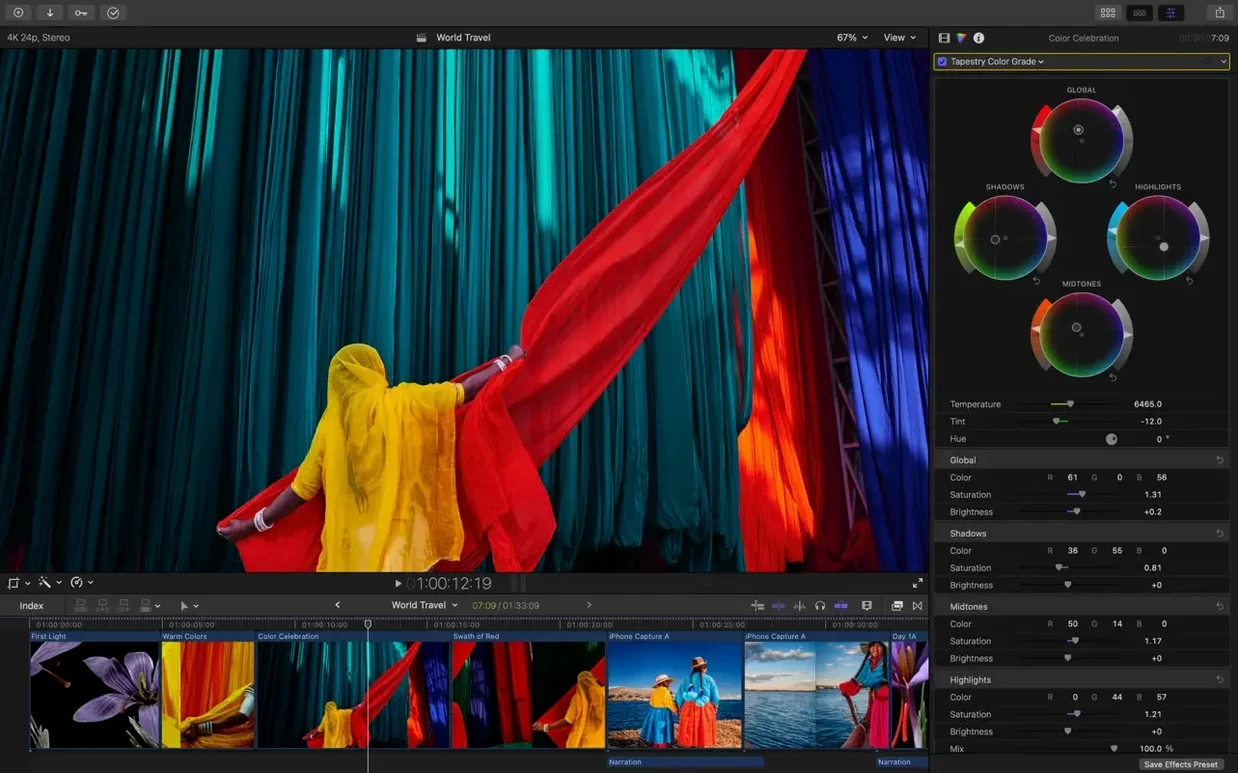
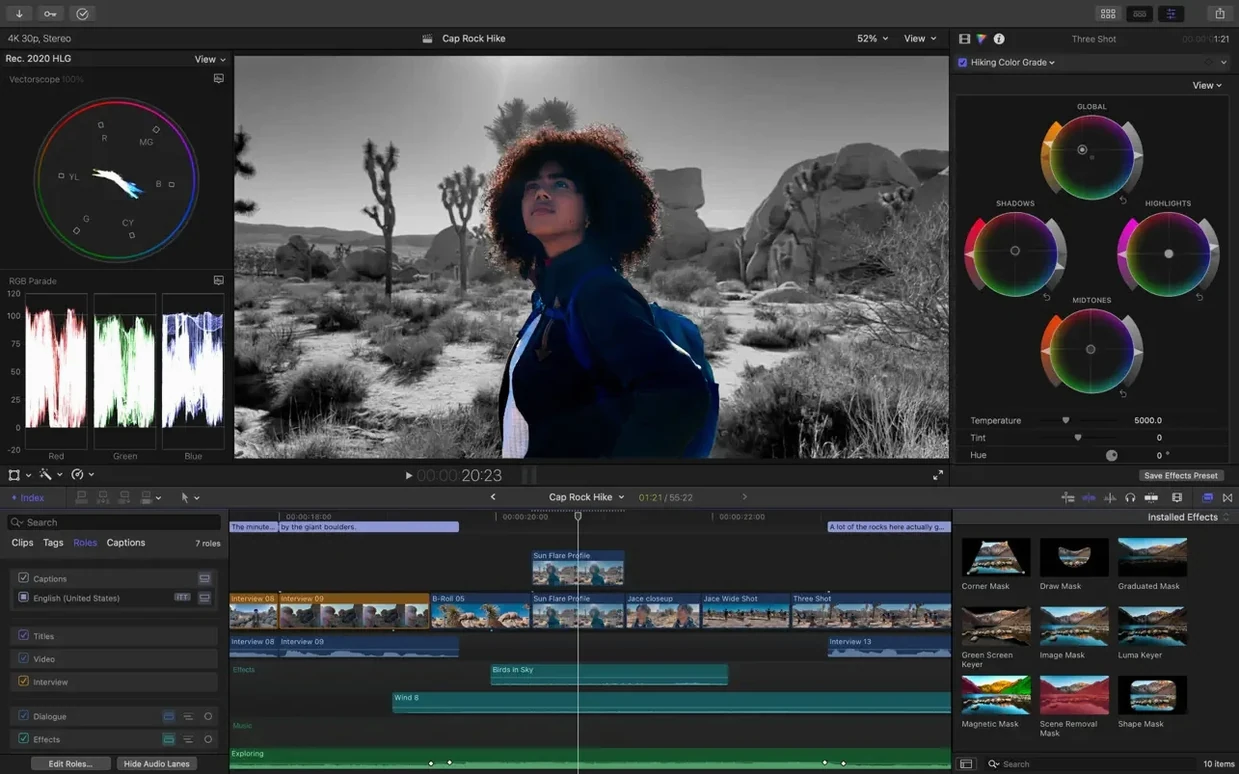
- Match Color balances shots across different cameras and lighting conditions in one step.
- Edit Detection splits rendered video into separate clips, which makes cutting screen recordings or exported footage far less tedious.
ProRes, H.264 and audio roles remain unchanged
The core editing experience remains intact. ProRes, RED, XAVC, AVCHD, Avid DNxHR/DNxHD, H.264 and HEVC all come in natively. Audio roles, multichannel editing and waveform-based sync are still there, and Smart Conform still converts projects to square or vertical formats for social media. Colour workflows cover standard colour spaces, Rec. 2020 and HLG. For a Mac editor, that is a complete package — the new features just remove more steps from the finish line.
Smart Conform and captions save solo creators hours
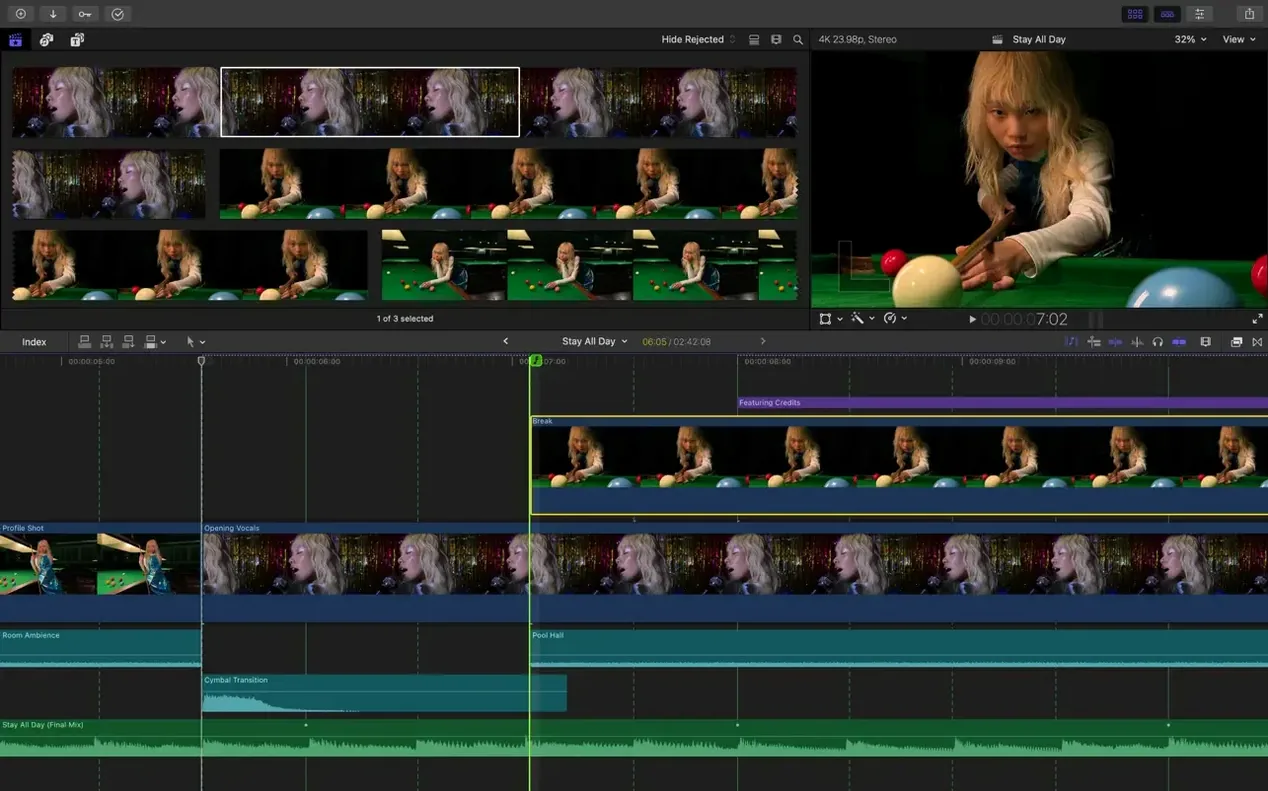
Final Cut Pro suits a wider range of users than its prosumer label suggests. Solo content creators working on YouTube or social media will find the Smart Conform and Generate Captions features save hours of manual repositioning and subtitle work. The same applies to small post-production teams handling multicam interviews or event coverage — the automatic sync for up to 64 angles is one of those features you do not appreciate until you have tried lining up six camera feeds by hand.
Editors who work with colour across multiple camera brands get a direct benefit from Match Color. Instead of matching shots manually with scopes or third-party plugins, you can let the tool do the first pass and then tweak. For corporate video and documentary work, Auto Mask removes the need to send clips out for rotoscoping or to learn a dedicated compositing app. And anyone who receives pre-rendered footage — screen recordings, stock clips, exports from other editors — will use Edit Detection constantly. It turns a solid block of video into individual scenes without a manual cut.
On the hardware side, anyone on Apple Silicon gets the best experience because features such as Object Tracker and Auto Mask lean on the Neural Engine. Intel Macs with a Metal-capable GPU can still run the app, but some newer tools may be slower or unavailable.
Library relocation mistakes and how to avoid them
Libraries balloon in size unexpectedly
Final Cut Pro stores generated proxy media, render files and analysis data inside the library package by default. If you are running low on disk space, check the Library Properties window and move the media storage location to an external drive. You can also delete rendered files for completed projects without losing the source clips.
Auto Mask misses the subject
Auto Mask works best when the subject is clearly separated from the background. Low contrast, busy patterns or fast motion can confuse the detection. Try adding a keyframe and adjusting the mask manually for the frames where the tracking drifts. If the shot is particularly difficult, consider using the Object Tracker on a title or a shape as a workaround.
Match Color gives unexpected results
The tool analyses the entire frame, so a shot with a large dominant colour — a green wall, a blue sky — can pull the reference clip in that direction. Select a reference frame where the subject is the primary visual element, not the background. You can also apply Match Color and then adjust the strength or manually correct the hue afterwards.
Edit Detection splits too many or too few clips
The sensitivity slider in the Edit Detection settings controls how aggressively the tool looks for scene changes. For screen recordings with hard cuts, a higher sensitivity works. For gradual transitions or fades, lower it. You can always undo and re-run with different settings before you commit.
Generate Captions alignment is off
Custom captions appearance includes position, font and size. If the captions overlap the video content or sit too low, adjust the vertical offset in the caption settings. For broadcast or social media where safe zones matter, set the position to bottom-centre and preview on the target device.
Set your media storage location before importing
- Set up your library location first. Before you import anything, open Final Cut Pro's preferences and point the default media storage to an external drive if you plan to work with large projects. Moving a library after it has grown takes time.
- Create a test project with mixed media. Import a clip from a camera, a screen recording and a downloaded file. Run Edit Detection on the screen recording, add a caption with Generate Captions, and try Auto Mask on a simple shot. This gives you a feel for the new tools without deadline pressure.
- Learn the keyboard shortcuts you will use most. The default shortcuts for cutting (Command + B), selecting the range tool (R) and enabling snapping (N) are worth memorising. You can customise them in the Commands editor.
- Organise with keywords from the start. Use the Keywords window to tag clips as you import. A few minutes of tagging saves scrolling through dozens of untitled clips later.
- Check the Audio Roles. If you work with interviews or voiceover, assign audio roles (dialogue, music, effects) early. This lets you adjust levels globally and export stems without re-editing.
Offline editing vs. cloud-dependent features
Older Final Cut projects open without losing work
Yes. Final Cut Pro 12.3 opens libraries created in earlier versions. Apple maintains backward compatibility for library files. Projects may prompt you to update the library format the first time you open them, which is a one-time conversion. The original library file is not overwritten unless you save.
Speech recognition and tracking need internet; basic cuts don't
Some features require an internet connection, including Generate Captions (for speech recognition) and certain parts of the object tracking system. Offline editing of existing clips, cutting, transitions and colour correction work without a connection. Check the system requirements listed on the download page for the full breakdown.
Can I use third-party plugins?
Final Cut Pro supports FxPlug plugins and third-party extensions. Many popular transition, title and effect packs work with version 12.3. Check with the plugin developer for compatibility if you rely on older plugins.
What about exporting for social media?
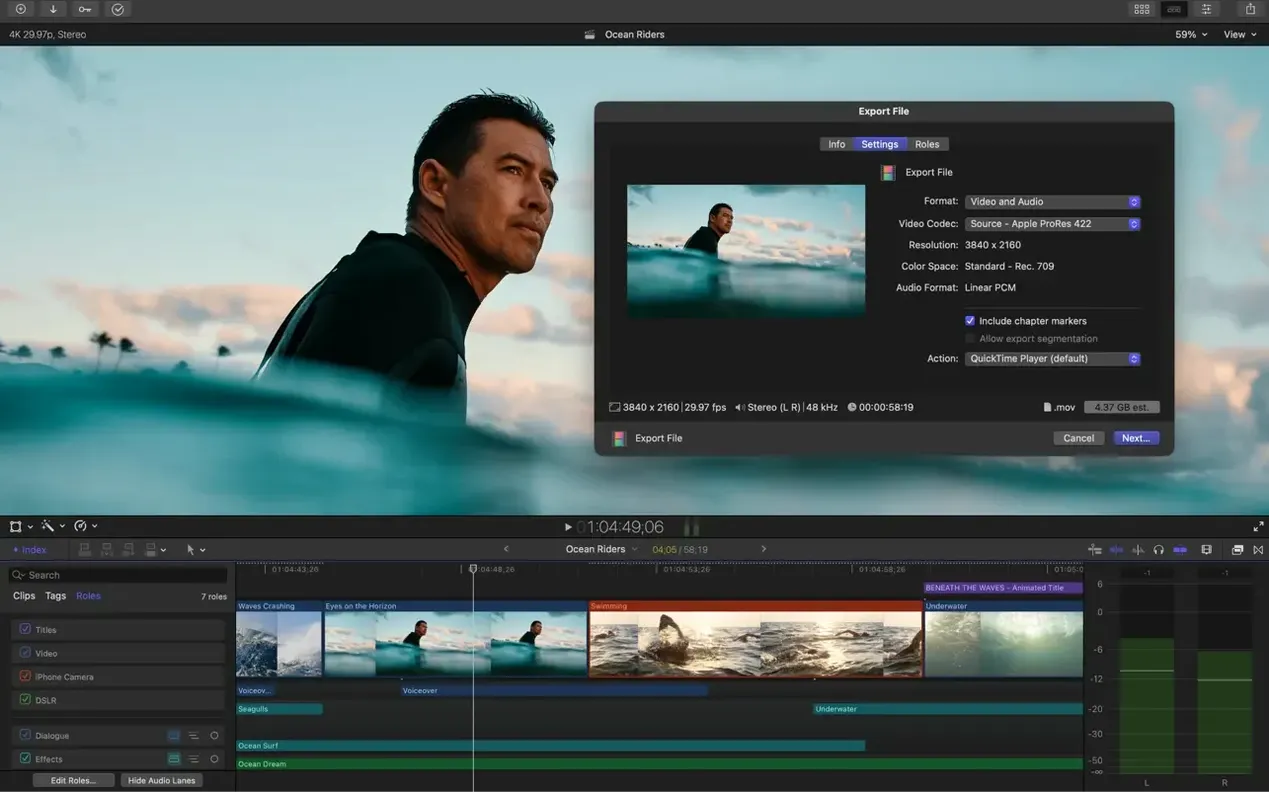
Smart Conform handles the conversion to square or vertical formats automatically. You can also export directly for Vimeo and YouTube workflows.
Can I work with footage from a cinema camera?
Yes, as long as the format is supported. Final Cut Pro handles ProRes, RED, XAVC, AVCHD, Avid DNxHR, Avid DNxHD, H.264 and HEVC natively. For other formats, you may need to transcode to ProRes using Compressor or another tool before importing.
Balancing two interview cameras with Match Color
You have two cameras shooting an interview: Camera A on a Sony with a slightly warm white balance, Camera B on a Panasonic with a cooler tone. The final video cuts between both angles. Here is a straightforward way to match them in Final Cut Pro 12.3.
- Import and sync. Place both camera angles into a multicam clip. Final Cut Pro synchronises them by audio waveform. The multicam clip appears in the timeline as a single track.
- Apply a basic colour correction to Camera A. Select a representative shot from Camera A and adjust the exposure and white balance using the colour board. This is your reference look.
- Use Match Color. Select a clip from Camera B. Open the colour inspector and click the Match Color button. Choose the reference frame from Camera A. The tool analyses both frames and applies a correction to Camera B.
- Tweak the match. Match Color gets you close, but it is not perfect. Adjust the colour board sliders for Camera B to fine-tune the match. Focus on skin tones and the background colour.
- Apply to the rest of Camera B. If the lighting is consistent, copy the correction from the matched clip and paste it onto the remaining Camera B clips using Command + C and Command + Shift + V. For clips with different lighting, repeat the Match Color step with a new reference frame.
- Check the multicam edit. Play through the interview. If the colour drift reappears in specific sections, return to those clips and adjust individually. Use the waveform scope in the video scopes panel to verify brightness consistency.
- Add a finishing grade. Once both cameras match, apply a global grade to the entire timeline if needed — a slight colour wash or a contrast curve. The grade sits on top of the individual corrections.
This workflow uses the new Match Color tool to handle the heavy lifting and leaves you with manual control where the algorithm needs guidance. For interviews with fixed lighting, it can reduce the colour-matching time from thirty minutes to five.
Changes in this build
- Generate Captions — add subtitles with customisable appearance.
- Auto Mask — isolate recognised objects for colour or enhancement.
- Match Color — match colour across cameras and lighting.
- Edit Detection — split rendered video into separate clips.
Before it goes on the Mac
- macOS 15.6 or later
- 8 GB RAM
- 5.8 GB disk space
- Metal-capable graphics card (Intel Macs)
- Some features require Apple silicon or an internet connection
Questions from the room
Does Final Cut Pro 12.3 run on Intel Macs?
Yes, it runs on both Intel and Apple silicon Macs, though some features require an Apple silicon Mac.
What macOS version do I need for Final Cut Pro 12.3?
You need macOS 15.6 or later, 8 GB of RAM, and 5.8 GB of available disk space.
Can Final Cut Pro create captions automatically?
Yes, the Generate Captions feature adds subtitles with customisable appearance, created and edited inside the app.
Installing it on the Mac
- Mount the downloaded disk image.
- Drag the app to the Applications folder alias.
- Launch the app from Launchpad once the copy finishes.
Notes from the control room
Sign in or open a catalogue account to leave a note.
No notes from the room yet. If you have used this build for a week, a short note helps the next person.