

CapCut 9.3.0 (Mac)
Updated
The catalogue note
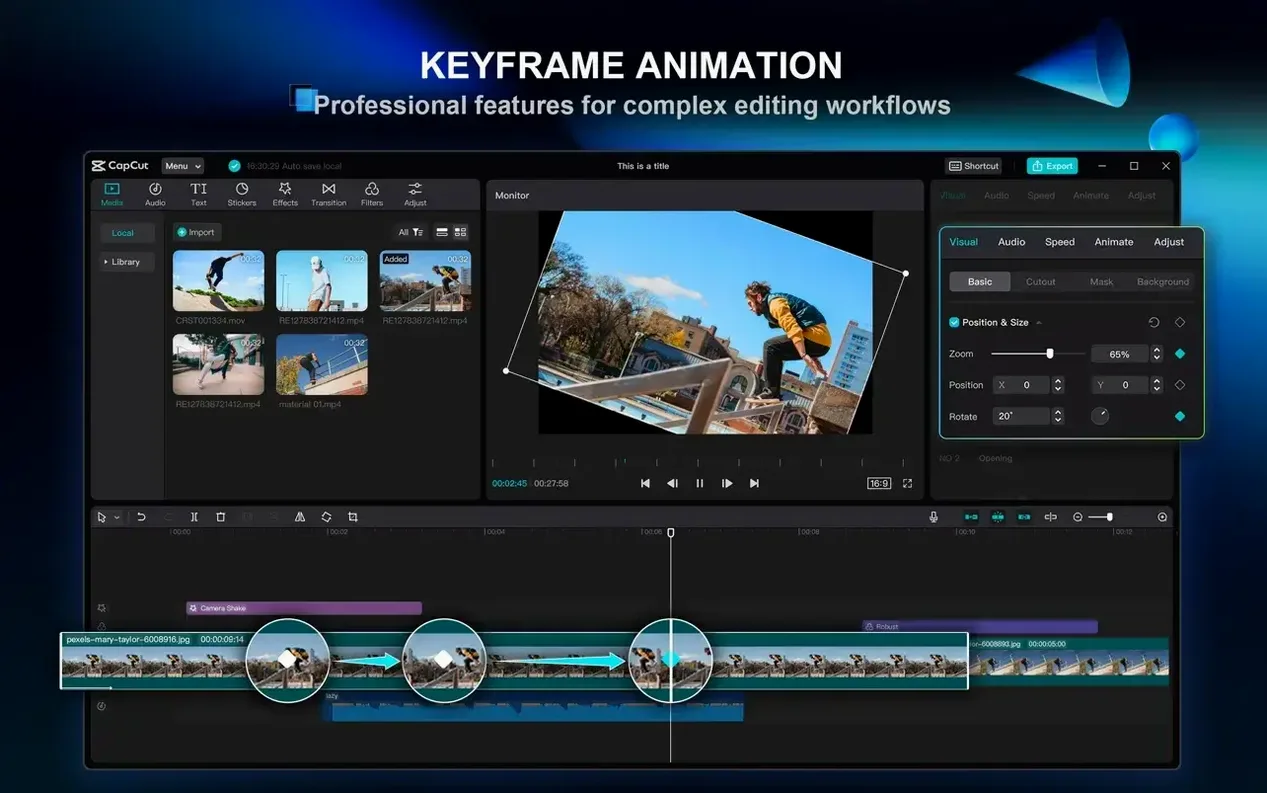
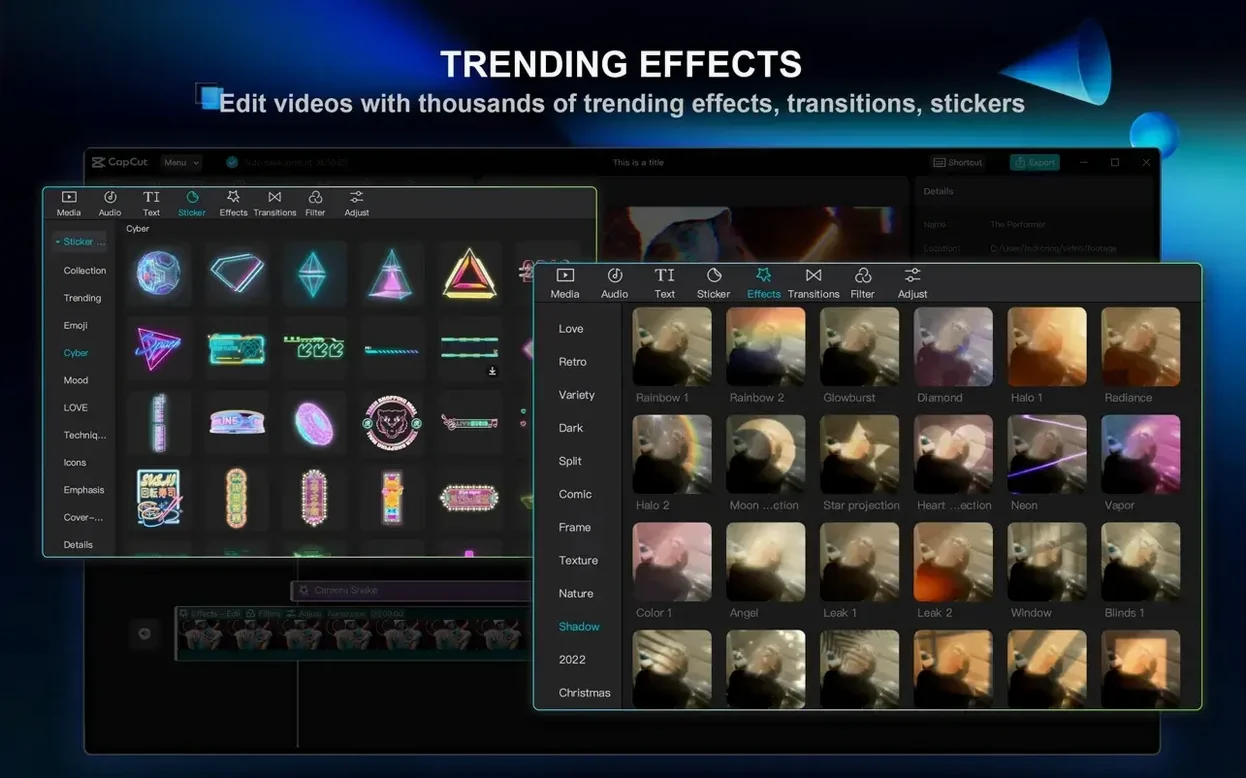
Auto-removing filler words from a podcast track is the kind of task that used to mean manual scrubbing through waveforms. CapCut 9.3.0 does it in one action, which is exactly the sort of practical AI that fits into a workflow without demanding a new skillset. The same one-click logic applies to background removal — both by chroma key and a general AI cut-out — and to adding transitions, text overlays, or keyframe animations.
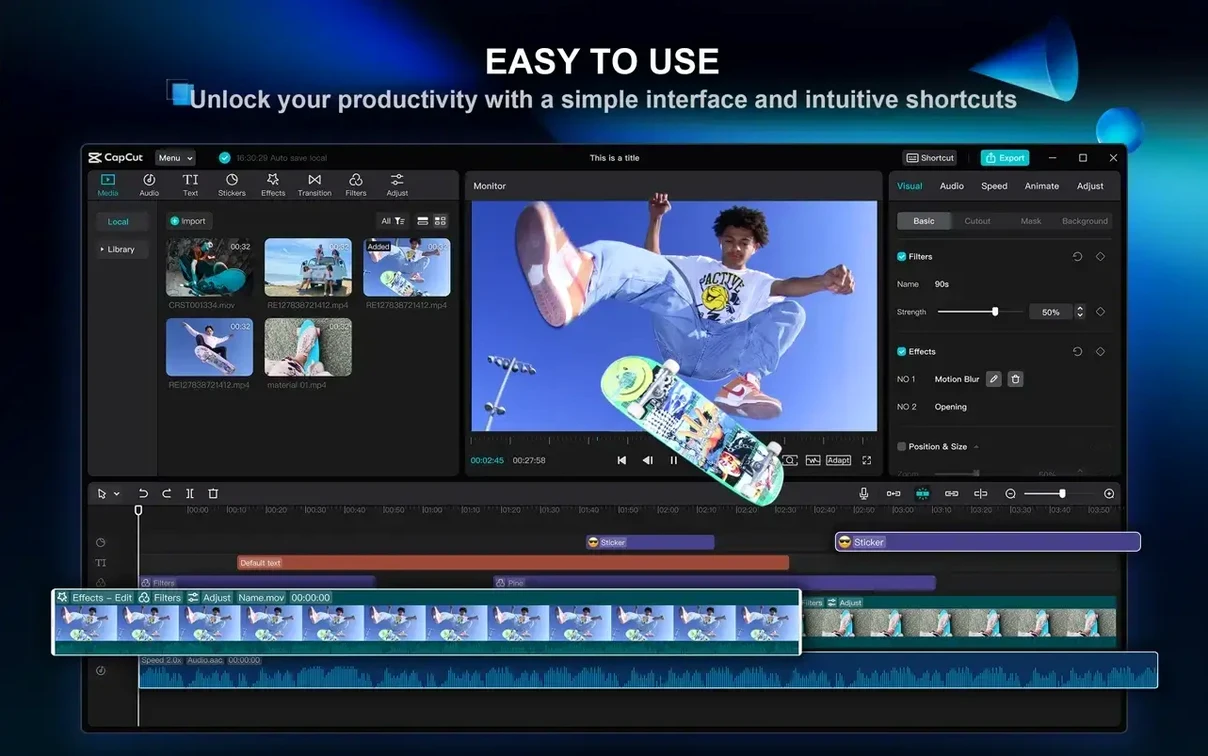
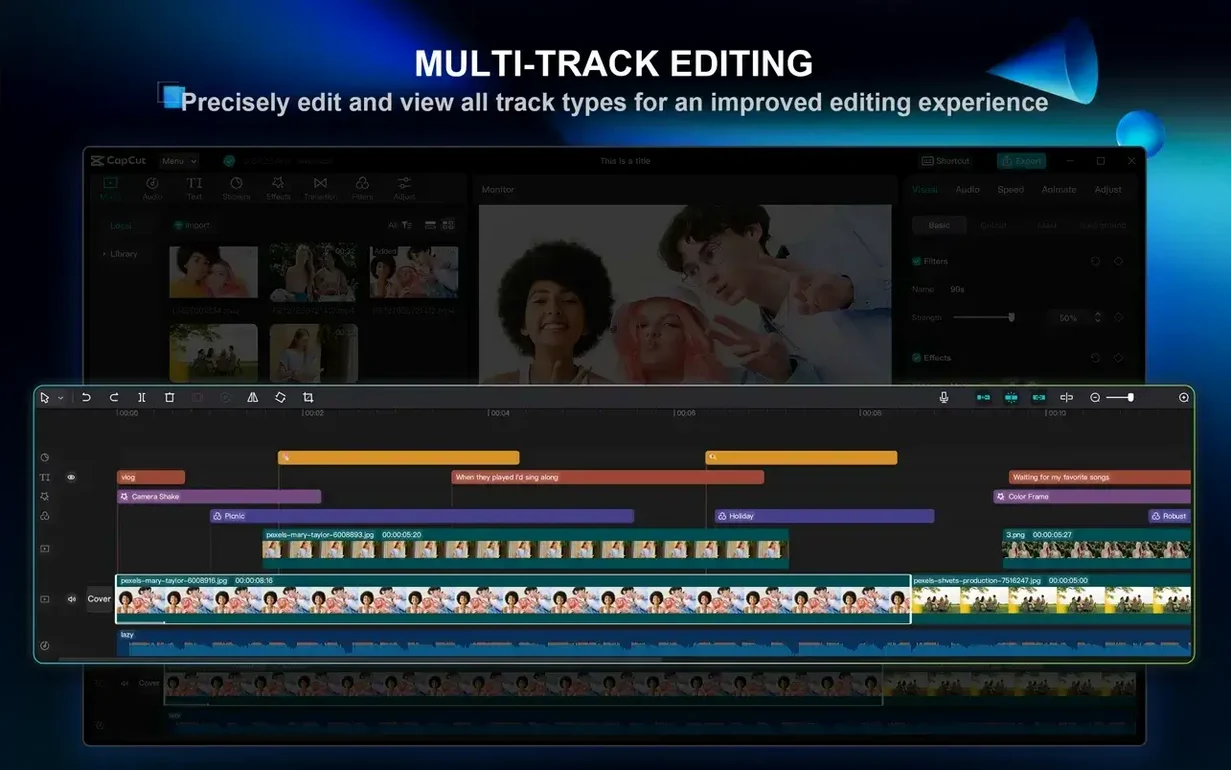
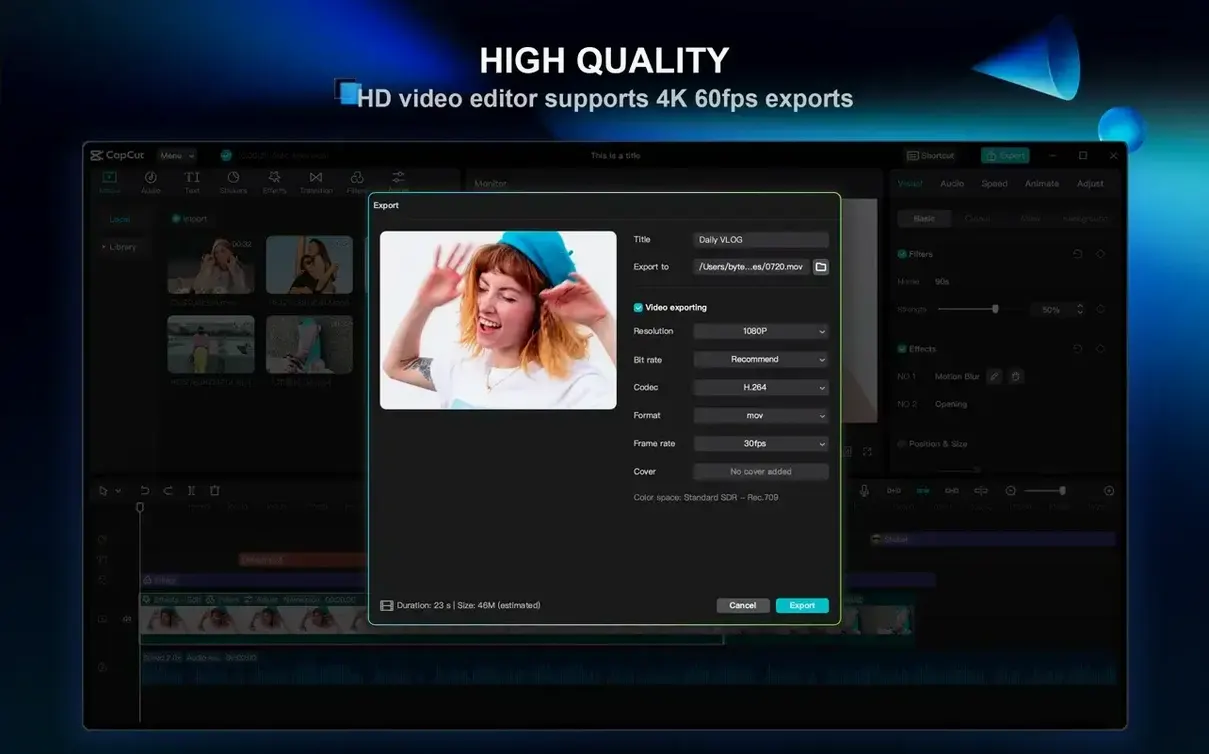
Sitting alongside the tools a Mac user already has, CapCut feels like a natural companion to iMovie rather than a replacement for Final Cut Pro. The multi-track timeline handles the basics comfortably: layering clips, adding music from its built-in library, applying filters and effects. Exports go up to 4K at 60 fps, which covers most delivery formats for social and internal work. ByteDance has kept the interface clean enough that you are not hunting through nested menus for a simple chroma key.
System-wise, the macOS version runs from 10.15 onward and asks for 4 GB of RAM to edit; 8 GB or more makes scrubbing and previews smoother. It supports both Intel and Apple Silicon Macs. The interface ships in 24 languages, which reflects the same broad audience as the mobile versions.
Dropping a 12-minute iPhone clip onto the timeline
I pulled a short interview into CapCut the other day — about twelve minutes of footage shot on an iPhone, with the usual ums and long pauses. The first thing I did was drop the clip onto the timeline. The multi-track layout appeared straight away, and I could see the waveform immediately. I right-clicked the audio track, found the remove filler words option, and let it process. It took a moment, then the timeline showed the cleaned waveform with the filler sections gone. No manual hunting through the clip.
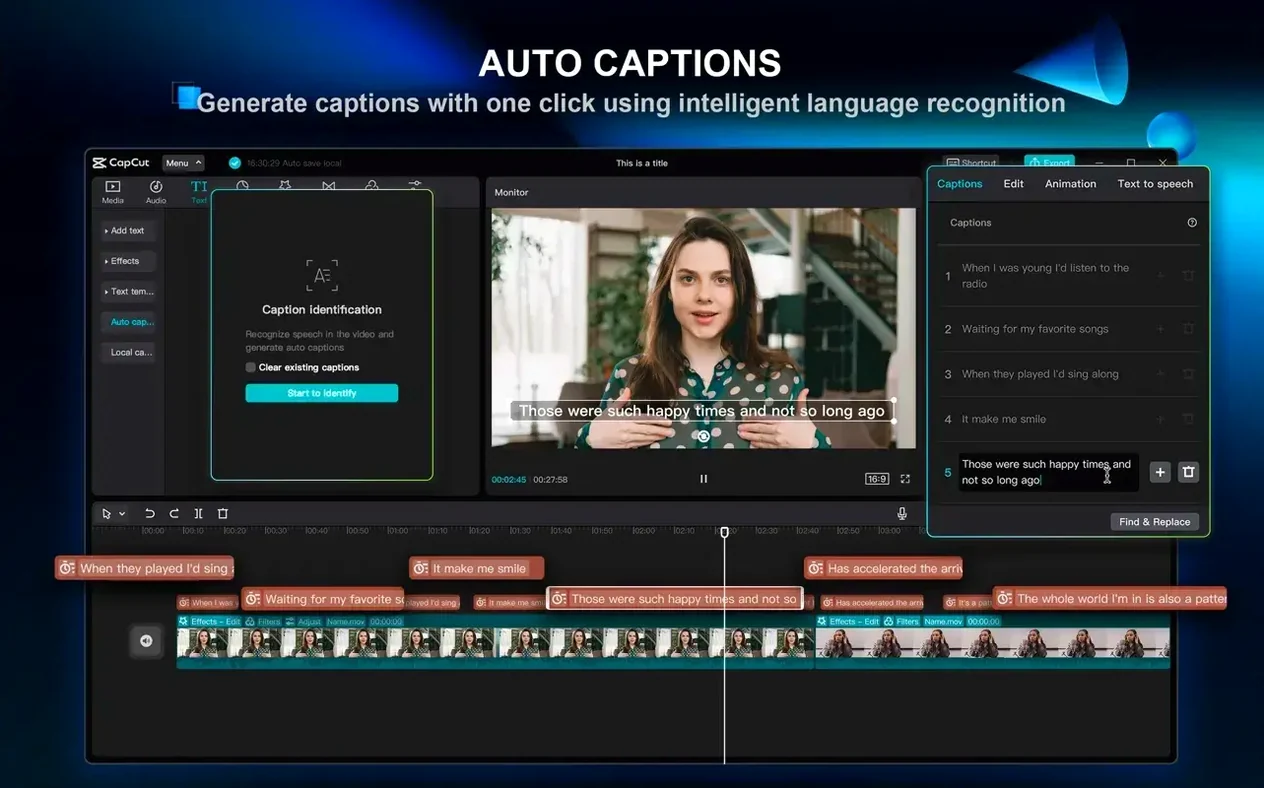
From there I added a second track for background music from the built-in library. The browser panel on the left lists music by mood, so I picked something neutral. I dragged it underneath the main clip and adjusted the volume envelope so it sat quietly behind the voice. Then I needed a subtitle overlay for social distribution. I selected the clip, clicked the auto-caption button, and CapCut generated the text from the speech. I picked a clean font style from the text options and tweaked the timing on a couple of lines that were a frame off.
The last step was the export. The file landed on the desktop as an MP4. Whole thing, from import to export, took under twenty minutes, and most of that was waiting for the filler-word removal and the caption generation.
Runs on macOS 10.14 and Macs from 2018 or newer
Can I use it on an older Mac? The desktop version runs on macOS 10.14 or later, so anything from 2018 or newer should work. Either way, a Mac from the last five years will handle it.
Does it need a powerful machine? ByteDance says a 2-core processor is enough, and 4 GB of RAM is the baseline for editing. If you have 8 GB or more, scrubbing through the timeline and previewing effects will feel less sluggish. The app is lightweight compared to a full NLE like Final Cut or Premiere — it does not try to load every frame into memory at once.
Will it work on an M1 or M2 Mac? Yes. CapCut supports both Apple Silicon and Intel 64-bit Macs natively. No Rosetta translation needed on an M-series machine.
Is it only for short social videos? It handles longer projects fine, but it is not built for multi-hour timelines with dozens of tracks. The export ceiling is 4K at 60 fps, which covers YouTube, Instagram, TikTok, and most internal video work.
What about language support? The interface ships in 24 languages, including English, German, French, Spanish, Italian, Polish, Russian, Japanese, Korean, and both Simplified and Traditional Chinese. If you are not a native English speaker, the menus and tooltips will likely be in your language.
The installer needs about 2 GB of free disk space
The installer is a standard disk image. You open it, drag the app into the Applications folder alias, and launch from Launchpad. It asks for about 2 GB of free disk space for the installation itself — the app plus its bundled content like music and effects. After that, the working files you import and generate will take up additional space depending on your project size.
The interface opens with a clean project browser. The timeline sits at the bottom, the preview window in the top centre, and tool panels on the left and right. It does not rearrange your desktop or install background services. It is a straightforward app that lives in your Applications folder and only runs when you open it.
If you are on an Intel Mac with 4 GB of RAM, expect the preview to stutter a bit with 4K footage. Dropping to 1080p for editing, then exporting at 4K, is a practical workaround. On an Apple Silicon Mac with 8 GB or more, the timeline scrubs and effect previews feel responsive even with higher-resolution clips.
Start with a two-minute clip and one text overlay
- Start with a short project. A two-minute clip with one music track and one text overlay teaches you the layout faster than jumping into a ten-track edit.
- Use the auto-caption tool early. It is one of the strongest features and gives you a feel for how CapCut handles speech recognition. You can tweak the timing and font afterwards.
- Check the export settings before you render. The default might be 4K at 60 fps. If your delivery platform only needs 1080p, changing it saves time and disk space.
- Explore the music library once. The built-in tracks are categorised by mood. Browsing through them for five minutes gives you a mental map of what is available, so you do not waste time later.
- Keep the project folder organised. CapCut does not automatically move your source files. If you import clips from a camera card, copy them to a project folder on your internal drive first. That way you can delete the card without breaking the project.
- Try the remove background tool on a simple clip. A talking-head shot with a plain background is a good test. If it works cleanly, you can skip the chroma key setup for similar footage.
Before it goes on the Mac
- macOS 10.14 or later (official download page specifies macOS 10.15 and later)
- Intel or Apple Silicon processor
- 4 GB RAM minimum (8 GB or more recommended for a smoother experience)
Installing it on the Mac
- Open the downloaded disk image.
- Drag the app into the Applications folder alias.
- After the copy finishes, launch the app from Launchpad.
Notes from the control room
Sign in or open a catalogue account to leave a note.
No notes from the room yet. If you have used this build for a week, a short note helps the next person.
Also filed under Video
The whole Video rack DaVinci Resolve Studio21.2 Video 7.9 GB Updated
 Elmedia Player Pro8.24 Video 157 MB
 Aiarty Video Enhancer3.9 Video 182 MB Updated
 Final Cut Pro12.4 Video 6.2 GB
 Adobe Premiere Pro27.0.0 Video 4.6 GB Updated
 FotoMagico6.11.0 Video 75 MB
 Adobe Animate24.0.15 Video 6.5 GB
 Adobe After Effects26.5.0 Video 8.8 GB