Home › Video › Aiarty Video Enhancer

Aiarty Video Enhancer 3.9 (Mac)
Updated
The catalogue note
Version 3.8 of Aiarty Video Enhancer brings two practical additions: MKV container support and resumable exports. For anyone working with large batches or interrupted renders, the latter alone saves time. CUDA memory optimisations are also in place, which helps on Intel Macs with dedicated GPUs.
Upscales footage to 4K with added detail, not just stretched pixels
- Upscaling footage to 4K while adding detail via trained AI models — not just stretching pixels.
- Cleaning up low-light, noisy, or blurry clips without introducing artefacts.
- Restoring old or damaged video by reducing grain and sharpening edges.
- Generating smooth slow motion with 8X or 16X frame interpolation using AI-created intermediate frames.
Requires macOS 13+, a dedicated GPU, and at least 512 GB of disk space
- Requires macOS 13.0 or later and a dedicated GPU with 4 GB VRAM for Intel Macs; Apple Silicon runs natively.
- Disk space of 512 GB or more is recommended — models and intermediate files add up.
- This is a separate desktop app from Aiarty’s image enhancer; workflow integration is manual.
Best for editors restoring archival footage or low-bitrate source material
The tool suits a few specific groups of Mac users more than others. Video editors who regularly handle archival footage, user-generated content, or low-bitrate source material will see the biggest difference — the AI models are built to reconstruct detail that standard scaling filters cannot recover. Content creators working with smartphone footage or webcam captures benefit from the combined denoise and deblur pass, which cleans up the image in one go before it reaches a timeline.
Restoration projects are another natural fit. If you have old MiniDV tapes, DVD rips, or compressed downloads that look soft or blocky, the upscaling and grain reduction can bring them back to a usable state without looking artificial. The audio denoise module is a separate bonus here: noisy room tone or hiss from vintage microphones gets cleaned up alongside the picture, which saves a round-trip through an audio editor.
It generates intermediate frames rather than duplicating or blending existing ones, so the result stays fluid even when you slow footage down considerably. This matters for event videographers, sports analysis, or anyone cutting montages from mixed-source material.
Fixes Gatekeeper blocks, export crashes, and other common roadblocks
Bypasses macOS Gatekeeper with a Terminal command on first launch
macOS may refuse to open the app because it is not signed by an identified developer. The install instructions cover this: mount the disk image, open Gatekeeper-friendly mode, and run the Terminal command to bypass the block. After that, dragging the app into Applications and launching it should work. If the block persists, check that you ran the command before opening the app — the order matters.
Exports fail or stall partway through
Version 3.8 added resumable exports, so a crash or power loss no longer forces a full restart. If an export stops, open the app again and the job should appear in the queue with a resume option. If the job does not show up, check that the output folder still exists and that disk space has not run out — the app needs room for temporary files as well as the final render.
Intel Macs run slowly or hit GPU errors
The CUDA memory optimisations in version 3.8 help, but Intel Macs still need a dedicated GPU with at least 4 GB of VRAM. If you see out-of-memory errors or the app becomes unresponsive, reduce the batch size: process fewer clips at once or lower the output resolution temporarily. For long clips, splitting the source into shorter segments can also keep VRAM usage under control.
Audio denoise has no effect
The audio denoise module works on the audio track embedded in the video file. If the source has an unusual codec or a very low bitrate, the module may not detect enough signal to process. Try converting the file to a standard format like H.264 with AAC audio before importing it. The module is designed for one-click cleanup — there are no adjustable parameters, so if the result is too aggressive, apply it only to sections that need it by splitting the clip first.
Don't treat it as a one-click fix—results depend heavily on source quality
The most common error is treating the app as a one-click fix for everything. Upscaling a 480p clip to 4K with maximum detail recovery takes time and disk space, and the result depends heavily on the source quality. Beginners sometimes expect a miracle from heavily compressed web video — the AI can add detail, but it cannot invent information that was never there. Starting with a moderate output resolution and working up is a safer approach.
Another mistake is ignoring the system requirements. Running the app on an Intel Mac with integrated graphics or less than 8 GB of RAM leads to slow renders and frequent crashes. The 512 GB disk recommendation is not a suggestion: the AI models and intermediate frame data consume significant space, and a nearly full drive will cause exports to fail silently. Beginners should clear room before starting a large batch.
Version 3.8 adds resumable exports and MKV container support
Three changes from the update affect daily workflows directly:
- Resumable exports — Previously, a crash or accidental quit meant starting a long render from scratch.
- MKV support — MKV containers were not recognised before. Users who work with Matroska files, common for archival or high-bitrate encodes, can now import them directly without remuxing to MP4 or MOV first.
- CUDA memory optimisations — Intel Macs with Nvidia GPUs benefit from reduced VRAM usage during large renders. This lowers the chance of out-of-memory errors when processing 4K output with multiple models active.
The interface and model selection remain unchanged, so anyone upgrading from version 3.7 can continue working without re-learning menus or settings.
Processed ten wedding clips from smartphone, Sony A7, and dimly lit hall footage
I had a batch of ten clips from a wedding shoot: smartphone footage, a few Sony A7 files, and one grainy segment shot inside a dimly lit hall. The smartphone clips were 1080p, noisy, and slightly soft. The hall footage was the worst — underexposed, with visible chroma noise and motion blur from a slow shutter.
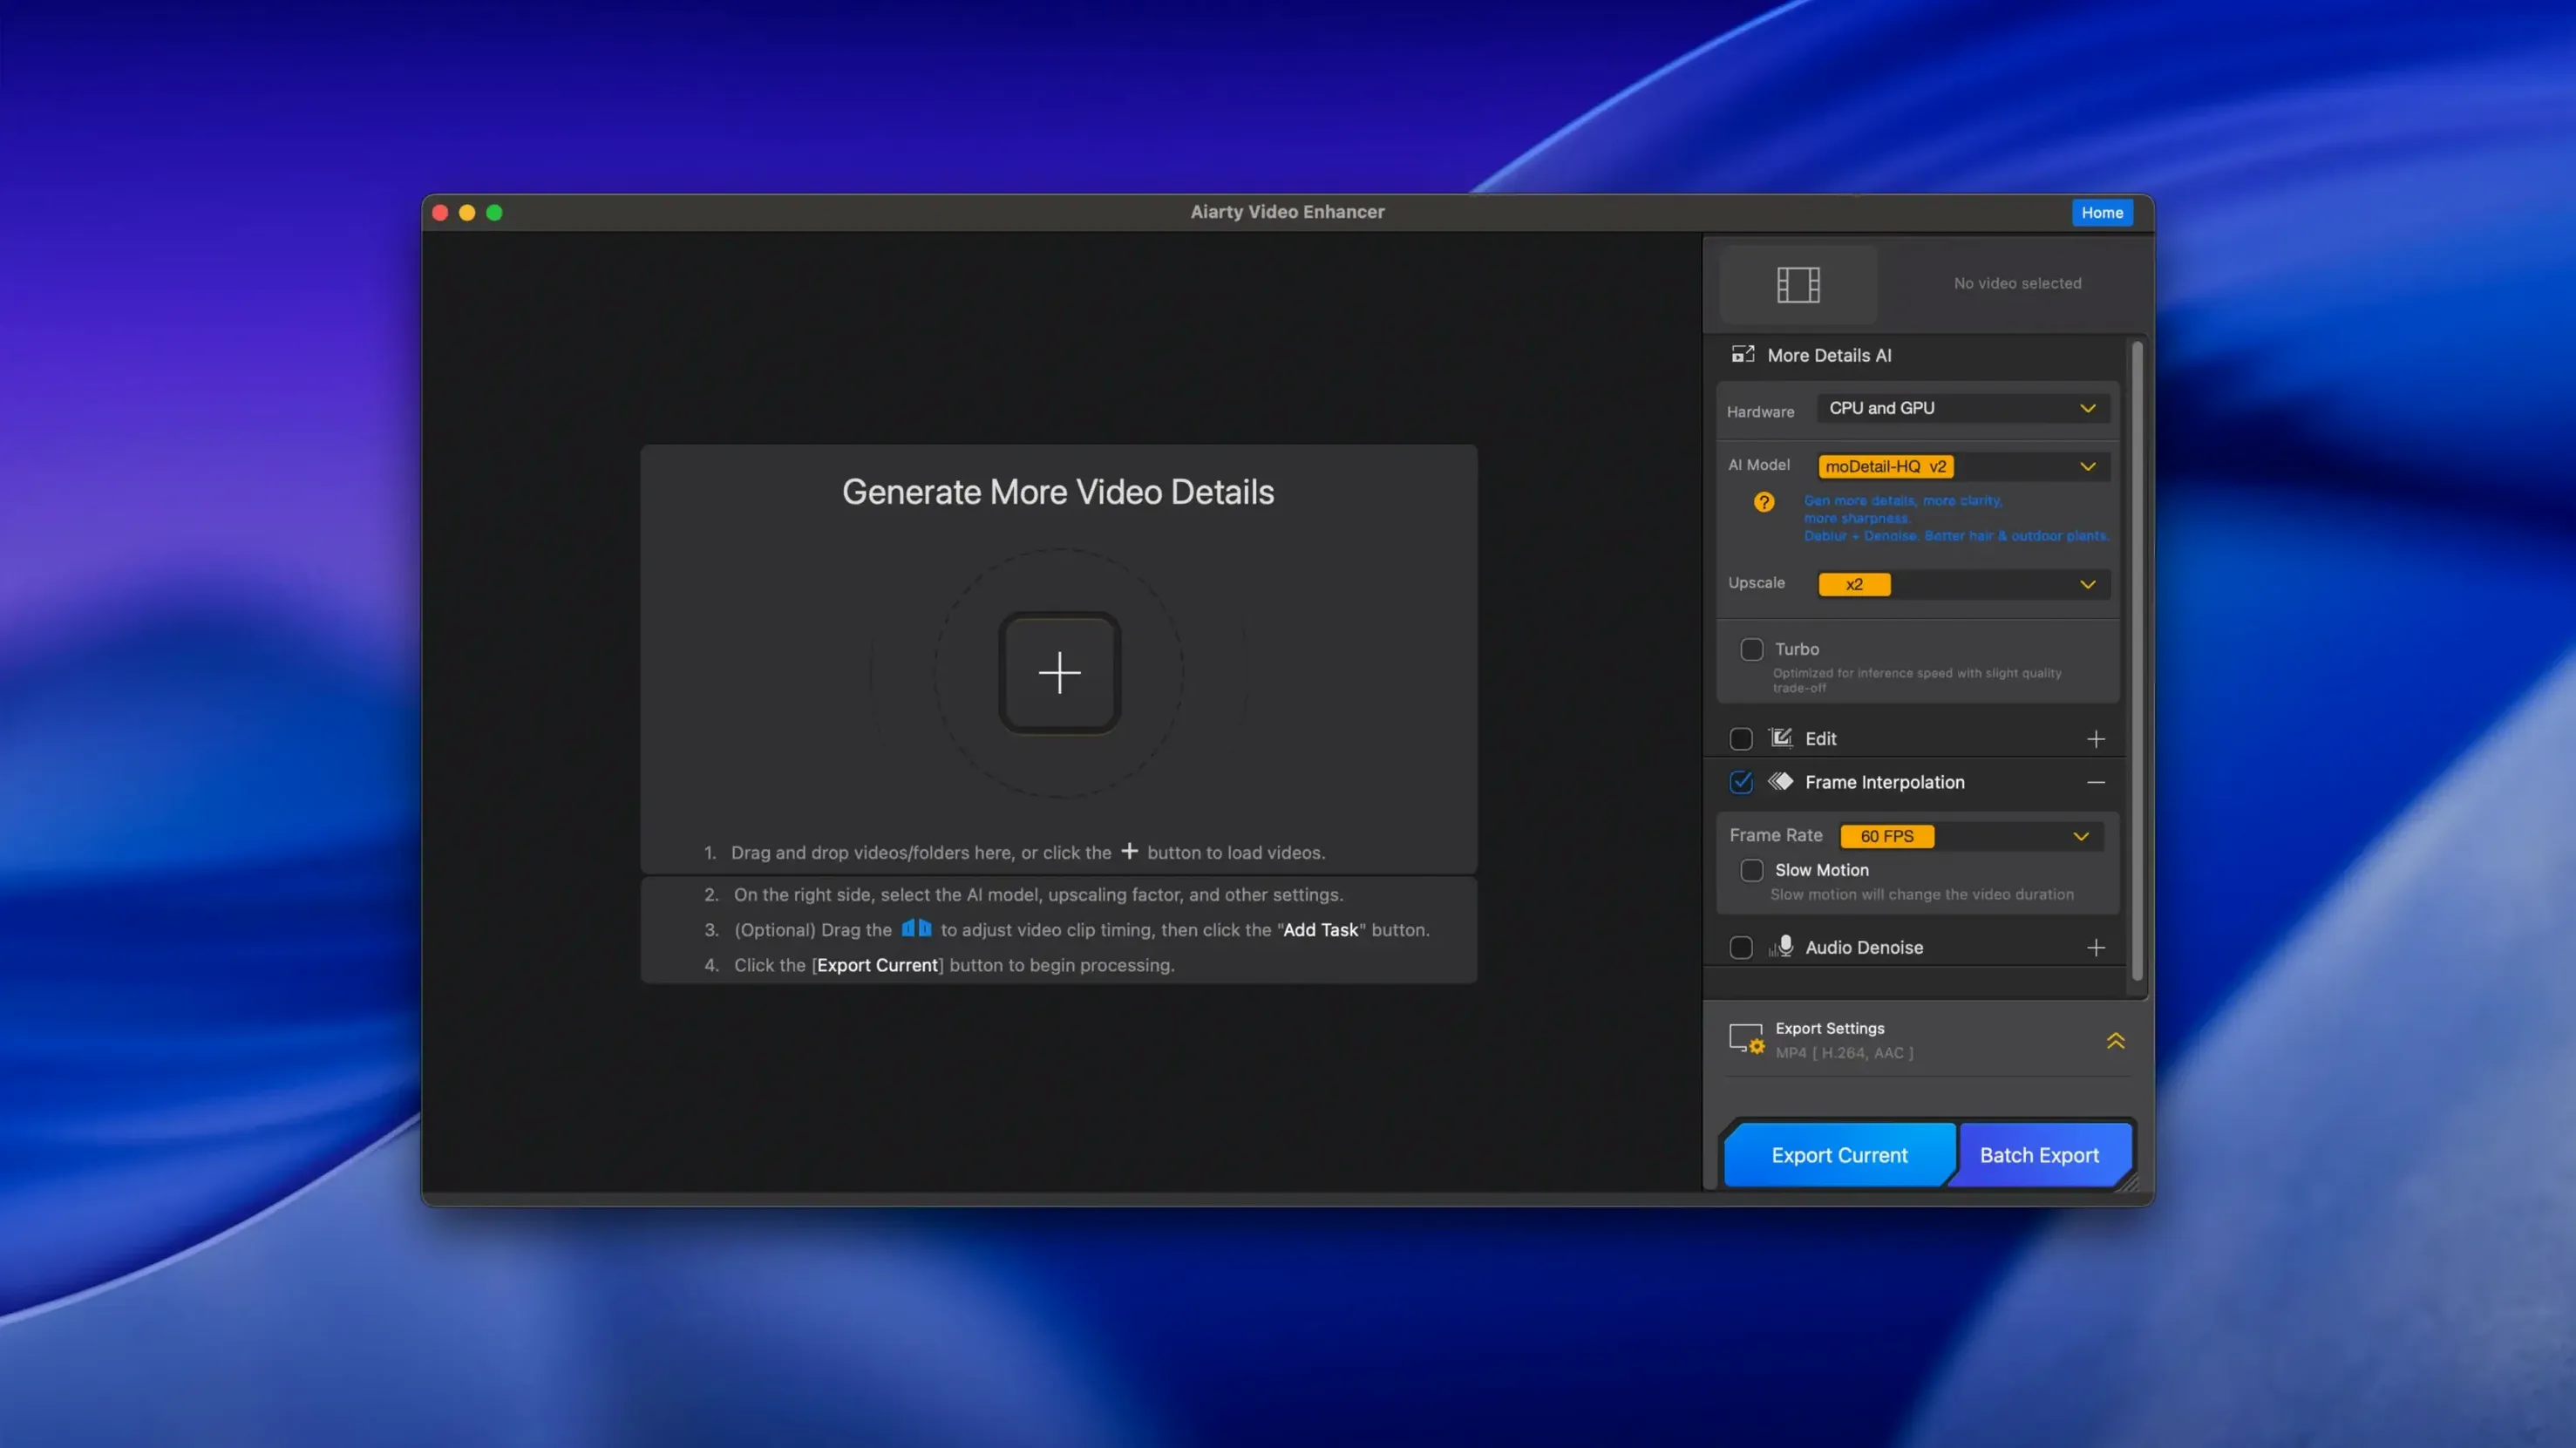
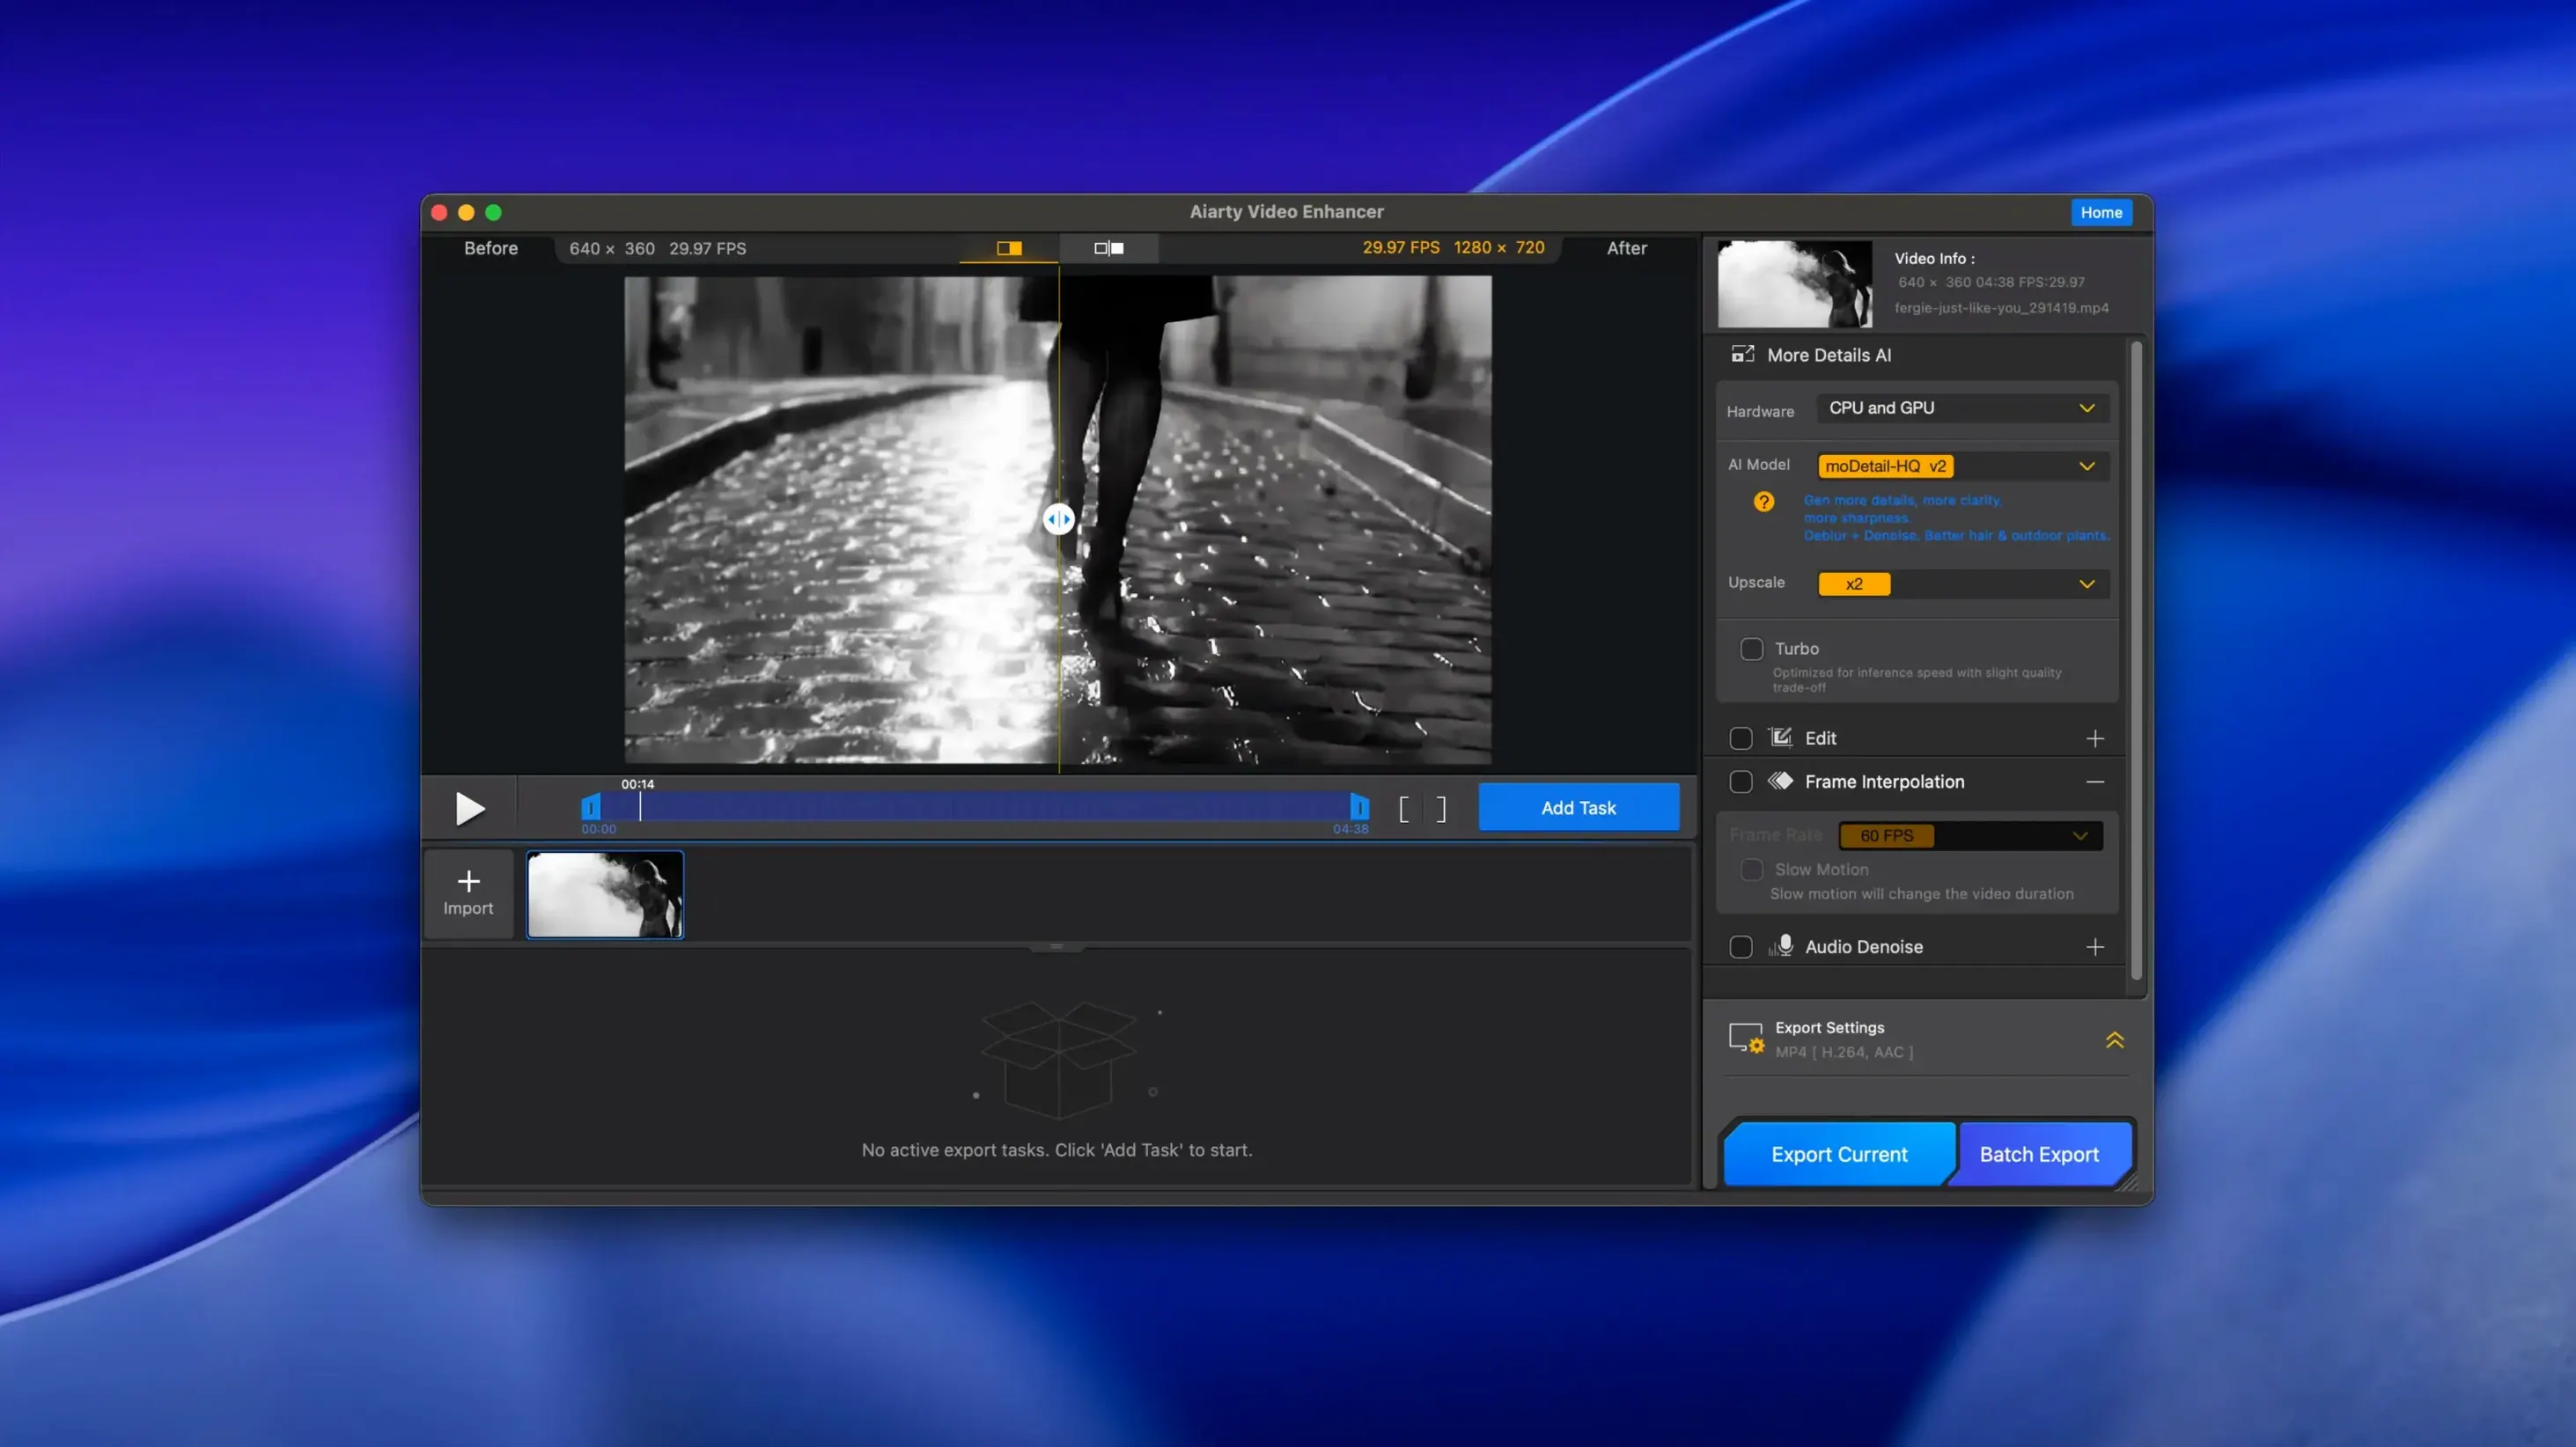
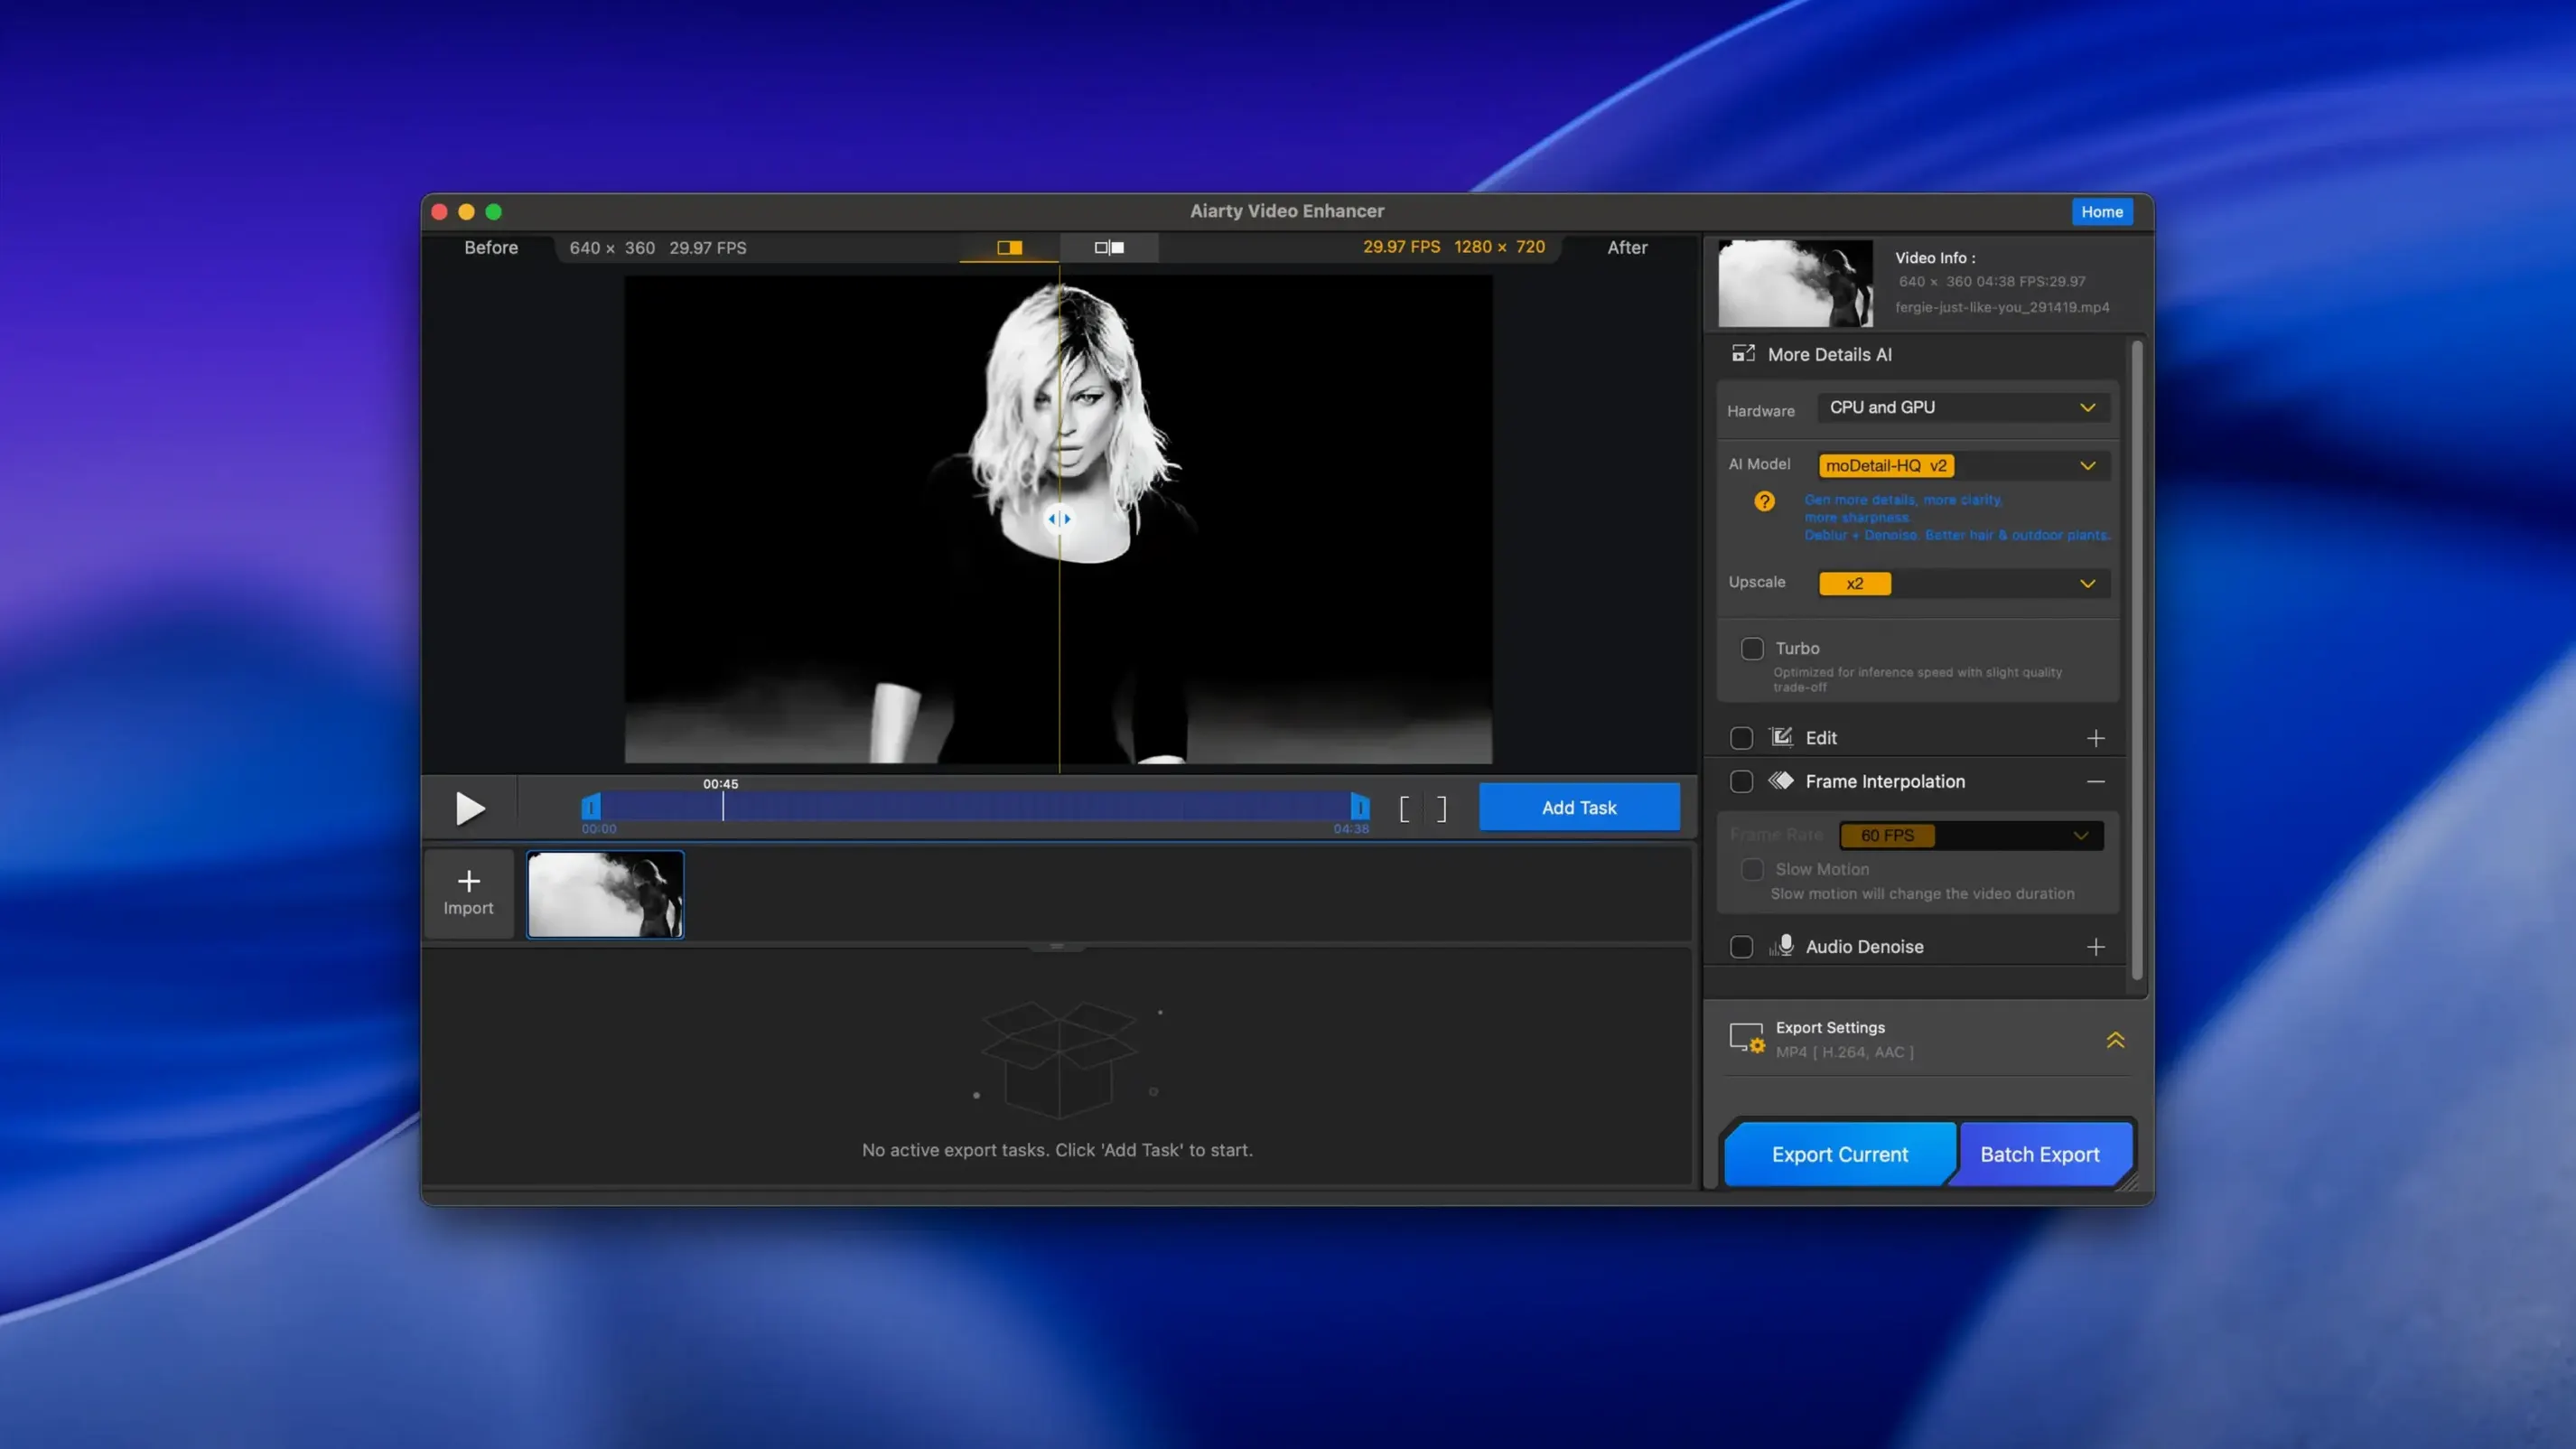
I opened Aiarty Video Enhancer and created a new project. I dragged all ten files into the import area. I selected the hall footage first and chose the upscale model with detail recovery enabled, targeting 4K output. For the smartphone clips, I picked the denoise model without upscaling — 1080p was fine, but the grain needed cleaning. The Sony files got a light sharpen pass only.
I set the output folder to an external SSD with plenty of free space and started the batch. The app processed them one by one, showing a progress bar per clip. About halfway through, the hall footage export paused — I had run out of space on the SSD because I forgot to clear old renders. The resumable export feature saved me: I freed up space, reopened the app, and the job resumed from where it stopped instead of starting over.
While the batch ran, I used the audio denoise module on a separate clip with wind noise from a lavalier mic. I imported the clip, clicked the audio denoise toggle, and exported a cleaned version. It took about the same time as a standard export — no tweaking needed.
After the batch finished, I had four 4K clips, five cleaned 1080p files, and one sharpen pass ready for the timeline. The whole process took under an hour, with most of the time spent waiting for the renders.
Before it goes on the Mac
- macOS 11 or later
- Apple Silicon or Intel 64‑bit processor
Questions from the room
Does Aiarty Video Enhancer support Apple Silicon?
Yes, the app runs natively on Apple Silicon processors without Rosetta.
What file formats does version 3.8 add?
Version 3.8 adds MKV support alongside existing formats.
Installing it on the Mac
The download weighs in around 182 MB and expects macOS 11 or later on either Intel 64‑bit or Apple Silicon machines.
- Mount the disk image and launch Open Gatekeeper friendly.
- Press Enter in the Terminal window that appears to bypass Gatekeeper.
- Drag the application into your Applications folder.
- The app is ready to use. You may need to open it under Rosetta and keep a VPN active.
Notes from the control room
Sign in or open a catalogue account to leave a note.
No notes from the room yet. If you have used this build for a week, a short note helps the next person.