
Home › Logic Pro Plugins › Addictive Drums 2
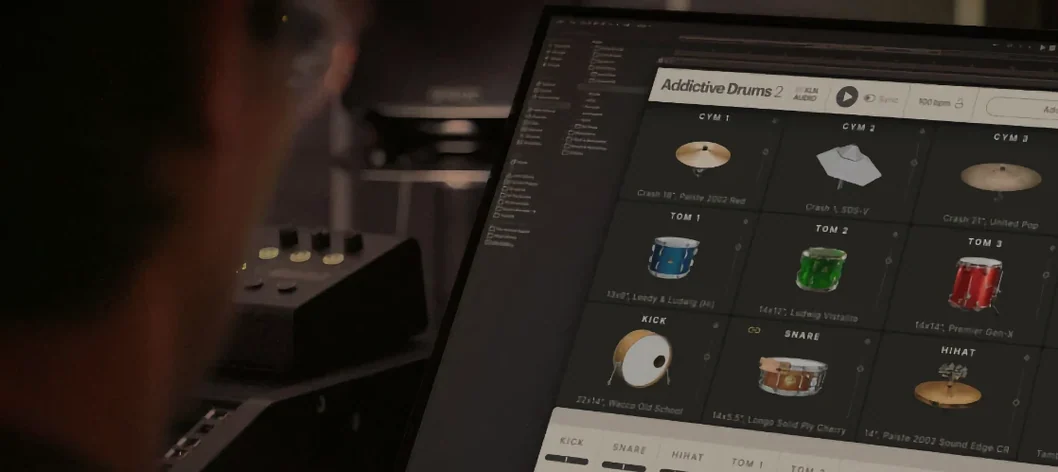
Addictive Drums 2 2.9.1 (Mac)
Updated
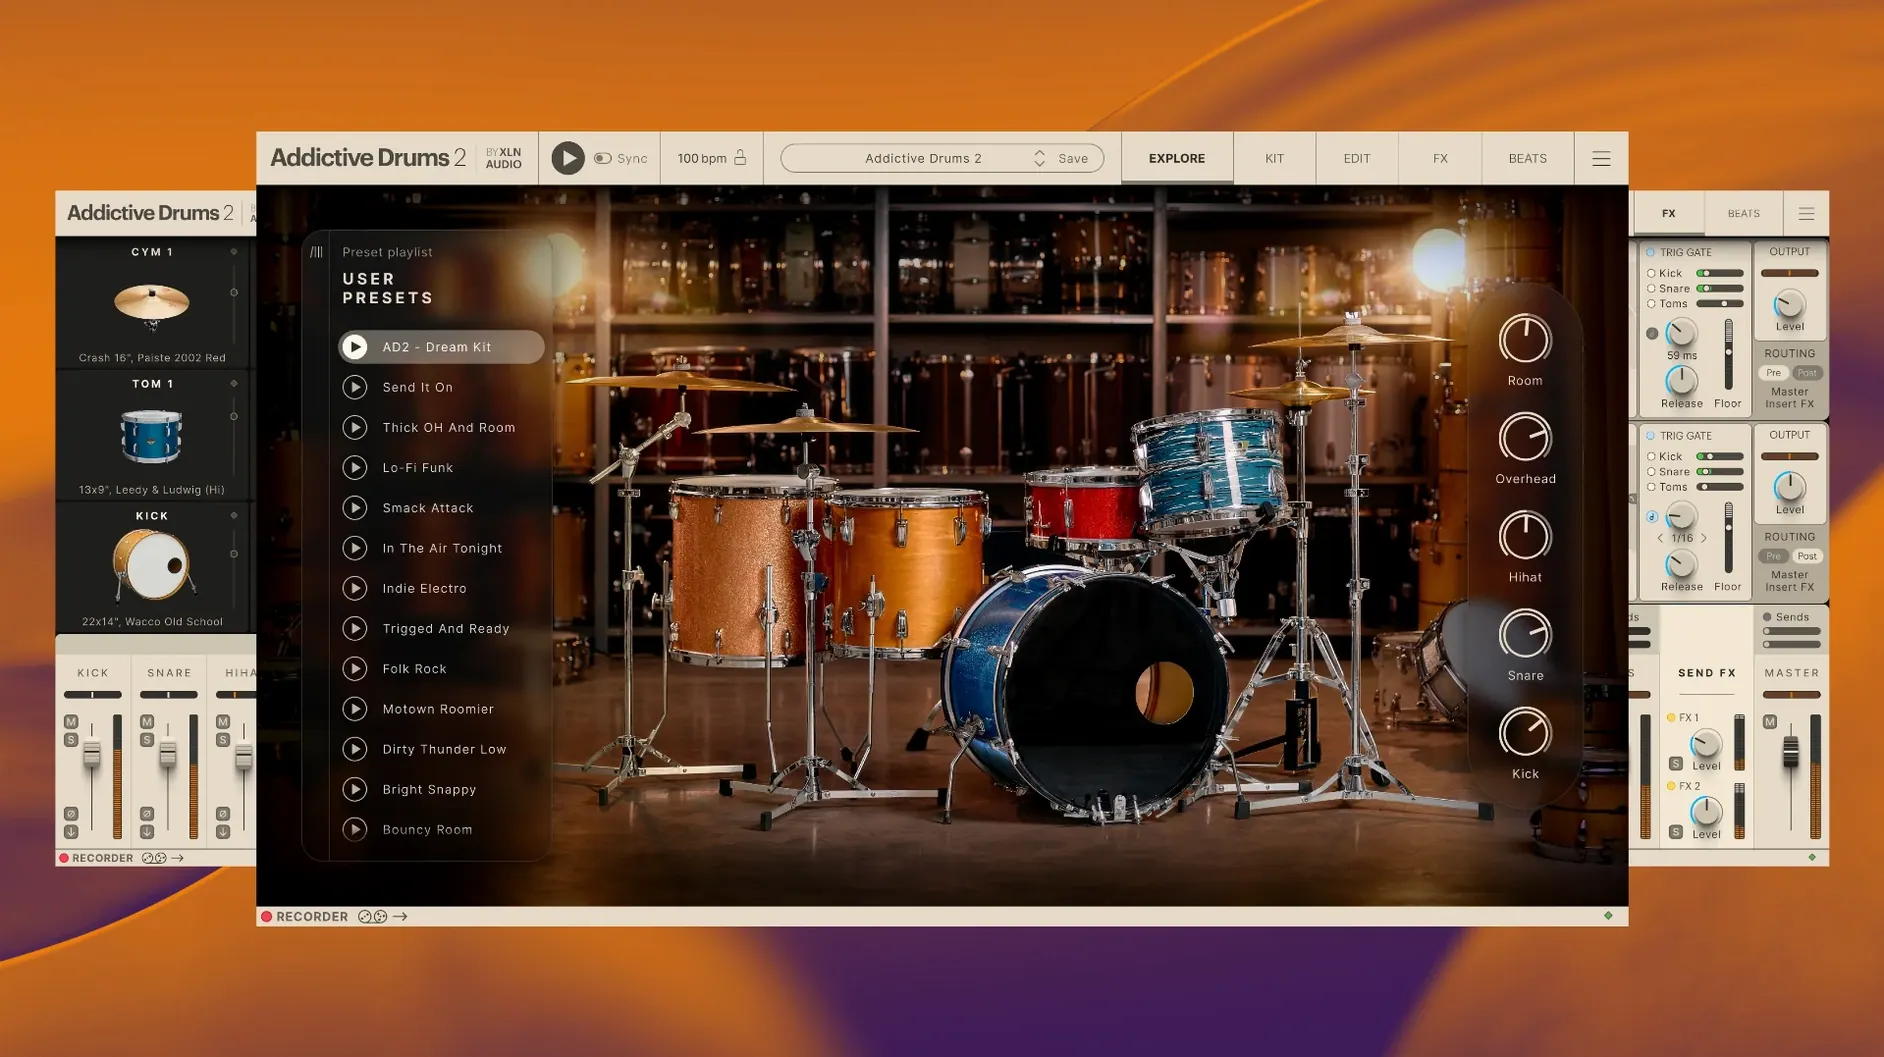
The catalogue note
Version 2.9.1 of Addictive Drums 2 is the current release. XLN Audio keeps the core stable rather than chasing feature additions, which suits a studio instrument that needs to work without surprises.
Formats, hosts and architecture
Addictive Drums 2 runs natively on both Apple Silicon and Intel Macs — ARM and x86 64-bit architectures are supported. macOS 10.13 and later covers everything from High Sierra to the current version. The plugin loads inside any major DAW that accepts VST3, AU or AAX formats. On a Mac Studio M2 Max the instance count is generous; CPU load depends largely on the Kitpiece Paks and MIDI pattern complexity you layer.
The sound side of things
The Complete Collection bundles Addictive Drums 2 with all ADpaks, MIDIpaks and Kitpiece Paks. Each kit piece was recorded in a controlled room, then mapped to velocity layers that respond naturally to velocity-sensitive playing. For quick sketches you can drag MIDI from the built-in groove player; for final tracks you can tweak every mic position and envelope. The interface stays in English only.
Treating the default kit as final
The most common slip I hear about from colleagues who start with Addictive Drums 2 is treating the default kit as final. The initial ADpak sounds good out of the box, but every drum piece has adjustable parameters — head tension, dampening, room bleed level — that people overlook because the interface doesn't shout about them. Spend ten minutes per kit piece on the Edit page and the difference between a canned loop and a track that sits in a mix becomes clear.
Another pattern: dragging MIDI from the groove browser into the DAW without editing the velocities. The built-in grooves are played by session drummers, so they already have natural variation. But if you layer two grooves on top of each other without adjusting timing or removing overlapping hits, the result sounds cluttered. A quick pass with the DAW's velocity tool or a simple humanise function fixes that.
Beginners also tend to leave the overhead and room mics at default levels. The kit was recorded with close mics that give you control, but the overheads carry the stereo image and the room mics add the space. Dropping the room level to zero makes the kit sound sterile; maxing it out washes the transient away. Start with the overheads at about -6 dB relative to the close mics and adjust from there.
Lastly, some forget that Addictive Drums 2 runs as a standalone application, not just inside a DAW. If you only need a quick drum sketch to work out a song structure, launching the standalone app saves you loading a full session.
Fewer GUI redraw glitches on Ventura and Sonoma
XLN Audio does not publish detailed changelogs for every point release, but version 2.9.1 brought compatibility refinements that matter for current macOS versions. Users on macOS Ventura and Sonoma reported fewer GUI redraw glitches after the update — the plugin window no longer flickers when you switch between ADpaks quickly. For anyone running a Mac Studio or MacBook Pro with Apple Silicon, the ARM-native performance in 2.9.1 means the plugin loads as a native process rather than through Rosetta 2. That reduces the overhead in DAWs that run entirely in native mode, such as Logic Pro and Cubase.
The update also addressed a MIDI timing edge case where note-off messages from certain controllers could trigger an extra hit on the hi-hat. That fix is invisible unless you encountered the problem, but it makes the hi-hat response predictable during fast patterns. For everyday work, the change is stability — fewer moments where you stop playback to check why a hat sound is hanging.
Kit piece search field narrows by partial name
The kit piece search field at the top of the browser lets you type partial names — typing "kick" narrows the list to only kick drums across all installed ADpaks. This saves time when you want a specific snare from a different expansion without scrolling through the full list.
Each ADpak comes with a set of factory presets stored as .ad2preset files. You can save your own presets per kit piece or per full kit. If you build a custom blend of a Fairfax Vol.1 kick with a Vintage Dry snare and your own reverb send levels, saving that as a preset means you recall it in any session later. The presets appear in the same browser as the factory ones, so they do not get lost in a separate folder.
The MIDI groove browser includes a preview function: double-click a groove name and it plays back using the current kit. That lets you audition how a pattern sounds on your custom kit before dragging it into the timeline. Beginners often drag every groove in, delete half of them, and wonder why the arrangement feels disjointed — the preview step avoids that.
The standalone application also lets you route each drum channel to a separate audio output via the mixer page. In a DAW you get multiple outputs automatically when you add the plugin, but in standalone mode you can record each mic channel onto its own track in another application using a virtual audio device. Not something everyone needs, but useful for capturing a performance live.
Outputs multiple stereo channels for separate mixing
Inside a DAW, Addictive Drums 2 works as a standard instrument plugin. You load it on a track, select an ADpak, and start programming or playing. The plugin outputs multiple stereo channels — typically kick, snare, hi-hat, toms, overheads and room — which you can route to separate mixer channels for individual processing. That means you can compress the kick differently from the snare, or add a plate reverb only to the overheads, without affecting the rest of the kit.
On macOS, the plugin registers in the Audio Units and VST3 directories automatically during installation. No manual copying of components or bundles. If you use Logic Pro, the AU version is the natural choice; for Cubase or Studio One, VST3 works the same way. Pro Tools users load the AAX version. All three formats co-exist without conflicts.
The standalone application can receive MIDI from any Core MIDI device — a USB drum controller, a keyboard with drum pads, or even a MIDI track from another app via the IAC Driver bus. If you compose in a notation editor such as Dorico or Sibelius, you can route its MIDI output through the IAC bus to the standalone Addictive Drums 2 and hear your score played back with the full kit sound. That is a lightweight alternative to running a full DAW just for playback.
For recording, you can use Audio Hijack or Loopback to capture the standalone app's output into a separate audio file or into another application. This is not a standard workflow, but it opens up options for live streaming or for capturing a performance without the overhead of a DAW session.
Short real-world scenario from a session drummer
A session drummer I know works from a home studio with a Roland TD-17KVX electronic kit. He uses Addictive Drums 2 as his primary sound module because the internal Roland sounds do not match the depth of the XLN recordings. His setup: the TD-17 sends MIDI over USB to the Mac, Addictive Drums 2 runs in standalone mode, and the audio output goes to his interface. He loads the Fairfax Vol.1 ADpak for rock sessions and the Vintage Dry ADpak for indie sessions, and he saves a custom preset for each that maps his pad zones correctly — the hi-hat pedal controls the open/close articulation, the ride cymbal has bell and bow zones mapped to separate MIDI notes.
For a recent pop-rock session, the producer wanted a drum sound that felt live but controlled. He dialled in the Vintage Dry kit, reduced the room mic level by 8 dB to keep the close sound prominent, and added a slight velocity curve adjustment in the Edit page so his lighter hits sounded consistent. The producer received a stereo drum track that needed only a high-pass filter and a touch of compression in the mix. No replacement samples, no MIDI editing afterwards — just the performance captured with the right kit settings.
Before it goes on the Mac
- macOS 10.13 or later
- 64-bit Intel or Apple Silicon processor
- 64-bit operating system
Installing it on the Mac
- Place the main archive and all split archive parts in the same folder.
- Use an archive utility such as Keka to extract the first part of the split archive.
- Right-click the .zip.001 file, choose Open With, then select Keka.
Notes from the control room
Sign in or open a catalogue account to leave a note.
No notes from the room yet. If you have used this build for a week, a short note helps the next person.
Also filed under Logic Pro Plugins
The whole Logic Pro Plugins rack Addictive Keys1.7.3 Logic Pro Plugins 4.2 GB
 AIR Music Technology AIR Vocal FX Collection1.2.1 Logic Pro Plugins 218 MB
 AIR Music Technology Hype1.2.1 Logic Pro Plugins 801 MB
 Ample Sound Ample Guitar LP III4.0.1 Logic Pro Plugins 9.2 GB
 Arturia Efx AMBIENT1.0.0 Logic Pro Plugins 285 MB
 Arturia FX Collection2026.02 Logic Pro Plugins 16.1 GB
 Arturia V Collection 11 Pro2025.20.26 Logic Pro Plugins 53.8 GB
 BABY Audio Crystalline1.5 Logic Pro Plugins 107 MB