Home › Video › DaVinci Resolve Studio
DaVinci Resolve Studio 21.2 (Mac)
Updated
The catalogue note
DaVinci Resolve Studio 21.1 runs on macOS 15 on both Intel and Apple Silicon Macs, so it covers everything from an older Mac Pro to a MacBook Air with M2. It is a full post-production suite: editing, colour correction, visual effects, and audio mixing all live in one app, with 32-bit floating-point YRGB processing and HDR support. The tools are the same ones used in Hollywood, but the interface is laid out so a solo editor can work through a project without switching apps.
Who it is for:
- Editors who want timeline editing and colour grading in one place, without round-tripping between apps.
- Colourists working with HDR or wide gamut footage who need reliable 32-bit float processing.
- Sound people who can use Fairlight for dialogue cleanup, mixing, and mastering without leaving the project.
- VFX artists who need node-based compositing that stays linked to the edit.
- Independent filmmakers and small studios that want Hollywood-grade tools in a single application.
- Anyone on a Mac that runs macOS 15 who wants to consolidate post-production into one app.
Version 21.1 brings over 100 new tools and controls, plus AI assistant integration for tasks like organising media and batch rendering. It is a serious tool, but the learning curve is gentler than it used to be, and the workflow benefits are immediate.
Setting up a typical session, start to finish
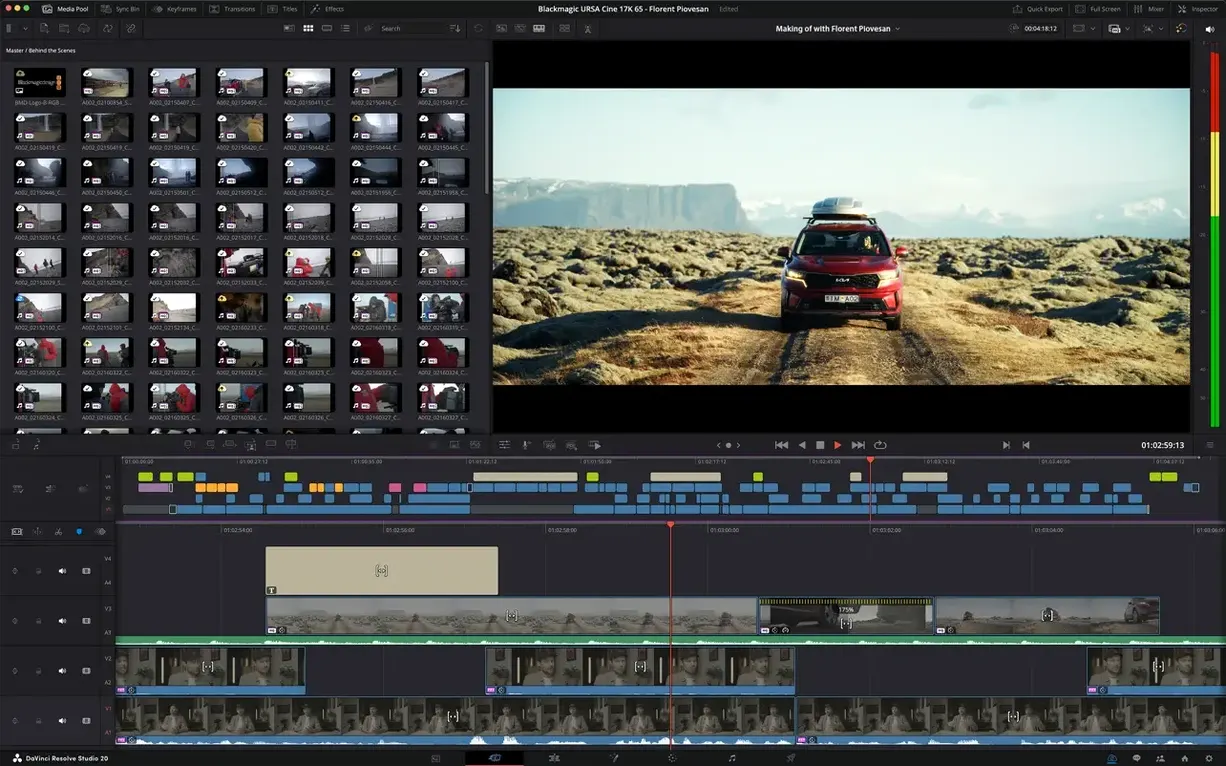
You launch DaVinci Resolve Studio, and the project manager opens. I create a new project, give it a name, and I am in the Edit page within seconds. The interface is clean: a source viewer on the left, timeline at the bottom, and a media pool on the top left. I drag a folder of ProRes clips into the media pool — no import dialogue, just drag and drop. The clips appear with thumbnails, duration, and format details.
From here, I start building a sequence. I select clips in the media pool, hit F9 to set an in point and F10 for an out point, then drag them to the timeline. The smart editing tools let me trim, ripple, and slip edits with the mouse or keyboard shortcuts. I add a couple of cross dissolves by selecting the edit point and pressing Command-T. It is fast, and I rarely need to reach for the Effects panel for basic transitions.
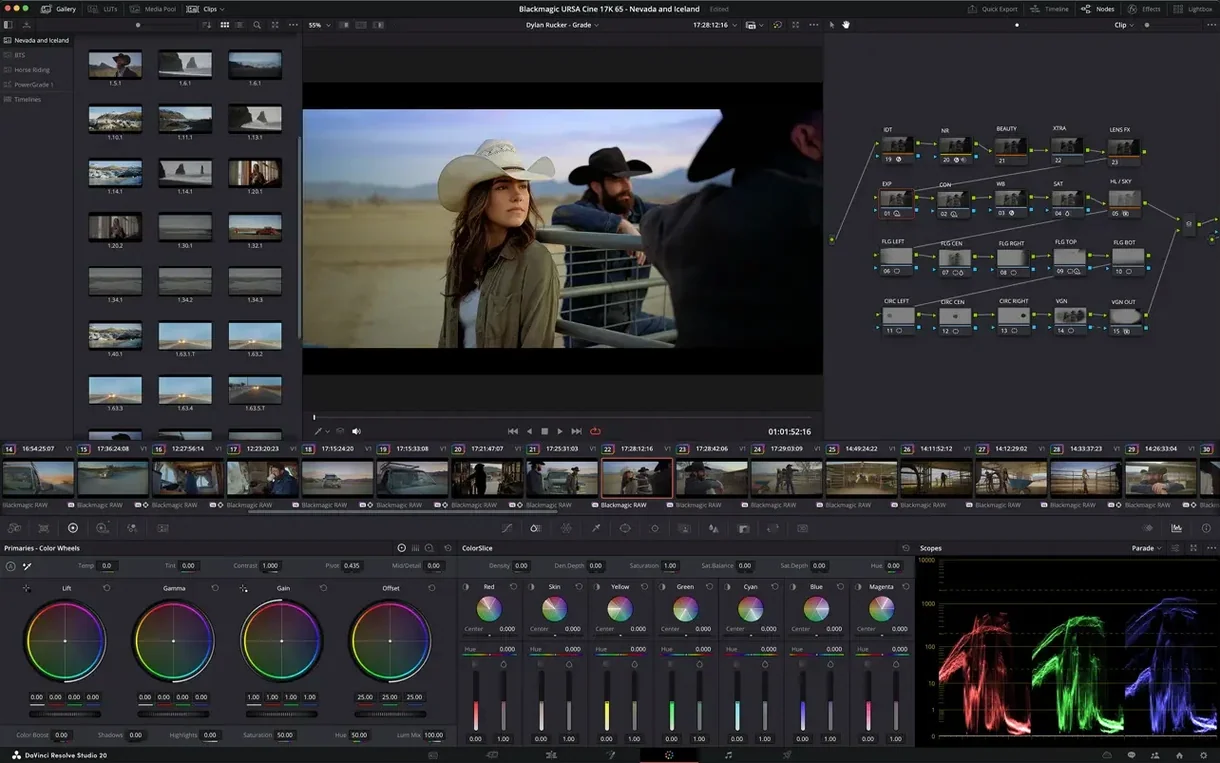
Once the edit is locked, I switch to the Color page. The node-based grading interface appears. I add a serial node for primary correction, adjust lift, gamma, and gain with the colour wheels, then add a parallel node for a power window to darken the sky. The 32-bit float processing means I can push the shadows without worrying about banding. I copy grades between shots using middle-click on the timeline thumbnails. It is a workflow I have used on features, and it works exactly the same here.
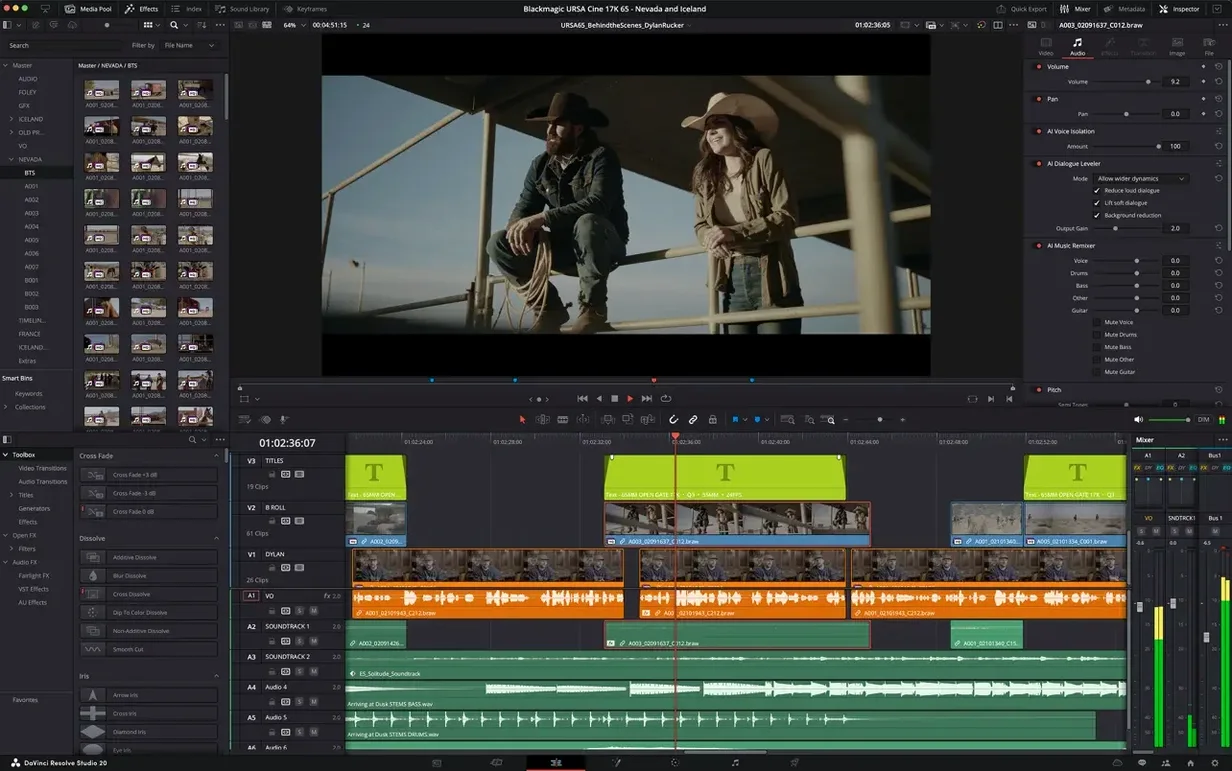
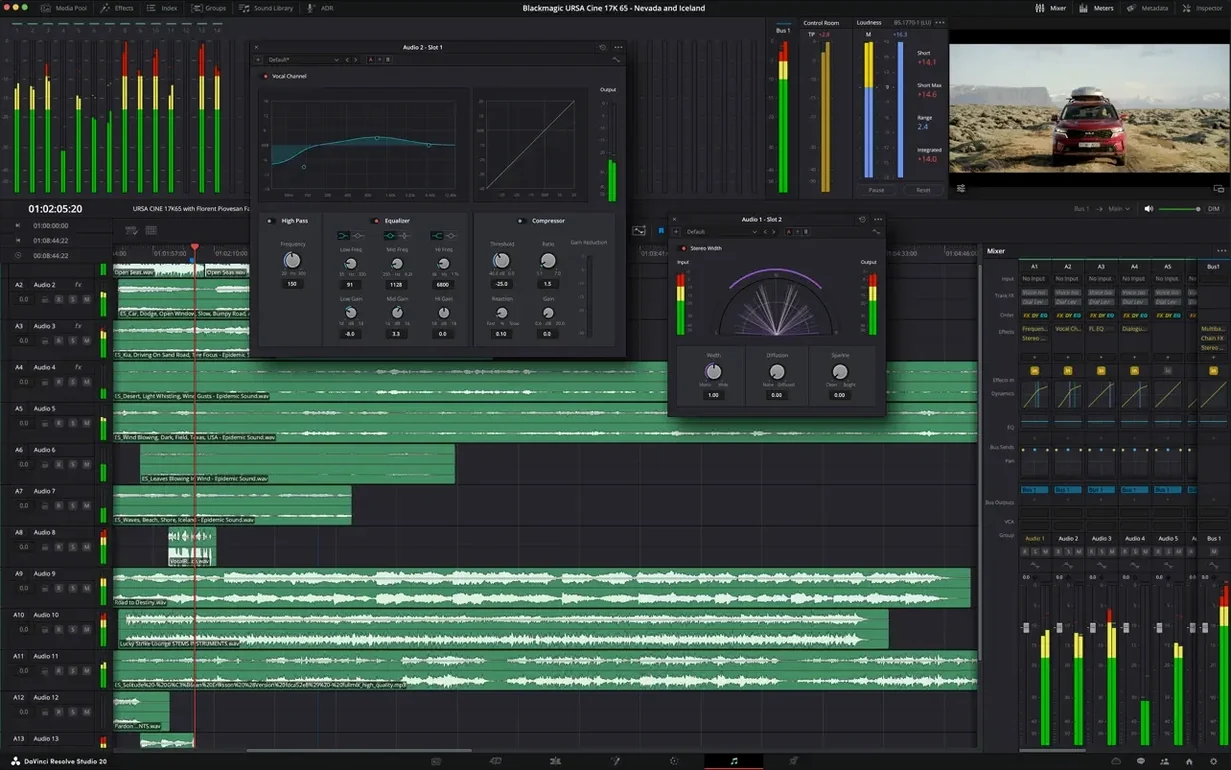
Next, I move to the Fairlight page for audio. The timeline from the Edit page carries over automatically. I adjust levels with the mixer, add a compressor to the dialogue track, and apply a noise reduction plugin from the Fairlight FX list. I can hear the changes in real time without rendering. I export a stereo mix as a 24-bit WAV file directly from the Deliver page.
Finally, I set up the Deliver page. I choose a YouTube preset, adjust the bitrate to 50 Mb/s, add a custom watermark, and hit Add to Render Queue. The AI assistant can batch render multiple timelines if I have a series of episodes. I let it run while I start the next project.
Import raw stills from the Photo page
DaVinci Resolve Studio has several small features that do not get the attention they deserve. The Photo page, updated in 21.1, now supports more camera formats. If you shoot raw stills alongside video, you can import them directly, adjust exposure and white balance, and use them in your timeline without converting first. It is a small thing, but it saves a step.
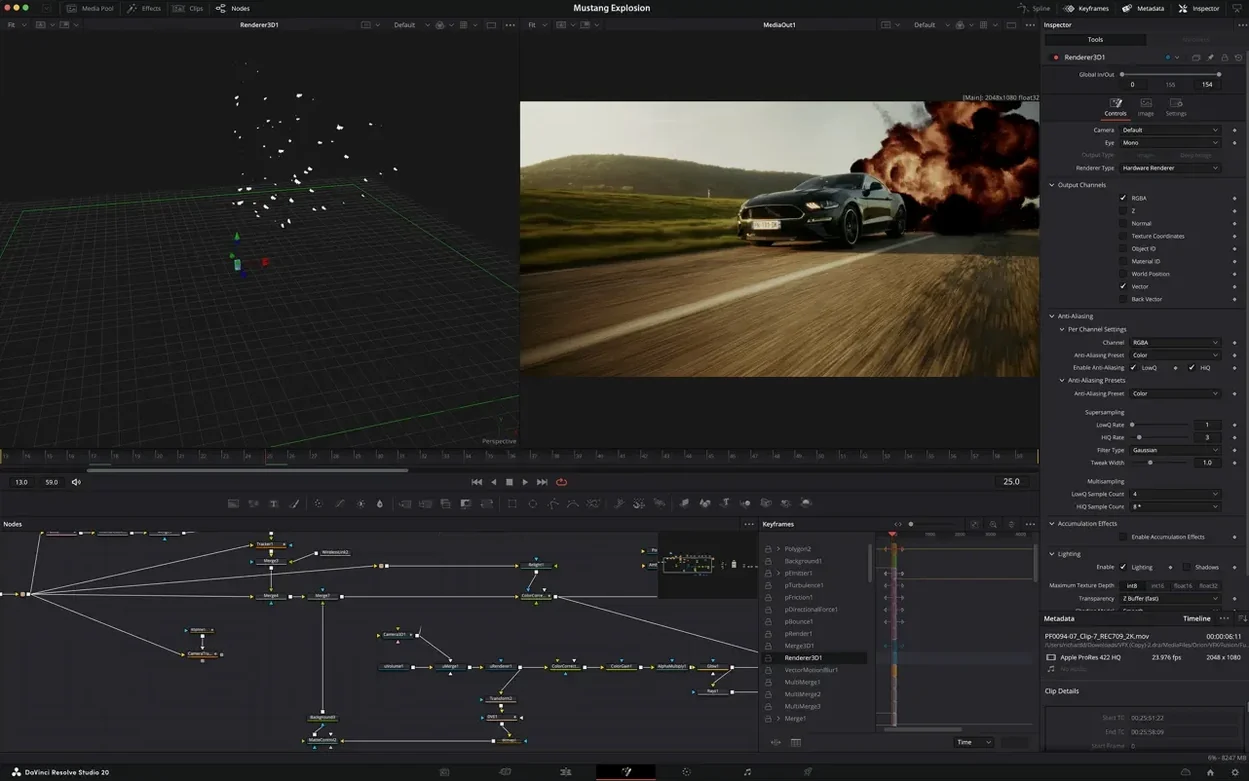
The Krokodove tools — over 25 new ones in this version — live in the Effects panel. They are node-based generators and filters that work inside Fusion. If you do visual effects or motion graphics, they are worth exploring. They are not buried; they appear in the same library as all other effects.
The built-in console for scripting APIs is another quiet addition. There are 20 new APIs in 21.1. You can write Python scripts to automate repetitive tasks, and the console gives you immediate feedback. It is not something every editor needs, but if you manage a large project with many timelines, it can save hours.
GPU-accelerated HTJ2K decoding using Kakadu means high-resolution JPEG 2000 files decode faster, especially on systems with a capable GPU. This matters if you work with cinema cameras that record in JPEG 2000 formats. On Apple Silicon, hardware-accelerated HEIC decoding is also supported, so iPhone HEIC photos and videos load without the software fallback.
macOS 15 and M-series hardware decoding supported
The system requirements are straightforward: macOS 15 or later, and both Intel and Apple Silicon architectures are supported. If you have a Mac with an M-series chip, the application will use the integrated media engine for hardware decoding of ProRes, H.264, and H.265. If you are on an Intel Mac with a dedicated AMD GPU, the software will use OpenCL or Metal for GPU acceleration. The 21.1 update also includes hardware-accelerated HEIC decoding on Apple Silicon, which is a specific optimisation for that architecture.
The application is large — expect several gigabytes of disk space for the installation and additional space for cache files and render data. It runs in Russian, English, Spanish, Simplified Chinese, Portuguese, French, and Japanese, so you can switch the interface language in preferences if needed. The activation guide is included in the package, so you do not need to search online for instructions.
Drag media from Finder and use macOS ColourSync
DaVinci Resolve Studio integrates well with the macOS ecosystem. You can import media from the Photos app directly, or drag files from Finder into the media pool. The application supports colour management through macOS ColourSync, so monitor calibration profiles are respected. If you use Final Cut Pro, you can export a project as an XML file and import it into Resolve for grading or finishing. The same applies to Premiere Pro projects via XML or AAF.
For audio, Fairlight can export stems as WAV or AIFF files that you can bring into Logic Pro or Pro Tools for further mixing. The Deliver page supports a wide range of codecs and containers, including ProRes, H.264, H.265, and DNxHD, so you can output files that work directly in Compressor or HandBrake if you need further compression.
On macOS, you can use Quick Look to preview rendered files from the Finder, and the application registers itself as a handler for common video formats. If you right-click a video file in Finder, you can open it directly in Resolve. The application also supports macOS Dark Mode, so the interface adapts to your system appearance.
Some users look for davinci resolve crack version for mac or davinci resolve studio 21 mac crack, but the application requires proper activation, and the installation guide in the package explains the process clearly. DaVinci Resolve Studio is a complete, professional-grade video editing and color grading suite for Mac users.
Adjust project save and load options in Preferences
When you first open DaVinci Resolve Studio, a few settings adjustments can make the experience smoother. Go to the Preferences menu under DaVinci Resolve Studio in the menu bar. In the General tab, set the project save and load options to auto-save every five minutes with version backups. This is standard practice, but it is not enabled by default.
In the User tab, under Editing, turn on "Show reference markers in timeline" if you work with stringouts or multicam clips. It helps with navigation. Also enable "Use FCP-style multicam editing" if you come from Final Cut Pro — it changes the keyboard shortcuts to match that workflow.
In the Media Storage tab, add the folders where you keep your footage and renders. This lets the media pool scan those locations automatically. In the Decode Options tab, enable "Use GPU for Red decode" if you work with Red footage and have a compatible GPU. For ProRes, the Apple Silicon media engine handles it automatically.
Finally, in the Color tab, set the colour management to DaVinci YRGB Color Managed if you work with mixed footage formats. It simplifies matching different cameras. Leave the timeline colour space set to Rec. 709 for standard delivery, or switch to Rec. 2020 for HDR projects. These changes take effect immediately and apply to all new projects.
Changes in this build
Resolve 21.2 has landed with a round of fixes across the board — playback, editing, colour and Fairlight all get attention in this update.
Before it goes on the Mac
- macOS 15 or later
- Apple Silicon or Intel 64‑bit
Questions from the room
Does DaVinci Resolve Studio 21.1 work on Intel Macs?
Yes, the current version supports both Intel and Apple Silicon Macs, as long as the machine runs macOS 15.
Installing it on the Mac
- Open the package and follow the installer.
- Use the activation guide included in the package to complete setup.
Notes from the control room
Sign in or open a catalogue account to leave a note.
No notes from the room yet. If you have used this build for a week, a short note helps the next person.