
Infuse Pro 8.5.5 (Mac)
Updated
The catalogue note
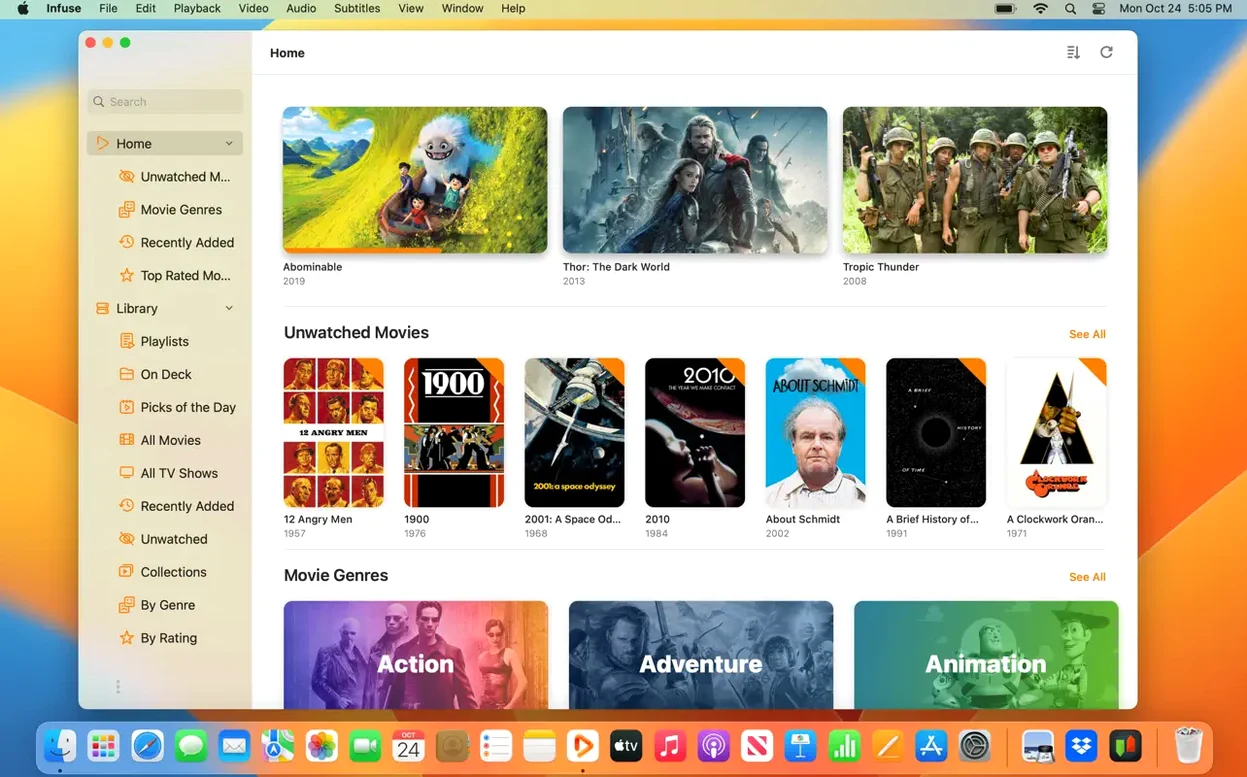
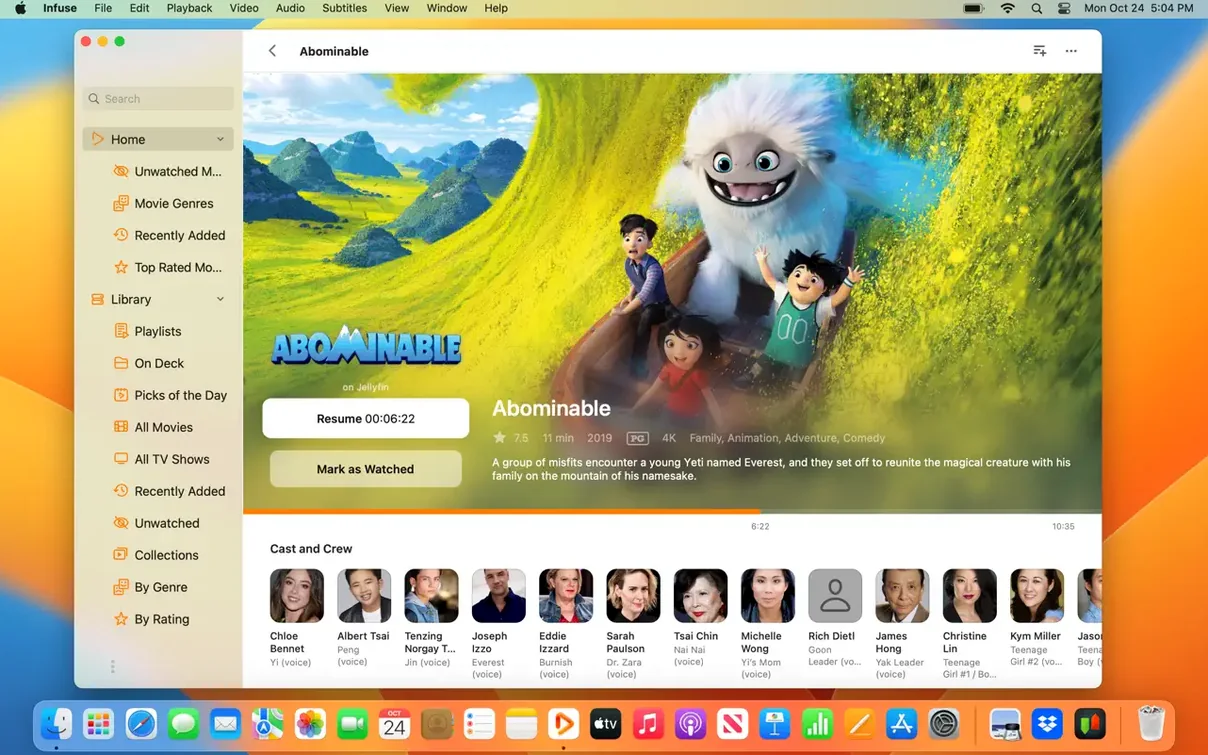
Over a dozen video formats, from MKV and ISO to WebM and WTV, play without conversion in Infuse Pro 8.5.5 — a video player built for macOS and the broader Apple ecosystem. The app connects directly to Mac, PC, NAS storage over SMB, NFS, FTP, and WebDAV, and also streams from Plex, Emby, Jellyfin, Dropbox, Google Drive, OneDrive, Box, pCloud, Yandex.Disk, and Mega.nz. For anyone managing a local library across multiple devices, the native iCloud sync preserves watched status, the in-progress queue, and the full library structure. Trakt integration adds watched history, ratings, and comments synced across services.
| Detail | Info |
|---|---|
| Current version | 8.5.5 (16 September 2026) |
| macOS support | macOS 12 and later, Apple Silicon and Intel 64-bit |
| Interface languages | 36 languages including English, German, Spanish, French, Japanese, Chinese |
| Connection protocols | SMB, NFS, FTP, WebDAV |
For the user who juggles a NAS library, a Plex server, and cloud files, Infuse Pro removes the need to transcode or reorganise. The focus stays on playback, not pre-processing.
Adjust these settings after first launch
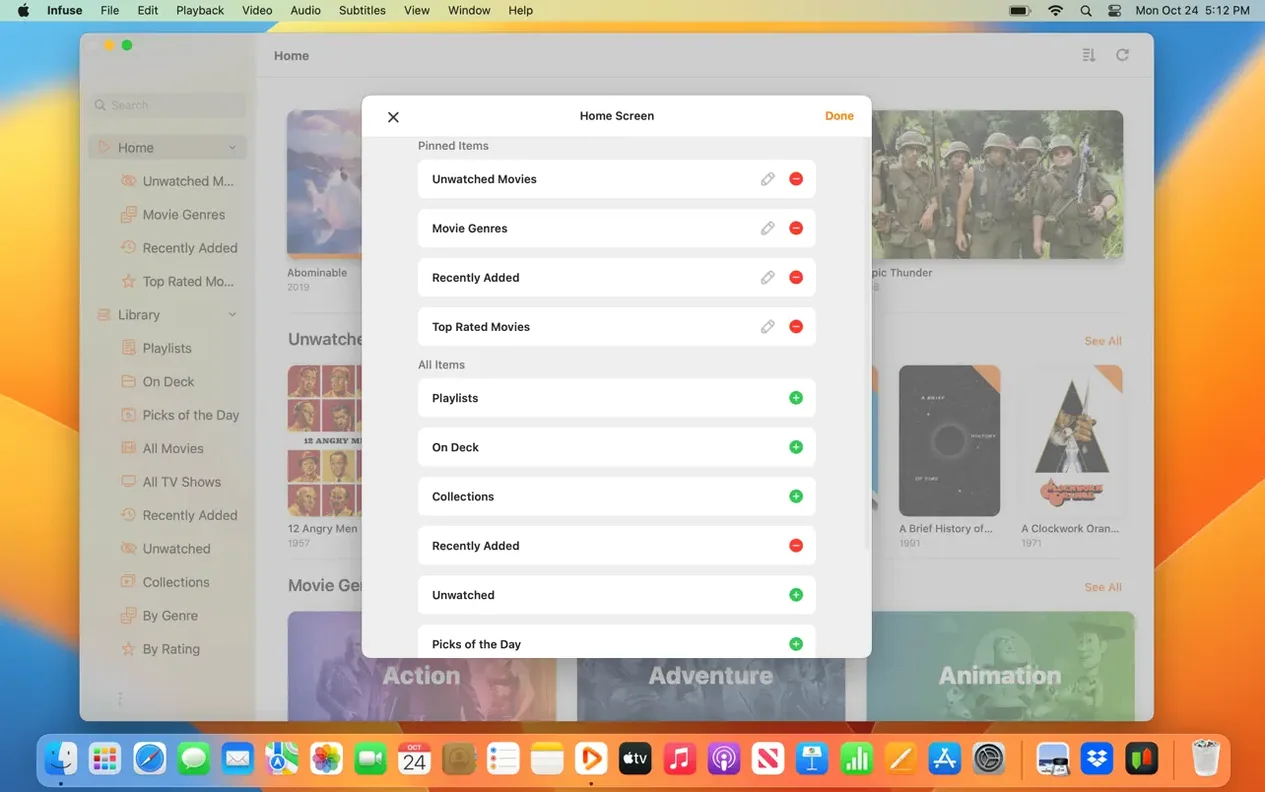
After the first launch, the default settings work for basic playback, but a few adjustments make the player behave the way you expect from a dedicated library tool. Open the preferences from the menu bar and check these:
- Library and metadata — Infuse can fetch artwork and descriptions from the internet. If you prefer local control, disable automatic metadata download. For a cleaner library view, enable the option to group files into folders by type.
- Audio output — If your system supports Dolby Digital Plus or DTS-HD passthrough, set the audio output to the appropriate option. The default downmixes to stereo, which wastes the audio track on a home theatre setup.
- Subtitle defaults — Pick a preferred language for subtitles and decide whether they appear on by default. Infuse remembers this per file, so setting it once saves time later.
- iCloud sync — Infuse Pro enables native iCloud sync. Turn it on immediately if you use multiple Apple devices. Without it, watch progress and the queue stay local to this Mac.
Load subtitles on the fly without leaving playback
Infuse Pro packs features that are not obvious from the main interface but save effort once found. The facts sheet lists the capabilities; here are the ones worth knowing early:
- On-the-fly subtitle loading — You can load a subtitle file from any folder during playback. The app does not require the subtitle to be named identically to the video file. Drag a .srt or .ass file onto the player window and it switches immediately.
- OpenSubtitles integration — If your library lacks subtitles, the app can search OpenSubtitles directly. No need to download files manually and match them to folders.
- Trakt sync — Beyond watched history, Trakt syncs your ratings and comments. If you maintain a Trakt collection, this keeps your Mac library in step with other clients.
- Cloud storage direct browsing — The app lists Dropbox, Google Drive, OneDrive, Box, pCloud, Yandex.Disk, and Mega.nz as sources. You do not need to download files to your Mac first; Infuse streams them directly.
- Multiple network protocols — SMB, NFS, FTP, and WebDAV are all supported. If your NAS uses NFS rather than SMB, Infuse handles it without extra software.
Add your primary media source first
Getting comfortable with Infuse Pro takes a few sessions. These tips are based on common setup friction, not on any timed tests.
- Add your primary source first — Whether it is a NAS share or a cloud folder, add one source and let Infuse scan it completely before adding more. This avoids a long initial scan that mixes metadata from multiple locations.
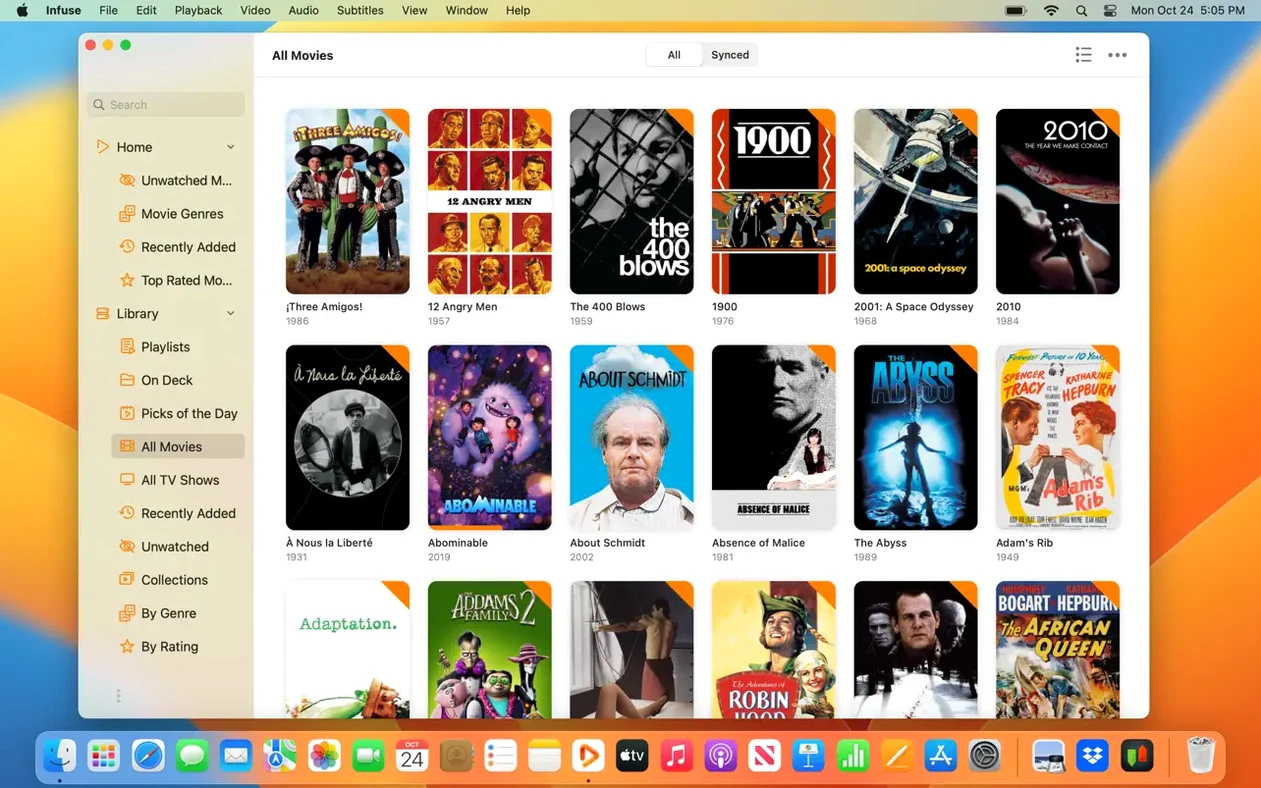
- Set the library view — The default view shows files in a flat list. Switch to the poster or list view from the view menu for a layout that matches your preference. The library groups series and seasons automatically if the files are named consistently.
- Check playback controls — During playback, the on-screen controls include a speed slider, an audio track selector, and a subtitle track selector. Familiarise yourself with these before you need them mid-scene.
- Use the in-progress queue — When iCloud sync is enabled, stopping a movie on your Mac and resuming it on an iPad or Apple TV picks up where you left off. This works across all Apple devices running Infuse.
- Test a single file from each source — Before importing a large library, play one file from each connected source to verify the connection works and the audio/video track plays correctly. This catches permission or format issues early.
Best for users with a large video library or NAS
Infuse Pro is not aimed at someone who watches the occasional YouTube link. Its value scales with the complexity of the video library. The users who benefit most include:
- NAS owners — If you store movies and TV shows on a Synology, QNAP, or other NAS, Infuse connects over SMB or NFS without needing a media server. The app reads the files directly, so there is no transcoding overhead on the NAS.
- Plex, Emby, or Jellyfin users — Infuse can connect to these servers and play files in their original formats. This is useful when the server's built-in player struggles with a particular codec or container.
- Multi-device households — With iCloud sync, a library on a Mac can be resumed on an Apple TV or iPad. The watched status and queue stay consistent without manual tracking.
- People with mixed-format archives — If your collection includes ISO disc images, MKV files, WMV clips from old projects, and WebM downloads, Infuse plays them all without conversion. No need to maintain multiple players for different formats.
- Cloud-first users — For those who store video in Dropbox, Google Drive, or OneDrive, Infuse streams directly. You do not need to download files to local storage before watching.
Start an episode on Mac and finish on Apple TV without losing progress
This workflow assumes a NAS on the local network and an Apple TV in another room. The goal is to start an episode on the Mac and finish it on the Apple TV without losing the watched state.
- Add the NAS share on the Mac — Open Infuse, go to the sources section, and add a new shared folder. Choose SMB, enter the NAS IP address and credentials, then select the folder containing the series. Infuse scans the folder and groups episodes into seasons based on file names.
- Enable iCloud sync — In preferences, turn on iCloud sync. This links the library, watched status, and in-progress queue to your iCloud account. Do this before playing anything.
- Start playback on the Mac — Browse to the series, pick an episode, and play it. If the episode has multiple audio tracks, select the one you want from the playback controls. Infuse remembers this choice per file.
- Stop playback mid-episode — Close the player window or switch to another app. Infuse saves the position automatically. The episode appears in the in-progress queue.
- Open Infuse on Apple TV — With the same iCloud account signed in, launch Infuse on the Apple TV. The library appears with the same structure and metadata. The in-progress queue shows the episode you stopped on the Mac.
- Resume from the saved position — Select the episode from the queue. Infuse starts playback at the exact second you stopped on the Mac. The audio track and subtitle selection carry over as well.
This sequence works with any Apple device running Infuse — iPhone, iPad, or Vision Pro — as long as iCloud sync is enabled on all of them. The NAS connection does not need to be re-entered on each device; the source configuration syncs through iCloud too.
Changes in this build
Before it goes on the Mac
- macOS 12 or later
- Apple Silicon or Intel 64-bit processor
Questions from the room
Does Infuse Pro support cloud storage directly?
Yes, it streams from Dropbox, Google Drive, OneDrive, Box, pCloud, Yandex.Disk, and Mega.nz without downloading files first.
Installing it on the Mac
- Open the downloaded disk image.
- Drag the app into the Applications folder shortcut.
- Launch the app from Launchpad after the copy finishes.
Notes from the control room
Sign in or open a catalogue account to leave a note.
No notes from the room yet. If you have used this build for a week, a short note helps the next person.