Motion 6.3 (Mac)
Updated
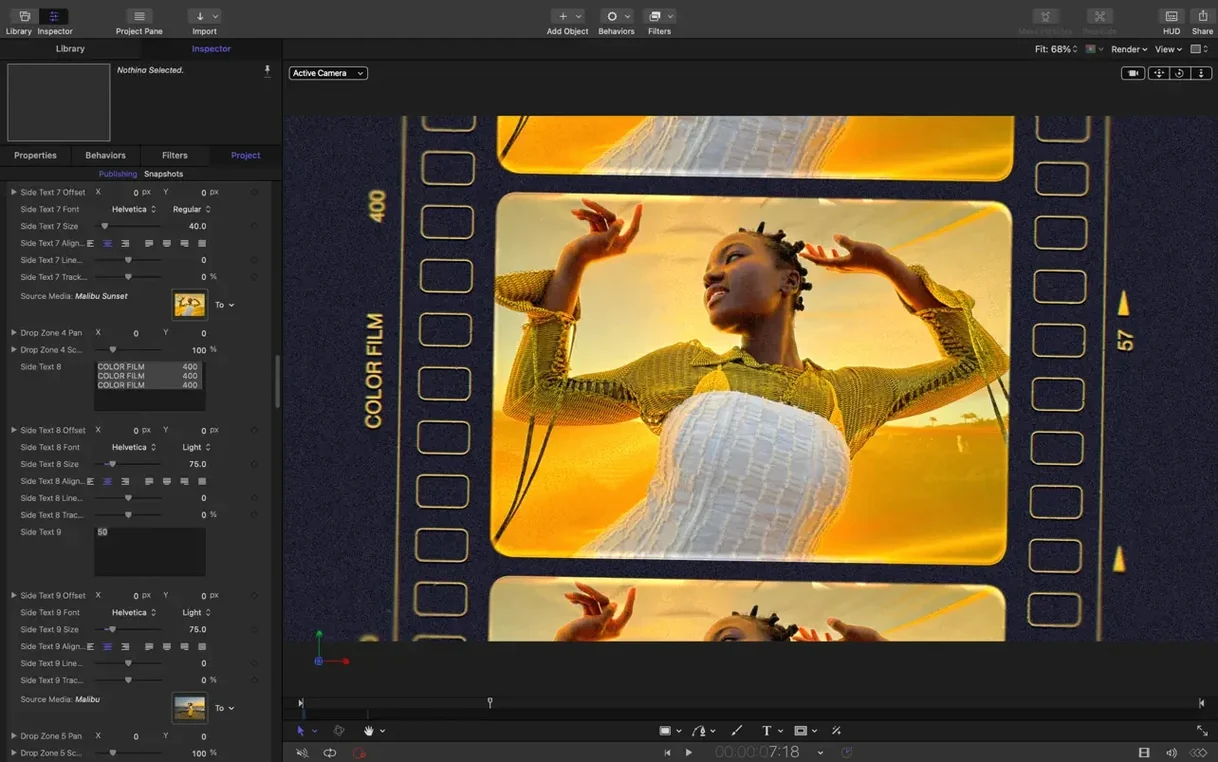
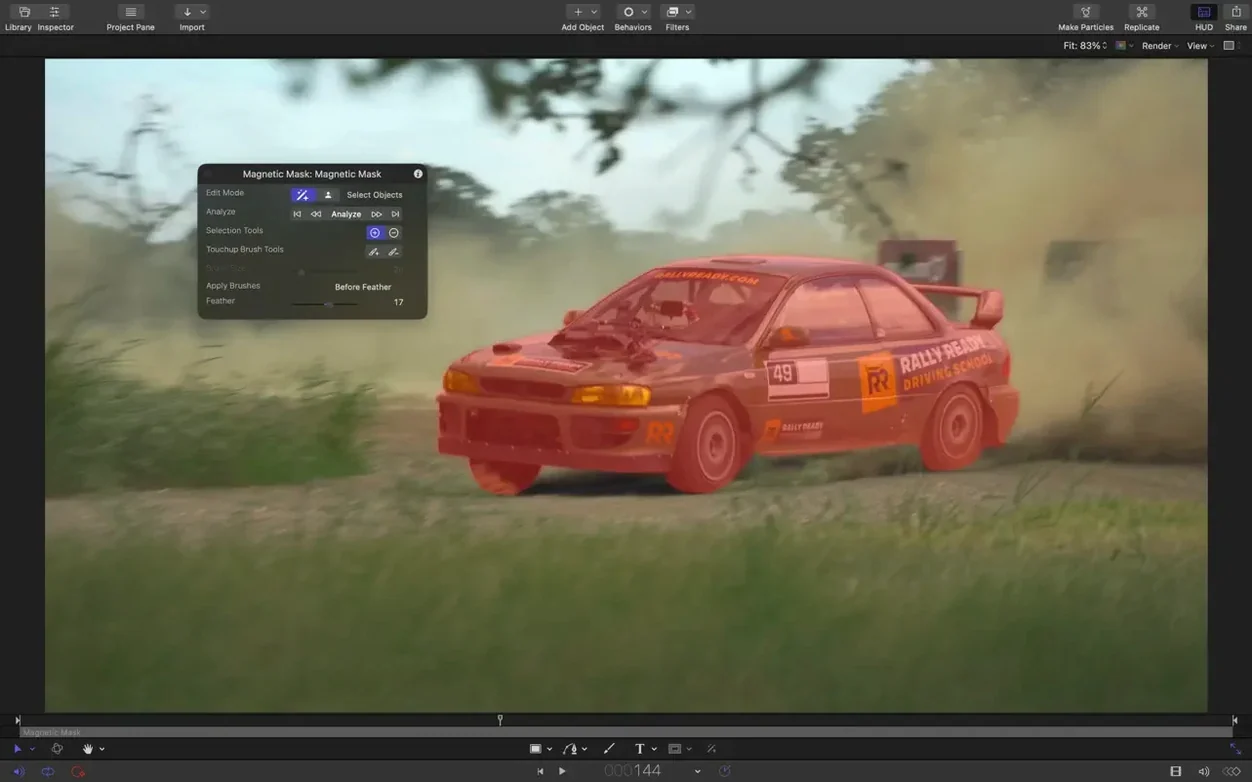
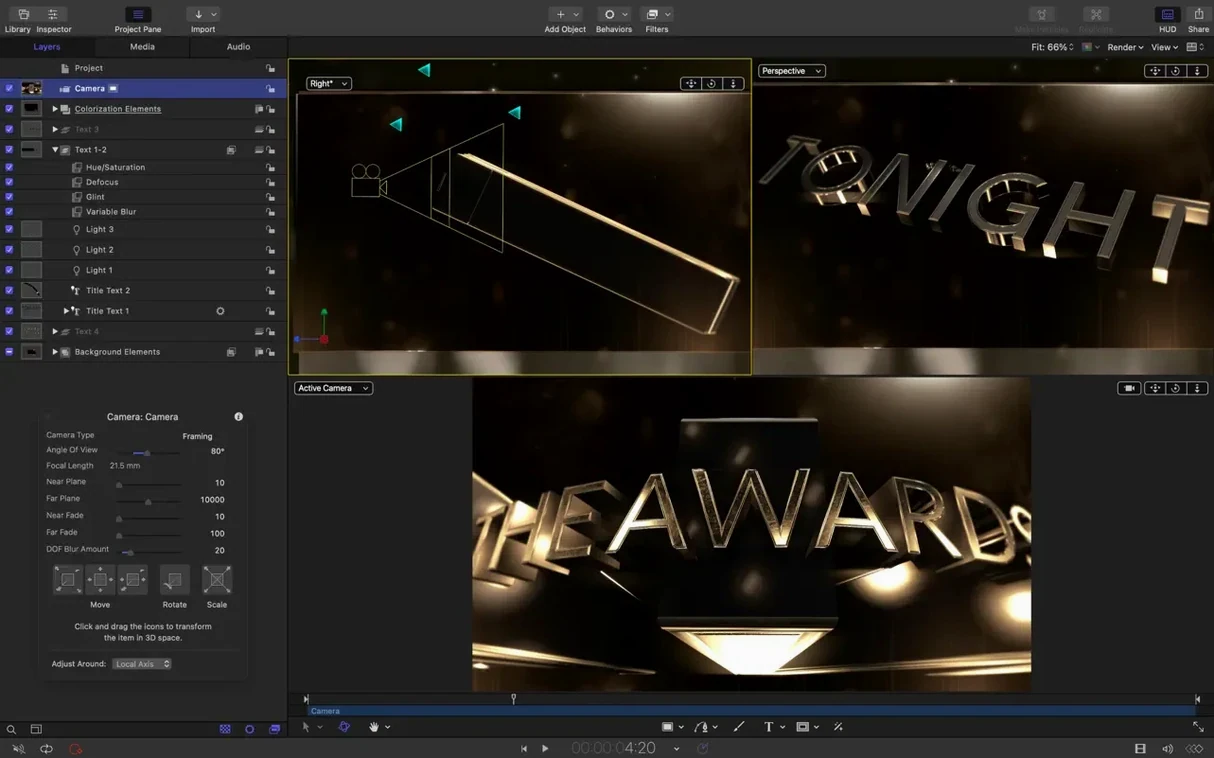
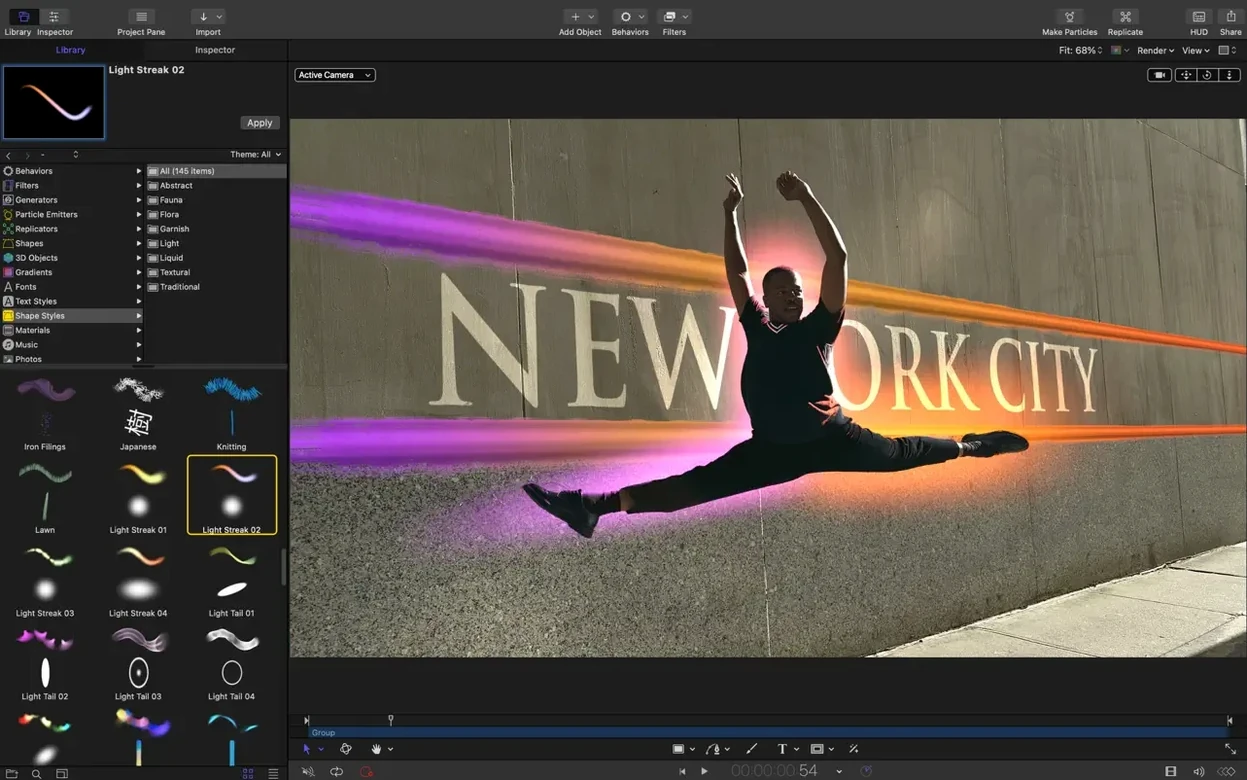
The catalogue note
You are building a title sequence for a short film. The client wants a 3D wordmark that resolves into crisp vector shapes at any resolution. That sort of work is what Apple Motion does: it is a motion graphics app built for the Mac, designed to sit alongside Final Cut Pro and produce titles, transitions, effects, and generators.
| Detail | Specification |
|---|---|
| Developer | Apple |
| Current version | 6.3 |
| Category | Video / Motion Graphics |
| macOS requirement | macOS 15.6 or later |
| Architecture | Intel and Apple Silicon |
| Languages | English, German, Spanish, Simplified Chinese, French, Japanese |
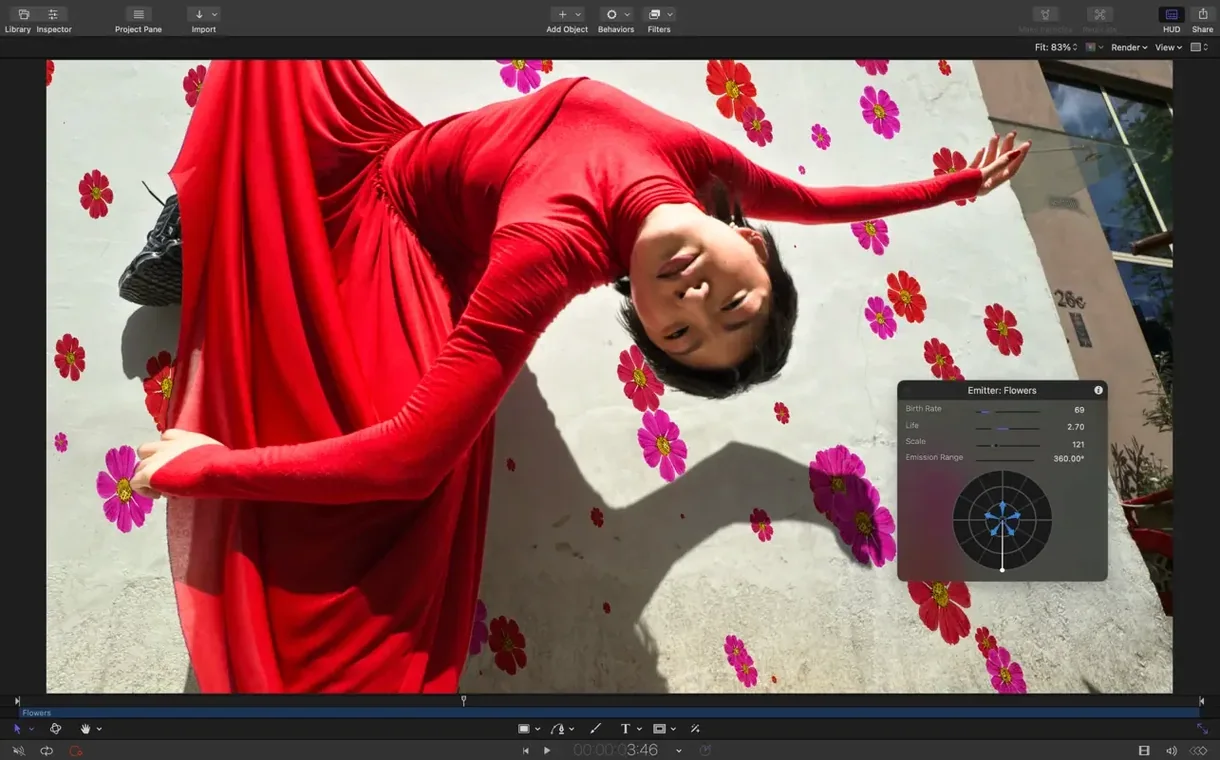
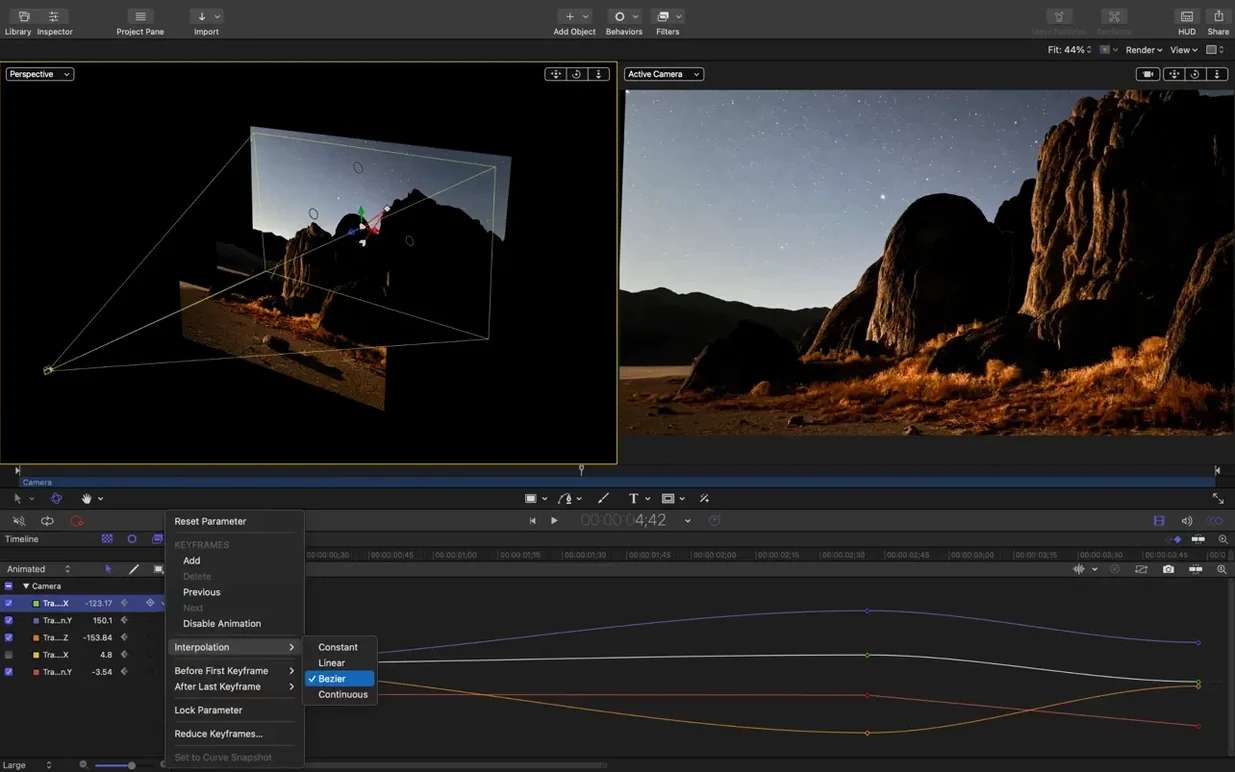
Motion 6.3 adds SVG import, which means you can drop vector artwork straight into a project and scale it without losing sharpness — useful when you need logos or illustrated elements that hold up at 4K and beyond. New clip controls let you stagger, cascade, or reverse a stack of clips in the timeline, saving you from arranging them by hand. The update also fixes a handful of playback issues: 3D text and particle emitters that used the wrong texture media during playback now behave correctly, and colour correction filters that rendered brighter on macOS 26 now match earlier releases. Bezier Mask vertex selection works again. Performance updates are present across the board. If you work in television, film, or any project that needs polished motion graphics, this is the tool that does it.
Workflow: building a title card from SVG to final cut
Here is a realistic task — a 3D title card for a presentation intro — done start to finish in Motion 6.3.
- Import the vector logo. Drag an SVG file into the project library. Because Motion now handles SVG natively, the logo appears as a sharp group of shapes. You can scale it to fill the frame; no resolution loss, no pre-rendering in Illustrator.
- Add 3D text. Use the text tool to type the presentation title. In the Text Inspector, switch on 3D extrusion and choose a depth that matches the logo's weight. The extrusion updates in real time.
- Stagger the elements. Select the logo group and the text layer in the timeline. Use the new cascade control — set a small delay between layers so the logo flies in first, then the text follows. The stagger, cascade and reverse controls are right there in the clip context menu, no manual offset tweaking.
- Apply a transition. Drop a Motion-built transition (for instance, a directional blur wipe) onto the timeline between this title card and the next clip. Because Motion integrates with Final Cut Pro, you can export this project as a .moti template and use it directly in Final Cut's Titles browser.
- Check playback. Scrub through the timeline. The particle emitter that adds a subtle dust effect behind the text uses the correct texture media — the fix in 6.3 means no missing frames. Colour correction filters look identical to what you'd see in an older macOS project.
- Send to Compressor. When you're satisfied, send the project to Apple Compressor for final encoding. The integration is a single menu command.
The whole sequence takes about twenty minutes, most of it spent on the 3D text depth and the cascade timing. The SVG import alone cuts out the step where you'd otherwise rasterise vector art in Photoshop.
SVG support changes broadcast workflow
The everyday changes in Motion 6.3 are small but practical. If you already used Motion for broadcast work, the SVG support is the feature you notice first: logos and illustrations that previously arrived as pixel-based files now stay vector-accurate. That matters when a client sends an .svg of their brandmark and you need it to look the same at 1920×1080 and 3840×2160.
The new clip stagger, cascade and reverse controls affect how you organise multiple layers. Before 6.3, you'd drag each clip to a different position in the timeline or keyframe the start times. Now you select the stack, pick a stagger value, and Motion spaces them automatically. The reverse option flips the order of the selected clips, which is handy for building symmetrical animations.
Three fixes address specific annoyances. Bezier Mask vertex selection now responds to drags — that broke in an earlier release and made fine mask adjustments frustrating. 3D text and particle emitters no longer display the wrong texture media during playback; if you work with extruded text and emitter-heavy scenes, you'll see fewer glitches. Colour correction filters that rendered brighter on macOS 26 now match the output from earlier systems, so colour grading stays consistent when you upgrade the OS.
Performance updates are mentioned but unspecified. In practice, the app feels responsive during scrubbing and parameter changes. No frame drops that weren't there before.
Building a 30-second commercial from an SVG
You sit down after lunch. The project is a thirty-second commercial spot for a local business. You have the client's logo as an SVG and a voiceover file.
Drag the SVG into the canvas. Scale it up to 120 per cent — no pixelation, the curves stay clean. Add a text layer for the tagline below the logo, apply a gentle 3D extrusion, and set the extrusion colour to match the brand palette.
You import the voiceover into the timeline. The waveform appears. You mark a few cue points where the animation should sync: logo appears at 0:00, tagline fades in at 0:03, a subtle particle effect (sparkles) starts at 0:05. You apply the particle emitter to a new layer, choose the "Sparkle" preset from the library, and adjust its birth rate in the Inspector.
Now the stagger. You select both the logo and the text layers, open the clip controls, and set a cascade with a 0.2-second delay. The logo moves first, the text follows. You reverse the order just to see how it looks — nope, the original order works better.
You preview the full timeline. The 3D text uses the correct texture media throughout. The colour correction filter you applied to the background gradient renders exactly as it did on your colleague's older Mac. You export a .moti file for Final Cut Pro, drop it into the commercial's timeline there, and adjust the duration. Done.
The session took about an hour, including the time spent experimenting with the cascade timing.
Motion runs standalone without Final Cut Pro
Do I need Final Cut Pro to use Motion?
No. Motion runs as a standalone application. You can create motion graphics, titles, transitions and effects and export them as movies or image sequences. The tight integration with Final Cut Pro and Apple Compressor is a bonus, not a requirement.
Can I open After Effects projects in Motion?
No. Motion uses its own project format (.motn) and does not import After Effects compositions. You can bring in common media formats — QuickTime, ProRes, SVG, PNG, TIFF, PSD — but the project structure is native. If you are migrating from After Effects, you rebuild the composition in Motion.
Is Motion suitable for 3D work?
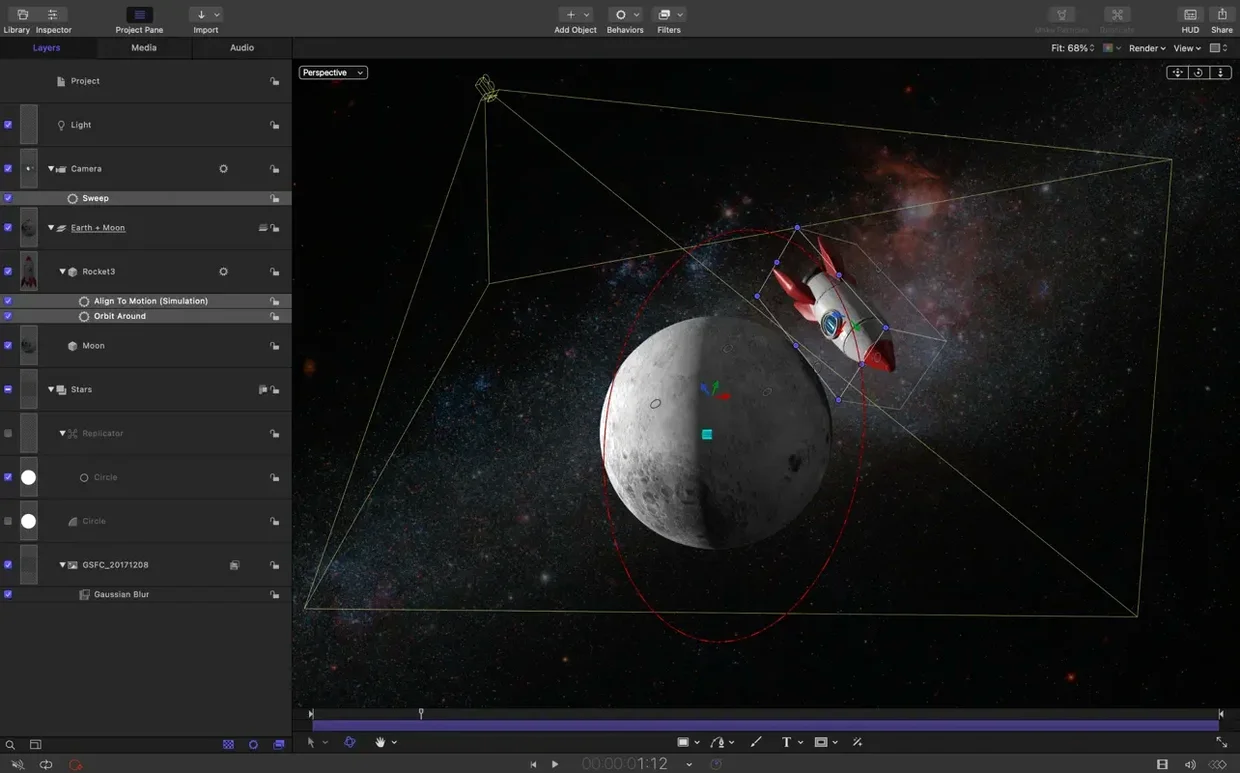
It handles 2.5D and basic 3D. You can extrude text, position layers in 3D space, add cameras and lights, and create depth-of-field effects. It is not a replacement for Cinema 4D or Blender — the 3D is designed for motion graphics, not full scene rendering.
What about performance on older Intel Macs?
Motion 6.3 runs on Intel 64-bit Macs with macOS 15.6 or later. Performance depends on your GPU and RAM. For heavy particle or 3D text scenes, a Mac with discrete graphics helps. The current version includes performance updates that improve responsiveness across both architectures.
Can I use SVG files from any source?
Yes. If the SVG file is well-formed and uses standard vector paths, Motion imports it. Logos, icons, illustrations — all work. Some SVG files with complex filters or embedded raster images may not render perfectly. Test a sample before committing.
How does the stagger/cascade control work?
Select multiple clips in the timeline. In the clip context menu, choose a stagger or cascade option. You set a delay value (in seconds or frames). Motion offsets the start times of the selected clips by that amount. The reverse option flips the order. It is a time-saver for multi-layer animations.
Daily lower-thirds for a news programme
A broadcast designer at a regional TV station needs to produce lower-thirds for a daily news programme. The station uses Final Cut Pro for editing, and the designer builds the graphics in Motion.
The workflow is repetitive: each lower-third shows the reporter's name, a title and a location. Before 6.3, the designer created each lower-third manually, positioning the text, adjusting the animation curves and exporting a template. With SVG import, the station's logo — a complex vector crest — now stays sharp at any size. The designer imports the logo once and reuses it across all templates.
The new clip controls help with the animation timing. The designer selects the three text layers (name, title, location), sets a cascade with a 0.15-second delay, and the layers animate in sequence automatically. No more keyframing each start time. The fix for colour correction filters means the lower-third's background gradient matches the on-air look, even on the station's newer Macs running macOS 26.
The designer estimates the update saves about ten minutes per lower-third template. Over a week of producing twenty templates, that adds up to over three hours saved. The templates export as .moti files and appear in Final Cut Pro's Titles browser, ready for the editors to drag onto the timeline.
Changes in this build
- Import SVG files that scale to any size and stay sharp at any resolution.
- New controls to stagger, cascade, or reverse clips in the timeline.
- General performance updates.
- Fixed Bezier Mask vertex selection.
- Fixed incorrect texture media during playback for some 3D text and particle emitters.
- Fixed brighter rendering for some colour correction filters on macOS 26.
Before it goes on the Mac
- macOS 15.6 or later
- Intel or Apple Silicon processor
Questions from the room
Can I use Apple Motion without Final Cut Pro?
Yes. Motion works as a standalone app, but it is designed to exchange projects and templates with Final Cut Pro, so it fits naturally into a Final Cut workflow.
Does Motion support Intel Macs?
Yes, Motion runs on both Intel and Apple Silicon Macs as long as you are on macOS 15.6 or later.
What is new in Motion 6.3?
Motion 6.3 adds SVG import, clip staggering and cascading controls, performance updates, and fixes for 3D texture playback, colour correction rendering, and Bezier Mask selection.
Installing it on the Mac
- Open the downloaded disk image.
- Drag the app into the Applications folder alias.
- Once the copy finishes, open the app from Launchpad.
Notes from the control room
Sign in or open a catalogue account to leave a note.
No notes from the room yet. If you have used this build for a week, a short note helps the next person.