Home › Utilities › VideoProc Converter

Updated
The catalogue note
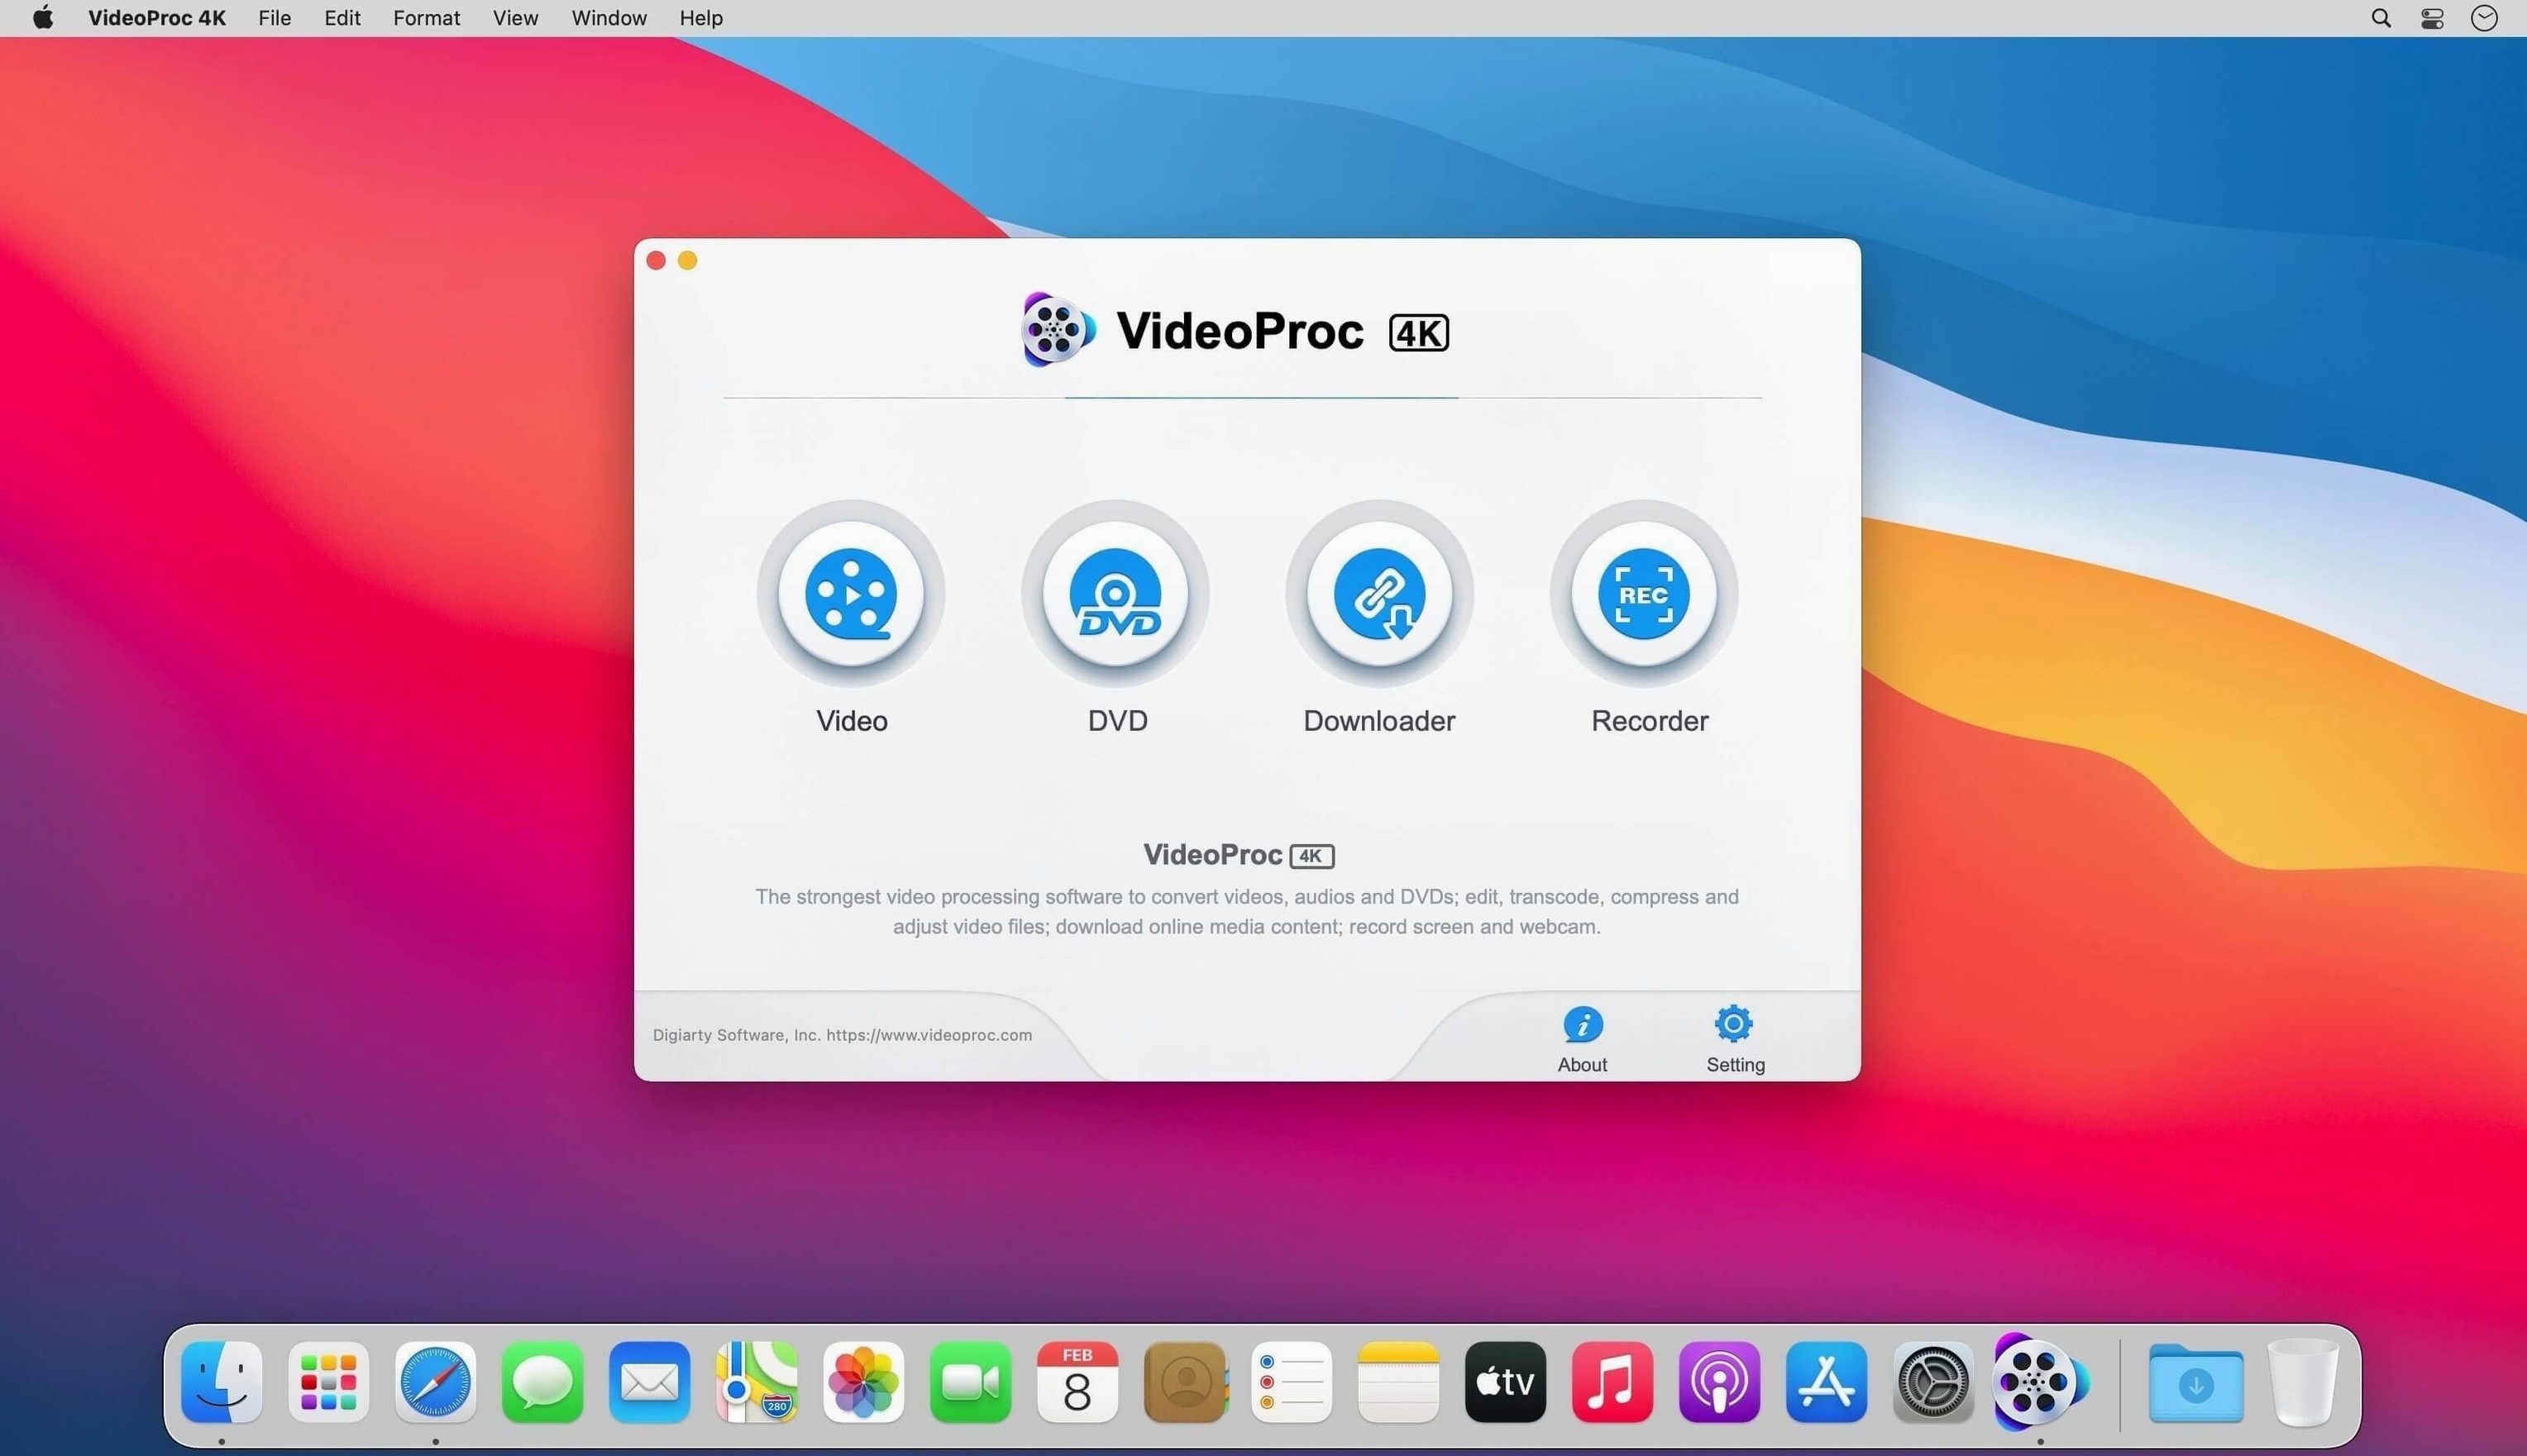
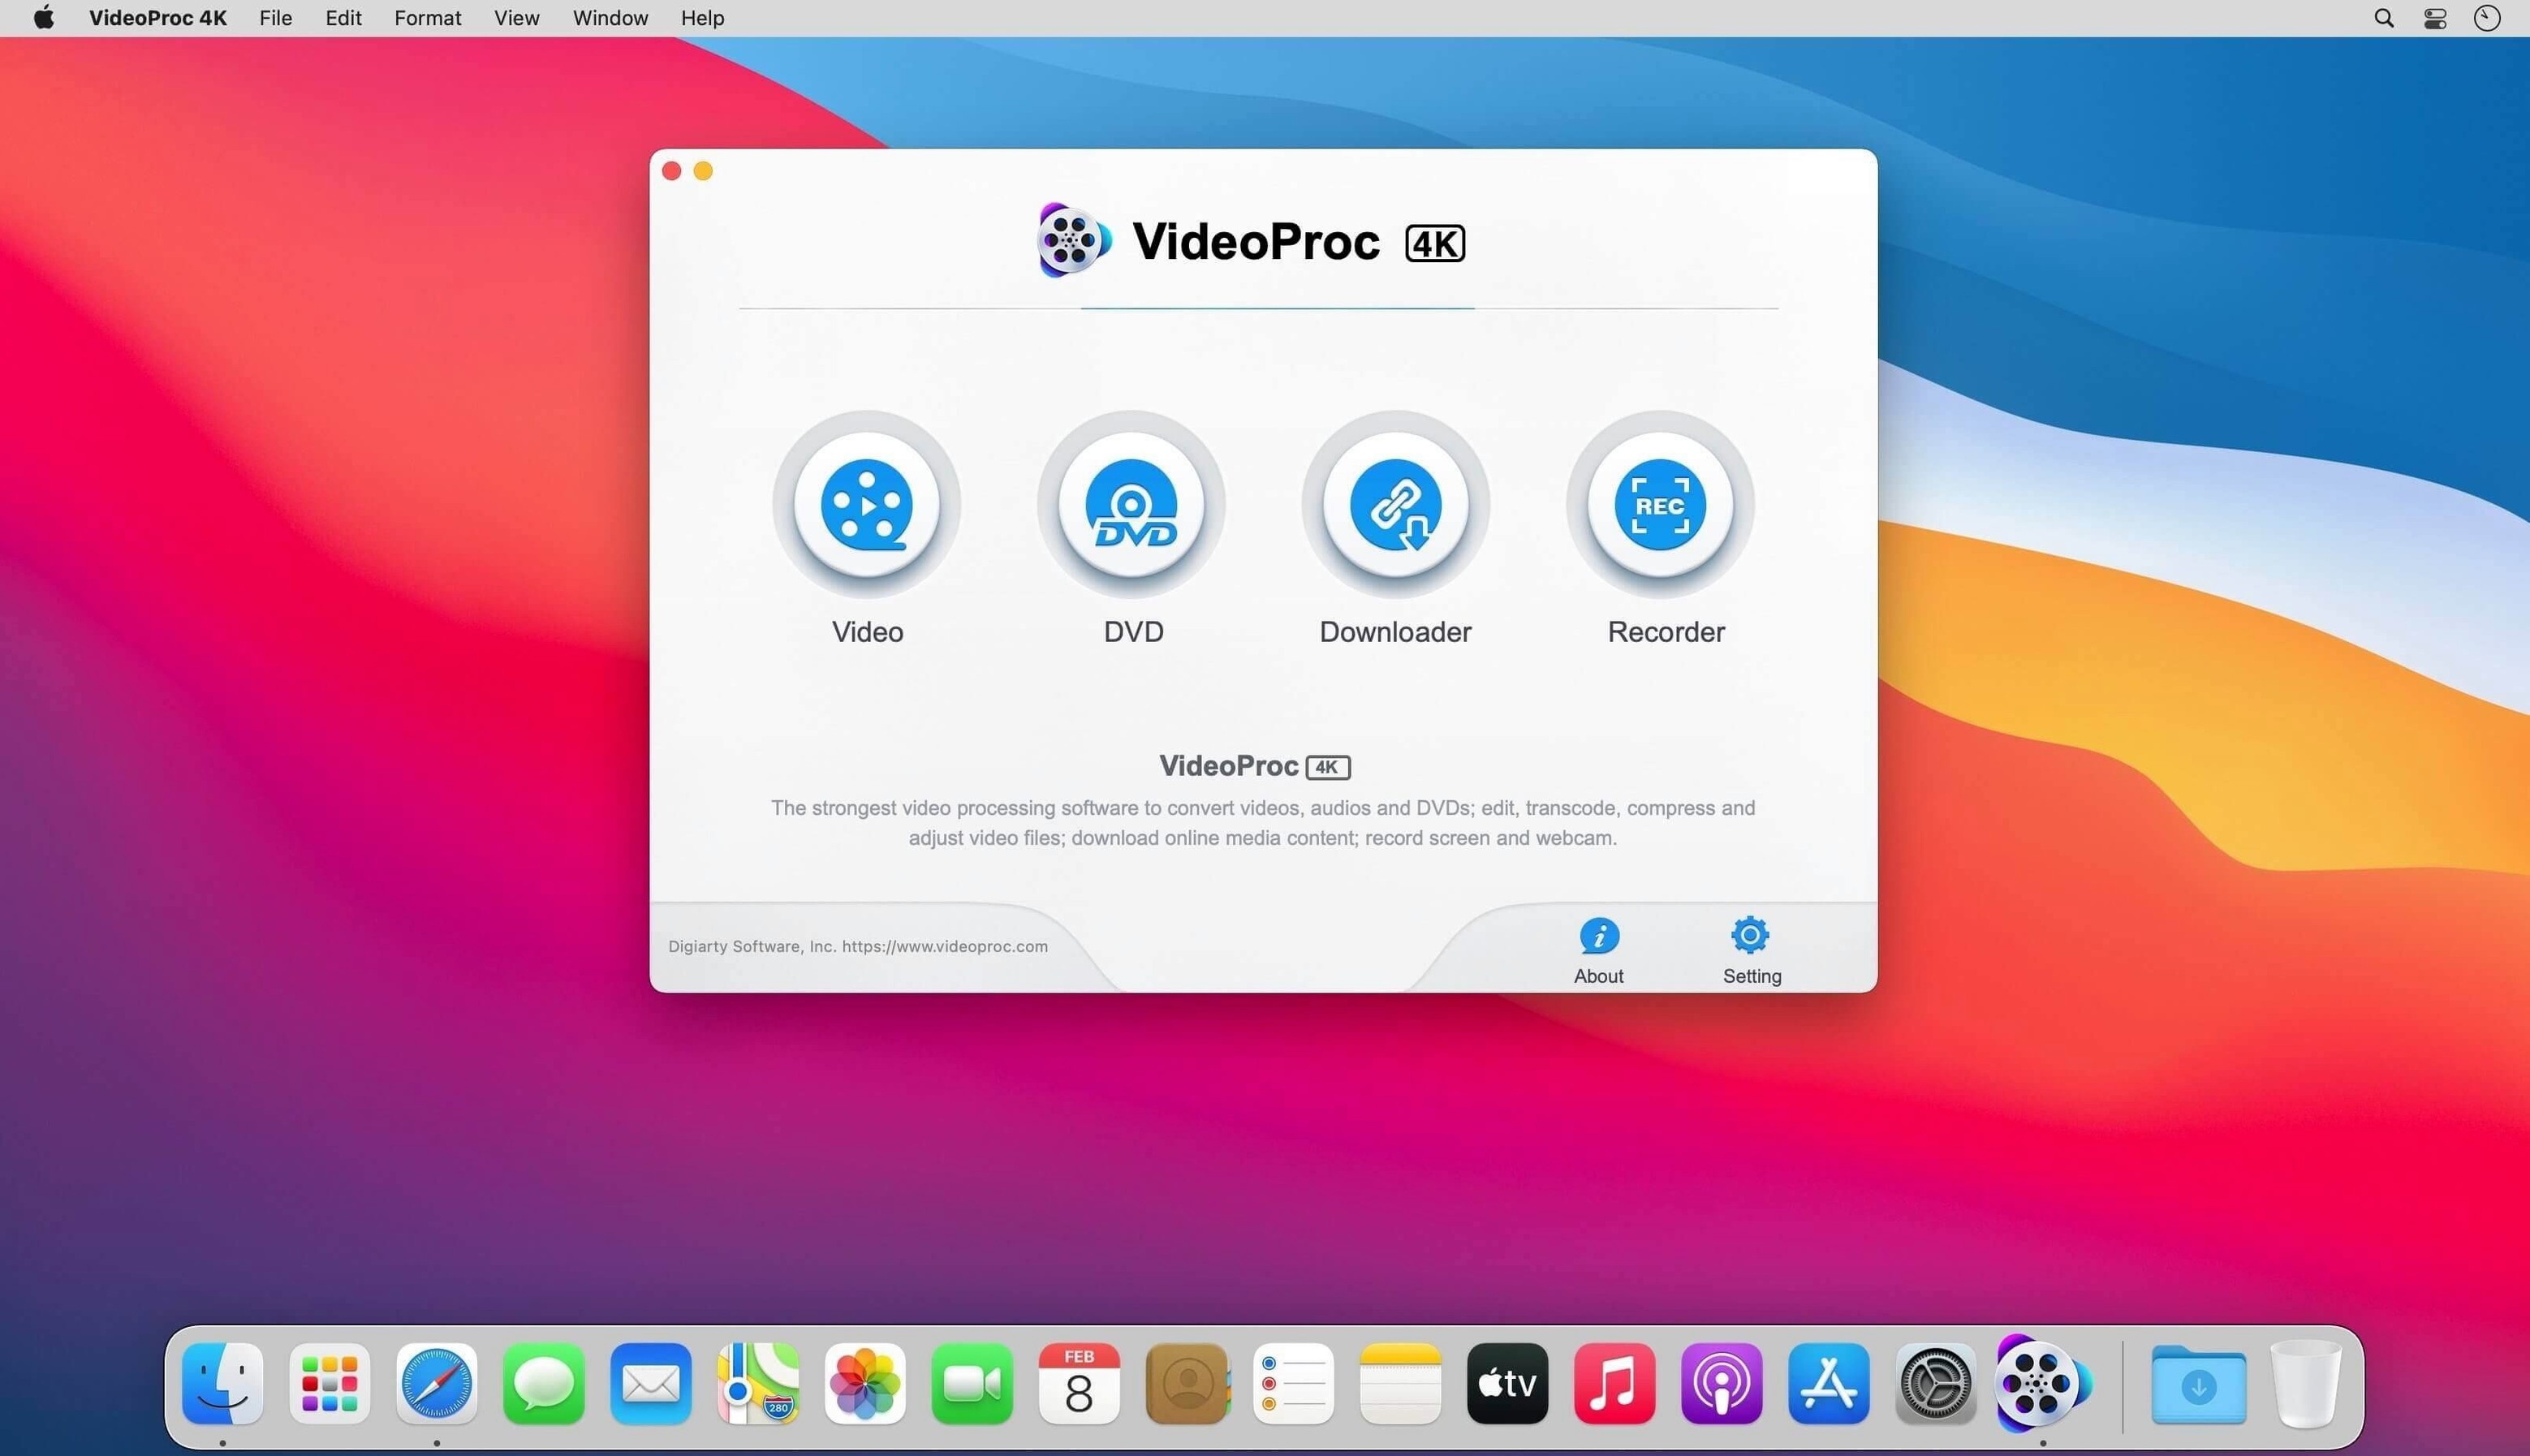
VideoProc Converter is the tool I reach for when a client hands me a file in an odd format or needs a quick transcode before a session. It is a Mac video conversion and processing app from Digiarty Software, and version 6.6 (2025030101) keeps the core workflow intact while the AI additions get most of the attention.
Neural tools join conversion and editing
These sit alongside the established conversion and editing tools, so you get both the neural stuff and the practical day-to-day tasks in one app.
GPU acceleration and 370 codec support remain
The app still converts, edits, and records video with GPU acceleration, supports batch downloading of UHD and HD video, audio, and playlists, and covers up to 370 codecs. That breadth is why it remains useful in a studio environment where formats come from everywhere.
Which languages and systems does it support?
Interface languages include English, German, Spanish, Italian, Traditional Chinese, Simplified Chinese, Korean, French, and Japanese. It runs on macOS 10.10 and later, and the listed architecture is Intel.
Merging drone, mirrorless and iPhone clips into one H.264 file
A colleague brings in a batch of clips from a weekend shoot — mixed formats, some from a drone, others from a mirrorless camera and a couple of iPhone landscape shots. The brief is simple: deliver a single H.264 file at 1080p, trimmed to the usable segments, with the drone footage stabilised.
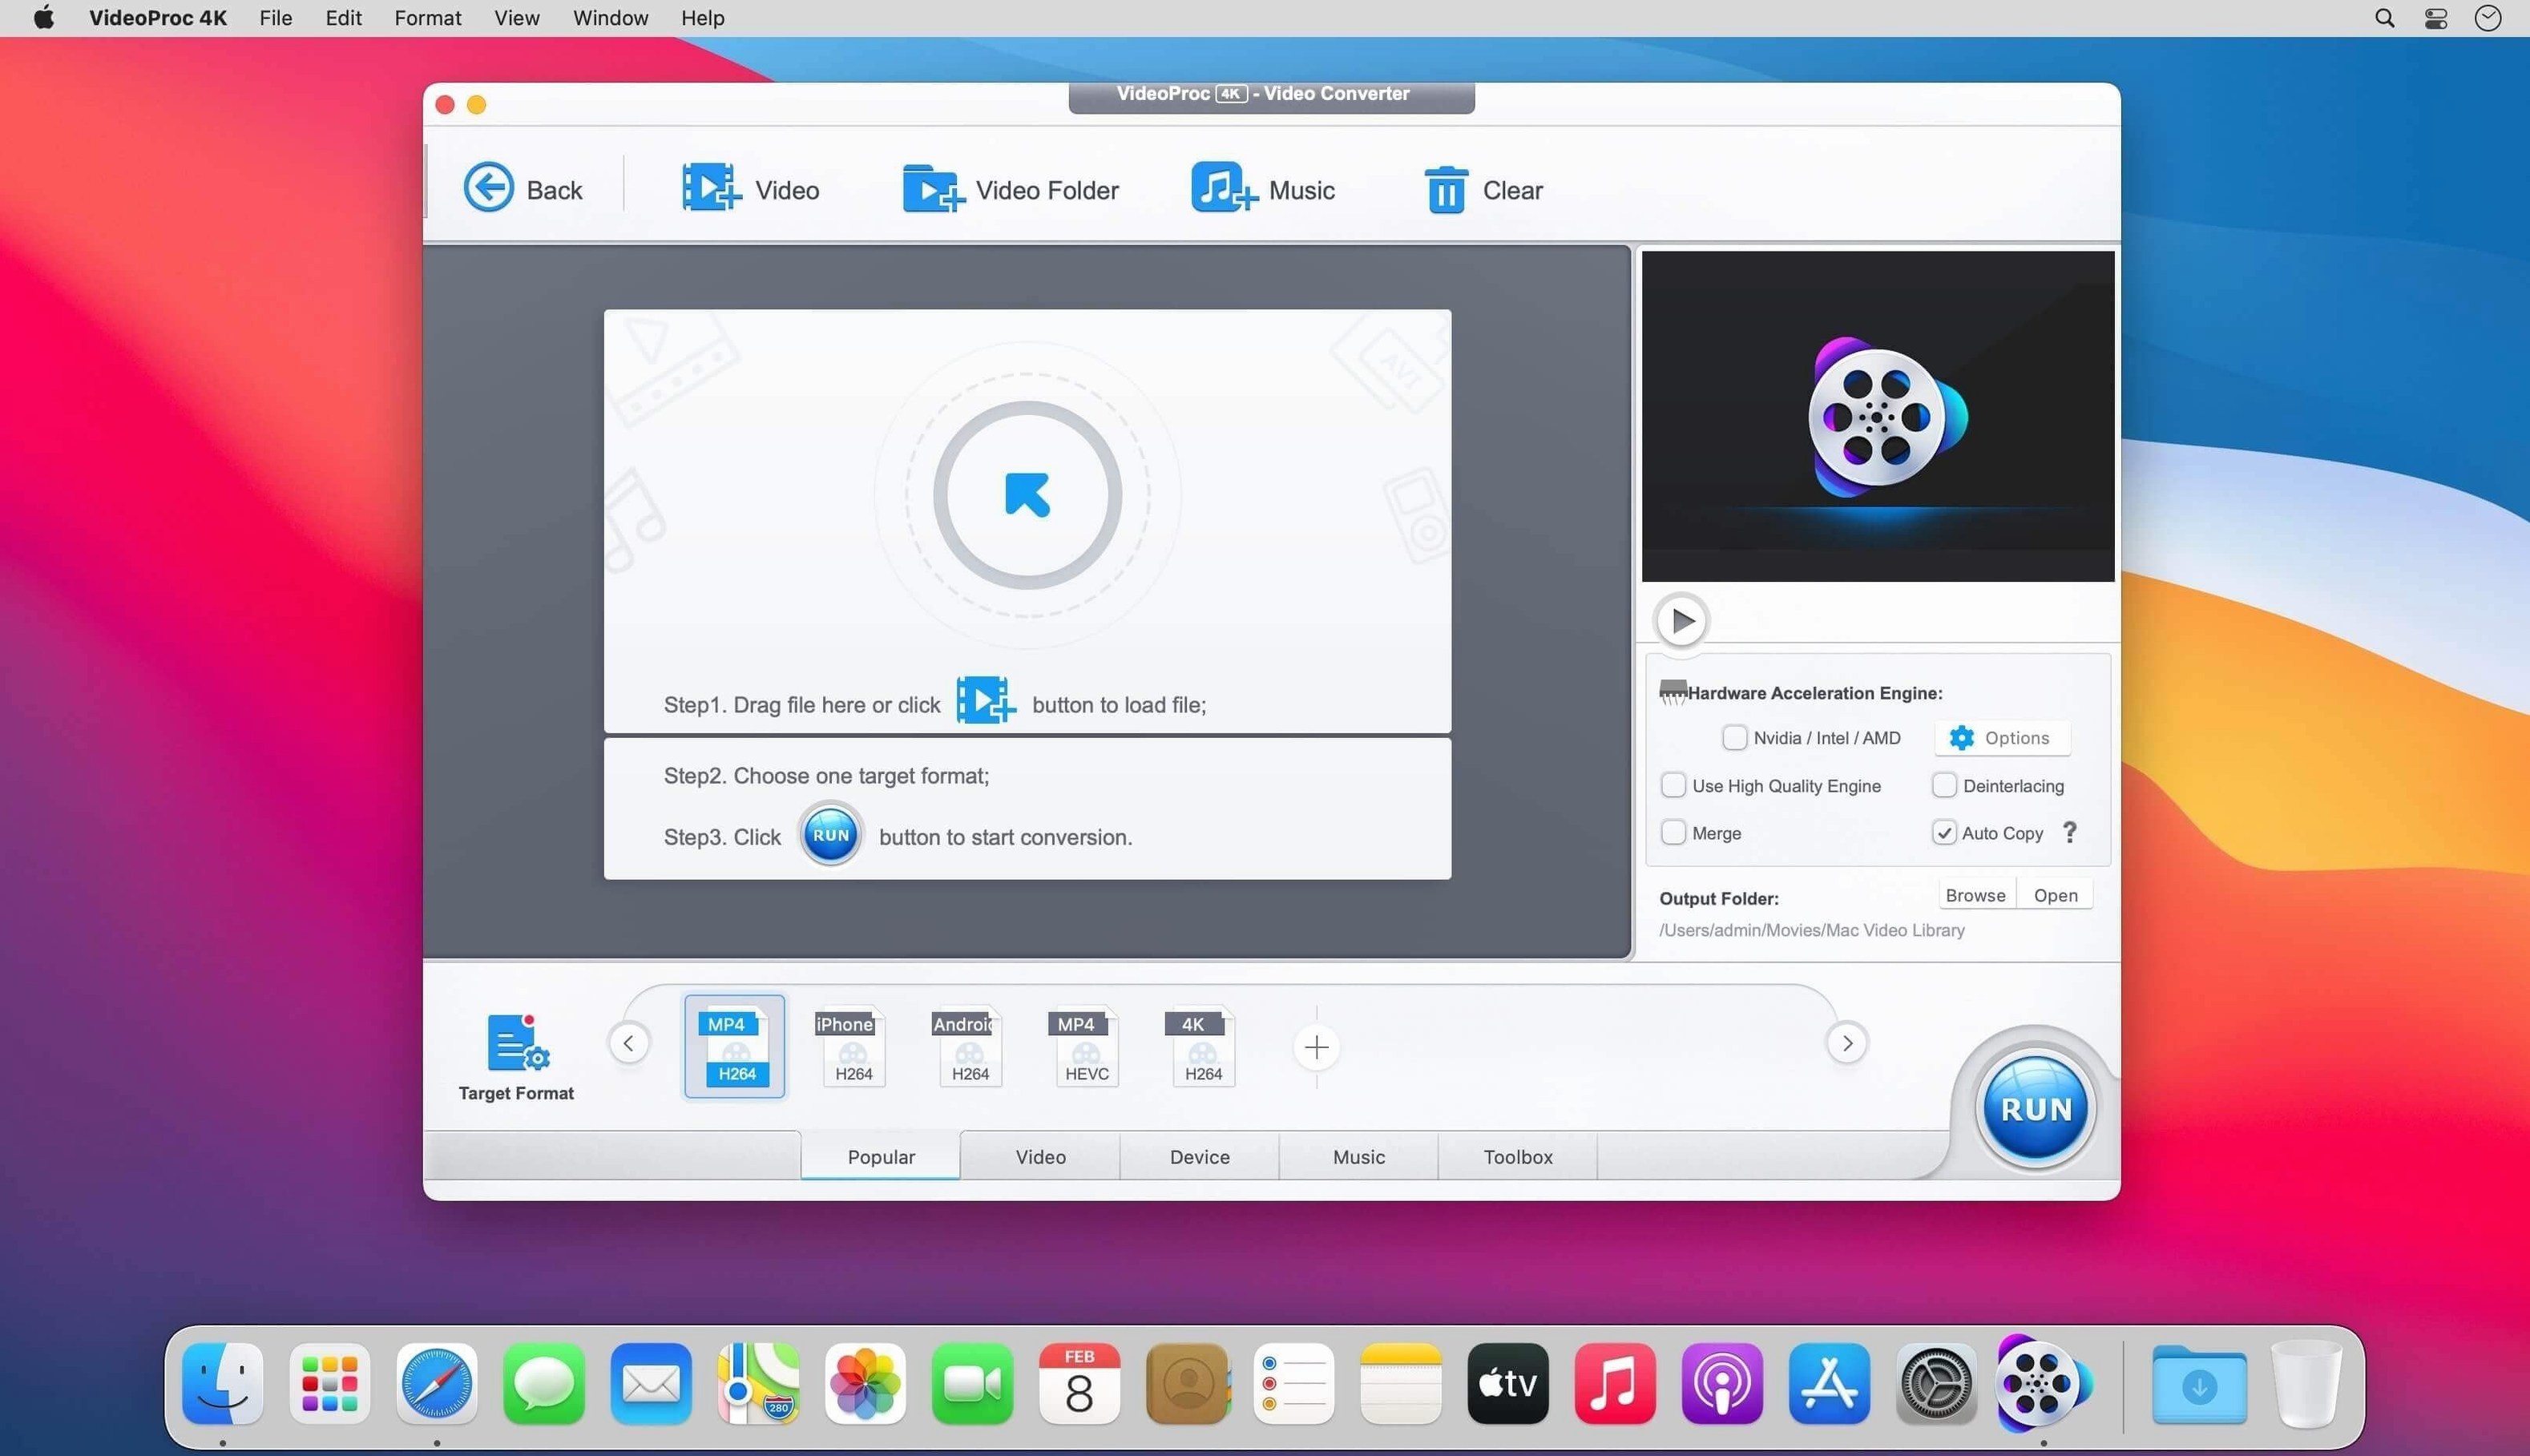
I open VideoProc Converter and drag the whole folder into the main window. The app reads the files without fuss, showing each clip's duration, resolution and codec in the list. I select the drone clips first and open the editing panel — the stabilisation option is where I expect it, and I set each clip to process with the medium setting. For the mirrorless footage I apply a simple crop to remove the microphone that crept into the frame.
Back in the main list I rearrange the clips into the order I want the final file to play. The merge option is one click. Under the output settings I pick H.264 in an MP4 container, set the resolution to 1920x1080 and let the app choose the bitrate. I enable hardware acceleration — the app detects the available GPU and uses it for the conversion.
I hit the Run button and leave it. The progress bar moves steadily, and when I come back the merged, trimmed, stabilised file is sitting in the output folder. Total hands-on time: about four minutes.
Master the file list and editing panel first
Spend the first session learning the file list. The drag-and-drop works across multiple source folders, and you can reorder clips by dragging them up and down. The editing panel is where you trim, crop, rotate and apply effects — get used to the workflow of selecting a clip, opening the panel, making changes and confirming them back to the main list.
Set your output presets early. The app remembers the last format and resolution you used, so if you always deliver in H.264 at 1080p you only need to set it once. For batch work, the Apply to All button saves going through each clip individually.
The download features are worth testing with a short playlist. Paste a URL, check the format options and see how the queue handles multiple items. It is not a replacement for a dedicated download manager, but for grabbing a few clips quickly it works fine.
Check the language setting on first launch if you need anything other than English — the default follows the system locale, and changing it in the preferences takes effect immediately.
Real-world scenario: a video editor preparing proxies
An editor gets a 4K ProRes project from a camera team, but the office iMac cannot play the files smoothly in the timeline.
She drags the entire card folder into VideoProc Converter, selects all clips and sets the output to H.264 at 1920x1080. She enables hardware acceleration to speed up the batch, hits Run and leaves the conversion running overnight. In the morning the proxy folder is ready to drop into the editing software, and the original 4K files stay untouched on the card for the final render.
Workflow: converting a drone video for social media
From start to finish, here is how I prepare a 4K drone clip for Instagram.
- Import the drone file into VideoProc Converter by dragging it to the window.
- Open the editing panel and trim the clip to the best eight seconds — the platform limit for a single feed video.
- Apply the stabilisation filter with the default setting; drone footage always needs it.
- Set the output format to H.264 in an MP4 container, resolution 1080x1920 (portrait orientation for Stories).
- Enable hardware acceleration so the encode finishes quickly.
- Hit Run and wait for the file to appear in the output folder.
The whole process takes under a minute of setup and a brief wait for the encode. The output is ready to upload without re-encoding.
Before it goes on the Mac
- macOS 10.10 or later
- Intel architecture
Questions from the room
Does VideoProc Converter 6.6 support Apple Silicon?
The specifications list Intel architecture and macOS 10.10 or later. Apple Silicon support is not mentioned in the current facts.
Installing it on the Mac
- Mount the disk image and run Open Gatekeeper friendly.
- Press Enter in Terminal to bypass Gatekeeper.
- Drag the app to the Applications folder.
- Open the app from Applications.
Notes from the control room
Sign in or open a catalogue account to leave a note.
No notes from the room yet. If you have used this build for a week, a short note helps the next person.