Home › Utilities › Tenorshare UltData

Updated
The catalogue note
You drop your iPhone, the screen goes black, and the last year of photos and messages feels gone. That is the moment UltData earns its place next to the backup drives and sync tools already on your Mac.
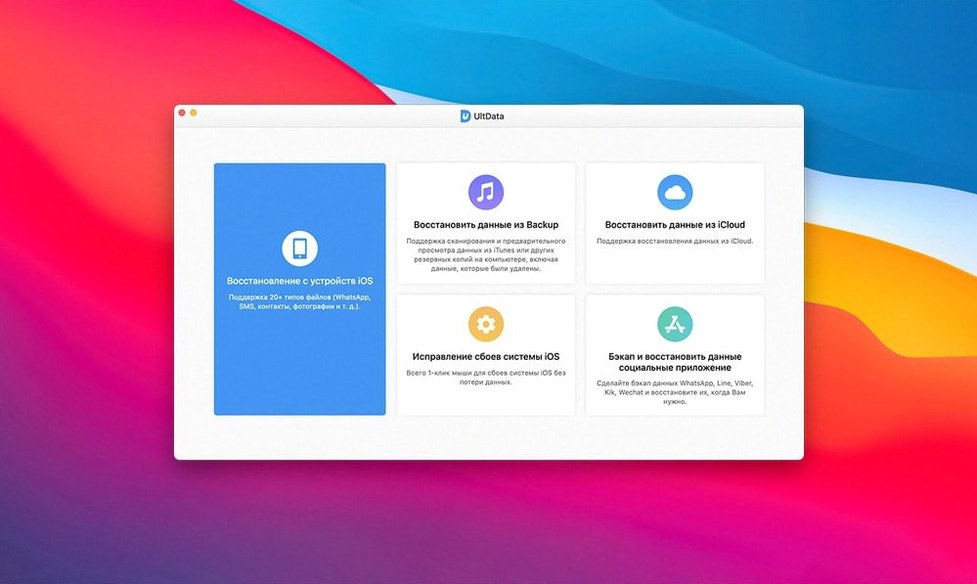
Three ways to get data back
- Recover from an iOS device directly, no backup required.
- Extract from an iTunes backup, even if it is encrypted.
- Pull data from an iCloud backup without resetting your iPhone.
UltData covers the usual suspects — reminders, notes, voice memos, music, iBooks — and also digs into chat apps like WhatsApp, WeChat, Kik, Viber, Tango, and LINE. FaceTime call history and voicemail are included. It works with iPhone XS, XR, X, 8, and 7 series, plus iPad and iPod touch models going back to the first iPod touch.
The interface speaks eleven languages, so if your studio assistant works better in German or Japanese, they can find their way around without a translation layer. It runs on anything from OS X 10.8 up, which means even an older Mac sitting in the corner can handle a rescue job.
Connect a test device before you need recovery
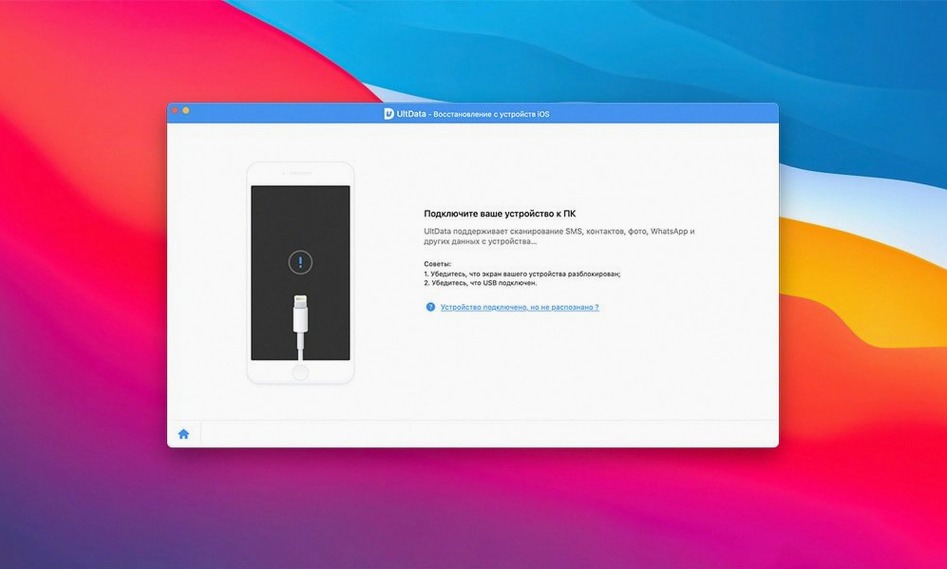
Once UltData is in your Applications folder, the smartest first step is to connect a device you do not urgently need to recover. The point is to see the interface before you are in a panic. Plug in an old iPhone or an iPad you keep for testing, let UltData recognise it, and walk through the three recovery modes just to confirm the workflow makes sense to you. That dry run will save time when the actual recovery call comes.
If you use encrypted iTunes backups, have your password ready before launching the tool. UltData can extract from those, but the process stalls if you need to dig up credentials mid-session. Similarly, if iCloud is your primary backup method, make sure you are signed into the same Apple ID on the Mac. The tool pulls data from iCloud without forcing a device restore, but it needs the account access.
A small habit worth adopting: after each iOS update, connect the device to the Mac and let UltData scan once. Firmware changes can shift how data is stored, and a quick scan when nothing is wrong gives you a baseline. If you ever need a real recovery, you will already know the app sees your device correctly.
Less polished than PhoneRescue but more versatile
Other iOS data recovery tools exist for the Mac, and each has a slightly different angle. iMobie PhoneRescue leans heavily on a polished interface and a "drill" concept that walks you through scenarios step by step, but it tends to be more aggressive about pushing additional products during the process. UltData stays closer to a straight recovery tool without the upsell clutter.
EaseUS MobiSaver offers a similar three-mode structure, but its Mac version has historically lagged behind the Windows release in update speed. UltData tends to receive macOS compatibility updates at the same time across both platforms, which matters when you have just installed the latest macOS point release and need a recovery tool that still works.
Wondershare Dr.Fone is the heavyweight competitor — it bundles a screen unlocker, a system repair module, and a phone transfer tool alongside the recovery features. If you only need data recovery, that extra weight is unnecessary. UltData stays focused on recovery, which keeps the app smaller and the workflow more direct. For a studio Mac that already has dedicated tools for screen unlocking and system repair, a focused recovery app makes more sense.
Fills gaps that Time Machine and iCloud backups leave open
UltData lives comfortably alongside the standard macOS backup ecosystem. Time Machine handles your Mac's files, but it does nothing for iOS data. iCloud and iTunes backups are the official Apple routes, but they are not designed for granular extraction — you either restore the whole backup or nothing. UltData fills that gap: you keep your regular iCloud and iTunes backups running, and bring in UltData only when a specific contact, message, or photo needs pulling out without a full restore.
The app also complements disk utility tools like Disk Drill or Data Rescue, which recover Mac-side files. A typical scenario: Disk Drill rescues a corrupted Time Machine volume, and UltData recovers the iPhone data that was never on Time Machine in the first place. They do not overlap; they cover different failure points.
macOS Gatekeeper is worth noting during installation. The app is not signed with an Apple developer certificate in the distribution version, so the installation process includes a Terminal command to bypass Gatekeeper. That is a one-time step, and after that the app launches normally. Keep this in mind if you manage multiple Macs and need to install it on a colleague's machine — they will need the same bypass step.
Best for creative professionals who skip manual backups
The obvious audience is anyone who owns an iPhone, iPad, or iPod touch and does not maintain obsessive manual backups. But some user types benefit more than others.
Studio engineers and producers who keep reference recordings, mix notes, or client communication on their iPhone are a strong fit. Losing a voice memo of a guitar take or a WhatsApp thread with a lyricist is a real setback, and UltData can recover both without needing a full device restore that might wipe newer data.
IT administrators who manage fleets of iOS devices for schools, small businesses, or rental houses also get solid use out of it. When a shared iPad loses a key contact or a staff member deletes a calendar event before syncing, the admin can run UltData on their Mac and pull the data back without touching every device's iCloud settings.
Users who keep older devices as backups or test units — an iPhone 5s running iOS 10, an iPad Air on an older OS — will appreciate that UltData supports those models and OS versions natively. Many newer recovery tools drop support for older hardware, but this one still covers the iPod touch 1 through 6 and the early iPhone 4 and 4s models. If you have a drawer full of old iOS hardware, UltData is one of the few recovery apps that still speaks to them.
Before it goes on the Mac
- macOS: OS X 10.8 or later
- Architecture: Intel 64-bit
Installing it on the Mac
- Mount the disk image and launch Open Gatekeeper friendly.
- Press Enter in Terminal to bypass Gatekeeper.
- Drag the app into the Applications folder.
- The app is ready to use.
Notes from the control room
Sign in or open a catalogue account to leave a note.
No notes from the room yet. If you have used this build for a week, a short note helps the next person.