
Home › Utilities › SuperDuper!

SuperDuper! 4.0.7 (Mac)
Updated
The catalogue note
SuperDuper! runs on any Mac from macOS 10.13 High Sierra onward, covering both Apple Silicon and 64-bit Intel machines. That makes it a practical choice for studios still on older systems as well as current setups.
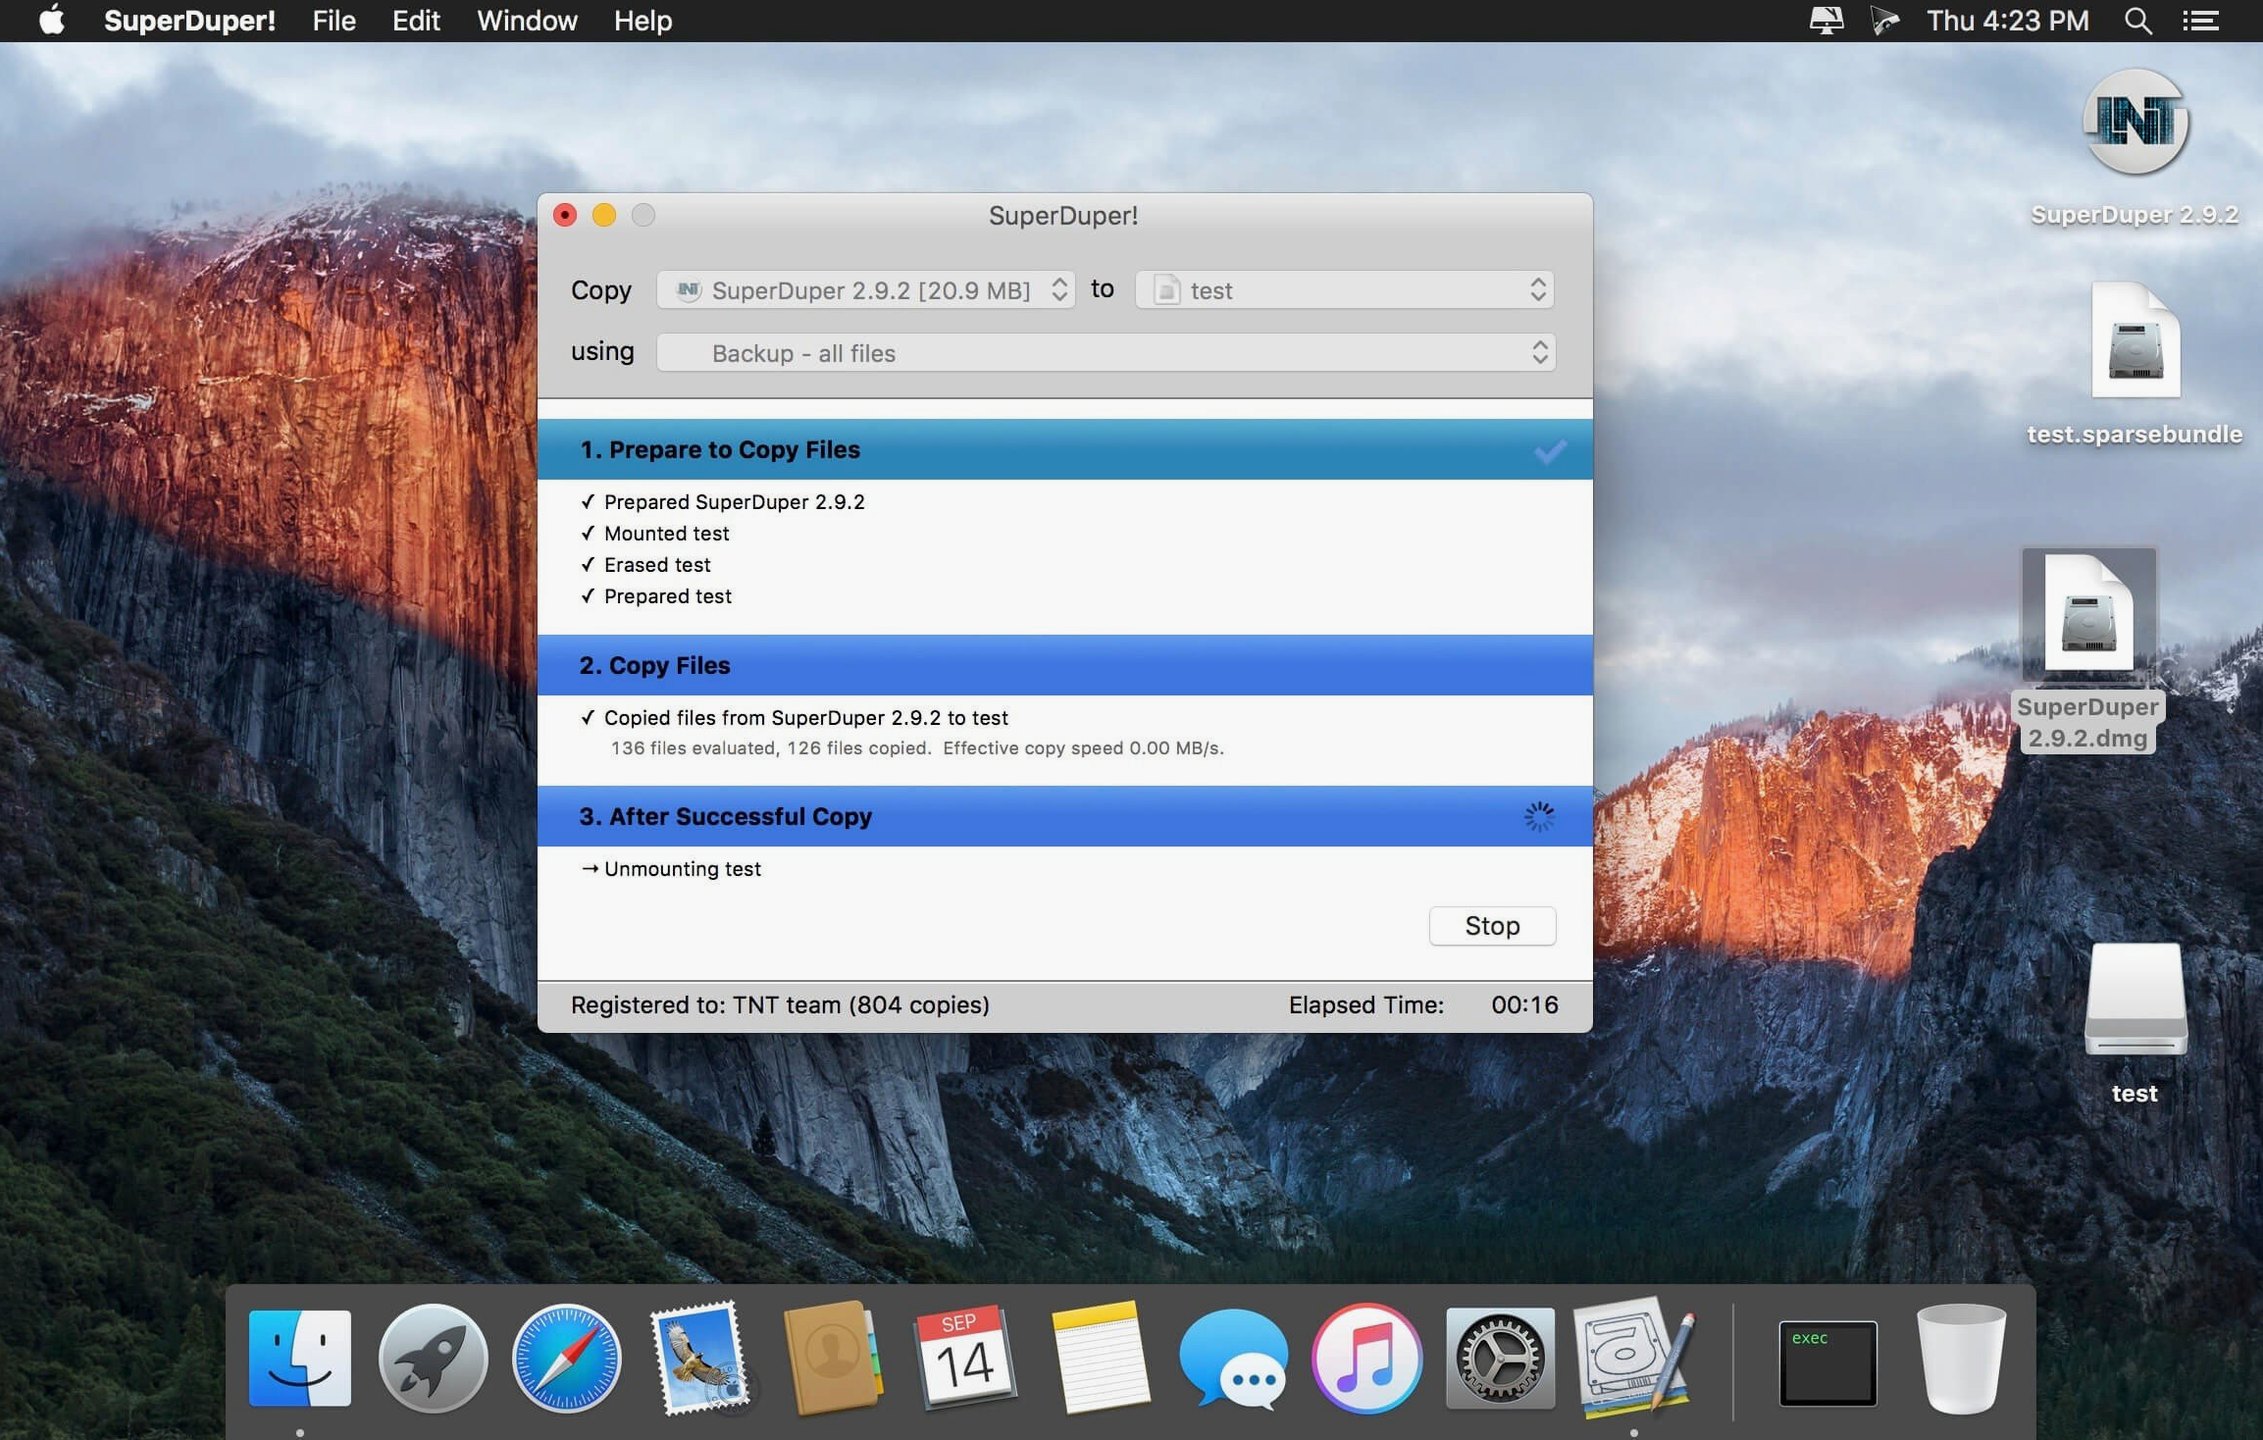
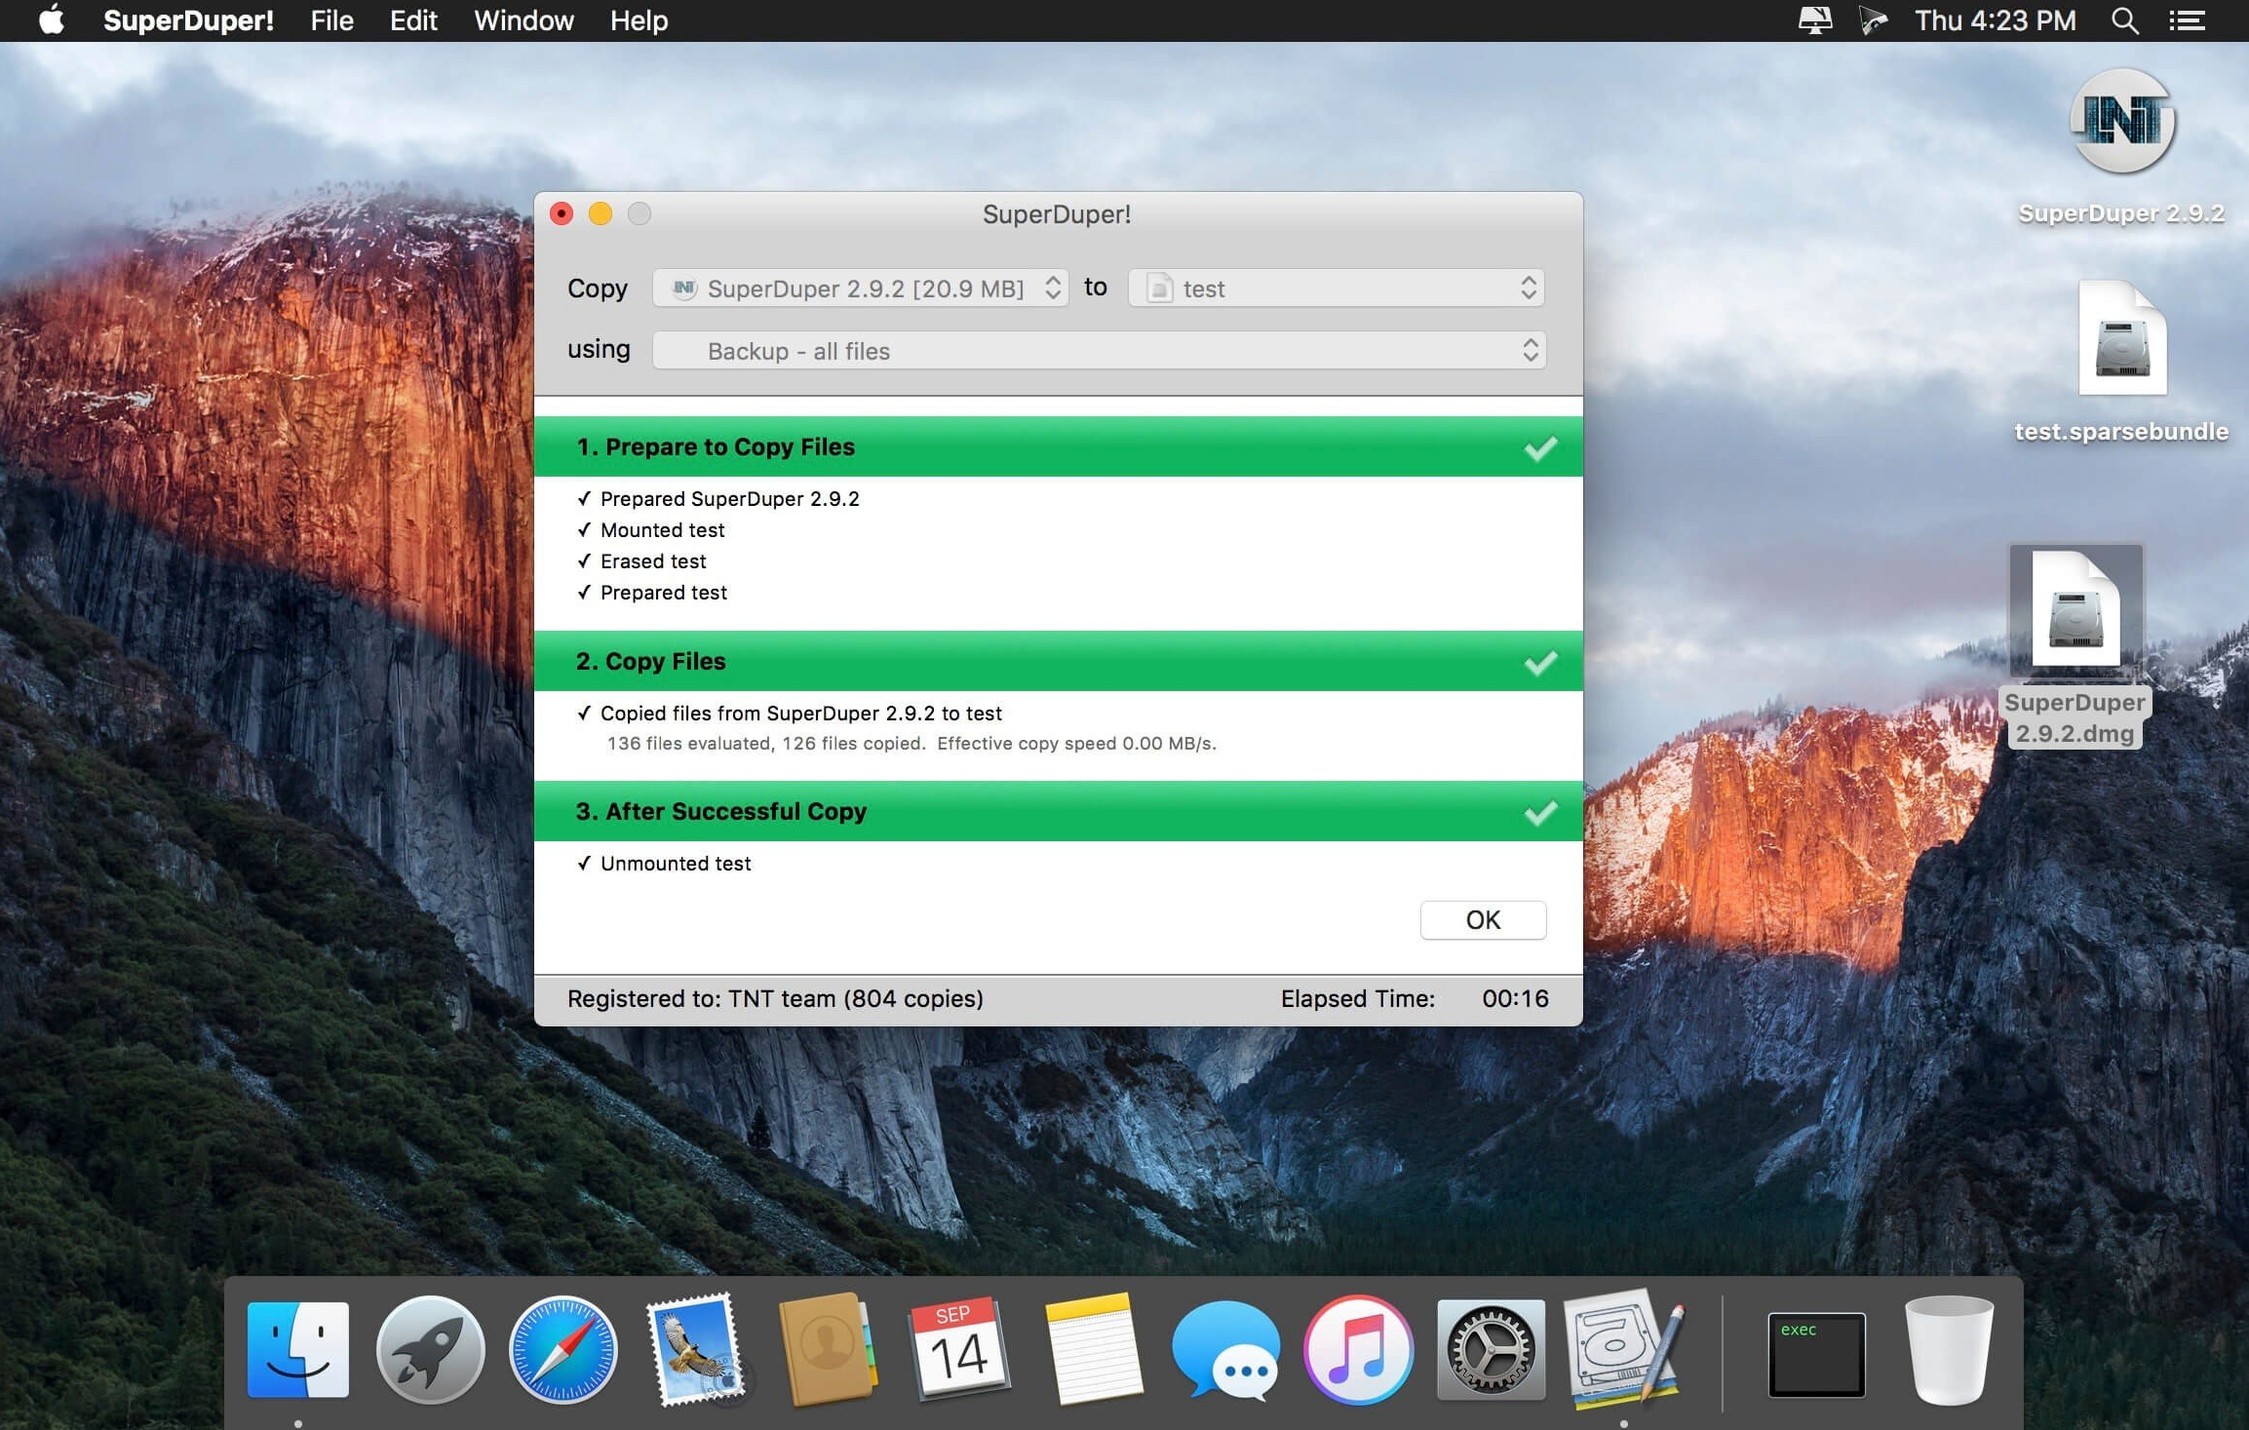
Clone your startup disk or back up to a disk image
- Clone your startup disk — create a bootable copy of your system drive. If your main drive fails, you can boot from the clone and keep working.
- Back up to a disk image — instead of a physical drive, save an exact image of a volume. Useful for archiving a project state or a system configuration.
- Move to another Mac — clone your entire disk, then restore it on a different machine. All settings and files come along exactly as they were.
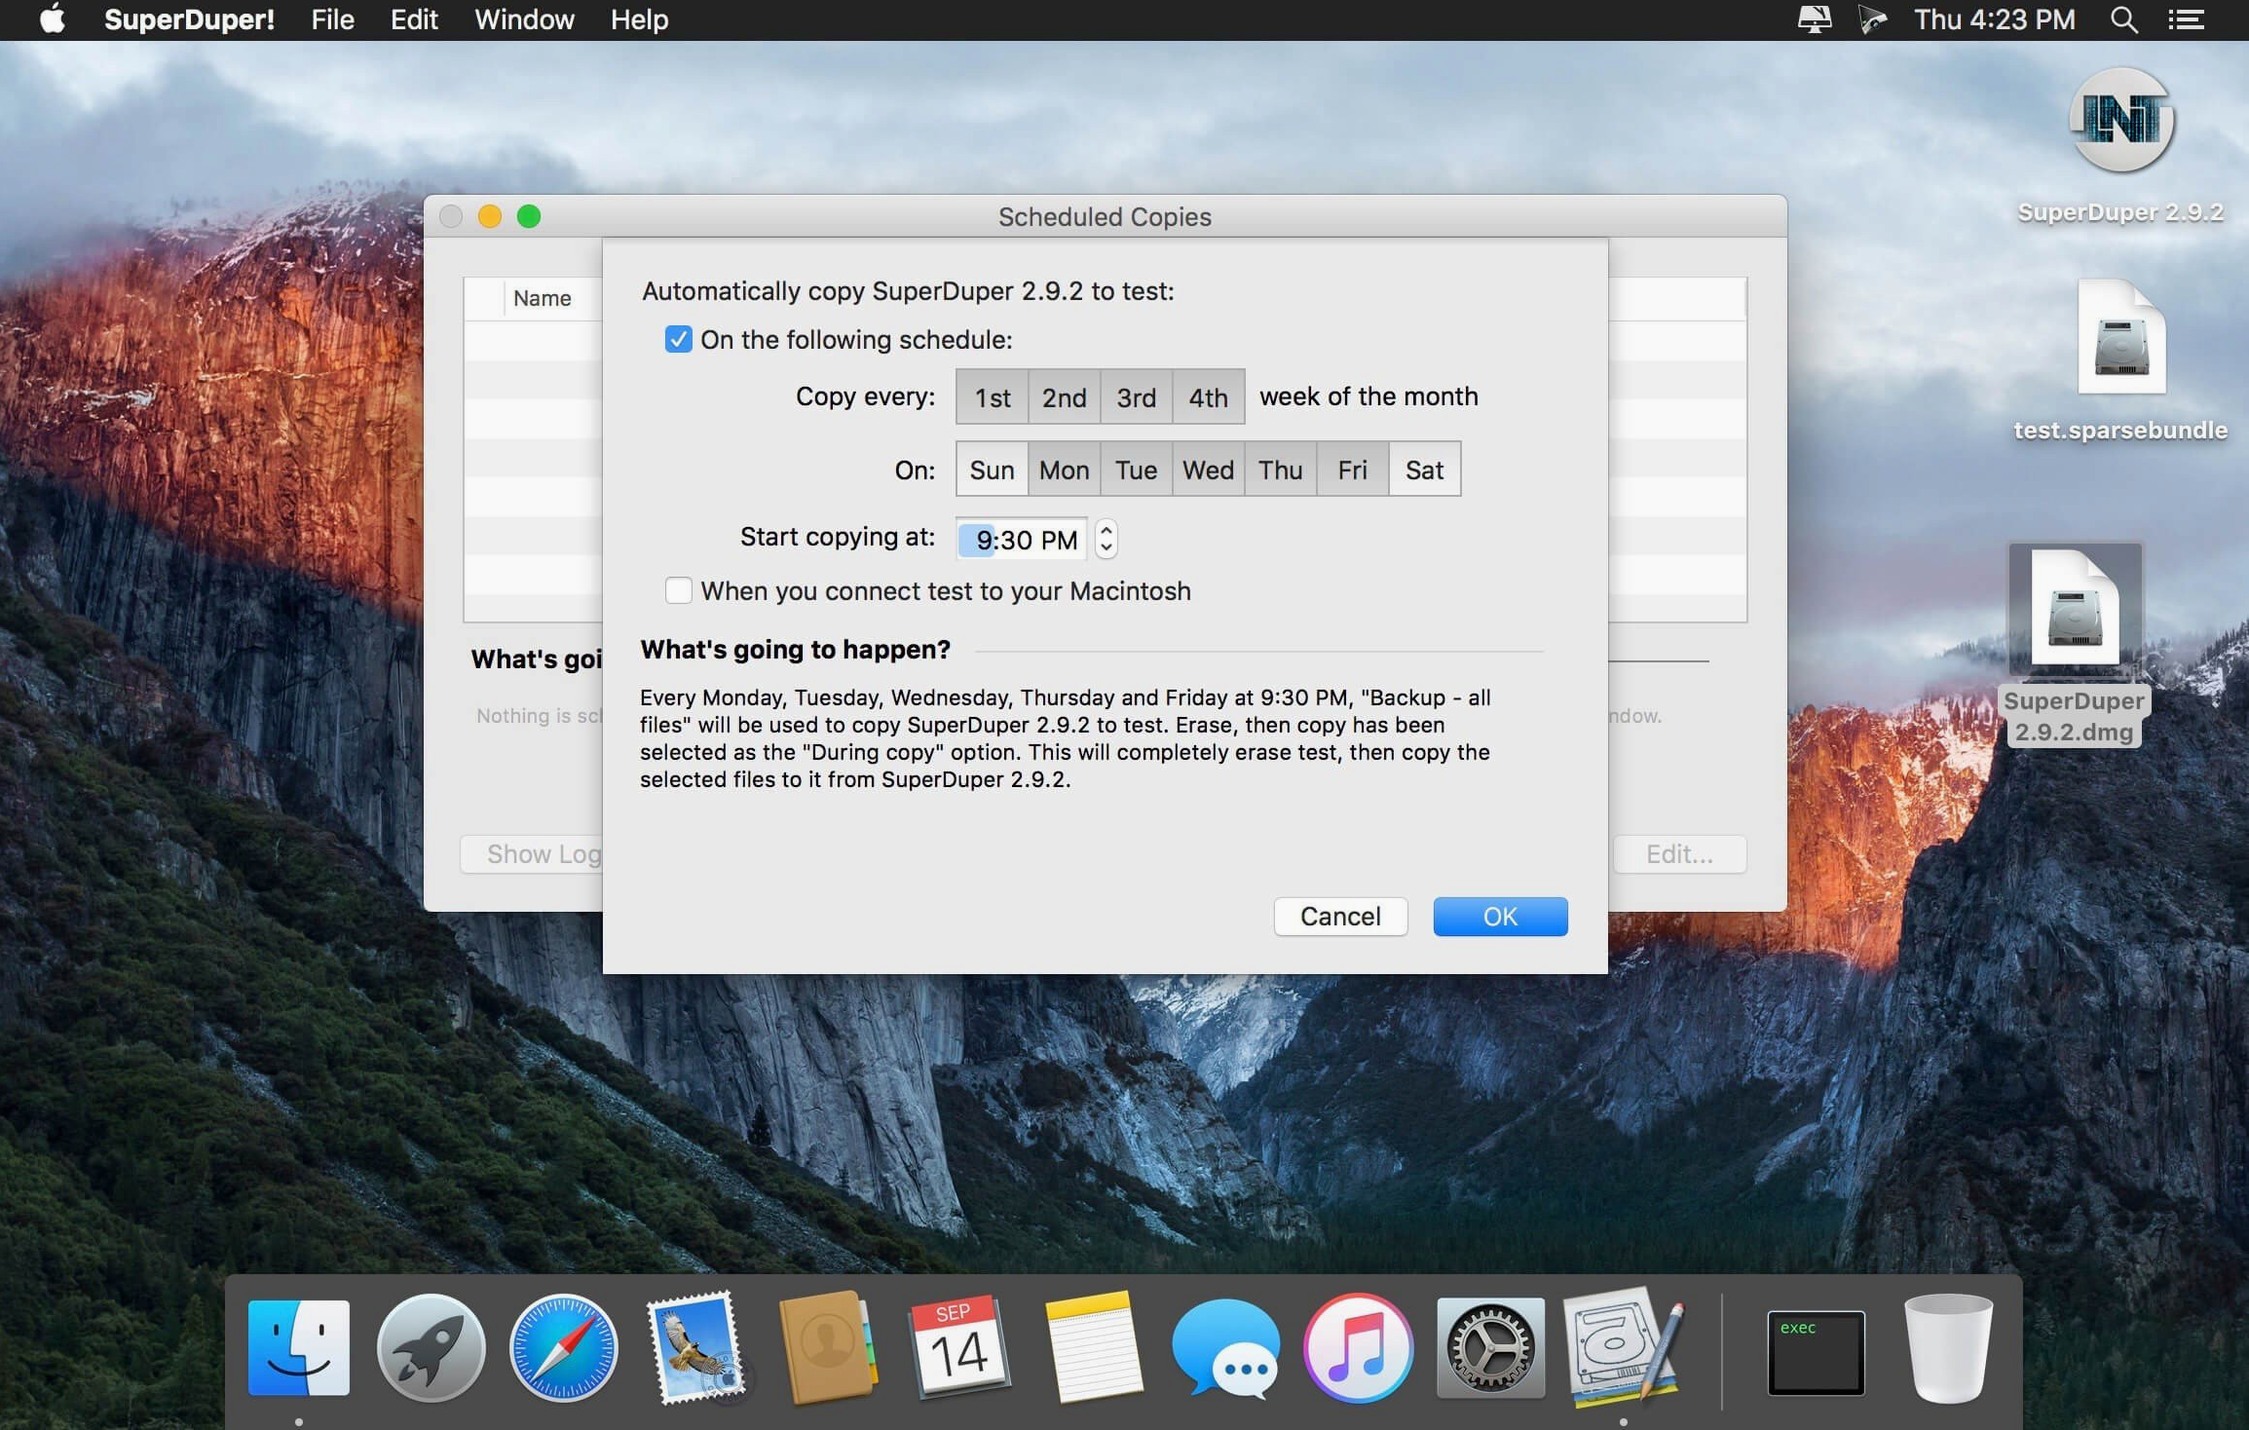
- Schedule automatic backups — set a time and let SuperDuper! run unattended. No need to remember manual copies.
How installation works
The installer comes as a disk image. You mount it, drag the app into Applications, and launch it from Launchpad. No background daemons or kernel extensions – just a straightforward copy.
Scheduling runs as a lightweight background process
SuperDuper! has a few touches that aren't obvious on first launch but make daily use noticeably smoother. The scheduling engine, for instance, runs as a lightweight background process rather than keeping the main app open. Once you set a schedule, you can quit SuperDuper! and it still fires off backups at the appointed time. That matters when you want a nightly clone without the app sitting in the Dock all day.
The "Smart Update" feature is another one that newcomers often overlook. Instead of erasing the destination and copying everything from scratch each time, Smart Update compares source and target and only copies changed files. For large drives with mostly static system files, this cuts backup time considerably. It also avoids unnecessary wear on external SSDs.
Checkpoints are worth knowing about early. When you run a backup, SuperDuper! can keep a record of the previous state. If a later backup goes wrong or you accidentally delete something, you can roll back to the checkpoint without restoring from a completely separate drive. It's not a full versioning system, but it covers the common "I need yesterday's copy" scenario.
The script support is easy to miss because it's tucked away. You can attach a shell script to run before or after a backup. Studio engineers might use this to unmount a network volume before cloning, or to send a notification when the backup finishes. No extra utilities required.
Don't confuse Copy Files with Backup – all files
The most common error is assuming that "Copy Files" and "Backup – all files" are interchangeable. They are not. Copy Files duplicates the source folder structure exactly, while Backup – all files creates a bootable clone with the necessary system metadata. Beginners who want a bootable drive often pick the wrong option and end up with a non-booting volume.
Another mistake is choosing the wrong destination format. SuperDuper! does not reformat the destination drive automatically unless you tell it to. If the target drive uses a different partition scheme or file system than the source, the clone may not be bootable. It's worth checking that the destination is APFS (or macOS Extended, depending on your macOS version) before starting a full backup.
Beginners also tend to ignore the "Erase, then copy" option in favour of "Smart Update" because it sounds safer. But when cloning to a new drive for the first time, Smart Update can leave orphaned files from a previous volume if the drive wasn't clean. For a fresh bootable clone, "Erase, then copy" is the correct first step.
Running a scheduled backup while the Mac is asleep is another pitfall. SuperDuper! can wake the machine for a backup only if the schedule is set to "Wake to Copy" — a toggle that is off by default. Without it, the backup simply never runs and the user assumes it did.
Change the Post-copy action before the first backup
Before the first backup, open Preferences and adjust the "Post-copy action". The default is to do nothing after completion, which leaves the destination mounted and the app open. Changing it to "Quit SuperDuper!" or "Sleep" keeps the machine tidy after unattended backups.
If you are cloning to an external drive that you occasionally disconnect, enable "Automount on schedule" in the scheduling settings. This ensures the destination volume mounts before the backup starts, even if it was ejected earlier. Without it, a missed mount means a missed backup.
For users on macOS Ventura or later, the "Verify volumes" option is worth enabling for the first few clones. It reads back the data and compares checksums, confirming the clone is byte-for-byte identical. This adds time but catches early hardware issues with a new destination drive.
Finally, set a meaningful name for the backup volume in the destination picker. SuperDuper! uses the volume name to identify it in schedules and logs. A volume called "Backup" is easy to confuse with others; something like "MacStudio_Clone_2025" keeps things clear when you have multiple drives attached.
Changes in this build
- Added a workaround for a startup-drive visibility issue under macOS 27 Golden Gate.
Before it goes on the Mac
- macOS 10.13 or later
- Apple Silicon or 64-bit Intel
- Interface in English
Questions from the room
Can SuperDuper! create bootable backups on Apple Silicon Macs?
Yes, SuperDuper! supports both ARM and 64-bit x86 Macs, so it works on Apple Silicon and Intel machines.
Can I schedule backups with SuperDuper!?
Yes, SuperDuper! includes a scheduler that runs automatic backups at times you specify.
Installing it on the Mac
- Open the downloaded disk image.
- Drag the app to the Applications folder alias.
- Launch the app from Launchpad after copying finishes.
Notes from the control room
Sign in or open a catalogue account to leave a note.
No notes from the room yet. If you have used this build for a week, a short note helps the next person.
Also filed under Utilities
The whole Utilities rack SwitchResX4.14.2 Utilities 6 MB
 TechSmith Snagit2027.0.0 Utilities 195 MB Updated
 Tenorshare UltData9.5.0 Utilities 29 MB
 Transmit5.11.7 Utilities 34 MB
 SiteSucker Pro6.2.2 Utilities 6 MB
 TunesKit iPhone Unlocker2.7.0 Utilities 64 MB
 Tuxera NTFS2023.1 Utilities 111 MB
 Shadowrocket2.2.92 Utilities 36 MB