Presentify 8.2.1 (Mac)
Updated
The catalogue note
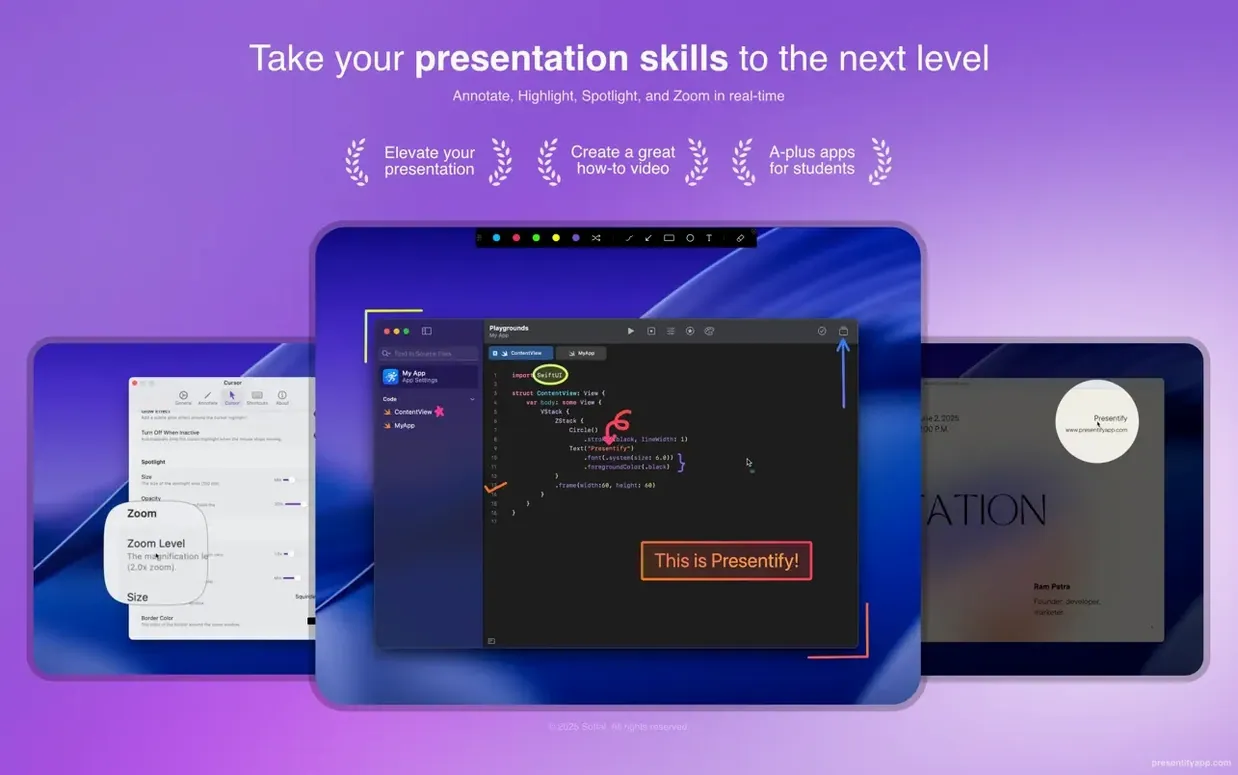
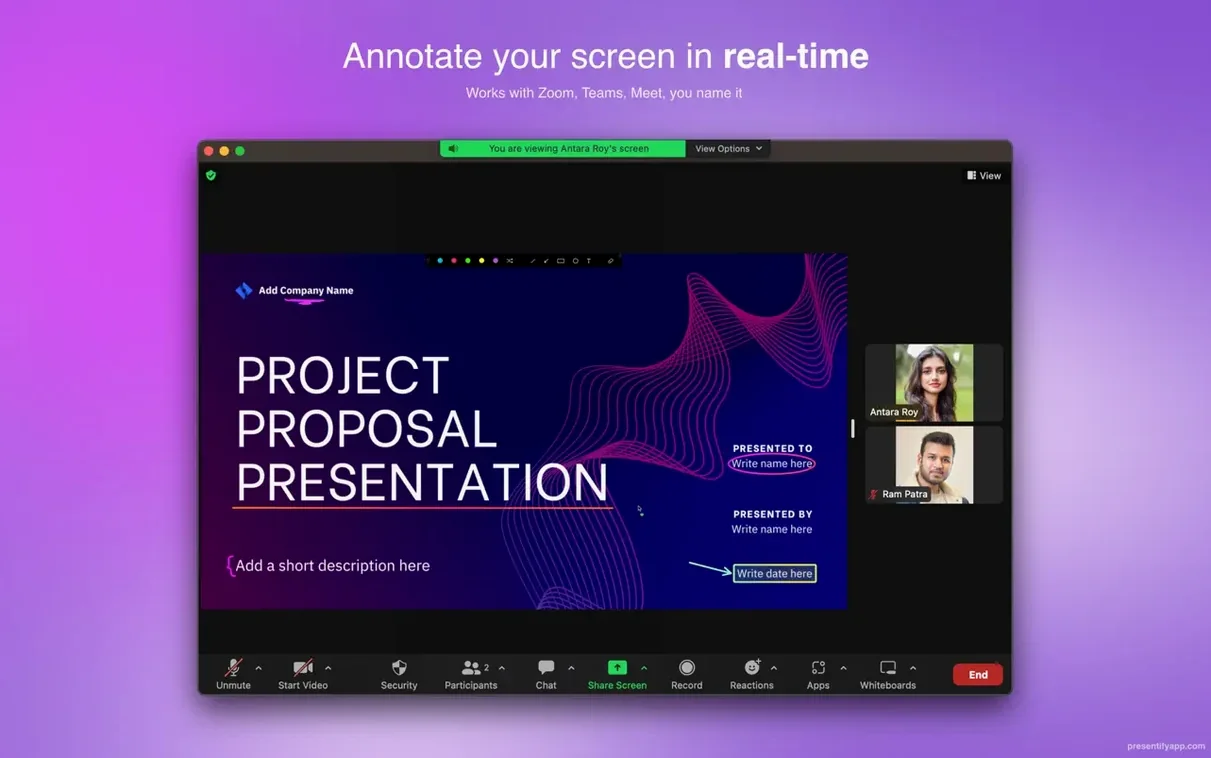
Every presenter knows the moment: you’re sharing your screen in a Zoom call or a Google Meet, and you need to point at a line of code, underline a figure on a PDF, or circle a button on a video. Your cursor vanishes into the shared window. Presentify solves that — it lives in the menu bar and gives you a floating annotation layer.
| Detail | Info |
|---|---|
| Version | 8.1.3 |
| Developer | Ram Patra |
| Category | Utilities |
| macOS | 13 Ventura or later |
| Architecture | ARM and Intel 64-bit |
| Languages | English, German, Spanish, French, Russian |
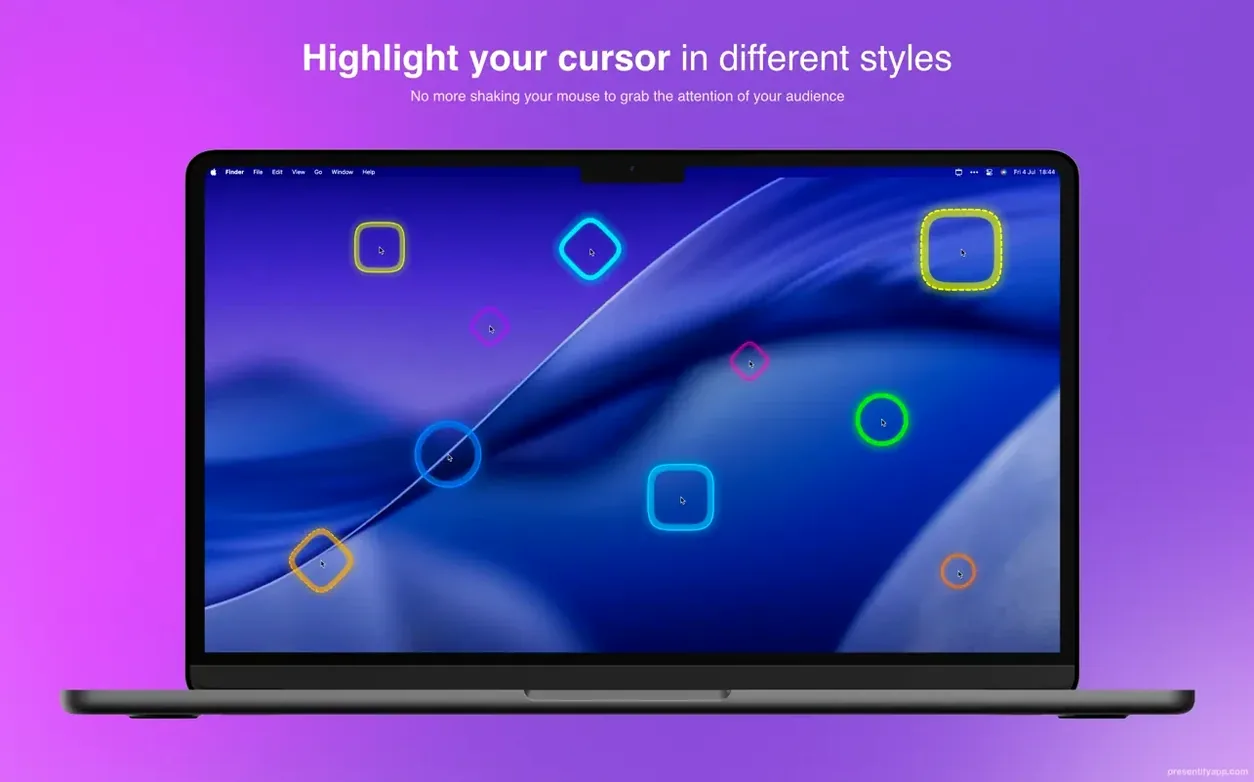
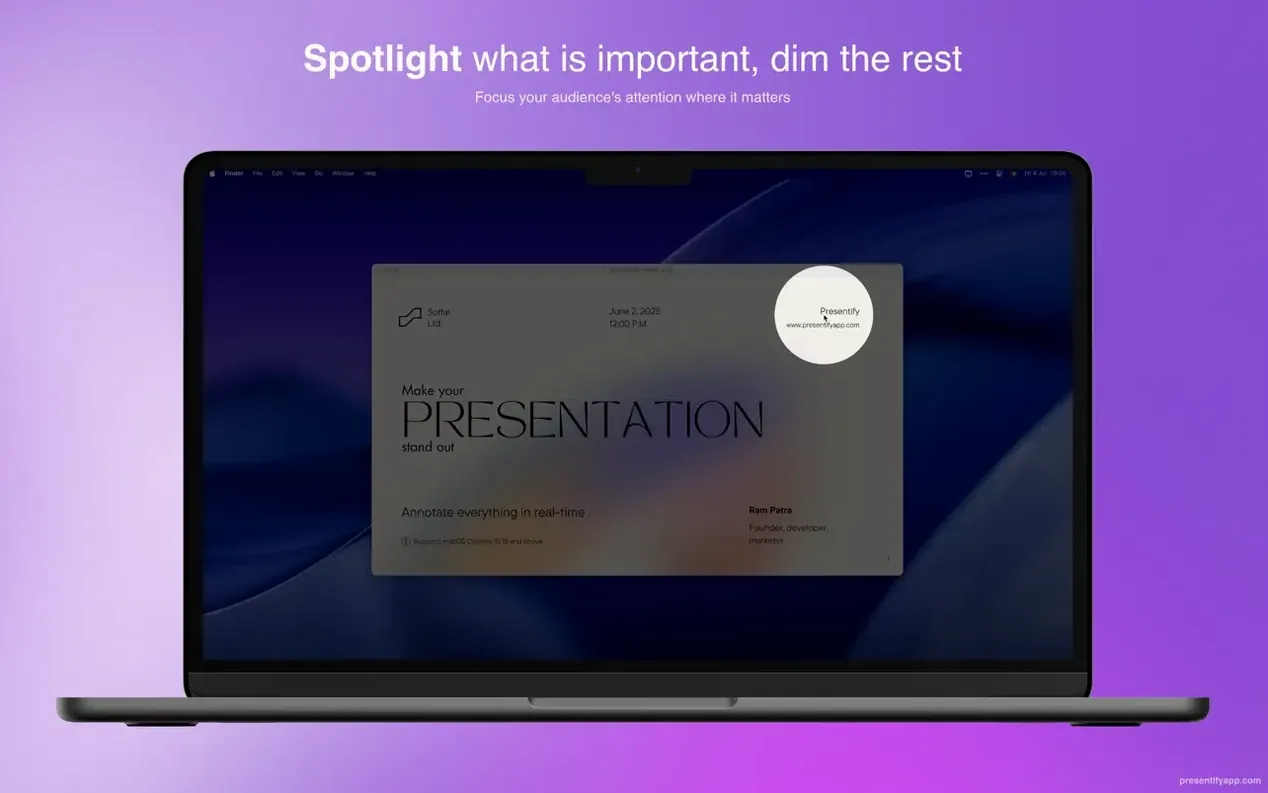
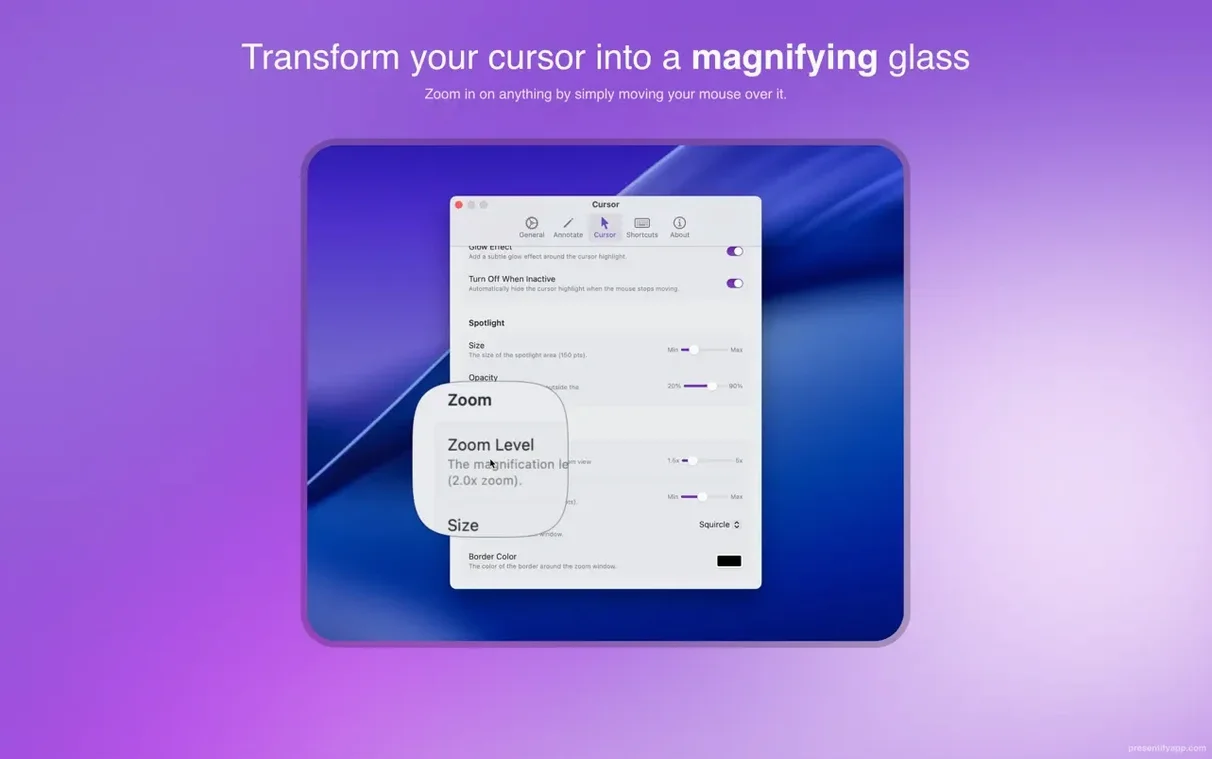
First things to try: turn on cursor highlighting so your pointer never gets lost, then use the spotlight effect to dim everything except the area you’re talking about. The zoom tool works well for code or small interface details. If you need to draw, the random gradient colours keep things lively. By default, holding Fn lets you click through to interacting apps without turning off the overlay. It’s a practical, low-fuss tool for anyone who regularly presents or teaches on a Mac.
Enable these preferences to make Presentify feel like part of your workflow
Presentify arrives with sensible defaults, but a few tweaks make the difference between it feeling like an extra chore and feeling like part of your workflow. Open the app’s preferences from the menu bar icon and start here:
- Enable automatic erasing – set a short timer (three to five seconds) so your annotations fade by themselves. It saves you reaching for an eraser after every point.
- Turn off “Draw on click” unless you want it – if you find yourself accidentally drawing when you only meant to point, disable this option. You can still toggle drawing on and off with a keyboard shortcut or from the menu.
- Adjust spotlight radius – make the spotlight big enough to cover the region you’re discussing but small enough that the dimmed area still guides attention. A radius around 200–300 pixels works for most screen sizes.
- Set a cursor highlight colour that contrasts with your content – a bright orange or cyan ring around the pointer is far easier to spot on a code editor or a white slide than a subtle grey.
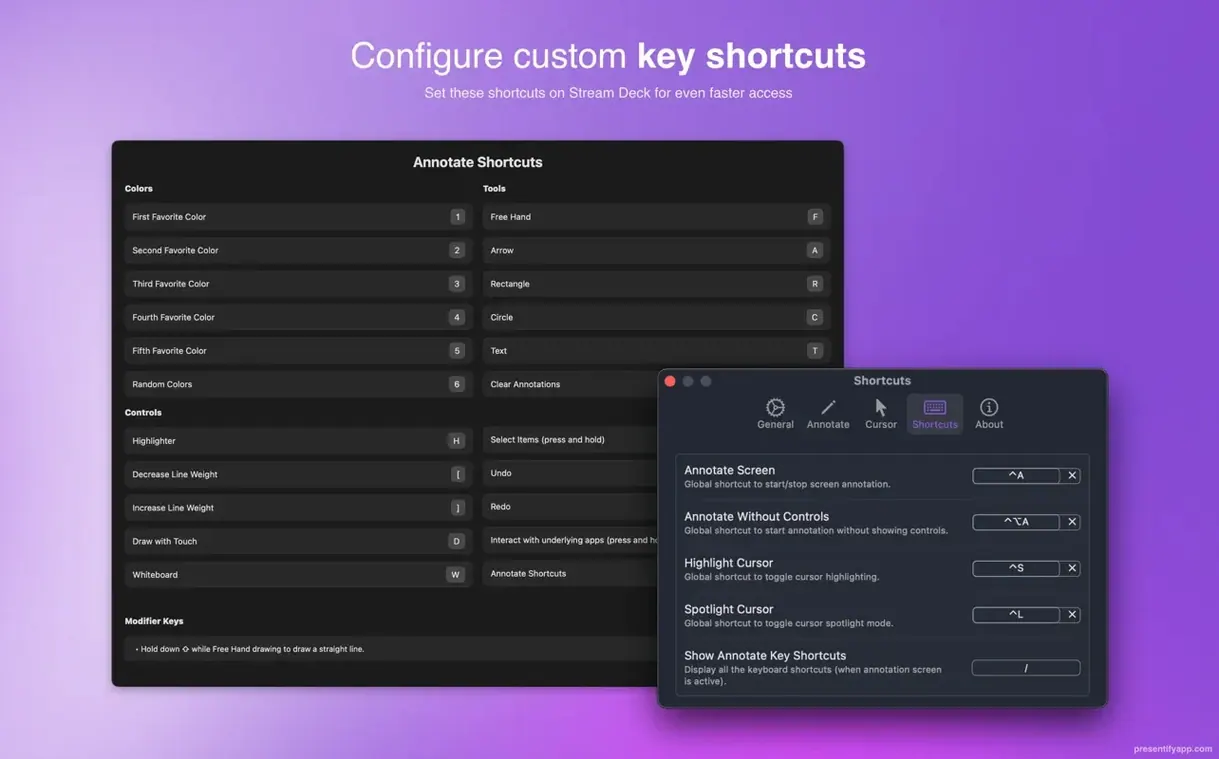
- Customise your keyboard shortcuts – assign one shortcut to toggle annotation mode and another to clear all drawings. It’s faster than clicking the menu bar icon mid-presentation.
Once these are dialled in, you barely think about the app – it just does what you need.
Fixes for the menu bar issues that catch people out
Even a well-designed menu bar app catches people out. Here are the issues I hear about most and what usually fixes them.
The app won’t draw after first launch
This is the most frequent hiccup. After you drag Presentify to Applications and open it, the overlay may refuse to respond. The fix is straightforward: quit the app using Activity Monitor (force quit if necessary) and open it again. The second launch resolves the permission handshake that sometimes stalls on first run.
Annotations don’t appear in full-screen mode
Presentify works in full-screen mode, but only if you start the app after entering full screen, or if you give it screen recording permission in System Settings. Go to System Settings > Privacy & Security > Screen Recording and ensure Presentify is checked. If it was already checked, uncheck it, recheck it, and relaunch the app.
Can’t interact with the app behind the overlay
By default, holding Fn lets you click through to the underlying application. If that doesn’t work, check that you haven’t remapped the Fn key in macOS keyboard settings. Some users also find that pressing Fn twice (or holding it longer) behaves differently – try a short, single press first.
Graphics tablet strokes feel laggy or don’t register
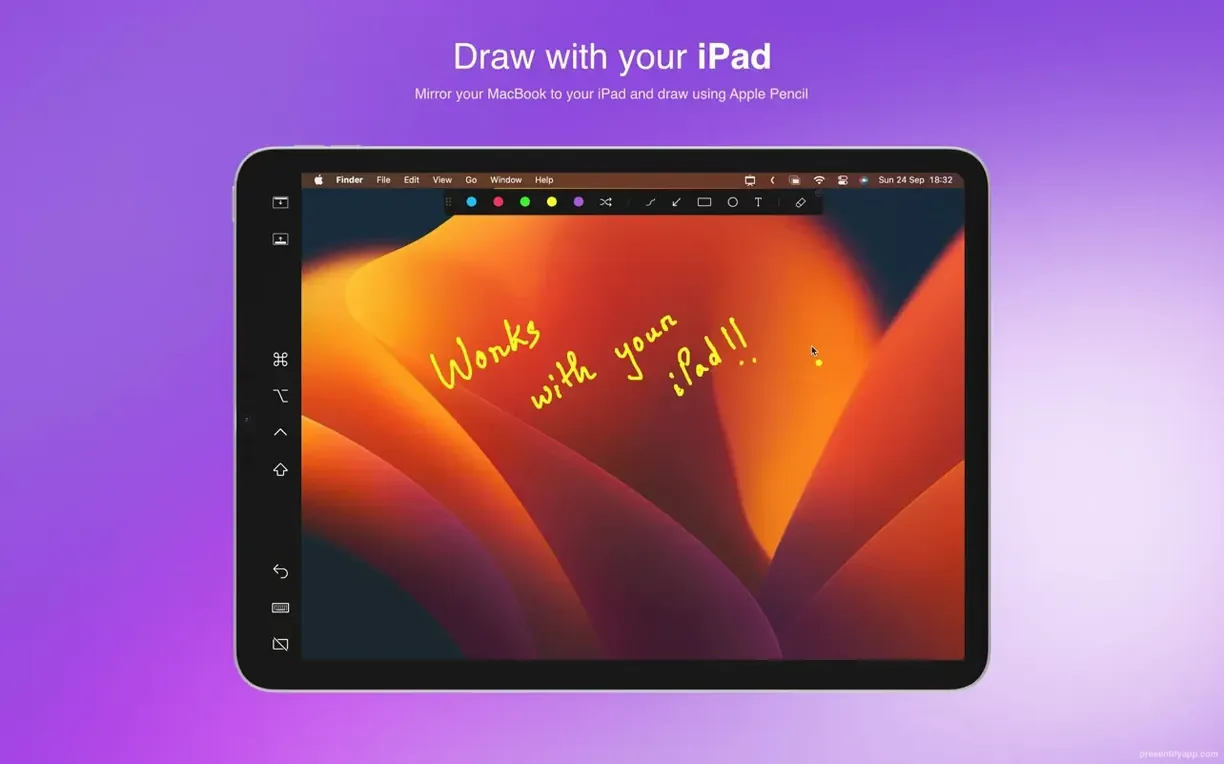
Presentify supports XP-Pen and Wacom tablets, but you need to make sure the tablet’s own driver is up to date and that the app has accessibility permission (System Settings > Privacy & Security > Accessibility). If strokes still feel delayed, reduce the drawing stroke width in Presentify’s preferences – thinner lines require less processing per frame.
Why online instructors and tutors find Presentify indispensable
Presentify is not a tool for everyone, but for certain workflows it becomes indispensable. The users who benefit most are:
- Online instructors and tutors – when you’re walking through a PDF worksheet, a diagram, or a line of code, being able to circle, underline, and highlight in real time keeps students focused. The automatic erasing means you don’t clutter the screen.
- Video creators who record tutorials – if you record your screen with OBS, ScreenFlow, or QuickTime Player, Presentify’s cursor highlighting and spotlight effects add production value without extra editing. You can draw attention to a menu item or a checkbox and the viewer sees exactly where to look.
- Developers doing code walkthroughs – a cursor that vanishes into dark syntax highlighting is useless. With Presentify, you can zoom into a specific function, circle a variable, and highlight the line you’re explaining. The app works over any window, including terminal sessions and IDEs.
- Anyone who presents via Zoom, Google Meet, or Skype – the app sits above the video call window, so your annotations are visible to remote participants. The spotlight effect also helps if you’re sharing a cluttered desktop and want to isolate one area.
- Teachers using Keynote in full screen – Presentify works on top of Keynote’s presentation mode, so you can annotate slides live. That is harder to do with Keynote’s built-in drawing tools, which are tied to the slide itself.
If your work never involves showing your screen to others, you probably don’t need it. If it does, it saves you from the awkward “can you see my cursor now?” dance.
Random gradient colours and other polish in version 8.1.3
Version 8.1.3 builds on a run of incremental improvements that make the app feel more polished. The main changes that affect daily use:
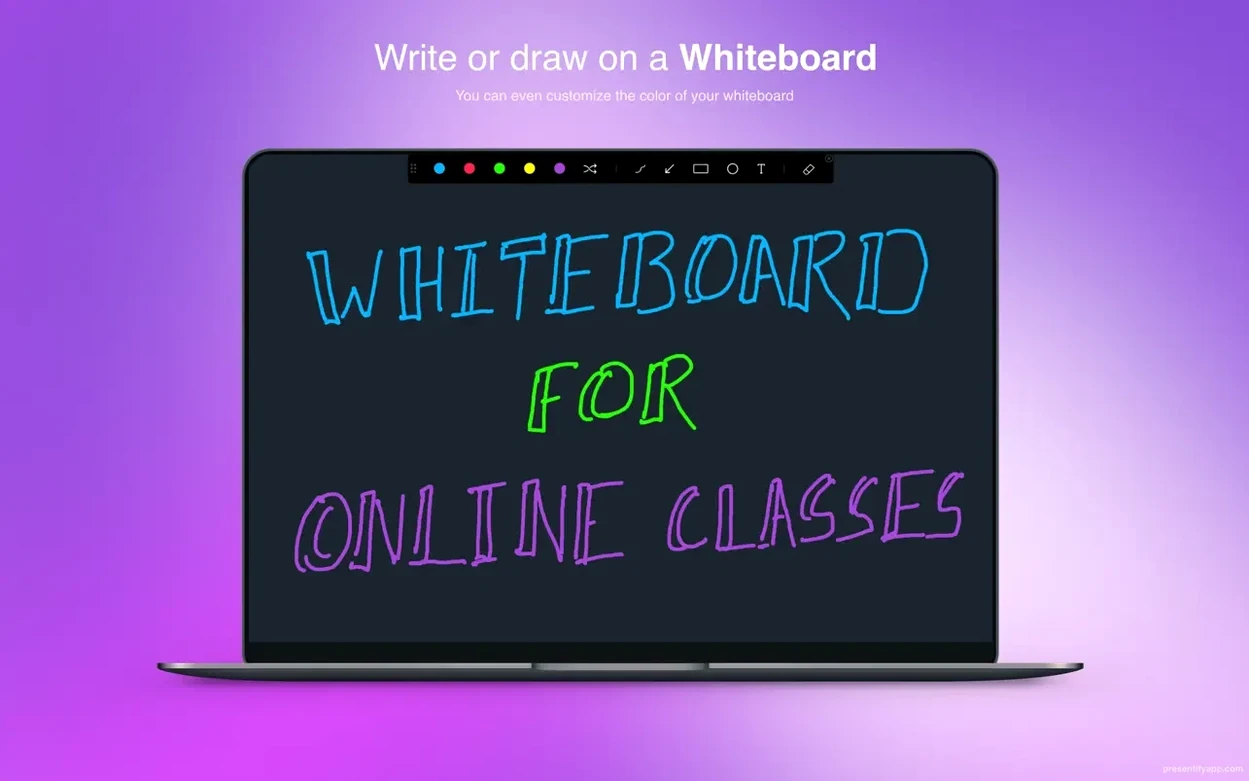
- Random gradient colours – earlier versions required you to pick a single colour for each drawing session. Now you can toggle random gradients, which cycle through colour combinations as you draw. It keeps slides visually engaging and saves you from manually changing colours between points.
- Highlight text without covering it – previous versions used a semi-transparent overlay that sometimes obscured the text underneath. The current highlight tool leaves the text readable while still drawing attention to it. This is a small change that makes a big difference when you’re annotating dense paragraphs or code.
- Multiple drawing shapes – you can now switch between freehand, straight lines, arrows, rectangles, and ellipses without leaving the annotation mode. Earlier versions only supported freehand drawing. The shape tools are especially useful for technical diagrams or UI mockups.
- Better full-screen and Keynote support – earlier builds sometimes required you to quit and restart the app when switching between full-screen spaces. Version 8.1.3 handles space transitions more reliably, so you can move from a full-screen Keynote presentation to a split-screen browser demo without the overlay dropping out.
- Text annotation – you can now type directly onto the screen during a presentation. This is useful for adding labels, short notes, or answers during a live class. The text box appears at your cursor position and accepts standard macOS text input.
None of these changes are flashy, but they accumulate into a tool that stays out of your way when you need it and gets out of your way when you don’t. For a free menu bar utility, that is the right balance.
Before it goes on the Mac
- macOS 13 or later
- Apple Silicon or Intel 64-bit
Questions from the room
Can I use Presentify with Zoom or Google Meet?
Yes, Presentify works as a visual layer over any app, including Zoom, Google Meet, and Skype, so you can annotate shared screens in real time.
Does Presentify support Apple Silicon Macs?
Yes, it supports both ARM (Apple Silicon) and Intel 64-bit Macs running macOS 13 Ventura or later.
Installing it on the Mac
Six megabytes is all Presentify 8.2.1 takes before it settles onto a Mac running macOS 13 or later, Apple Silicon or Intel 64‑bit. Three steps from download to working overlay.
- Open the downloaded disk image and drag the Presentify app into your Applications folder.
- Once copied, launch the app from Launchpad.
- Right after the first launch, quit Presentify via Activity Monitor, then open it again.
Notes from the control room
Sign in or open a catalogue account to leave a note.
No notes from the room yet. If you have used this build for a week, a short note helps the next person.