
LanScan 8.2.18 (Mac)
Updated
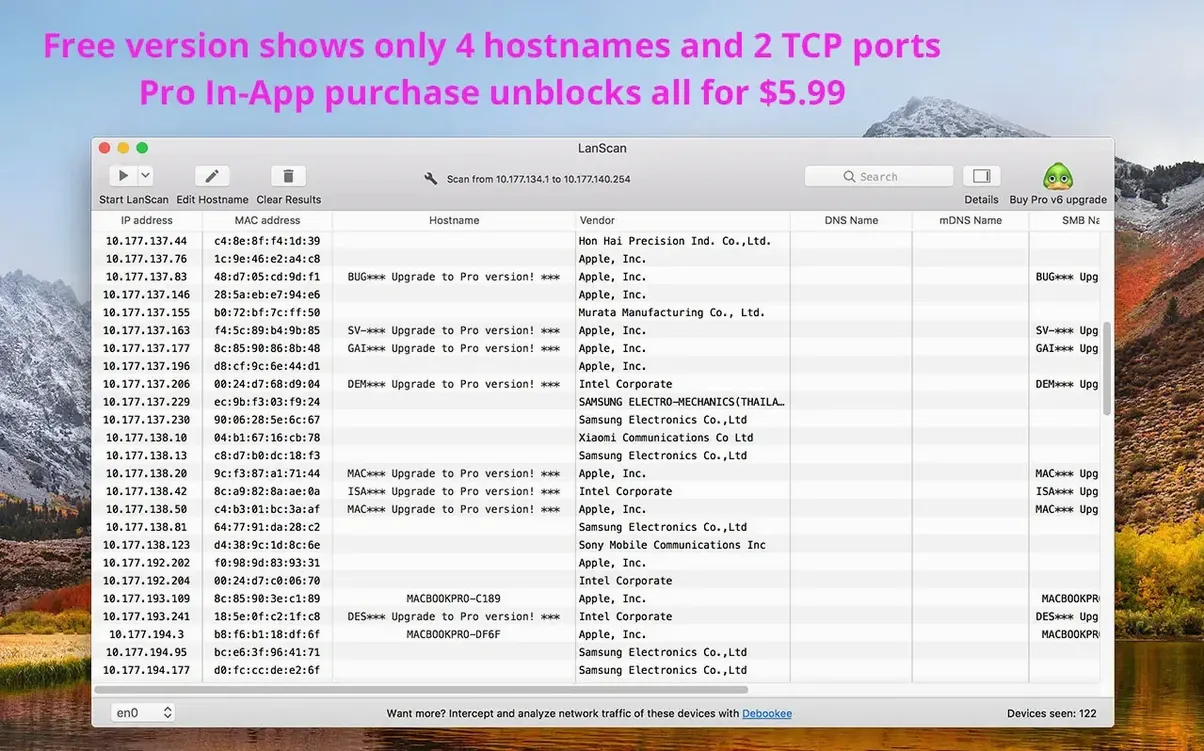
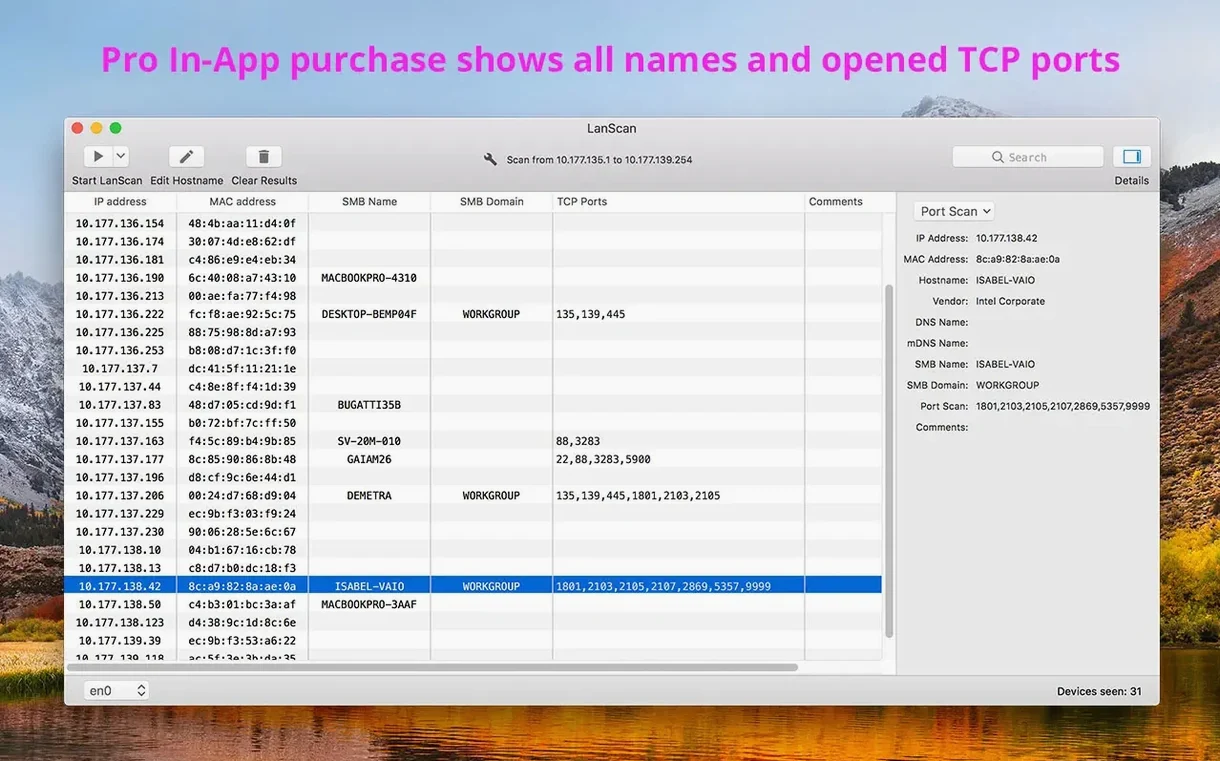
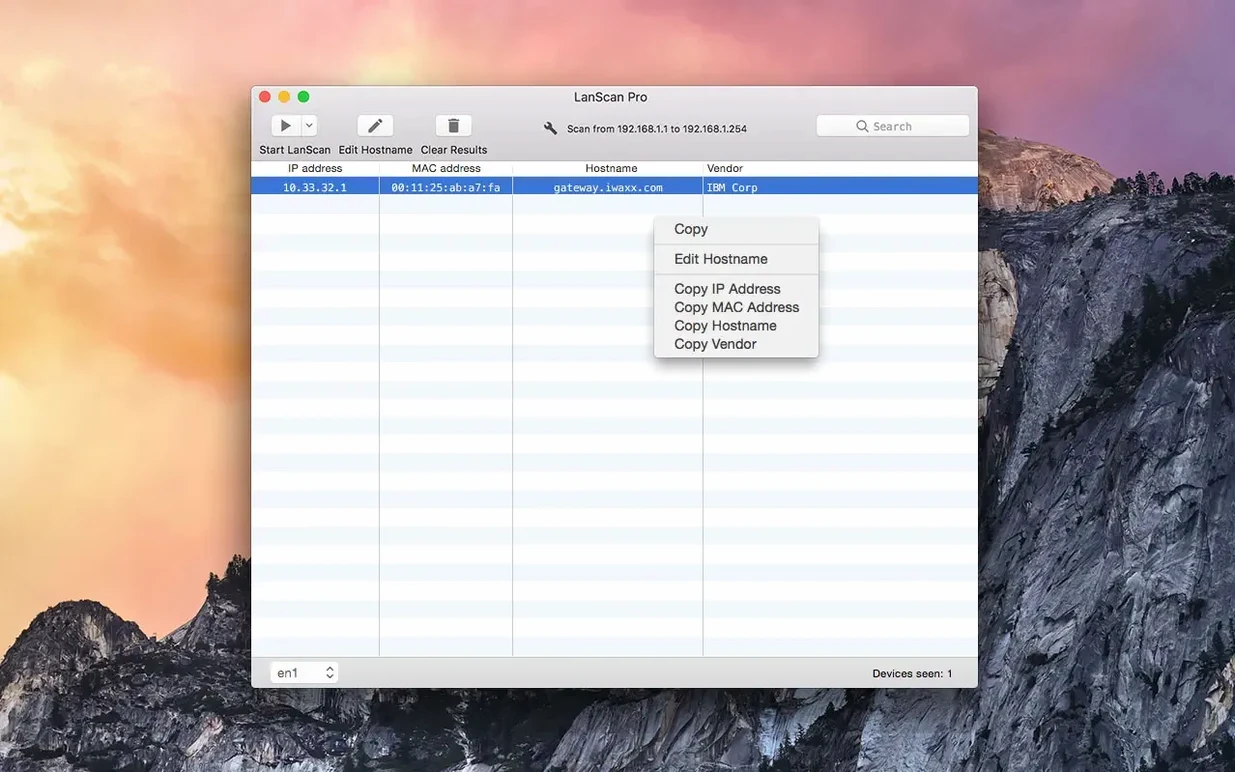
The catalogue note
LanScan 8.2.17 runs on any Mac with macOS 11 (Big Sur) or later, covering both Apple Silicon and Intel models. The application uses ARP packets for local network scanning and Ping, SMB, and mDNS packets for public range scans. It can scan from a single IP address up to the full IPv4 address space, and it works with IPv6 networks as well.
Workflow in five steps
- Launch the application — it discovers devices on your current subnet automatically using ARP packets.
- Review the device list: each entry can show up to four host names, an SMB domain if one is configured, and a custom comment you can add per device.
- Scan a different range by entering a target IP or CIDR range, or let the app scan the whole public IPv4 space.
- Open a device’s web interface or management page by using the custom URL feature — useful for routers or printers that have an admin panel.
- Export the results to a CSV file for documentation or further analysis.
The app remains a straightforward network discovery tool. No feature was removed in this version — what was there in 8.2 keeps working, and the interface has not been rearranged.
Adjusting the settings before your first scan
Open LanScan’s preferences and change two things right away if you manage more than one network regularly. First, check that the interface list matches what your Mac actually uses — the app detects AirPort, Ethernet and virtual interfaces automatically, but if you run parallel networks through a VPN or a Thunderbolt bridge, confirm each one is selected. Second, decide how aggressively you want host name resolution. DNS lookups are fast; mDNS and SMB queries take longer per device. For a quick inventory, disable mDNS and SMB in the scan options. For a thorough audit, leave all three enabled and let the scan run while you do something else.
A concrete workflow: mapping a small office network
- Connect your Mac to the office switch or join the guest Wi-Fi that you need to audit.
- Launch LanScan. It will start scanning the subnet it detects on the active interface. Wait for the initial sweep to finish — this uses ARP packets, so it completes in seconds even on a busy /24 subnet.
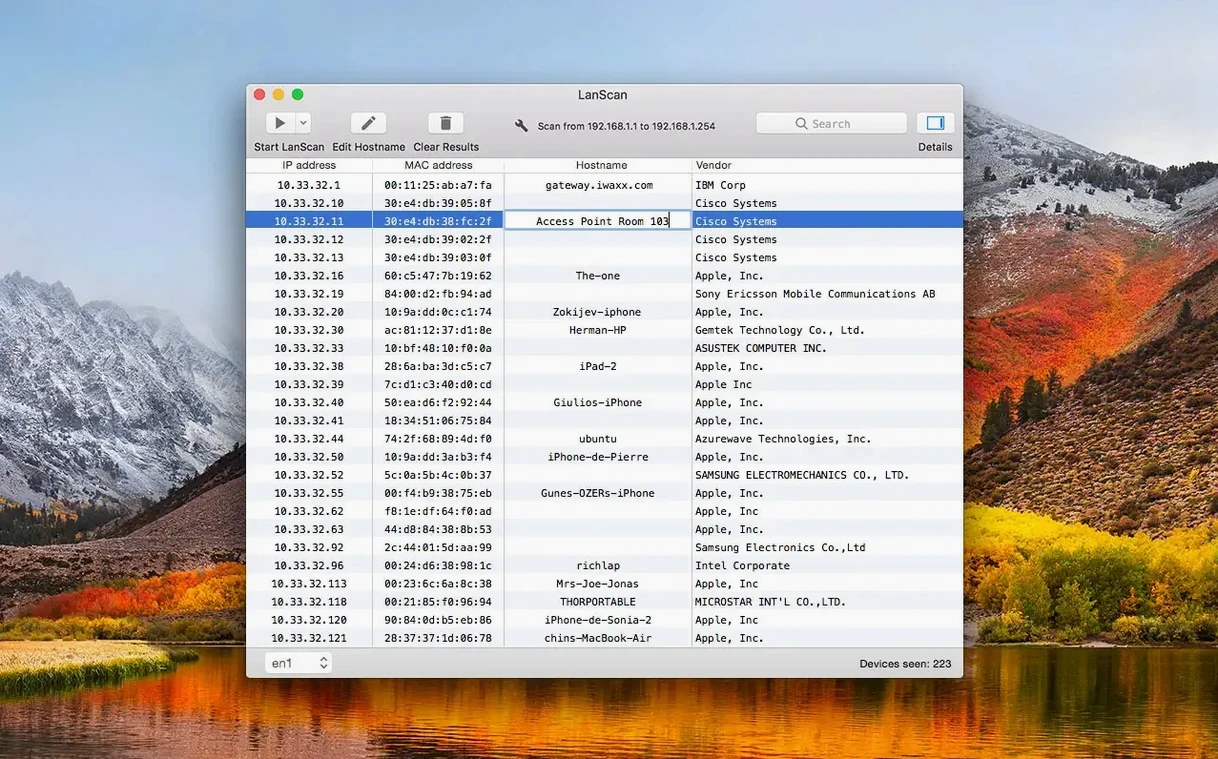
- Once the list populates, sort by vendor. Devices from the same manufacturer often cluster together. Assign a comment to each unknown device by double‑clicking the comment column and typing something like “meeting room printer” or “IoT sensor hub”.
- For any device that shows no host name, try the custom URL feature. If you know the device’s IP, set the URL template to
http://{ip}and click the link. A browser window opens to that device’s web interface, which often reveals its model and purpose. - Export the annotated list to CSV. Name the file with the date and location, for example
office_floor3_2025-04-11.csv. - Repeat the scan after making network changes — adding a new access point or reassigning static IPs — and compare the CSV exports to spot differences.
This sequence takes about ten minutes for a typical office subnet and gives you a documented, repeatable baseline.
Vendor name missing for new or small-manufacturer devices
Device shows no vendor name. The vendor lookup relies on the first three octets of the MAC address (the OUI). If the device is very new or from a small manufacturer, the OUI might not be in LanScan’s local database. The IP and MAC address are still correct — you can add the vendor manually in the comment field.
Scan finishes but lists only your own Mac. This usually means the interface selection is wrong. Go to preferences and verify that the active interface (for example, en0 for Ethernet or en1 for Wi‑Fi) is checked. If you use a USB‑C adapter, its interface name may differ from the built‑in Ethernet port. Uncheck all interfaces except the one you are actually connected through, then rescan.
Host names appear as IP addresses only. Some networks block mDNS or SMB traffic between subnets. If you are scanning a remote range (not the local subnet), the app falls back to DNS and Ping packets, which may not resolve names for devices that lack reverse DNS records. In that case, the IP address plus the vendor string is enough to identify most devices.
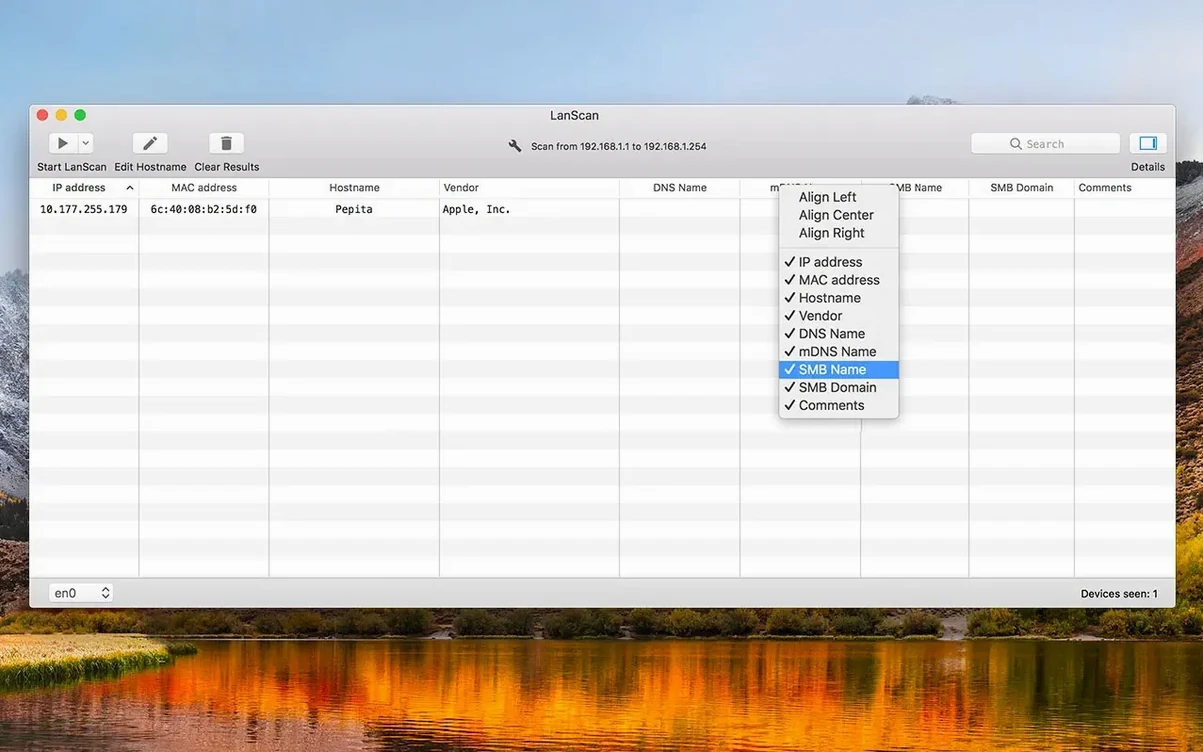
CSV export contains empty columns. LanScan lets you hide or show each column individually. Before exporting, open the column visibility menu and make sure every column you need — especially host name, vendor and comment — is set to visible. Hidden columns are omitted from the CSV output.
These are the issues I see most often when people first run the app. None of them are bugs; they are almost always a matter of interface selection or column visibility.
Changes in this build
LanScan 8.2.18 tightens up a few things I'd been hoping to see patched. The device fingerprint database picks up 17 new Apple entries — iPhone 18 Pro, iPhone 18 Pro Max, iPhone Duo, Apple Watch Series 12, Apple Watch Ultra 4, Mac Studio (M5 Max and M5 Ultra), Mac mini (M5 Pro and M6), AirPods 5, and Beats 360 all resolve by name now. The detail pane's public IP field refreshes on its own when a VPN connects or drops, which saves a manual rescan. Three crash points are fixed: scrolling through very long device lists, heavy mDNS or ping traffic, and disconnecting a VPN mid-session. macOS 12 is the new minimum.
Before it goes on the Mac
- macOS 12 or later
- Apple Silicon or Intel 64-bit
Questions from the room
Can LanScan scan IPv6 networks?
Yes — LanScan scans both IPv4 and IPv6 networks. The same ARP, Ping, SMB and mDNS logic applies to both protocols.
Does LanScan support custom comments for each device?
It does. You can add a custom comment to any discovered device, which helps label machines with their room, role or owner.
Installing it on the Mac
- Open the downloaded disk image.
- Drag the application to the Applications folder alias.
- Launch LanScan from Launchpad after the copy finishes.
Notes from the control room
Sign in or open a catalogue account to leave a note.
No notes from the room yet. If you have used this build for a week, a short note helps the next person.