
Home › Utilities › CleanShot X
CleanShot X 5.0.2 (Mac)
Updated
The catalogue note
CleanShot X is the kind of tool that finds its way onto the dock of anyone who regularly explains things visually — developers, support staff, educators, and people who just like tidy screenshots. It bundles capture, recording, and annotation into one app, so you don't have to juggle separate utilities.
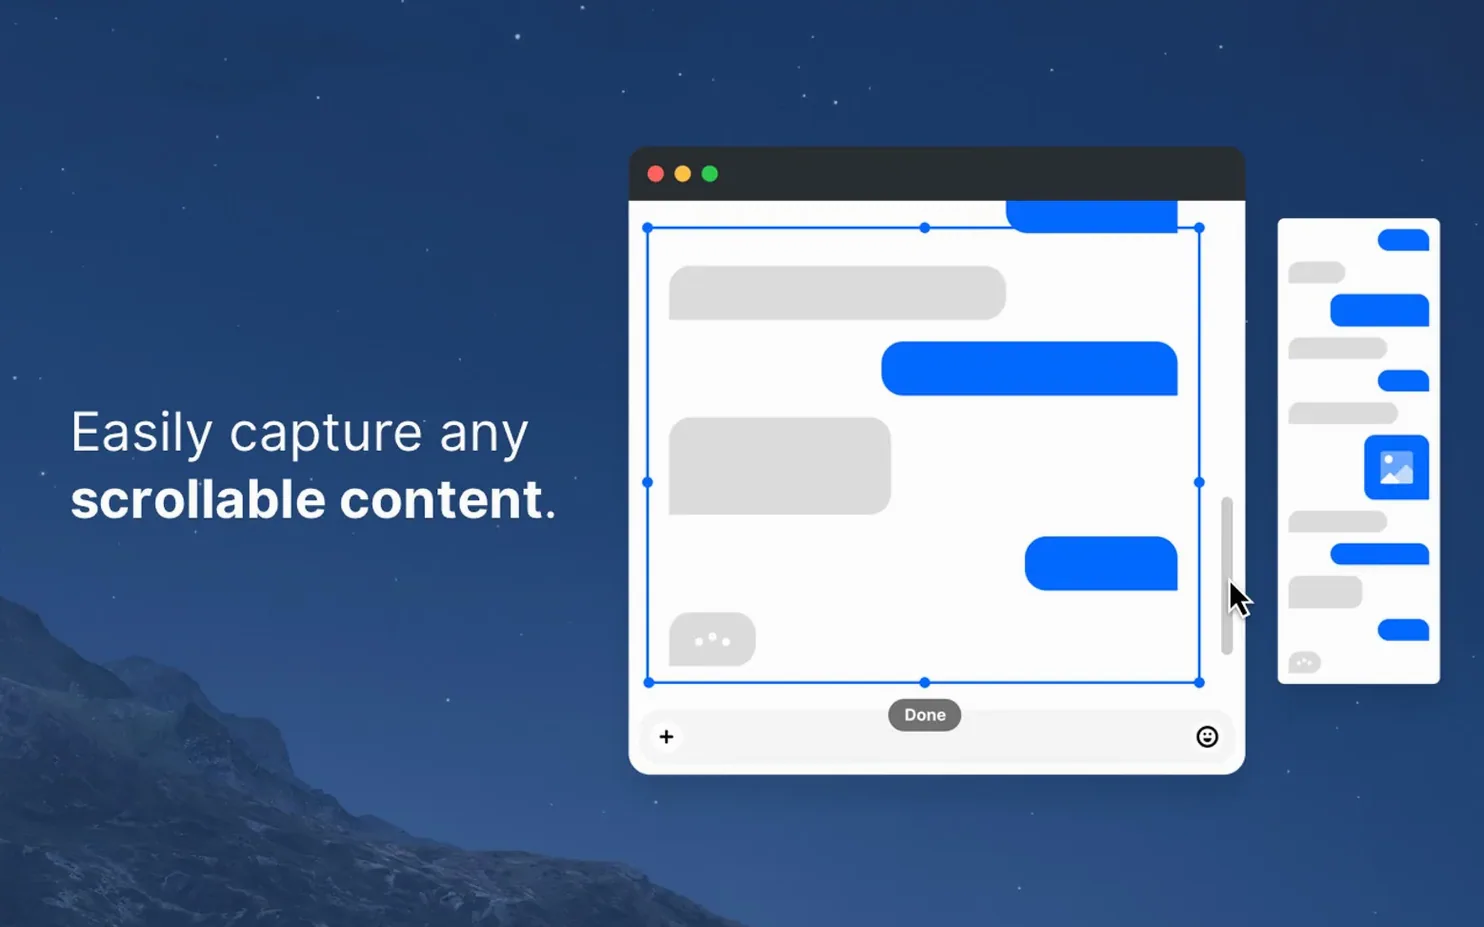
Captures areas, screens, windows, and scrolling content without switching tools
- Grabbing an area, a full screen, a single window, or a scrolling window without switching tools.
- Recording your screen and trimming the result in the built-in video editor.
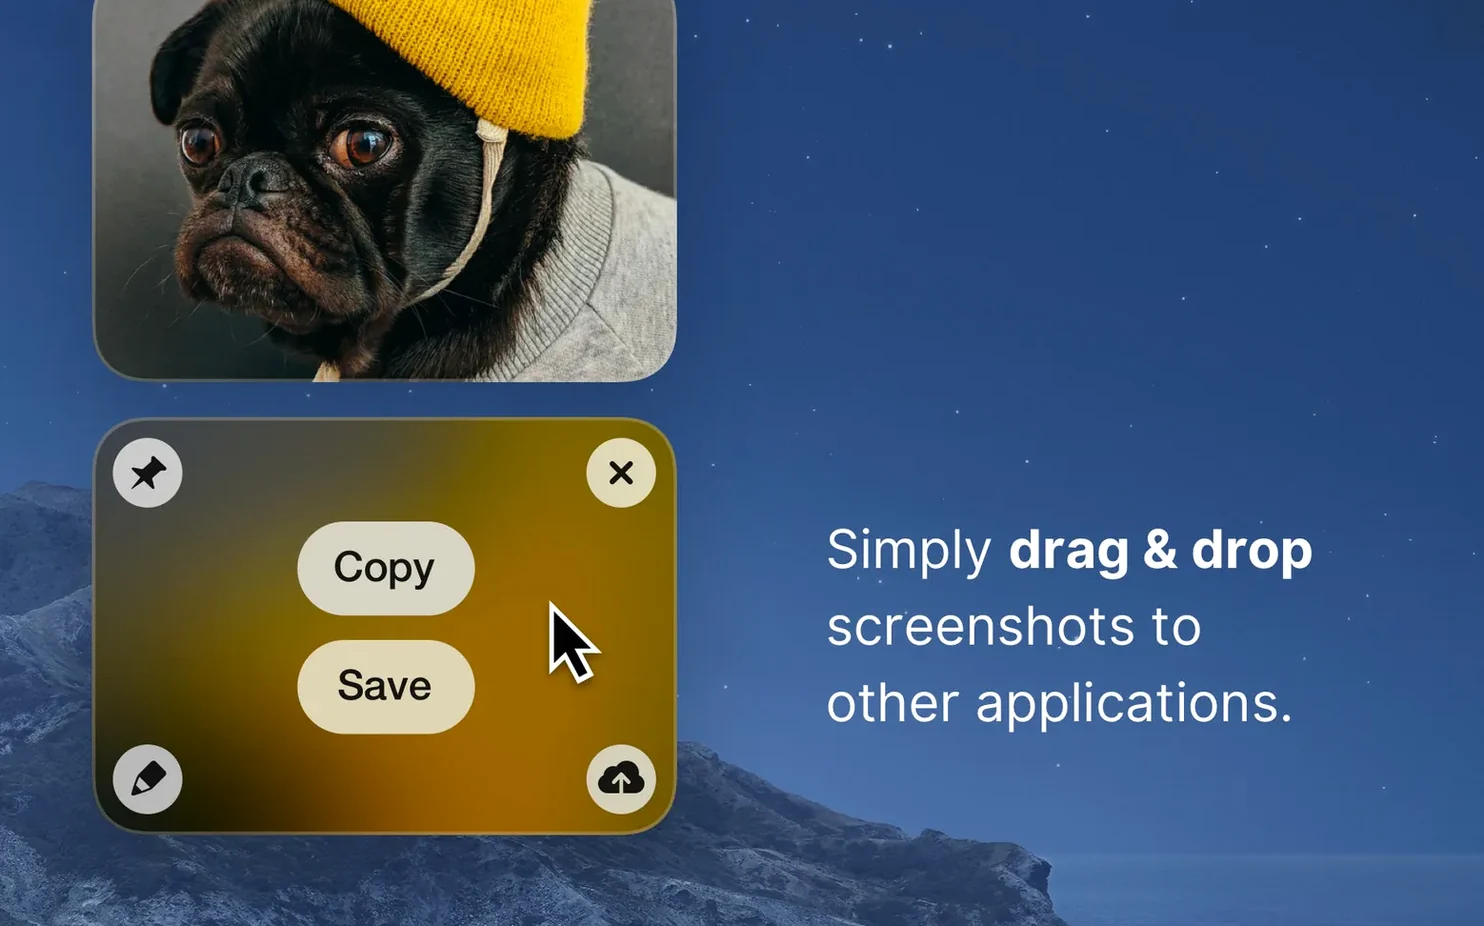
- Keeping a screenshot on top of other windows by pinning it — handy when you're comparing documents or following a tutorial.
- Cleaning up a capture by hiding desktop icons before you shoot.
- Adjusting resolution between Retina and standard when you need a smaller file or a crisper image.
- Setting a background behind the screenshot — a solid colour or an image — for presentation-ready shots.
Runs on macOS 11 or later on Intel and Apple Silicon Macs
- CleanShot X is a macOS app, and version 5.0.1 is a minor update with bug fixes and improvements.
- The interface is in English, and it runs on macOS 11 or later on both Intel and Apple Silicon Macs.
- You get screenshot tools and video editing in one package, but that means a larger install than a simple grab utility.
Saves captures to a folder instead of cluttering the desktop
CleanShot X's defaults work, but a few adjustments save time from day one. Open Preferences and look at these:
- Capture behaviour — The default saves every capture to a folder on the desktop. If you prefer a clean desktop, point the output folder to a dedicated directory, or switch to copying to the clipboard only. You can toggle this per capture later with a modifier key, but setting the default to match your workflow avoids extra clicks.
- File format — PNG is the default, which is fine for annotation work. If you share mostly on the web or in documents, JPEG or HEIC produce smaller files. For full-resolution Retina captures, the Retina checkbox in the capture panel matters more than the format.
- Floating thumbnail — After a capture, a small thumbnail appears in the corner of the screen. Clicking it opens the editor. If you find it distracting, you can set it to disappear after a few seconds or disable it entirely. I keep it on with a three-second delay.
- Menu bar icon — The icon can show the last capture or a simple camera. If you take many recordings, switch to the recording indicator so you know at a glance if a capture is in progress.
- Keyboard shortcuts — CleanShot X assigns its own shortcuts on install. They may clash with other apps. Open the shortcuts tab and remap anything that conflicts — the app picks up the changes immediately.
Ignore the floating thumbnail after an area capture
You will probably use the area capture most. Press the assigned shortcut, drag the selection, and release. The floating thumbnail appears — ignore it and go back to work. The file is saved. That is the basic flow.
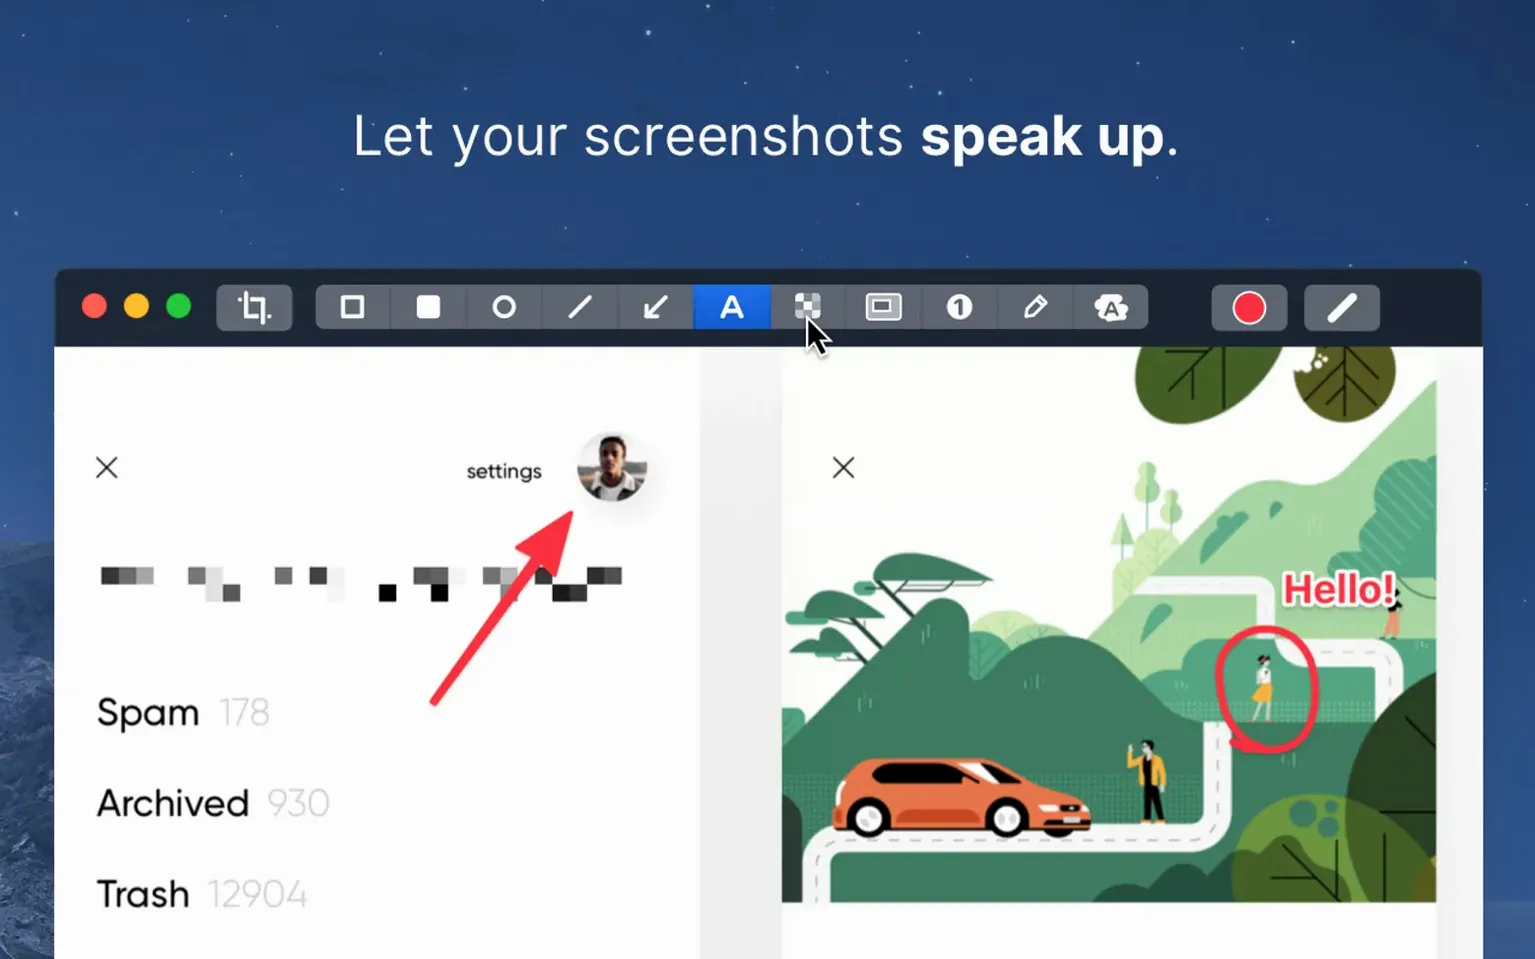
When you need to point something out, double-click the floating thumbnail to open the editor. The annotation tools are at the top: arrow, rectangle, text, blur. Select one, apply it, then press Cmd+S to save or Cmd+C to copy. The editor stays open for further edits.
For scrolling captures, start with an area selection, then click the scroll icon that appears. Scroll slowly and steadily — the app stitches the frames. If the result has seams, try a slower scroll or reduce the window size.
If you record video, remember that CleanShot X can pause and resume the recording. Use the pause button in the menu bar icon or the assigned shortcut. This is useful for demos where you need to switch windows without showing the transition.
The pinning feature is less obvious but more useful than it sounds. Capture a section of a page, click the pin icon in the editor, and the screenshot stays above all windows. You can resize the pinned image by dragging its edge. I use this when I need to type values from one document into another.
A workflow: creating a software tutorial from start to finish
This is a common task for anyone who writes documentation or records training material. CleanShot X handles the whole process without leaving the app.
- Plan the shot list — Write down the steps you want to show. This keeps recording focused and reduces editing later.
- Set up the screen — Close unrelated windows. Hide desktop icons using the CleanShot X menu bar icon. If you need a consistent background, set a solid colour in Preferences.
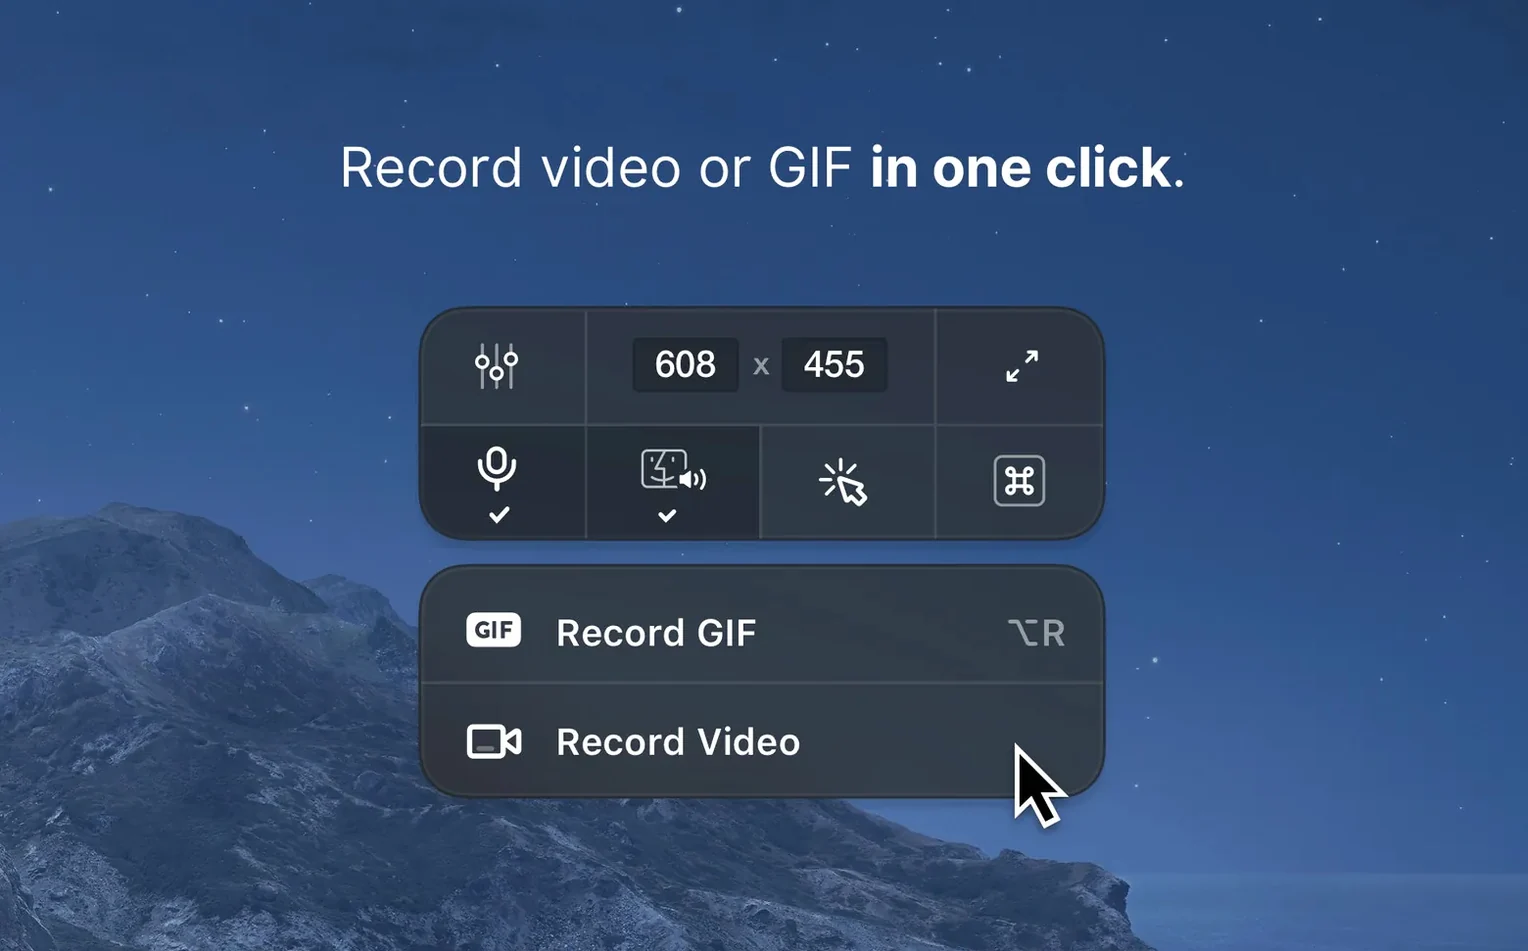
- Record the screen — Select the area you want to record. Choose video or GIF depending on your needs. Click record and narrate as you go. Pause between steps to avoid long takes.
- Trim the recording — After stopping, the built-in video editor opens. Drag the handles to cut the start and end. You can also remove sections in the middle by splitting the clip.
- Take static screenshots — For steps that need annotation, capture still images separately. Use the same area as the recording for consistency.
- Annotate the stills — Open each screenshot in the editor. Add arrows, text labels, or blur sensitive information. Keep the style uniform — same arrow colour, same font size.
- Assemble the final material — Export the video and save the annotated images. You can now drop them into a document, a presentation, or a video editing timeline.
The whole process stays inside CleanShot X except the final assembly. No need to open a separate image editor or video trimmer.
Deleting yesterday's captures from the default save folder
I start the day by checking my screen capture folder from yesterday. CleanShot X saves everything there by default, so I delete the ones I no longer need. Then I open the app's preferences to verify the output folder is set to the project directory I am working on today.
Mid-morning, I get a request to explain a bug to a colleague. I press the area capture shortcut, drag a rectangle around the error message, and double-click the floating thumbnail. I add a red arrow pointing at the error and a text box with a short description. I copy the image to the clipboard and paste it into the chat. The whole thing takes about twenty seconds.
After lunch, I need to document a setup process for a new tool. I start a screen recording, selecting the terminal window and the browser side by side. I record the steps, pausing when I need to type commands. When I finish, I trim the start and end in the video editor and export a short clip.
Later, I am comparing two versions of a design mockup. I take a screenshot of each and pin them side by side. I resize the pinned images to fit the screen and switch between the underlying windows to check details. When I am done, I close the pinned images with a click.
Before leaving, I set a timer for a full-screen capture of the desktop. This is a habit from years of maintaining a visual log of my workspace. The timer gives me time to arrange the windows the way I want them.
That is a typical day. CleanShot X is open in the background, accessible by shortcut, and rarely requires more than a few seconds of attention per task.
CleanShot X versus the built-in macOS screenshot tool
CleanShot X is not the only screen capture tool on macOS. Here is how it relates to three common alternatives.
macOS built-in screenshot tool — The system tool (Cmd+Shift+4 etc.) has improved over the years. It captures areas, windows, and recordings. Its editor is basic: you can draw, add text, and crop. CleanShot X adds scrolling capture, pinning, a more capable editor with blur and annotation, and the ability to hide desktop icons. If you only need simple captures, the built-in tool is enough. If you regularly annotate or record, CleanShot X saves time.
Snagit — Snagit has been around longer and offers a wider set of editing tools, including step-by-step image creation and video effects. It also supports a library of templates. However, Snagit's interface feels heavier, and the app takes longer to launch. CleanShot X is lighter, launches faster, and its editor is more streamlined for quick annotations. Snagit is better for polished, multi-step tutorials; CleanShot X is better for fast, everyday captures.
Shottr — Shottr is a lightweight screenshot tool focused on speed and small file size. It has a scrolling capture feature and a simple editor. It does not support video recording or pinning. Shottr is a good choice if you want a minimal tool for still captures only. CleanShot X includes video and GIF recording, which Shottr lacks, and its editor is more feature-rich. If you never record your screen, Shottr is a valid alternative. If you do, CleanShot X is the more complete package.
Each tool has its strengths. CleanShot X sits in the middle: more capable than the built-in tool and Shottr, lighter than Snagit. For most Mac users who capture screenshots and recordings regularly, it is a balanced choice.
Sets the output folder and capture behavior before you start
- Clicking it opens the editor.
Focus on the area capture shortcut and the floating thumbnail
The file is saved. That is the basic flow.
A workflow: creating a software tutorial from start to finish
Changes in this build
CleanShot X 5.0.2 fix arrived. The developer keeps the full rundown on their own release notes page, so point a browser at cleanshot.com for the specifics.
Before it goes on the Mac
- macOS 11 or later
- Apple Silicon or Intel 64-bit Mac
Installing it on the Mac
A quick 46 MB grab for macOS 11 and later, on Apple Silicon or Intel hardware. Three steps and the capture tools are sorted.
- Open the downloaded disk image.
- Drag the CleanShot X app icon into the
Applicationsfolder shortcut. - Once the copy finishes, launch it from the Applications folder or via Launchpad.
Notes from the control room
Sign in or open a catalogue account to leave a note.
No notes from the room yet. If you have used this build for a week, a short note helps the next person.
Also filed under Utilities
The whole Utilities rack




A note on accounts
An account stores favorites and comments. The catalogue is readable without one. A download on a program page is the installer as filed, not a licence for the software.
When a build stops installing cleanly, or the size stops matching what the developer ships, the entry comes down until I have checked it again on the studio Mac.