Home › Utilities › Camo Studio
Camo Studio 2.9.0 (Mac)
Updated
The catalogue note
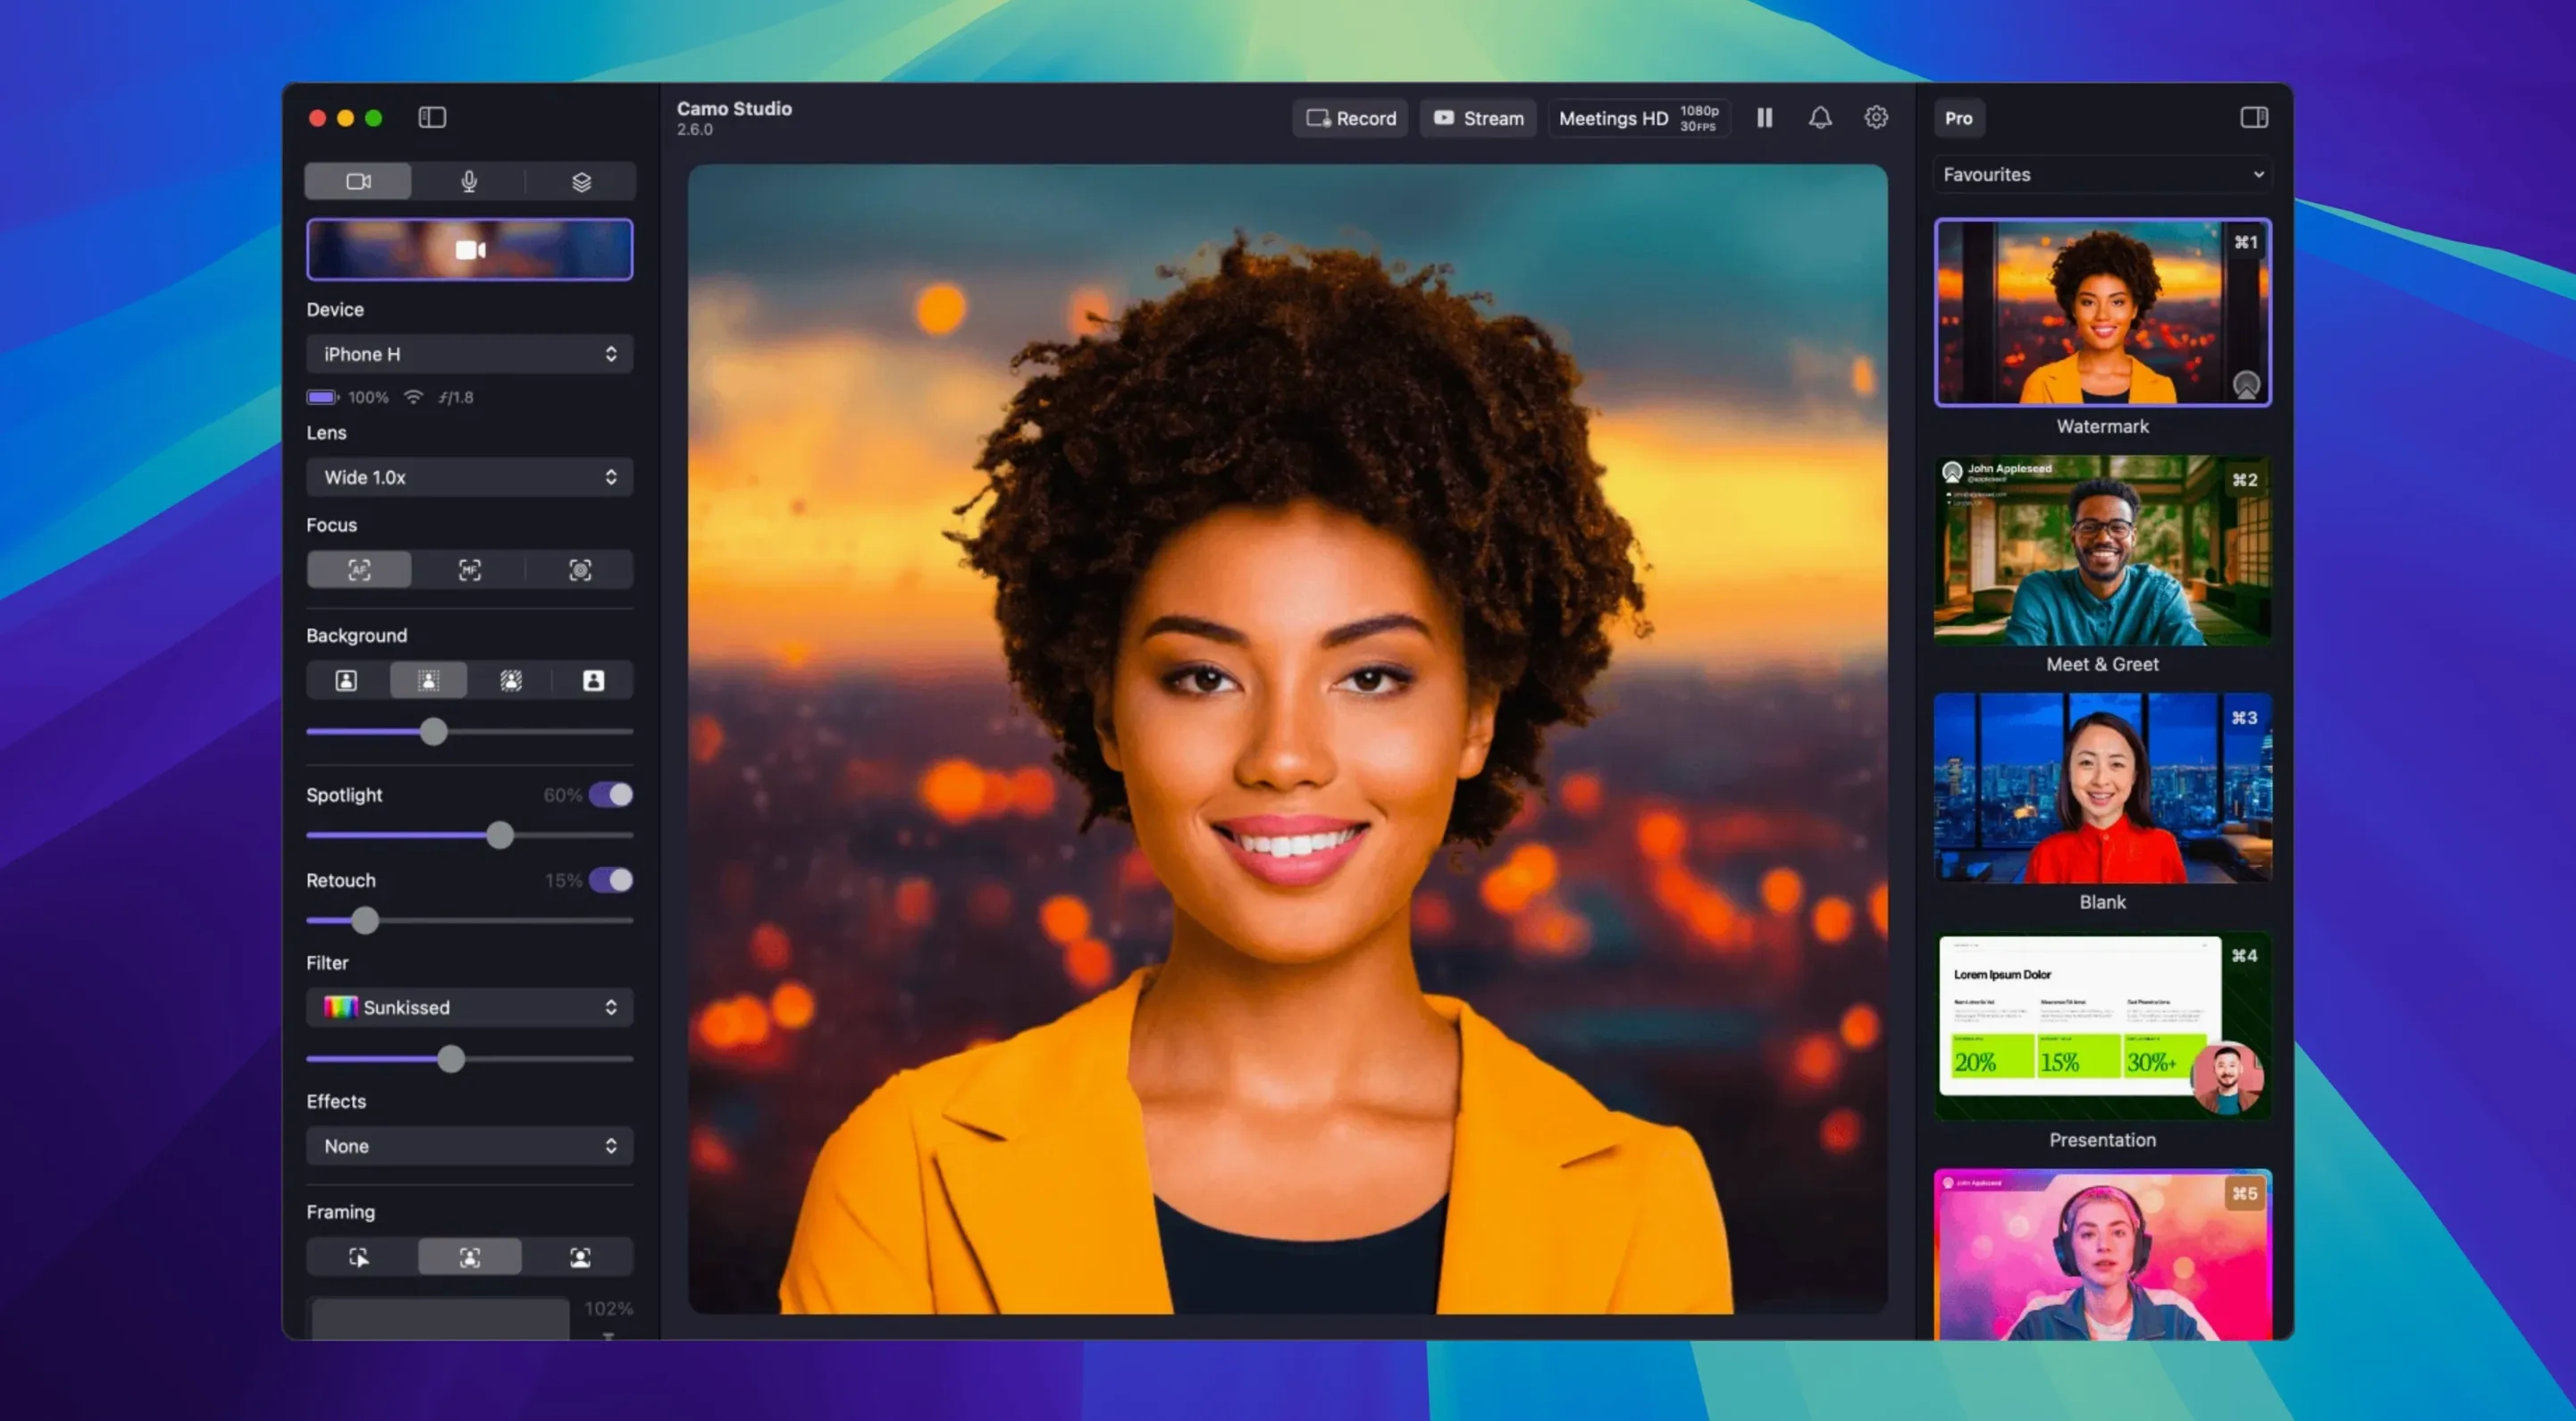
Dual-format streaming and recording landed in Camo Studio 2.9.0 for macOS, which is the kind of update you notice when you're juggling a Zoom call and a local capture at the same time. The app takes a phone camera and treats it as a proper studio input, with manual focus, exposure, white balance and zoom all available before the signal hits your computer.
| Detail | Value |
|---|---|
| Developer | Reincubate Ltd. |
| Version | 2.9.0 (25534) |
| Category | Utilities |
| macOS | 12.3 or later |
| Architecture | Apple Silicon, Intel 64-bit |
| Language | English |
Video processing happens on the phone, so the Mac only receives the finished frames. Portrait mode gives you bokeh without a DSLR, and 18 built-in filters plus LUT file support cover the rest of the look. The interface is English, and it runs on both Apple Silicon and Intel Macs, though it won't work on macOS Tahoe.
Adjust resolution and video controls for daily use
Once Camo Studio is installed and your phone is connected, a few adjustments make the day-to-day experience noticeably better. The defaults work, but they're aimed at the broadest possible setup.
Open the video controls and check the resolution. The app can go up to 4K UHD at 60 FPS, but your call platform might not need that. Switch to 4K only when you're recording locally.
White balance and exposure are worth setting manually if your room has mixed lighting. Auto works, but it hunts when you move. Lock both to a fixed value once the frame looks right. The same goes for focus — set it once and leave it unless you're changing distance to the camera.
Digital image stabilisation is on by default in most modes. If your phone is on a tripod or a solid mount, turn it off. It crops the frame slightly and can add a subtle latency that you don't need when nothing is moving.
The Video Call mode adjusts lighting and contrast automatically. It's useful for dark rooms, but in a well-lit space it can flatten the image. Try it on and off before your first call and pick whichever looks more natural on screen.
Camo Studio balances simplicity and depth versus EpocCam
There are several ways to turn a phone into a webcam on macOS, and each takes a different approach. Camo Studio sits somewhere between simplicity and depth.
EpocCam does the same basic job — phone as webcam — but its controls are sparser. You get resolution switching and a few filters, but no LUT support, no overlays, and no per-scene layers. Camo Studio's scene system with text, logos and web overlays puts it ahead for anyone streaming or recording tutorials. EpocCam is lighter to run, but you trade flexibility.
Continuity Camera is Apple's own solution. It activates when you mount your iPhone near the Mac and works without any separate app. The image quality is good, and the built-in Desk View mode is clever. But you get almost no manual control: no exposure lock, no white balance, no zoom, no LUTs. Camo Studio gives you those dials back. If you need the phone to behave like a proper camera, not just a better webcam, the extra controls matter.
NDI HX Camera is a different category — it sends video over the network for production use. It's aimed at multi-camera setups and live production, not at a single user on a Zoom call. Camo Studio fills the gap between that and Apple's minimal approach. It's more configurable than Continuity Camera and more practical than an NDI workflow for one person at a desk.
Dual-format streaming and recording changed how you work
The 2.9.0 update brought four changes that affect how you work day to day.
- Dual-format streaming and recording — you can now stream to a call in one format while recording locally in another. Previously you had to pick one. This matters if you want a lightweight stream for the meeting but a high-bitrate local file for editing later.
- Isolated recordings — the app can save separate audio and video files alongside the combined one. Useful if you plan to edit the audio separately or re-sync in post.
- Audio noise reduction — a new filter that cleans up background noise before it reaches the call or the recording. It runs on the phone, not the Mac, so it doesn't add CPU load on your computer.
- Control from AI agents — the app now accepts commands from external automation tools. This is aimed at streamers who use bots or scripts to change scenes or toggle effects without touching the interface.
None of these change the core workflow dramatically, but the dual-format and isolated recording options remove two common frustrations for anyone who records calls for later editing.
Use a wired connection and set up three scenes from day one
Start with a wired connection. The phone also stays charged, which matters for longer sessions.
Set up two or three scenes early. One for talking head, one for screen sharing with a small camera overlay, and one for recording with a logo or lower third. The scene system with layers lets you build these once and switch with a click. It saves time compared to rearranging elements during a live call.
If you use background replacement, test it in your actual lighting before the first meeting. The virtual green screen works best with even lighting behind you. A window in the frame can confuse it. Portrait mode for bokeh is less demanding on the phone and often looks cleaner for a simple background blur.
AI face retouching is subtle by design. Turn it on and check the preview. If you're on a low-resolution call, the effect may be harder to see. On a 4K recording it's more noticeable. Adjust it per scene, not globally, so you can use it for close-ups and leave it off for wider shots.
Finally, keep the phone's screen unlocked while Camo Studio is active. Some phones dim or lock after a few minutes even when connected, which interrupts the video feed. A quick setting change on the phone to prevent auto-lock during the session saves that hassle. The same applies if you're using a tablet as the camera source — disable sleep while the app runs.
Changes in this build
- Dual-format streaming and recording for macOS
- Isolated recordings for macOS
- Audio noise reduction for macOS
- Control from AI agents for macOS
Before it goes on the Mac
- macOS 12.3 or later
- Apple Silicon or Intel 64-bit
- English interface
Installing it on the Mac
- Open the downloaded disk image.
- Drag Camo Studio to the Applications folder shortcut.
- Once the copy finishes, launch the app from Launchpad.
Notes from the control room
Sign in or open a catalogue account to leave a note.
No notes from the room yet. If you have used this build for a week, a short note helps the next person.