Bartender 7.0.4 (Mac)
Updated
The catalogue note
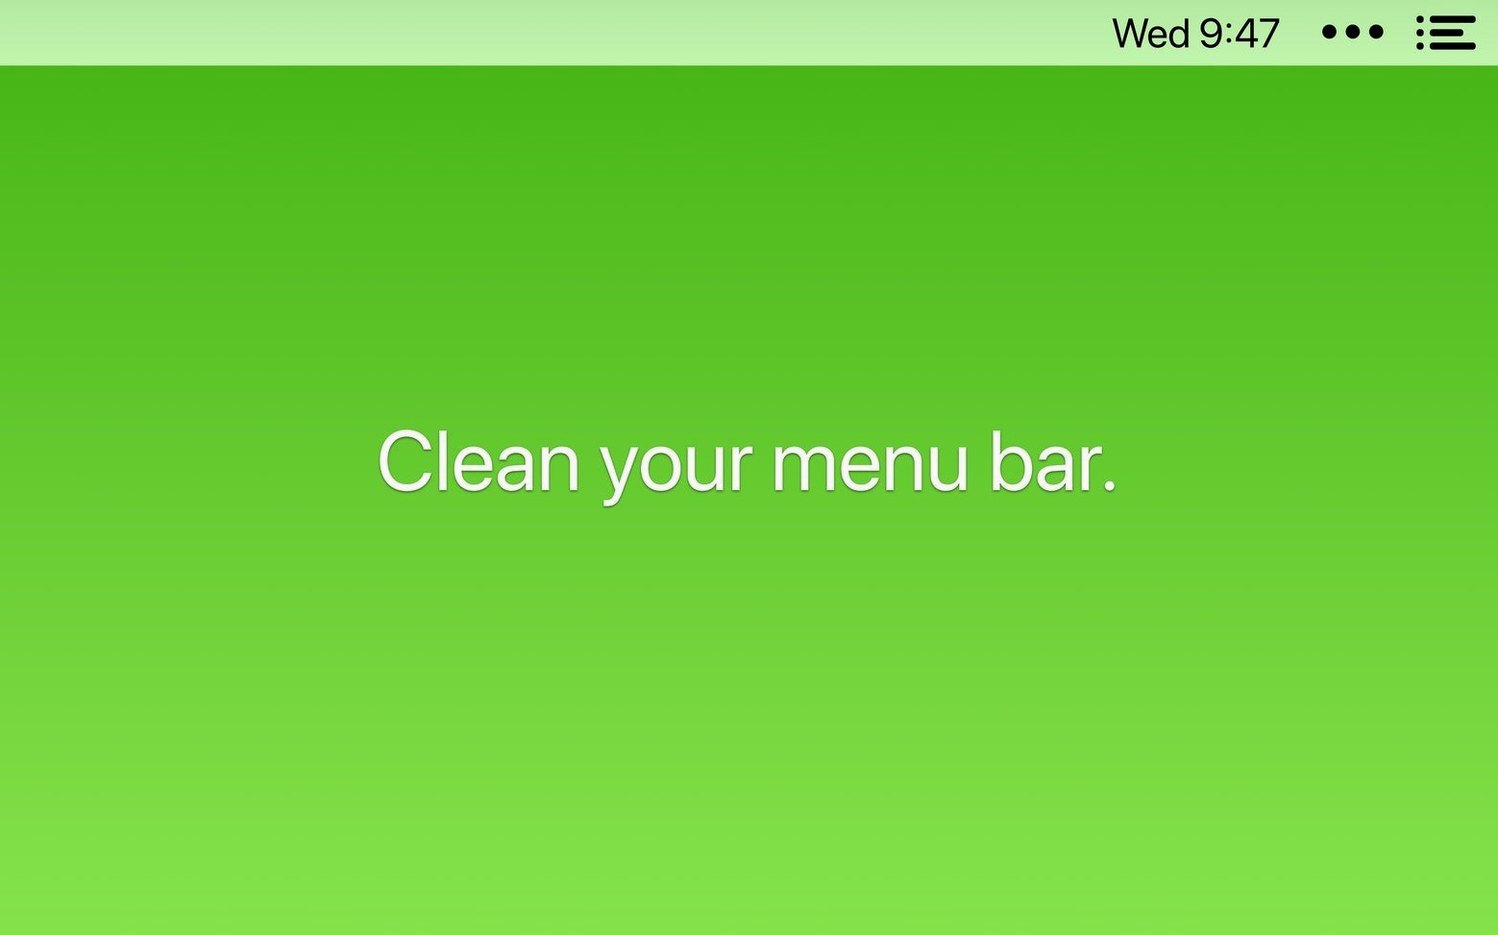
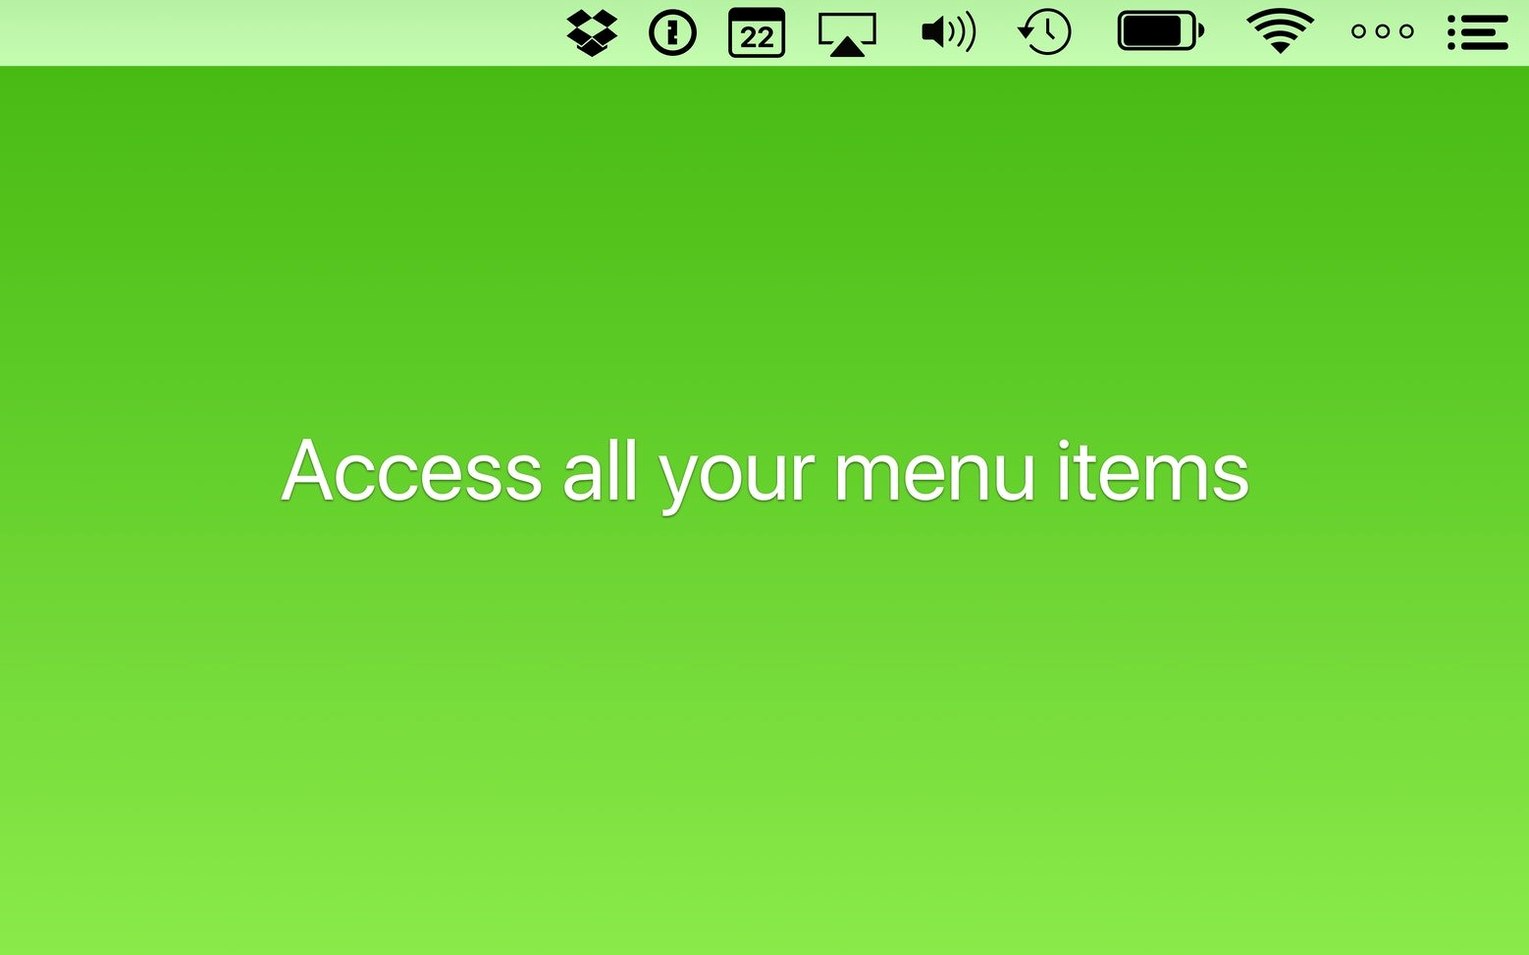
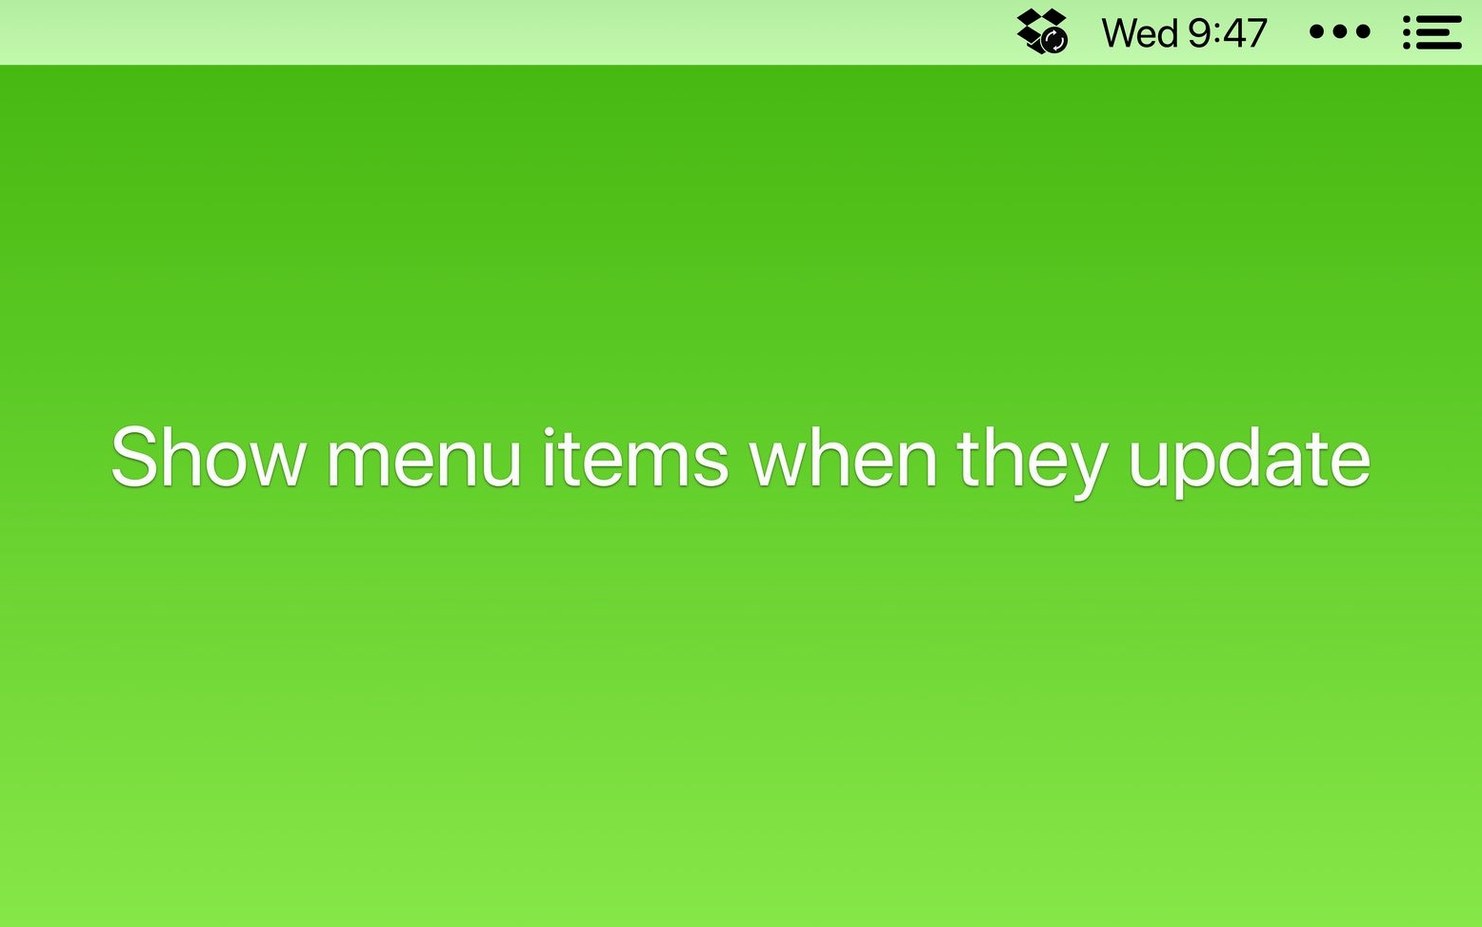
If you already use a launcher or a window manager to keep your Mac tidy, Bartender fills the one spot those tools leave alone: the menu bar. It lets you decide which icons appear, which hide until you click the Bartender bar, and which only show during specific activities like syncing or file transfers.
| Detail | Spec |
|---|---|
| Version | 7.0.4 |
| Developer | Surtees Studios Ltd |
| macOS | macOS 27 (Intel & Apple Silicon) |
| Language | English |
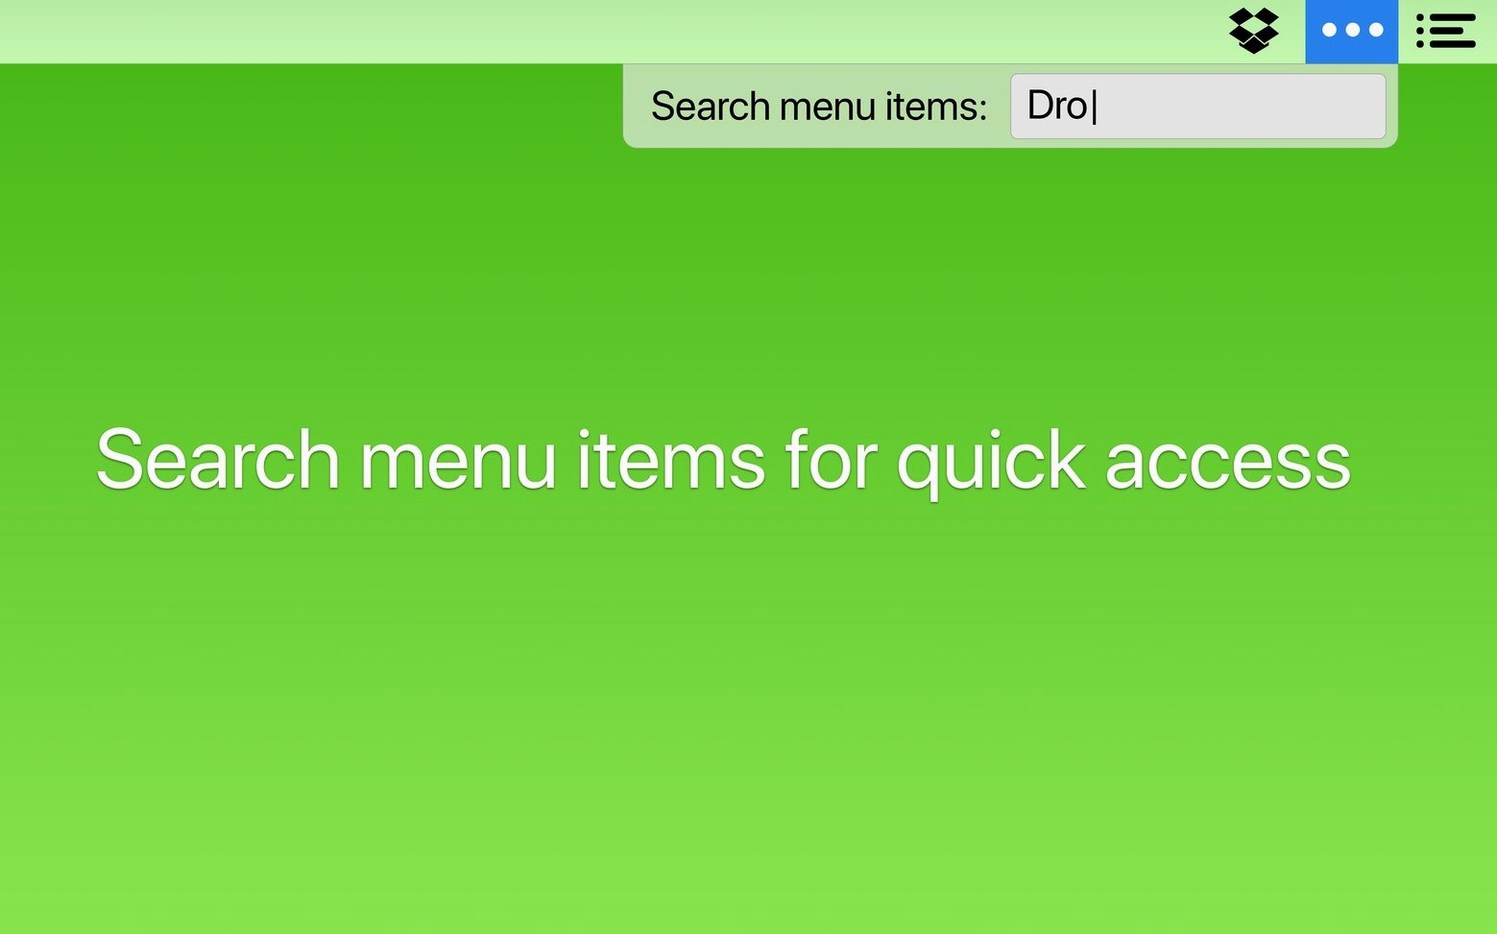
Bartender 7 does not require screen recording permission, which saves a trip to System Settings. You reorder items by dragging, trigger show/hide rules based on app state, and navigate the hidden bar entirely with arrow keys and Enter. Keyboard shortcuts open the menu directly, and Shortcuts app intents let you build automations around visibility. The 7.0.4 release specifically addresses items shifting after restart and icons failing to appear — both annoyances that crop up when you rely on a curated bar every day.
Slots into a setup with window managers and launchers
Bartender slots into a setup that already includes a window manager like Rectangle or Magnet, a launcher such as Alfred or Raycast, and maybe a clipboard history app. None of those touch the menu bar directly, so there is no conflict. The Shortcuts integration in version 7 is the bridge that connects Bartender to the rest of your automation: you can build a shortcut that hides your messaging icons during a Focus mode, or reveals your audio interface control panel when a certain app opens. The app intents are basic — show, hide, toggle — but they are enough to wire menu bar visibility into the same Shortcuts workflows you already use for file management or system settings.
Bartender also respects the standard macOS menu bar behaviours. If you use multiple displays, each screen gets its own Bartender bar, and items stay on the display where you placed them. This matters more than most people expect: a second monitor with its own set of icons stops being a mirror of the primary bar and becomes a dedicated workspace for the apps that live on that screen.
Stands apart from other menu-bar utilities
Bartender versus Hidden Bar
Hidden Bar is free and open-source, and it does one thing: it hides menu bar items behind a small arrow icon. You click the arrow, the hidden items slide out. That is the entire feature set. There are no triggers, no search, no keyboard navigation, no reordering of items, and no Shortcuts support. Hidden Bar works fine if you only need to collapse a few icons and never touch them again. Bartender gives you control over when and how items appear, not just whether they hide.
Bartender versus Dozer
Dozer is another free alternative, also open-source. Like Hidden Bar, it collapses items behind a dot that you click to toggle visibility. Dozer is lightweight and runs on older macOS versions, but it has not seen active development in years. It cannot reorder items, it does not support triggers based on app state, and there is no keyboard-driven access to hidden items. For a user who simply wants fewer visible icons, Dozer works. For someone who wants to search for a specific menu bar item, hide Bartender's own icon, or build automations around visibility, Bartender is the only option that covers those cases.
Bartender versus Vanilla
Vanilla sits somewhere between the free tools and Bartender. It lets you hide items behind a single bar and reorder them, but it requires screen recording permission to function, which Bartender 7 avoids entirely. Vanilla also lacks triggers, search, and keyboard navigation. For most users who manage more than a handful of menu bar items, the extra control in Bartender justifies the difference.
Drags audio icons into groups for a clean workspace
Start with a fresh install of Bartender 7 on macOS 27. Open the app from Launchpad after copying it to Applications — it places a small icon in the menu bar immediately.
- Drag items into groups. Click and drag each menu bar icon into one of three zones: the main bar (always visible), the Bartender bar (visible when you click the Bartender icon or trigger a shortcut), or the hidden section (never visible unless you search for it). For an audio setup, I keep the clock, Wi-Fi, and volume in the main bar. Monitoring software, audio interface utilities, and cloud sync icons go into the Bartender bar. Notification centre and rarely used system icons go to hidden.
- Set triggers for audio apps. Open Bartender's preferences and add a rule: when Logic Pro or Ableton Live launches, show the audio interface's menu bar icon. When those apps quit, hide it again. This way the icon only appears when you actually need to check sample rate or buffer size, and stays out of sight the rest of the time.
- Enable keyboard access. Assign a global shortcut to open the Bartender bar. I use Cmd-Option-B. From there, arrow keys navigate the hidden items and Enter selects one. This is faster than reaching for the mouse, especially when you are already using keyboard shortcuts in your DAW.
- Hide Bartender's own icon. In preferences, turn off the Bartender menu bar icon. The app runs in the background and the shortcut still opens the bar, so the icon is redundant once the setup is stable.
- Build a Shortcuts automation. Open the Shortcuts app and create a new personal automation: when a Focus mode called "Recording" activates, run the Bartender action to hide all items except the audio interface icon and the clock. When the Focus ends, restore visibility to the default set.
After this setup, the menu bar shows only what you need at any moment. The clutter is gone without losing access to anything — a quick shortcut or a click reveals the rest.
Scenario: a video editor who works across two displays
Marta edits corporate videos on a MacBook Pro with an external monitor. Her menu bar normally holds Dropbox, Backblaze, Slack, Notion, a colour calibration tool, an audio interface app, and the usual system icons. Before Bartender, the bar on her laptop was packed, and the external display mirrored it. She spent more time squinting at tiny icons than she liked.
With Bartender, she moved the colour calibration tool and the audio interface app to the Bartender bar, set them to show only when the respective app is running, and placed Slack and Notion in the hidden section. The external display shows the same reduced set. When she opens DaVinci Resolve, the colour calibration icon appears automatically. When Slack sends a message, the badge still shows on the hidden icon, and she can Cmd-Option-B to open the bar and click it if needed.
The setup took about ten minutes, and she has not touched the menu bar preferences since. That is the point — Bartender is one of those tools you set once and forget, because it simply keeps things where they belong.
Before it goes on the Mac
- macOS 27
- Intel or Apple Silicon
Questions from the room
Does Bartender 7 require screen recording permission?
No. Bartender 7 works without screen recording enabled, which simplifies setup on recent macOS versions.
Can I navigate hidden menu bar items with the keyboard?
Yes. Bartender 7 supports arrow keys and Enter for navigation, plus configurable keyboard shortcuts to open the menu.
Installing it on the Mac
- Open the downloaded disk image.
- Drag Bartender into the Applications folder.
- Launch the app from Launchpad after copying finishes.
Notes from the control room
Sign in or open a catalogue account to leave a note.
No notes from the room yet. If you have used this build for a week, a short note helps the next person.