MainStage 4.3.1 (Mac)
Updated
The catalogue note
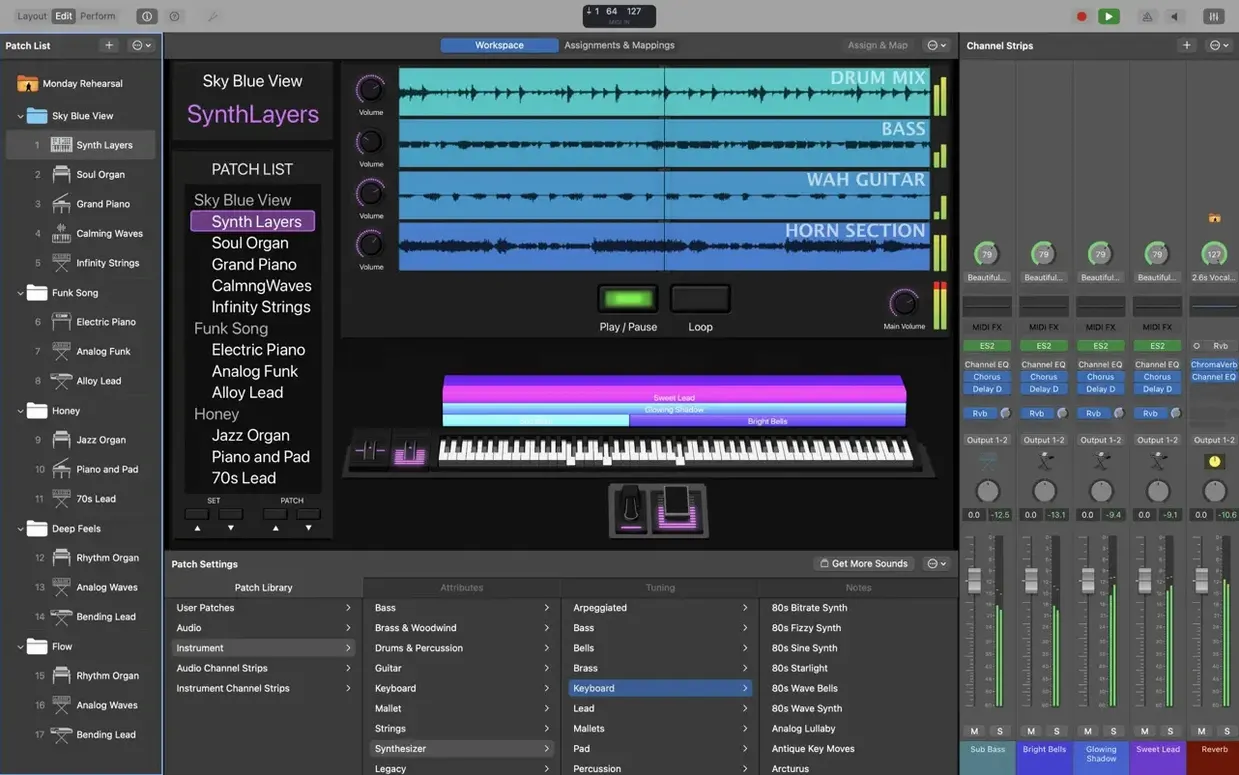
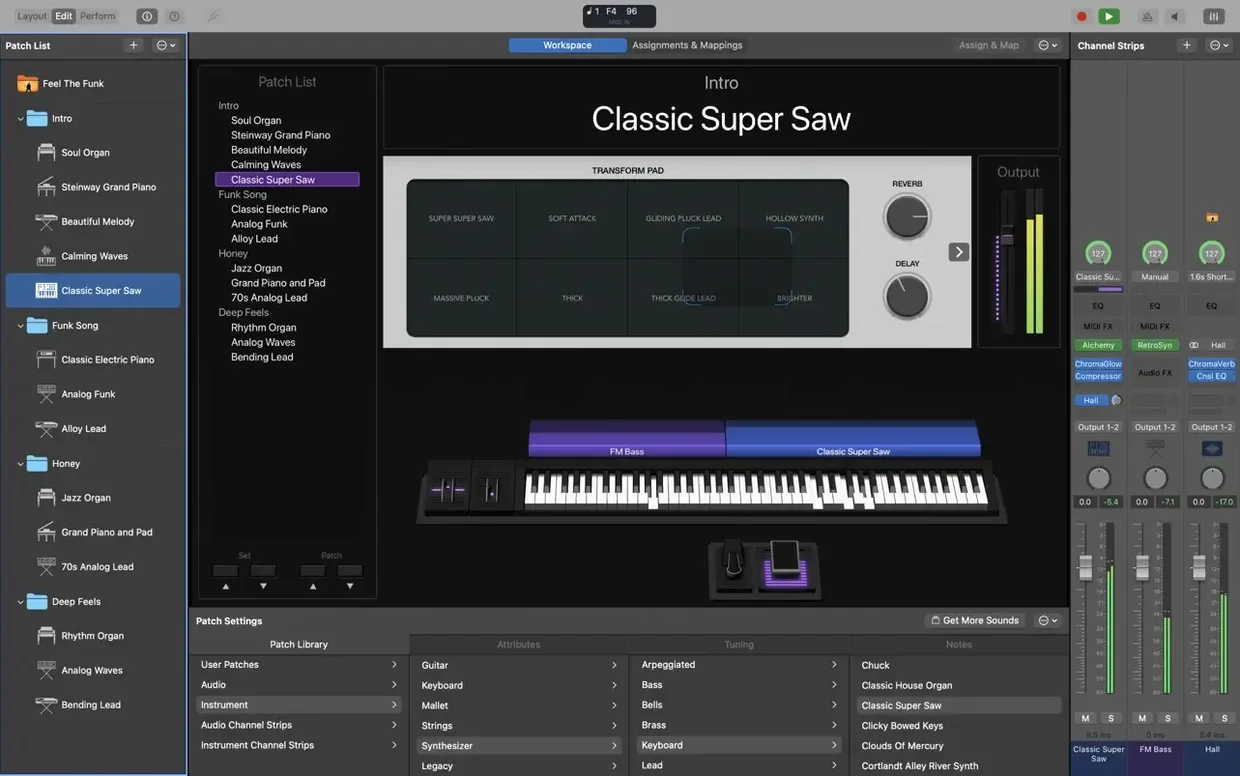
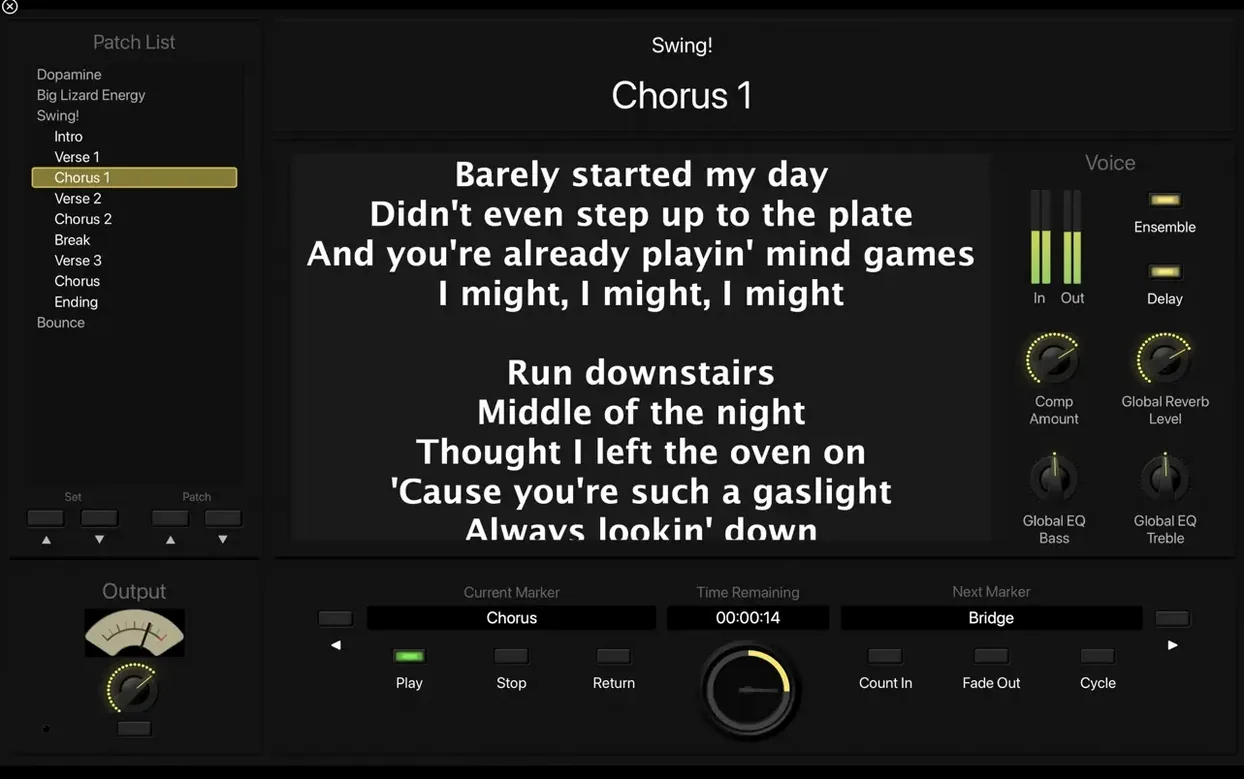
MainStage is for musicians who need a laptop rig that behaves like a hardware workstation. It transforms the Mac into a live performance instrument with full-screen interfaces, touch-friendly controls, and the same plug-ins found in Logic Pro. Version 4.3.1 keeps the core workflow intact while fixing a few lingering issues.
Setting up a concert: a typical workflow
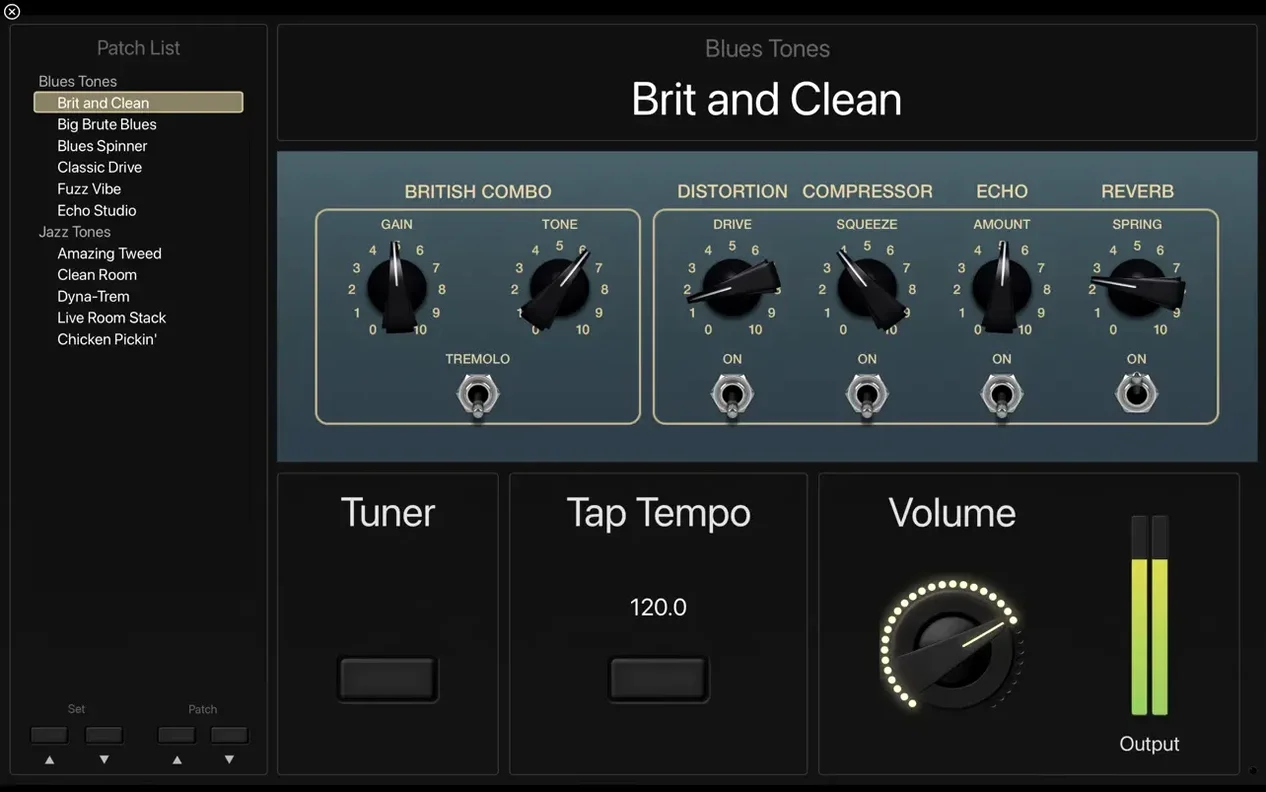
- Open MainStage and select a template or start from scratch. The Concert window shows a patch list on the left and a workspace for controls on the right.
- Add channel strips: choose software instruments, external MIDI, or audio. The restored numeric entry in the Add Channel Strip window now works again — type the exact number of strips you need instead of clicking multiple times.
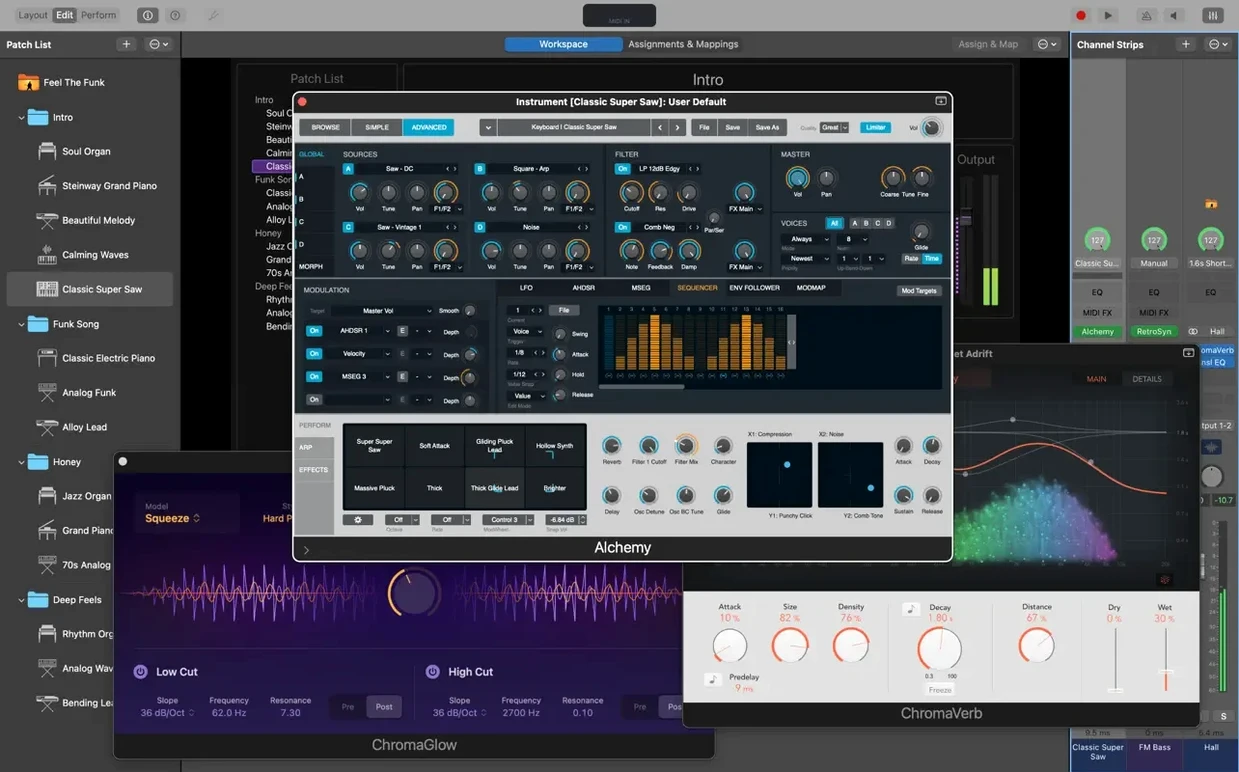
- Assign plug-ins: drag in Retro Synth for vintage keys, Vintage B3 for organ sounds, or Space Designer for ambience. MIDI plug-ins like Arpeggiator and Chord Trigger sit inline before the instrument.
- Map hardware controls: connect a MIDI keyboard or controller; MainStage learns the knobs and faders automatically. The Touch Bar on MacBook Pro models gives quick access to patch switching and parameter tweaks.
- Save and run the concert in full-screen mode. The interface hides the desktop, leaving only the controls and patch names you need mid-set.
The current version fixes MIDI SysEx blocking and ensures Sampler instruments load their correct samples. If you already rely on MainStage for live work, there is little reason to skip this update — it clears annoyances without changing the workflow you know.
Mid-set patch changes that cut sound
Even a well-prepared MainStage rig can throw a curveball mid-set. Here are the usual suspects and how I deal with them:
- Patch changes that interrupt sound. If you hear a gap or cut when switching patches, check that you are using the same reverb or delay bus across multiple patches. A common cause is a reverb tail being killed when the patch swaps. Set up global reverb returns in the Concert's channel strips rather than inside each patch.
- MIDI controller not responding after a patch change. This often happens when the controller assignments are patch-specific instead of concert-wide. In the Layout mode, assign your hardware to screen controls that are mapped at the concert level — they stay active across all patches. If you are using the Touch Bar, ensure it is not set to a patch-specific mode that overrides your physical controls.
- Audio crackles or dropouts during a set. Buffer size is the first thing to adjust. Go to MainStage's audio preferences and raise the I/O buffer size to 256 or 512 samples. Live performance does not need the low latency of 32 or 64 samples; a higher buffer gives the Mac more headroom to process multiple plug-ins without glitching.
- Sampler instruments loading wrong sounds. This was a known issue before version 4.3.1. If you are on the latest version and still see mismatched samples, rebuild the Sound Library index from the Preferences menu. A full re-download of the Sound Library may be needed if the corruption is deeper — that 57 GB install is worth the space if you use many sampled instruments.
- MIDI SysEx messages not passing through. The 4.3.1 update fixed a block on incoming SysEx. If you control external hardware that relies on SysEx (synthesizers, effects processors), test the connection after updating. Scripter now receives MIDI messages on patch change, so any custom MIDI scripts you have should behave more predictably.
Building a duo set in under an hour
Friday afternoon, an hour before a small club gig. I need to set up a set for a keyboard-and-backing-tracks duo. No time for fussing with menus — MainStage needs to get out of the way fast.
I open the app and pick the empty template. The concert window appears with a single default patch. I rename it to "Intro" and start adding channel strips: one software instrument for Retro Synth, one audio channel for a vocal mic routed through Pedalboard, and one Playback plug-in for the backing track.
I map my controller — a 49-key keyboard with eight knobs — using the Learn function in Layout mode. The knobs get assigned to Smart Controls on the Retro Synth patch: filter cutoff, resonance, envelope attack, and release. The remaining four knobs control the vocal reverb send and the backing track volume.
I duplicate the Intro patch five times, renaming each for the song order: "Verse Keys," "Chorus Lead," "B3 Solo," "Pad Swell," and "Outro." Each patch inherits the same controller assignments, so I do not need to re-map anything. I swap the instrument plug-in in the B3 Solo patch to Vintage B3 and tweak the Smart Controls to give me drawbar-style control via the knobs.
I add the backing tracks to the Playback plug-in — one stereo file per song, with a count-in click at the start. I set the playback to start on patch load, so pressing the next patch button triggers the next track immediately.
I test the set once, switching patches while playing a chord. No gaps, no crackles. I save the concert file with a setlist name, quit MainStage, and pack the MacBook into the gig bag.
Audio buffer and other stage-ready tweaks
Out of the box, MainStage is usable, but a few tweaks make it feel more like a stage instrument and less like a studio app:
- Audio buffer size. As mentioned, raise it to 256 or 512 samples. This is the single most important setting for stability during a live set.
- Screen resolution and full-screen behaviour. Set the concert window to full-screen mode in the View menu. This hides the Dock, menu bar, and any stray notifications. If you use an external display, mirror the screen or use the secondary display for a separate controller view.
- Patch list display. Switch the patch list to show only names, not the full channel strip details. This reduces visual clutter and lets you scan setlist items faster.
- Keyboard focus. Ensure that the keyboard focus is set to the concert, not the patch list, to avoid accidental patch changes while typing numbers. The 4.3.1 fix addressed a specific case where numeric entry could jump patches — but keeping focus on the concert prevents the issue entirely.
- Auto-save interval. Set auto-save to every 5 minutes. If the app crashes mid-rehearsal, you lose less work. Auto-saved concerts go to a separate folder and do not overwrite your manual saves.
A specific task workflow: building a live vocal chain with backing tracks
This is a common scenario for singer-songwriters who play keys and sing over pre-recorded tracks. The goal: one patch that handles a vocal mic, a stereo backing track, and a keyboard part, all with individual effects and levels accessible from the screen.
- Create a new concert. Start from the empty template. Delete the default patch and create a new one called "Live Vocal Set."
- Add the backing track channel strip. Add an audio channel strip and insert the Playback plug-in on it. Load your backing track — a stereo WAV or AIFF file. Set the Playback plug-in to loop or play once depending on the arrangement.
- Add the vocal channel strip. Add another audio channel strip. Insert a Channel EQ first, then a Compressor, then a Reverb (Space Designer works well). Adjust the EQ to cut low-end rumble and add a slight presence boost around 3 kHz. Set the reverb to a medium hall with a 2-second decay.
- Add the keyboard channel strip. Add a software instrument channel strip. Load Vintage Electric Piano or Retro Synth, depending on the song. Insert a light stereo delay or chorus on an auxiliary send so it blends without muddying the vocal.
- Set up Smart Controls. In Edit mode, create Smart Controls for the vocal channel: assign a fader to vocal volume, a knob to reverb send level, and a button to mute the vocal. For the backing track, assign a fader to track volume and a button to stop/start playback. For the keyboard, assign a knob to filter cutoff and a button to toggle the delay on and off.
- Arrange the screen layout. Position the Smart Controls so the most-used ones — vocal mute, track start/stop — are large and easy to tap or click. Label each control clearly. Hide any channel strips you do not need to see during the performance.
- Test the chain. Sing into the mic while playing a note on the keyboard and listening to the backing track. Adjust levels until the vocal sits clearly above the track and the keyboard sits underneath. If the vocal distorts, lower the input gain on the channel strip rather than pulling down the fader.
- Save and name the concert. Use a descriptive name like "Live Vocal Set 2025." If you have multiple songs with different backing tracks, duplicate the patch for each song and swap the Playback plug-in file.
This workflow works for any mainstage for mac setup where you need hands-off control of multiple audio sources. The same approach scales to larger rigs with multiple vocalists, hardware synths, or guitar rigs using Amp Designer and Pedalboard.
Changes in this build
- Fixes an issue where incoming MIDI SysEx messages were blocked.
- Restores the ability to type numbers into the Add Channel Strip window.
- Sampler instruments now load the correct sounds.
Before it goes on the Mac
- macOS 15.6
- Apple Silicon
- 64-bit Audio Unit plug-ins required
- 6 GB free disk space for a minimal installation
- 57 GB free disk space for a full Sound Library installation
Questions from the room
Does MainStage support Apple Silicon natively?
Yes, MainStage 4.3.1 runs natively on Apple Silicon and requires macOS 15.6 or later.
Installing it on the Mac
- Open the downloaded disk image.
- Drag the app to the Applications folder alias.
- After copying finishes, open the app from Launchpad.
Notes from the control room
Sign in or open a catalogue account to leave a note.
No notes from the room yet. If you have used this build for a week, a short note helps the next person.