Home › Mac Apps › Pixelmator Pro
Pixelmator Pro 4.3 (Mac)
Updated
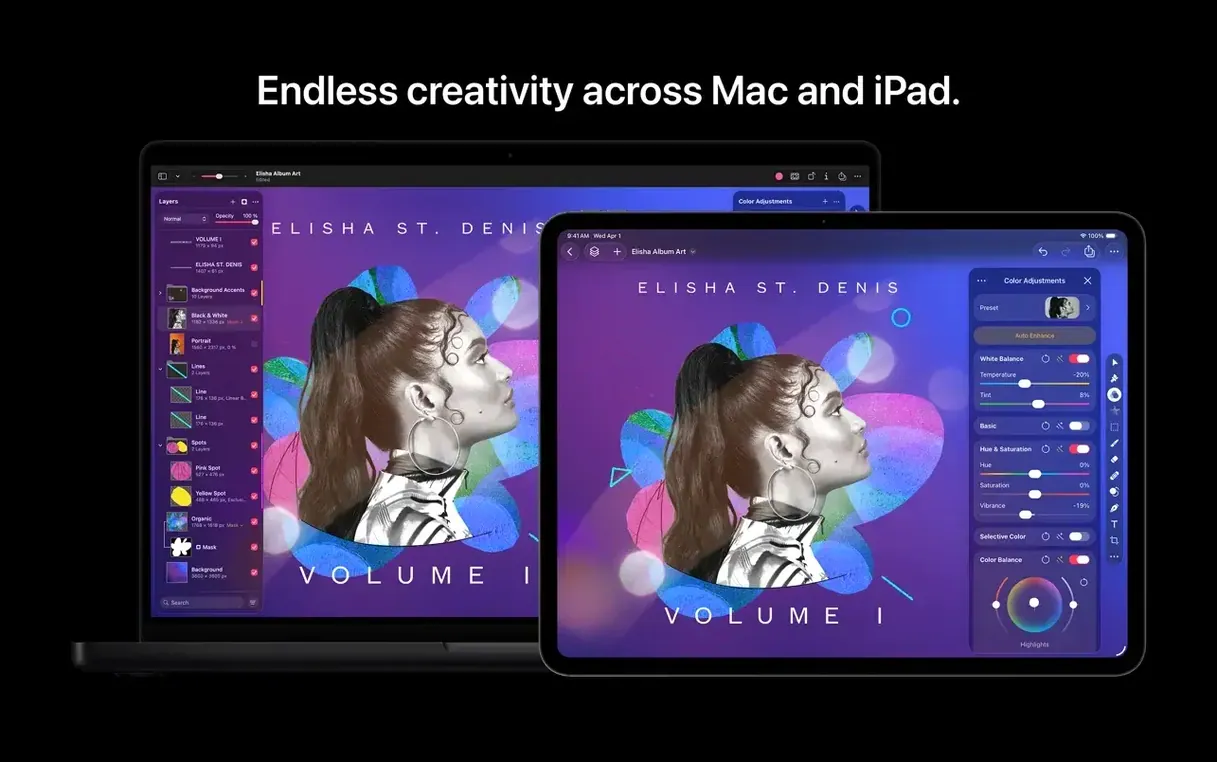
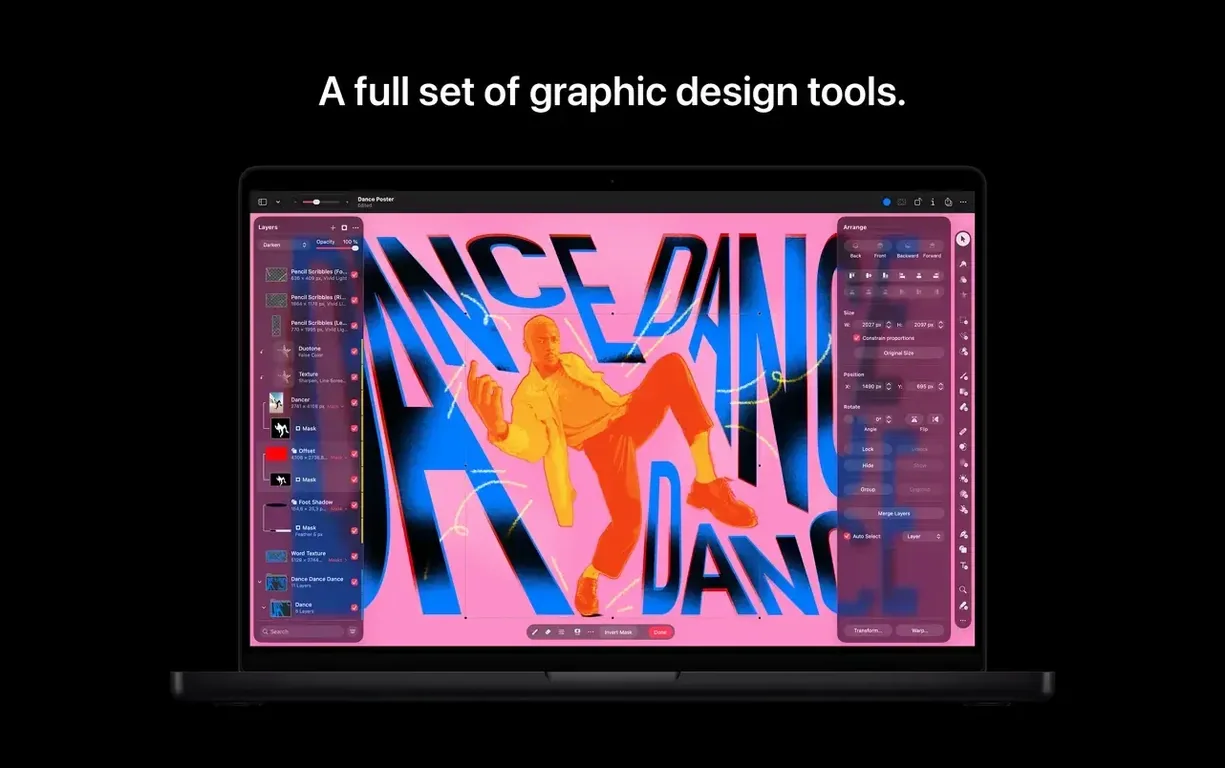
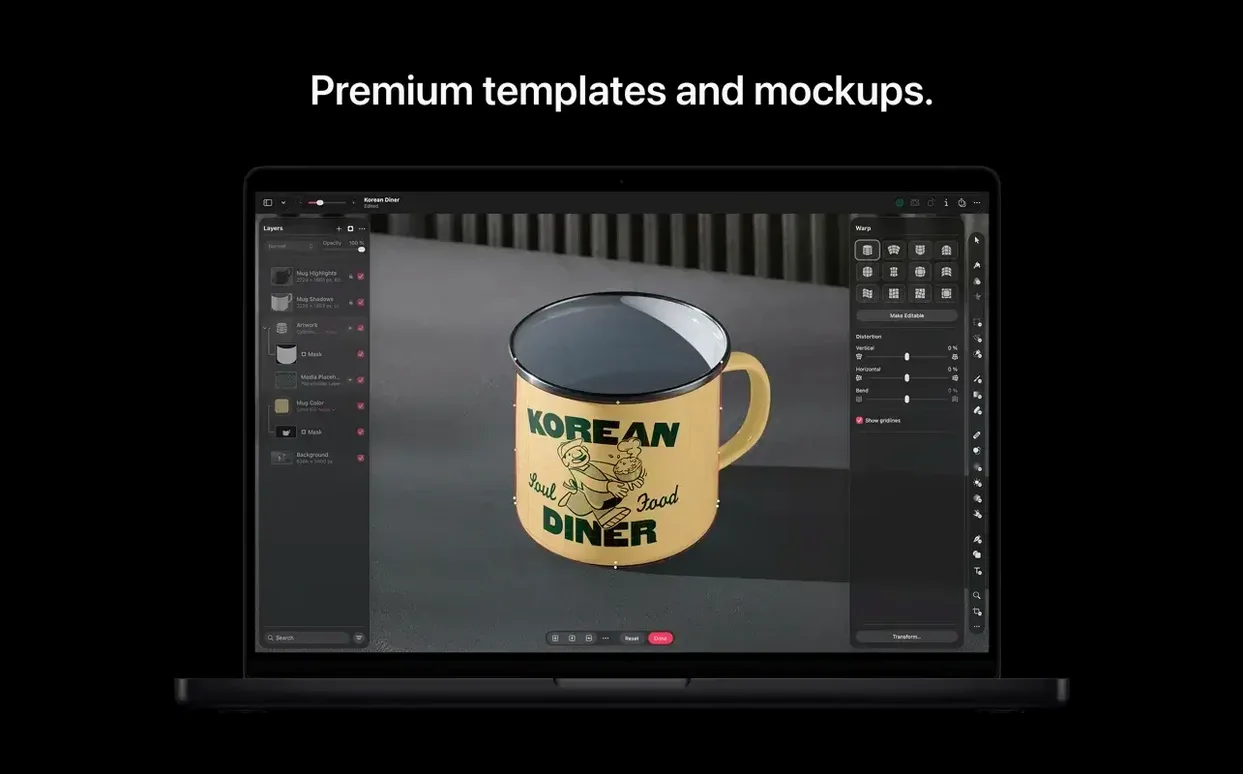
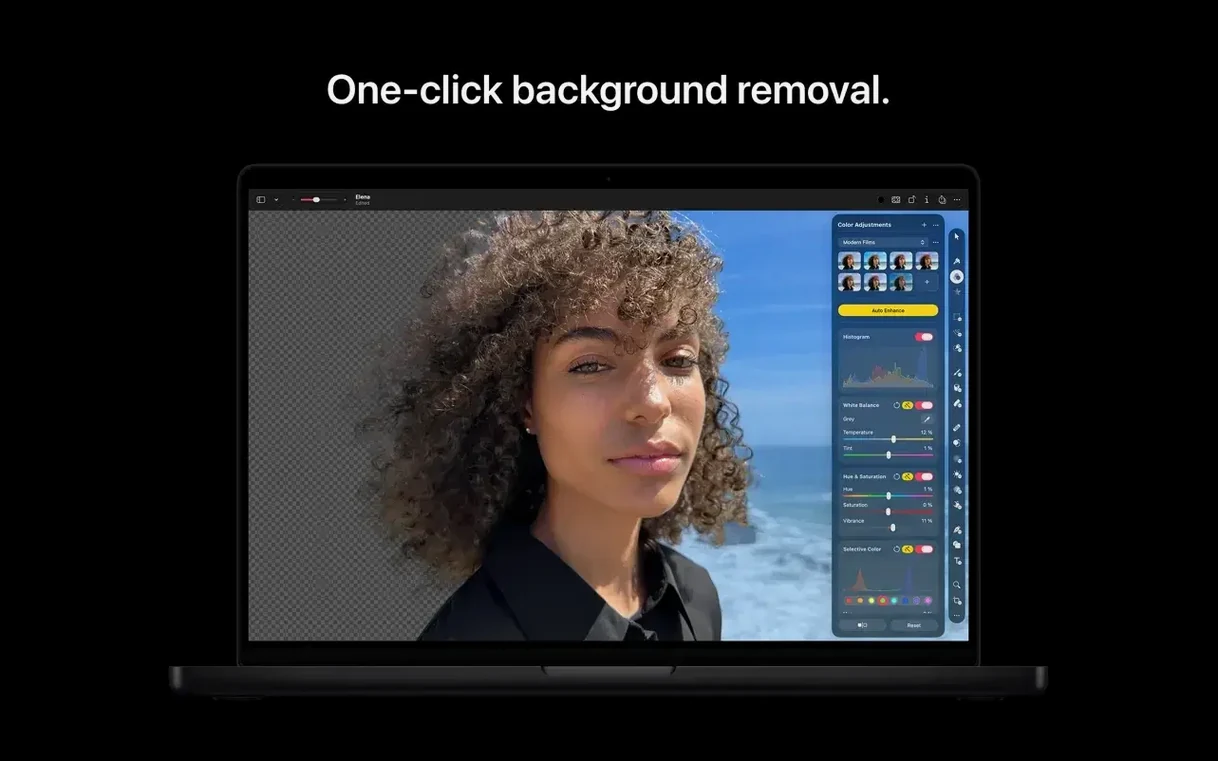
The catalogue note
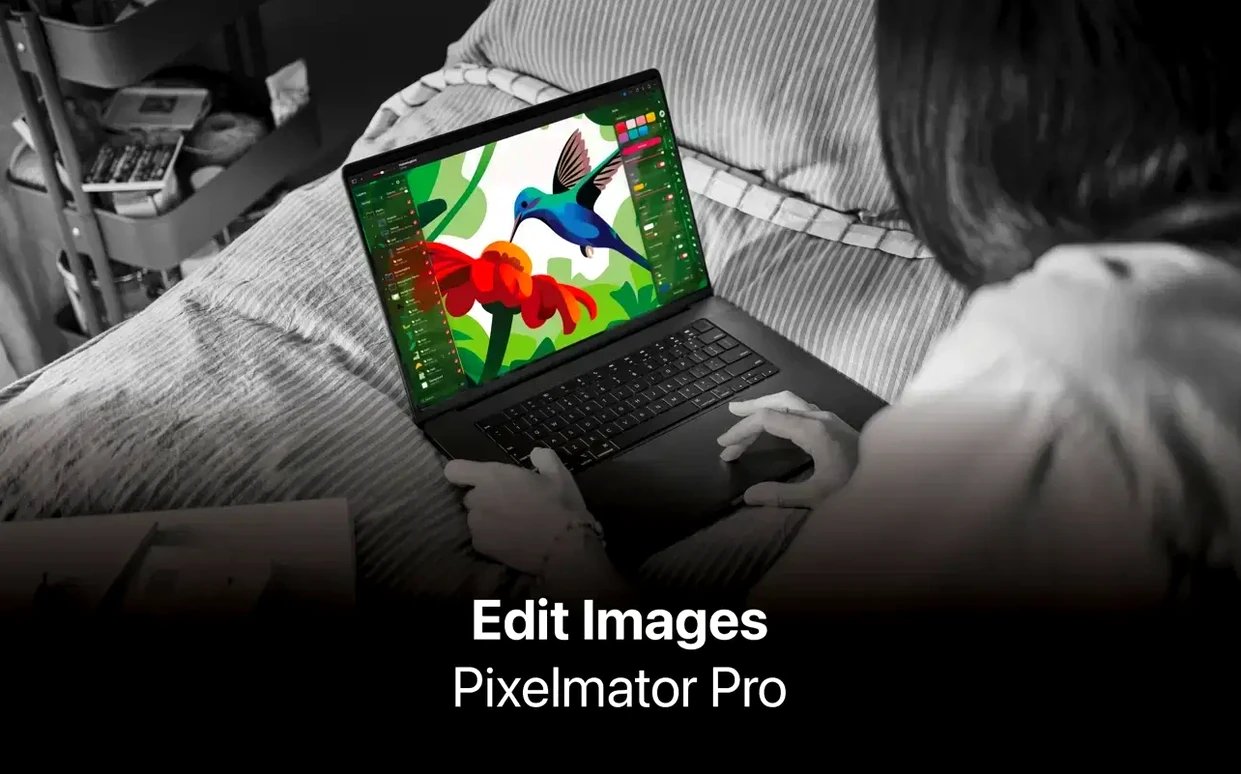
The Generate Image button in Pixelmator Pro 4.3 sits right on the toolbar, waiting for a text description. You type a sentence, and the app draws a vector shape from it. That is new. The rest of the editor has been around longer, and people still ask the same practical questions before they mount the disk image.
Is pixelmator pro mac free?
Pixelmator Pro is a paid application.
Can pixelmator pro download and open photoshop files?
Yes. The app opens layered PSD files directly, preserving layers, masks, and blend modes. It also handles JPEG, TIFF, PNG, HEIF, SVG, PDF, GIF, BMP, TGA, and JPEG 2000 formats.
Runs natively on Apple silicon Macs
Pixelmator Pro runs natively on Apple silicon Macs. It requires macOS 26 or later according to Apple, though the developer’s backup page still mentions macOS 10.13 High Sierra as a minimum. The disk image mounts, you drag the app into Applications, and it launches on both Intel and Apple silicon hardware.
Working with a raw photo from start to finish
Say you have a RAW file from a camera — a landscape shot that needs exposure correction, a bit of colour work, and a final crop before you send it out. Here is how that runs in Pixelmator Pro 4.3, using only what the app provides without leaving the single window.
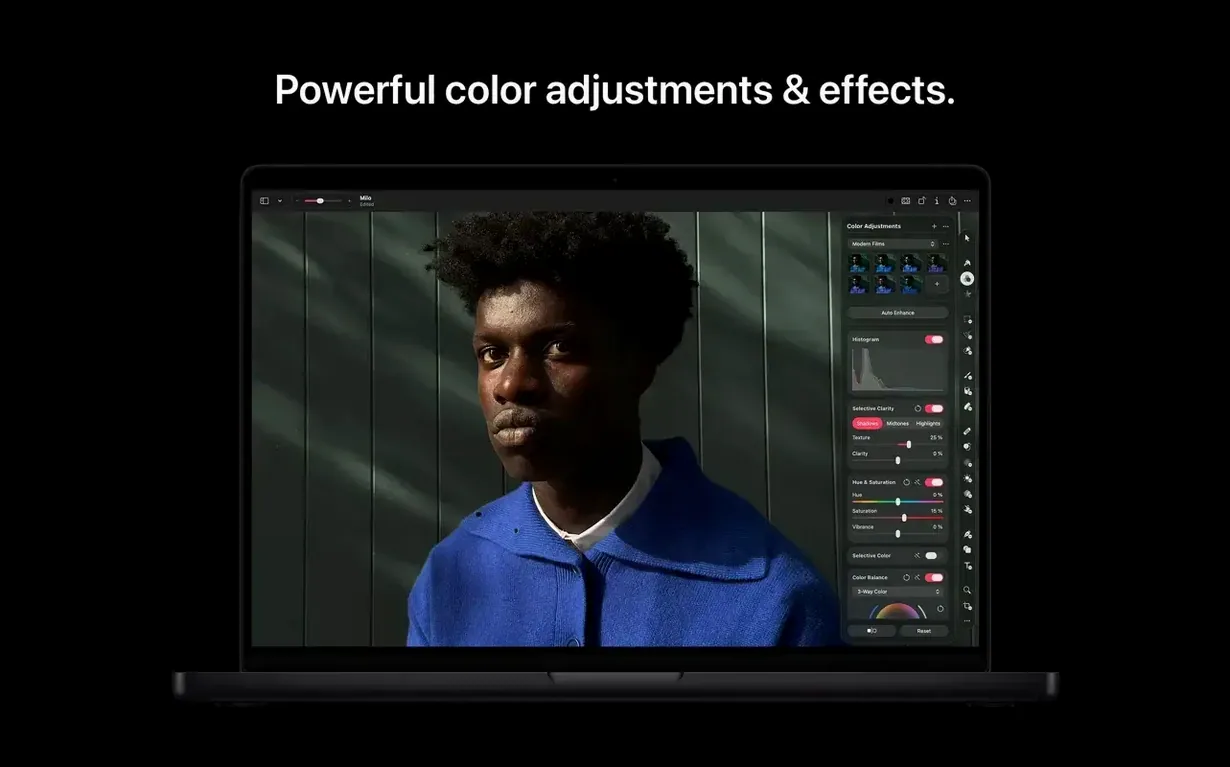
- Open the RAW file. Pixelmator Pro reads RAW directly. The image opens in the main workspace, and the RAW fine-tuning controls appear automatically. You adjust exposure, highlights, shadows, and white balance before any other edits touch the pixels.
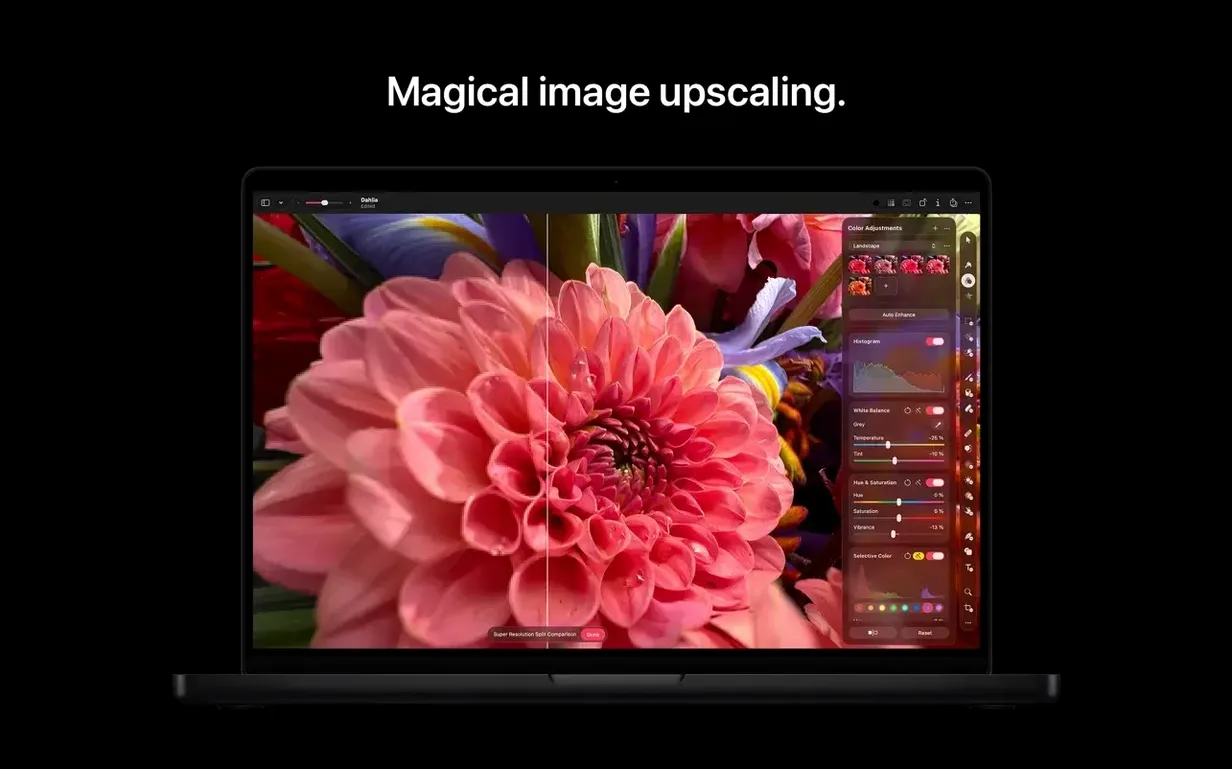
- Apply ML enhancement. The Core ML-based enhancement button sits in the toolbar. One click analyses the image and applies a tonal correction. It is a starting point, not a final grade — you can still tweak every slider afterward because the enhancement is non-destructive.
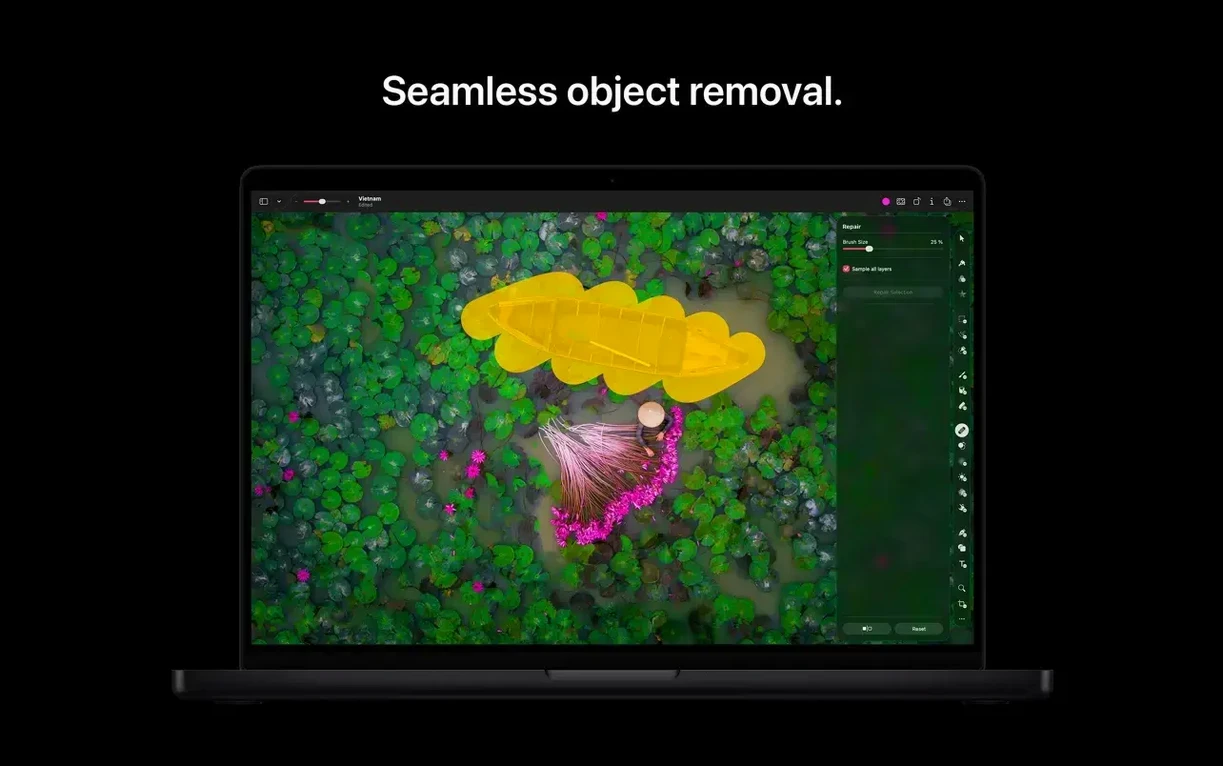
- Retouch distractions. The retouching tool handles blemishes and small objects. Click or brush over a sensor dust spot, a stray branch, or a reflection, and the tool samples surrounding pixels to fill it. The repositioning tool can reshape a crooked horizon or adjust the angle of a rock formation without a full transform warp.
- Composite or add text. If the shot needs a graphic overlay or a title, you can draw vector shapes, type text, or drag in a PNG from the Content Hub. The hub now provides photos, graphics, and illustrations that insert as new layers. Everything stays editable because Pixelmator Pro works non-destructively.
- Export or share. Save back to the Photos app library, send via Mail or AirDrop, or export to JPEG, TIFF, PNG, or any of the supported formats. The Automator actions let you batch this step if you have a folder of images to process.
That workflow covers the majority of what a photographer needs in one session. You never switch between a RAW converter and a pixel editor.
Magda opens layered PSDs from Windows Photoshop
Magda runs a small design studio in Bristol. She receives client files as layered PSDs from a team that uses Photoshop on Windows. She opens each PSD in Pixelmator Pro — layers, masks, and blend modes survive the transfer. For a recent brochure, the client wanted a custom vector shape for the company logo, but only had a rough sketch as a JPEG. Magda used the Generate Image feature with a text description: “a geometric bird shape, clean lines, no fill”. The app produced a vector shape she could refine with the vector tools. She then pulled a stock illustration from the Content Hub, placed it behind the logo, and exported the final page as a layered TIFF for the print shop.
She never needed to launch a separate vector editor or open a browser to find assets. The PSD compatibility means she can take work from other teams without asking them to re-save formats.
Suits RAW shooters and Photos app users
Pixelmator Pro suits three groups especially well.
- Photographers who shoot RAW. The built-in RAW editing, ML enhancement, and non-destructive layers mean you can process a shoot without a dedicated RAW converter. The integration with the Photos app lets you edit and save back to your library, keeping your workflow inside Apple’s ecosystem.
- Designers who receive PSD files. If your clients or colleagues send layered Photoshop documents, Pixelmator Pro opens them faithfully.
- Illustrators working with vectors. The vector tools — now with the ability to generate shapes from text descriptions — let you create graphics from scratch or from a prompt. The Content Hub provides ready-made elements that you can insert and modify without leaving the canvas.
Casual users who only crop and colour-correct phone photos will find the interface clean, but the app’s real value appears when you need layers, RAW handling, or vector shapes. The single-window layout keeps everything visible without floating palettes, which matters on a laptop screen.
Content Hub organizes stock assets in one panel
Several features do not announce themselves loudly but make daily use noticeably smoother.
- Content Hub. It is not just a library of stock assets — it organises photos, graphics, shapes, and illustrations in one panel. You drag what you need onto the canvas, and it lands as a new layer. No separate browser tab, no download step.
- Generate Image and Generate from Image. These are not just novelty features. Generate Image creates a vector shape from a text description, which is useful when you need a quick icon or decorative element. Generate from Image applies text-based edits to an existing image — you can describe a transformation and the app interprets it.
- SVG support. The app opens SVG vector files directly. That matters if you receive web graphics or icons in that format and need to edit them as vector layers.
- Switch Control and VoiceOver support. Version 4.3 improved accessibility for users who rely on these macOS features. The app now responds to Switch Control scanning and VoiceOver descriptions more thoroughly.
- Automator actions. You can build batch workflows without scripting. Resize, convert format, apply a colour adjustment — all from an Automator workflow that processes a folder of images.
Set default RAW behavior in preferences first
After you mount the disk image, drag Pixelmator Pro into Applications, and launch it, a few adjustments save time later.
- Set your default RAW behaviour. In the preferences, you can choose whether RAW files open directly in the RAW fine-tuning view or skip to the main workspace. If you shoot RAW regularly, keeping the fine-tuning view as default saves one click per image.
- Configure the toolbar. The toolbar can hold the tools you use most — the ML enhancement button, the retouching tool, the Generate Image button. Right-click the toolbar to customise it, remove what you never touch, and add what you reach for every session.
- Choose your export preset. The export dialogue remembers your last settings.
- Link the Photos app. If you use the Apple Photos library, enable the Photos integration in preferences. Edits you save from Pixelmator Pro go back into the library as versions, not as separate files on your desktop.
Changes in this build
Before it goes on the Mac
- macOS 26 or later (Apple); macOS 10.13 High Sierra or later (backup page)
- Apple silicon or Intel Mac
- Requires a Mac with Apple silicon (Apple’s current listing)
Installing it on the Mac
Notes from the control room
Sign in or open a catalogue account to leave a note.
No notes from the room yet. If you have used this build for a week, a short note helps the next person.