Home › Mac Apps › MAXON Cinema

MAXON Cinema 2024.2.0 (Mac)
Updated
The catalogue note
Cinema 4D is Maxon’s professional 3D application for modelling, animation, simulation, and rendering.
Modelling and splines
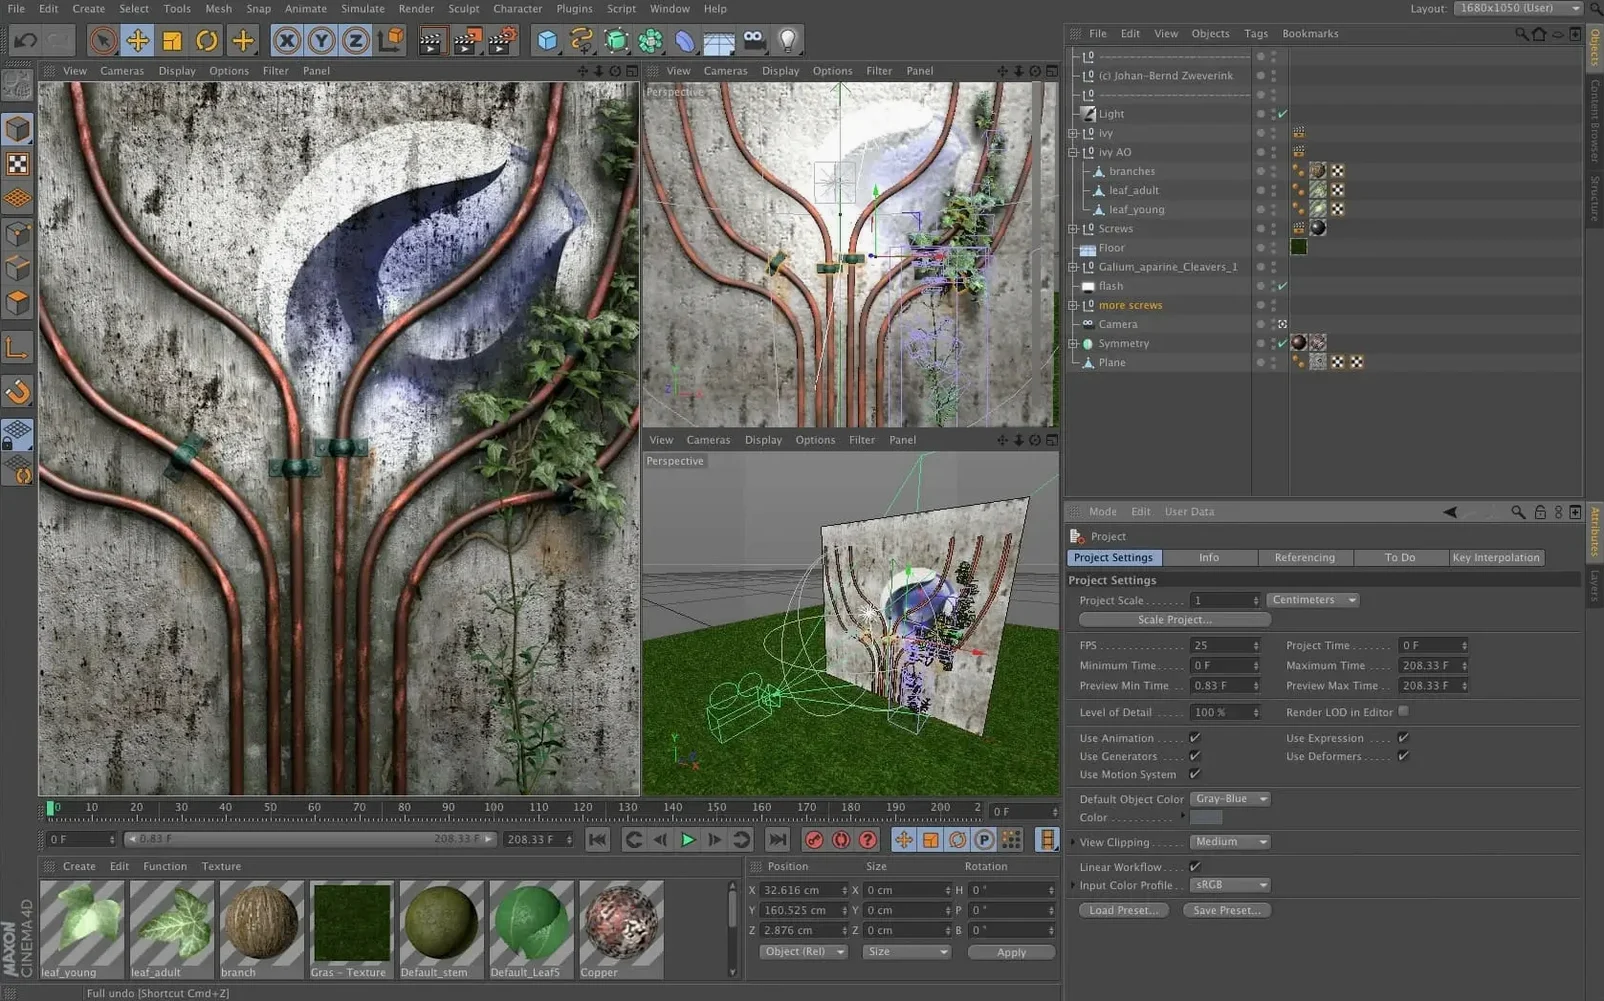
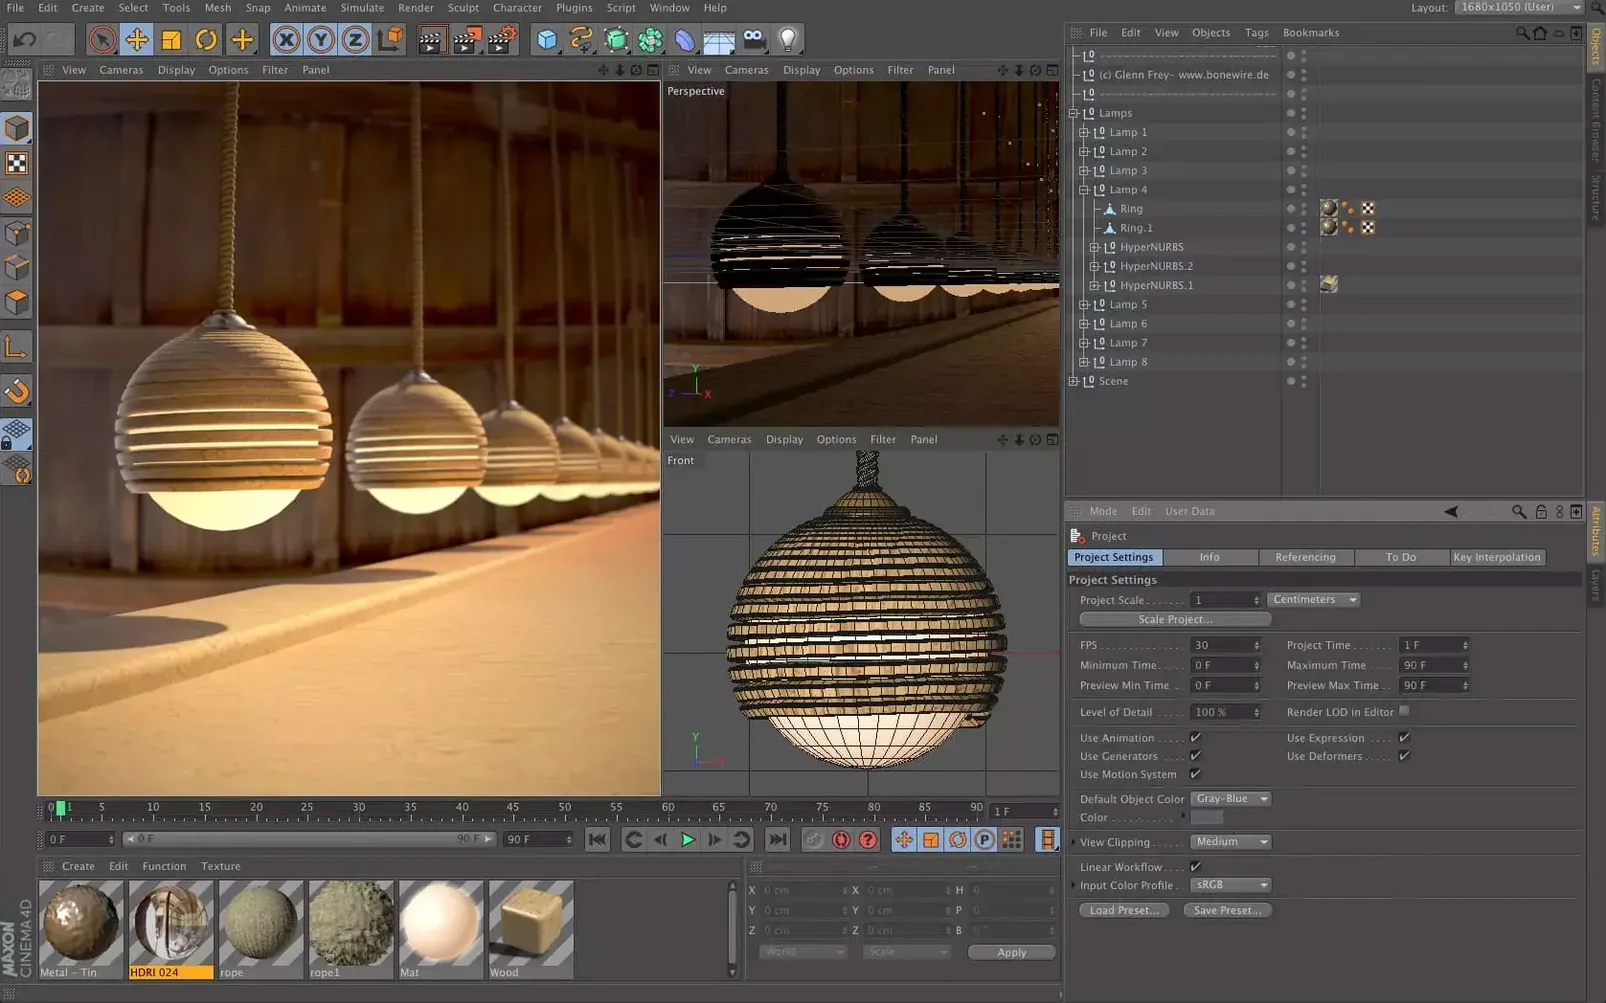
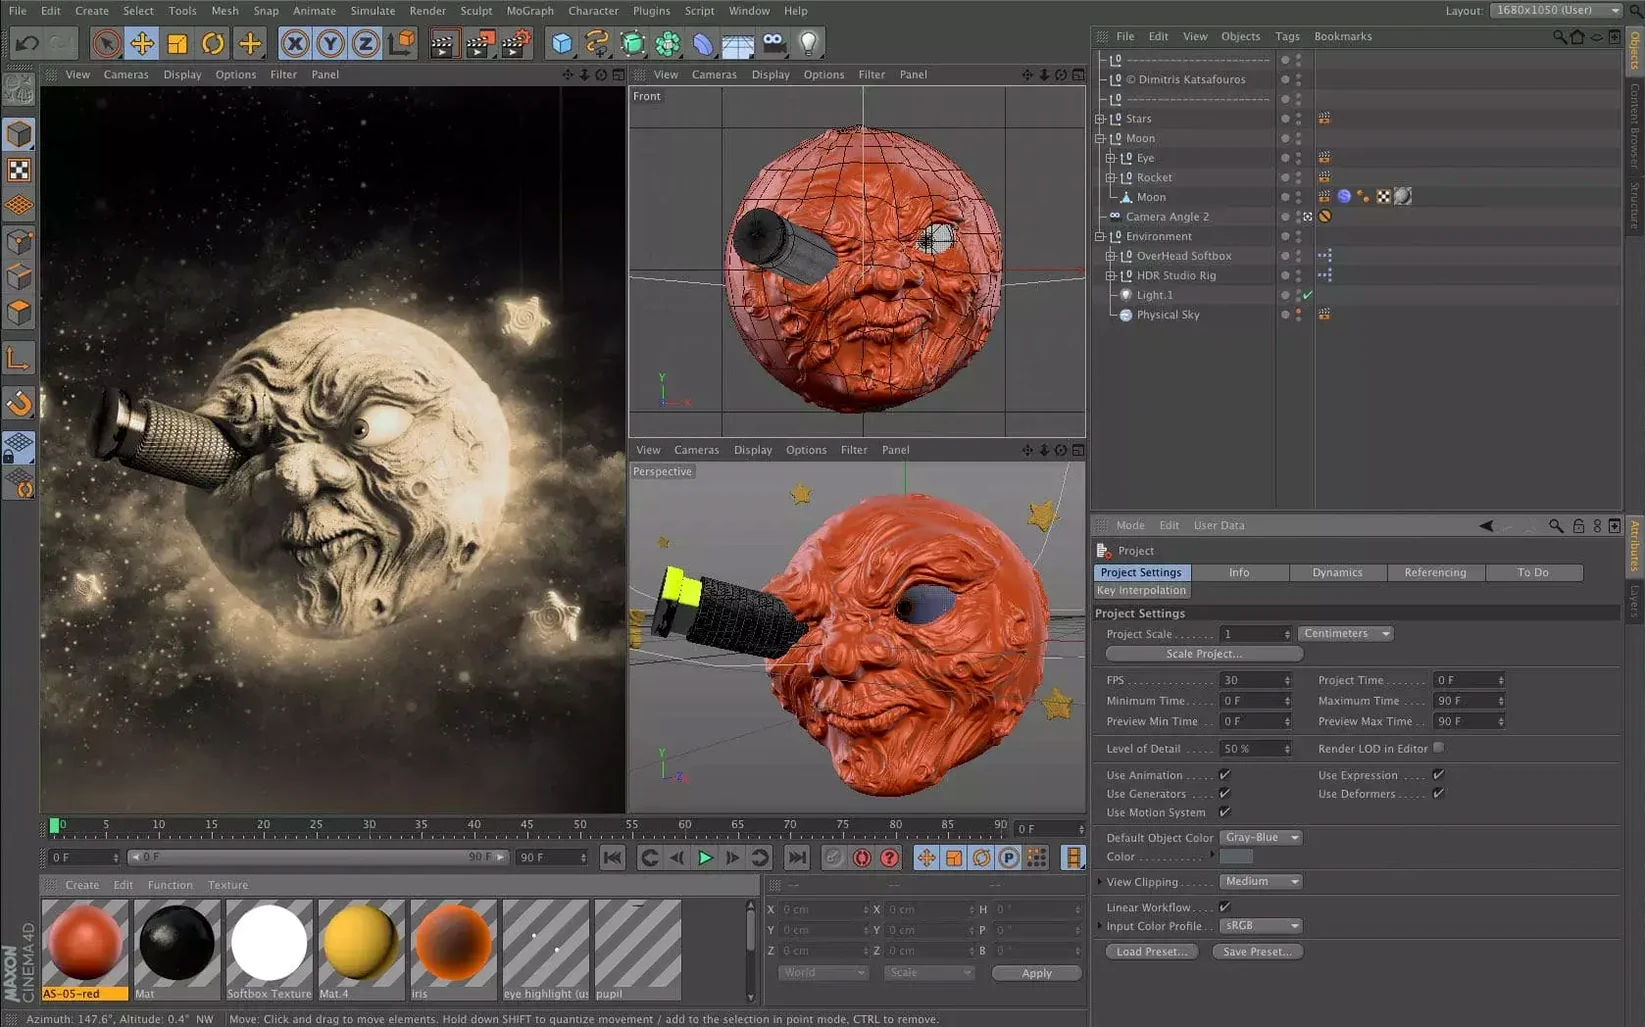
You get a full polygon and spline toolset, plus scene node-based data import and spline functions. Capsules bring those node features into the classic Object Manager, so you can mix old and new workflows without switching contexts.
Animation and simulation
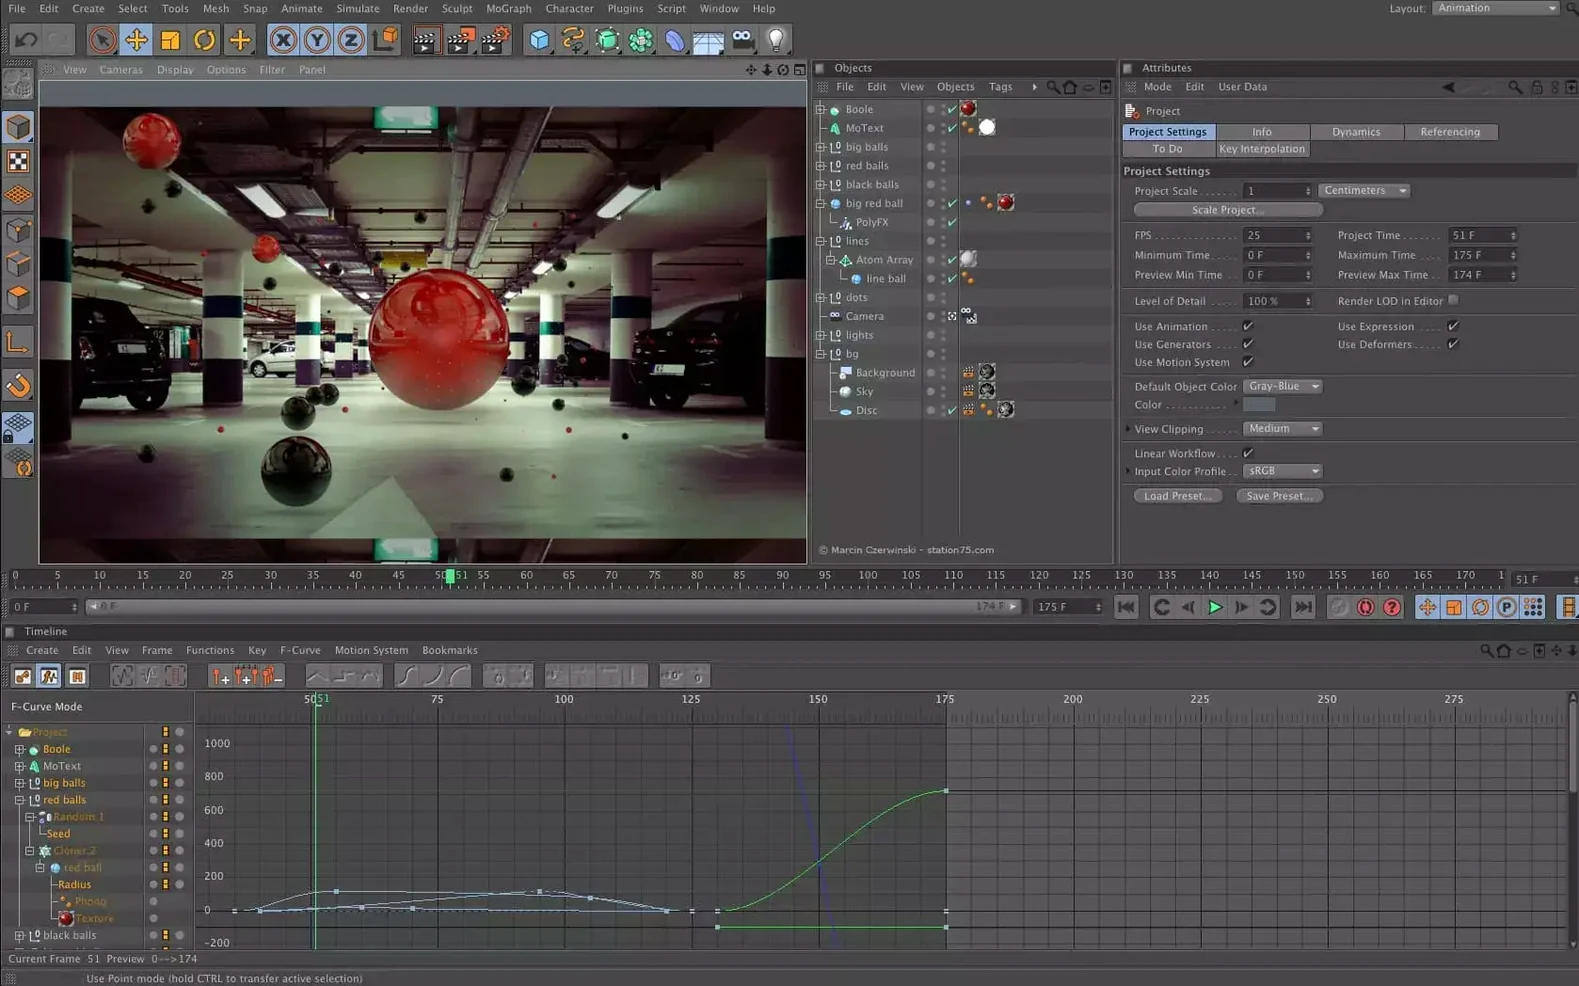
Animation tools cover keyframing through to character rigging. Simulations for cloth, hair, and dynamics run inside the same timeline, which keeps iteration quick.
Rendering and interface
The renderer handles standard and physically based output, with Redshift available separately. The interface is modern, with updated panels and preset-based workflow optimisation. Interface languages include English, German, Spanish, Polish, Japanese, and more.
Imports and exports Alembic, FBX, and OBJ to other tools
Cinema 4D sits in a wider pipeline, and it expects to exchange data with other tools. You can import and export Alembic, FBX, OBJ, and Collada formats for moving scenes between Maya, Blender, or Unreal Engine. For compositing, multi-pass EXR sequences come out ready for After Effects or Nuke. The integration with After Effects goes further: the Cineware plugin lets you load Cinema 4D files directly into an AE composition, and changes to the source scene update automatically.
On macOS itself, the app respects system services like Quick Look for previewing .c4d files in Finder, and you can drag geometry directly from one application into another. The file browser inside Cinema 4D uses the standard macOS open and save dialogs, so iCloud Drive or network volumes work without extra configuration. If you use external render farms or want to run batch exports, the command-line mode (CineConsole) works from Terminal, which is useful for automated workflows.
For hardware, the M-series Macs benefit from native ARM support. Intel Macs run the x86 build, and both architectures share the same project files. Multi-GPU setups are supported for Redshift if you have multiple discrete GPUs, though most Macs with Apple Silicon use a unified memory architecture that still handles viewport and render tasks efficiently.
Creates a product shot with a reflective surface from start to finish
Here is a typical start-to-finish task: creating a simple product visualization with a reflective surface.
- Start with a new scene. Use the Cube primitive as a stand-in for your product, then apply a Subdivision Surface to round the edges. Adjust the segment count so the model holds shape without being heavy.
- Switch to the Edge mode and select the outer edges. Use Bevel to add a small chamfer — this catches light better in the final render.
- Import a reference image or a CAD model if you have one. Use the File menu to import an OBJ or FBX; the scene nodes can also read Alembic caches if the model is animated.
- Add a Plane below the object for a ground surface. Give it a material with a slight reflection.
- Set up a three-point lighting rig: a key light from the front-left, a fill from the right, and a rim light behind. Use Area Lights for softer shadows.
- Create a new material for the product. In the Material Editor, set the Reflectance channel to a dielectric reflection (glass or plastic). Adjust the Roughness to 0.15 for a polished look.
- Assign the material to the product. If you want to use a Capsule for a metallic shader, drag the appropriate Capsule from the Content Browser onto the object.
- Open the Render Settings. Choose Physical as the renderer if you want depth of field, or Standard for faster tests. Set the output resolution to 1920x1080.
- Frame the shot in the Perspective view. Use the Camera object if you need precise focal length and aperture control.
- Hit Render to Picture Viewer. The scene will render with the chosen settings. Save the result as a PNG or TIFF for compositing.
This workflow uses only built-in tools. If you need Redshift for GPU rendering, the process is similar but you would change the renderer in the settings and adjust the light samples.
Brings Capsules and node features into the classic Object Manager
Cinema 4D 2024.2 arrived in December 2023. The main changes for everyday use are:
- Capsules: the ability to use scene node features in the classic Object Manager. This means you can apply node-based operations without leaving the traditional layout. For example, you can add a Capsule that handles procedural spline generation and see it alongside your polygon objects.
- Data import improvements: scene nodes and the Scene Manager now handle more file formats for importing data. This is useful when you bring in CAD data or vector splines from Illustrator.
- Spline functions in scene nodes: you can create and edit splines procedurally inside the node editor, which opens up parametric design possibilities without writing XPresso.
- Interface updates: the panels and preset system received refinements. The preset browser now loads faster, and the workflow optimisations mean less clicking to apply common settings.
None of these changes break existing projects. Scenes saved in 2024.1 open fine, and the Capsules are optional — you can ignore them and work exactly as before.
Runs natively on Apple Silicon with Universal binary support
Does it run on Apple Silicon?
Yes. The 2024.2 build supports both ARM and Intel architectures natively. On an M1 or M2 Mac, the app launches as a Universal binary. Performance in the viewport and renderer is comparable to equivalent PC hardware, though Redshift rendering on integrated GPUs will be slower than on a dedicated GPU.
Can I use it alongside Blender or Maya?
Yes. The standard interchange formats work across all major DCC apps. You can model in Blender, export as FBX, and continue in Cinema 4D. The Cineware plugin for After Effects is a separate install but included with the Maxon App.
Do I need an internet connection to activate?
The activation method for this release is handled by the included installer, which contains the necessary files. No online check is required during installation. The package includes an installation and activation guide inside the archive.
Is it compatible with macOS Ventura and Sonoma?
Yes. The minimum requirement is macOS 11, which covers Big Sur, Monterey, Ventura, and Sonoma. The app has been tested on these versions and works without special configuration.
Can I use it for game development?
Yes. The modelling tools produce low-poly geometry, and you can export to FBX or Alembic for import into Unity or Unreal. The animation timeline supports skeletal rigs and blend shapes, so character animations transfer cleanly.
Changes the interface language in Edit > Preferences
After installation, a few settings make the experience more comfortable:
- Interface language: if English is not your preference, go to Edit > Preferences > Interface and change the language. The supported set includes German, Spanish, French, Polish, Japanese, Simplified Chinese, Korean, Czech, Italian, and Arabic.
- Auto-save: enable it in Preferences > Files. This has saved many projects when the app crashes unexpectedly.
- Viewport navigation: if you are used to Maya or Blender controls, switch the navigation preset in Preferences > Viewport > Navigation. Maya, Blender, and CAD presets are available.
- Render settings: set the default renderer to Physical if you want depth of field and motion blur from the start. The default is Standard, which is faster but less feature-rich.
- Units: in Preferences > Units, set the display unit to Centimetres or Metres depending on your project. This avoids scaling issues when importing CAD data.
- Content browser: the default location for assets is inside the application folder. If you have a second drive, move the Content Library to that drive in Preferences > Content Browser to save space on your boot volume.
Changes in this build
- Cinema 4D 2024.2 released on 2023-12-11.
Before it goes on the Mac
- macOS 11 or later
- Intel or Apple Silicon
Installing it on the Mac
- Download the package and unpack it.
- Follow the included installation and activation guide.
Notes from the control room
Sign in or open a catalogue account to leave a note.
No notes from the room yet. If you have used this build for a week, a short note helps the next person.