Home › Mac Apps › Marvelous Designer

Marvelous Designer 2024.2.139 (Mac)
Updated
The catalogue note
The sewing tool in Marvelous Designer lets you control both the direction and the range of each stitch, which is the kind of control that separates a believable digital garment from a flat approximation. Before you commit to the download, the practical question is whether your Mac can run it.
Runs on both Intel and Apple Silicon Macs
Marvelous Designer 2024.2.139 (r52064) requires macOS 12 or later. It runs on both Intel and Apple Silicon Macs, so no matter which generation you own, the software should launch.
Native M1 and M2 performance with no translation layers
Yes, the application is built for both architectures, meaning it runs natively on M1 and M2 chips without translation layers. Performance in simulation should be solid, though heavy scenes still benefit from a capable GPU.
What interface languages are supported?
The interface is available in English, Russian, Arabic, Spanish, Italian, Chinese (Traditional and Simplified), Korean, Portuguese, Turkish, French, and Japanese. So you can work in your preferred language out of the box.
Start with the sample project files first
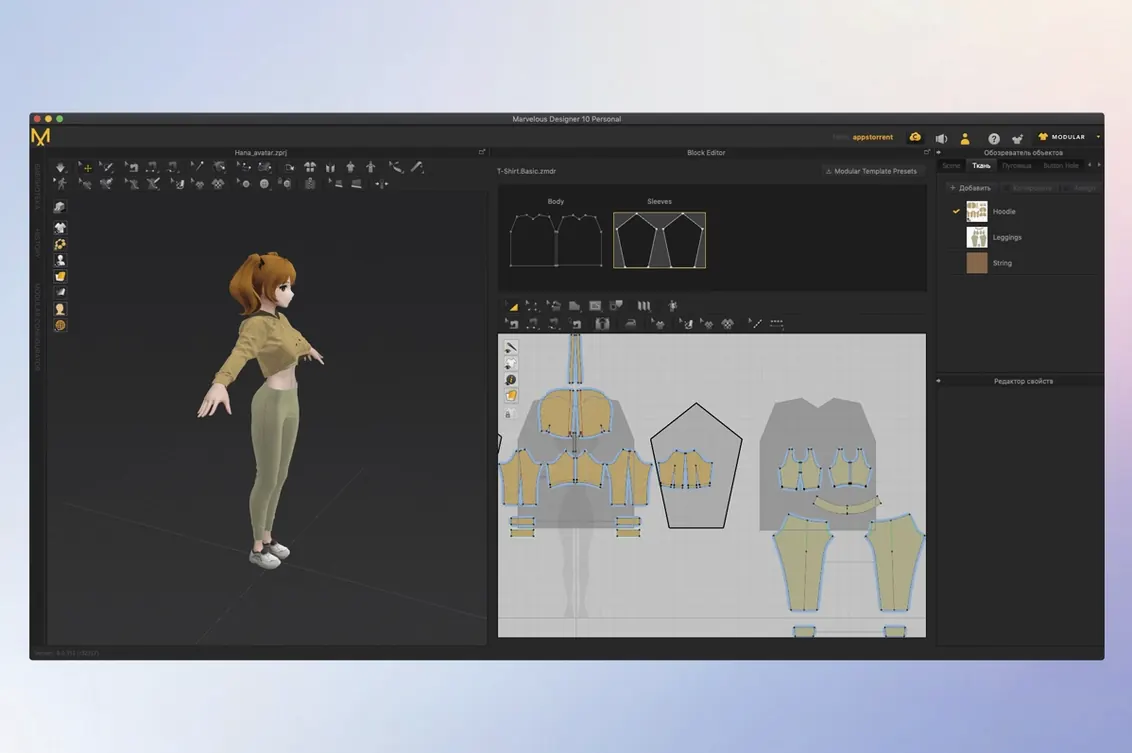
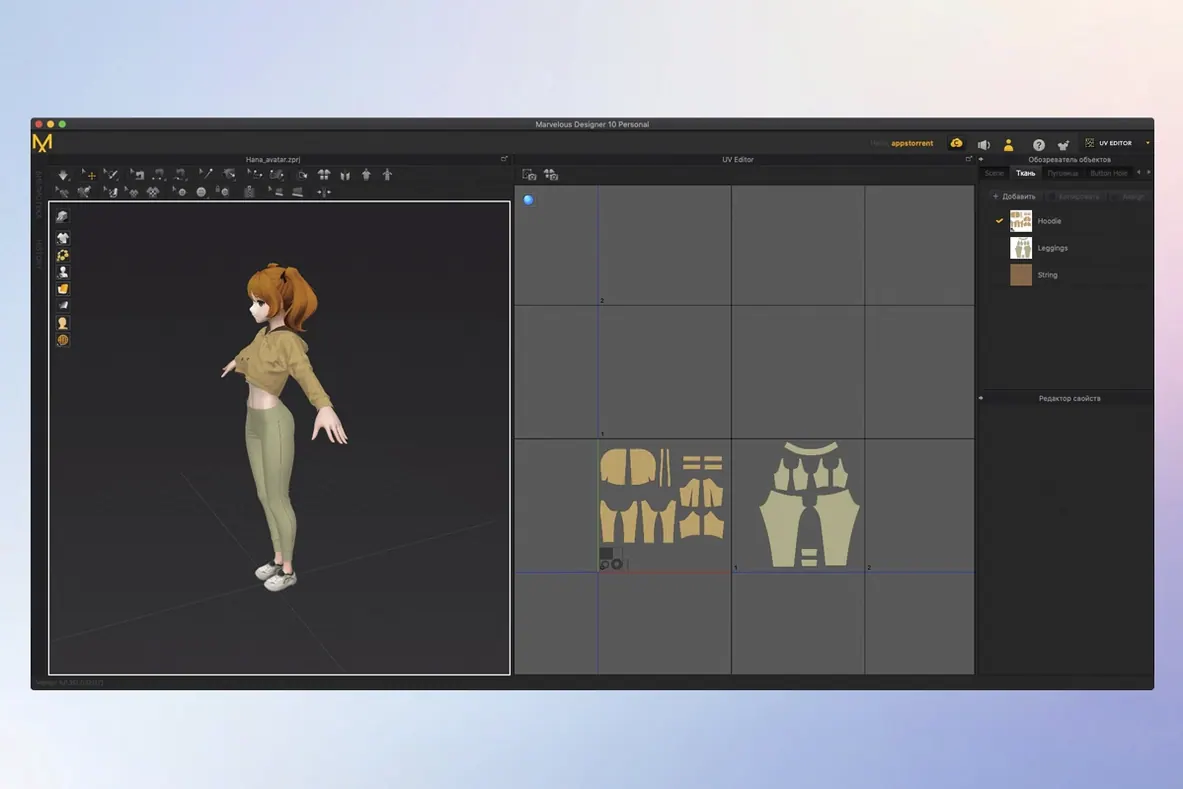
After installation, the natural impulse is to jump straight into a garment. A better use of the first hour is to open the sample project files that ship with Marvelous Designer. These give you a working scene with a 3D avatar and a pattern already laid out, so you can see how the 2D window and the 3D viewport relate before you create anything from scratch.
Spend time adjusting the simulation settings to match your Mac's hardware. The default quality level is a safe starting point, but if you are working with a heavy scene, lowering the particle distance slightly during the rough-drape phase keeps the viewport responsive. You can increase it again for the final simulation pass.
Get used to the 2D pattern window early. Most users who struggle with Marvelous Designer do so because they treat the 3D view as the primary workspace, when in reality the patterns, seams and editing happen on the 2D side. The 3D view is for checking the result.
GPU-heavy scenes benefit from a capable card
The garment clips through the avatar
This is almost always a collision distance problem. Check the particle distance value in the simulation properties. If it is too high, the fabric does not have enough resolution to wrap around the body properly. Lower it gradually until the clipping stops. Also verify that the avatar's collision skin is enabled — it is easy to toggle it off by accident in the visibility panel.
Seams do not stitch correctly
When you use the sewing tool, pay attention to the direction arrows on each segment. The tool sews from the start point to the end point, and if the two segments you are joining run in opposite directions, the fabric will twist. The fix is to reverse one segment using the right-click menu or to resew with the direction corrected. The sewing tool's range control also matters: a range set too short will leave gaps.
Simulation is very slow
Check whether you have the simulation running in real-time mode while editing patterns. It is better to pause the simulation, make your edits, then resume. If the scene has many garments, consider hiding the ones you are not currently adjusting — their simulation continues to use resources even if you cannot see them. Reducing the viewport quality to a lower setting during the layout phase also helps.
Export files do not import into Maya or ZBrush cleanly
Marvelous Designer exports Alembic and USD files, which carry the simulation cache. When importing into another application, ensure the timeline matches. The most common mistake is exporting only the first frame instead of the full frame range. In the export dialogue, set the frame range to match your simulation length. Also confirm that the other application's import settings expect cached geometry, not static meshes.
Draw seam lines directly on 3D garment surfaces
The 3D Pencil tool, introduced in version 2026.0, lets you draw directly onto the 3D garment surface. This is not just for sketching — you can use it to mark seam lines or style lines that you will later transfer to the 2D pattern. It saves the back-and-forth of guessing coordinates on the flat pattern.
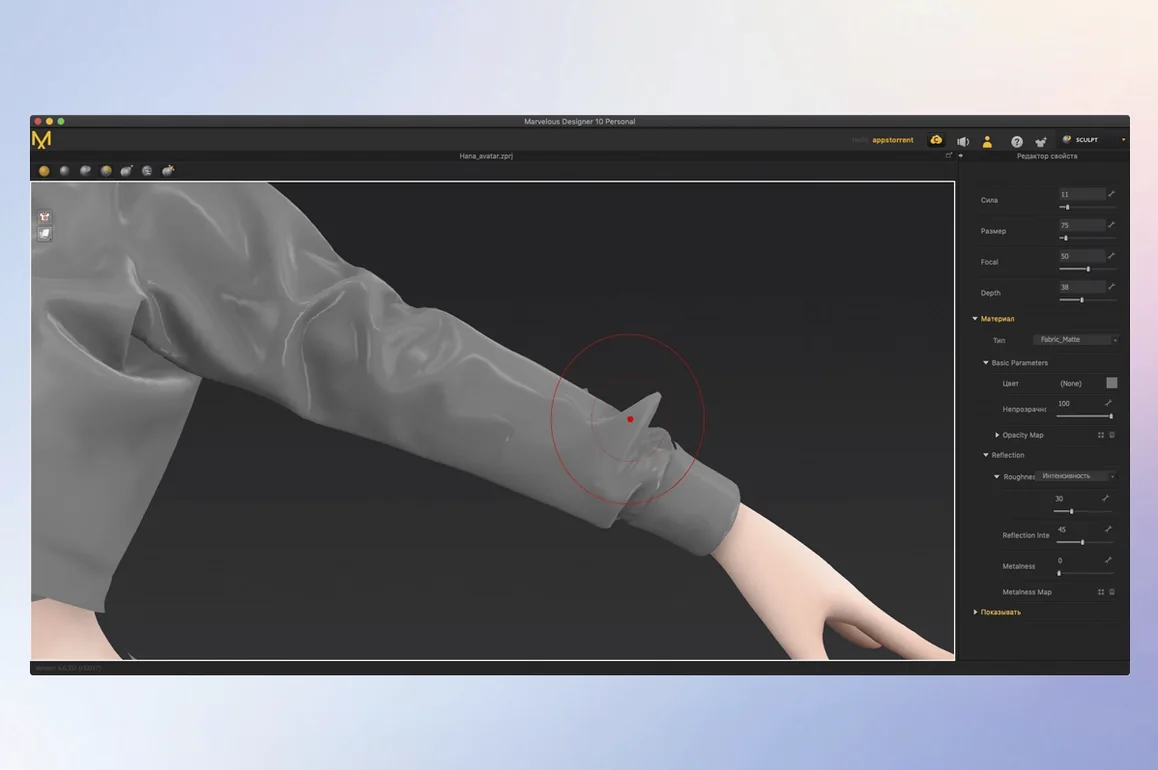
The Toon Shader, also new in 2026.0, gives a stylised preview that reduces visual noise. It is useful when you want to evaluate the silhouette and fold structure without being distracted by realistic lighting. It is a viewport shader, not an export setting, so it does not affect your final renders.
Template-based rigging in EveryWear is worth exploring even if you do not animate characters. It lets you rig a garment to an avatar's skeleton, which means the clothing follows the body's movement without manual keyframing. If you plan to export clothing for a game engine or an animated sequence, this feature saves hours of tweaking.
The reusable wardrobe system is easy to overlook. Once you have a garment that fits well, save it as a wardrobe item. You can then load it onto any compatible avatar without rebuilding the patterns. Over time, building a wardrobe library speeds up new projects considerably.
A closed polygon workflow for front and back panels
Start with a fresh project and an avatar loaded. In the 2D pattern window, draw the front and back panels using the polyline tool. Each panel should be a closed polygon. Do not worry about curves yet — straight edges are easier to edit later.
Use the point placement tool to add notches at the neckline and shoulder positions. These will guide your sewing and help align the panels. Switch to the sewing tool and stitch the shoulder seams first, then the side seams. Keep the sewing direction consistent on both sides to avoid twisting.
Add the sleeves as separate panels. Draw them as rectangles, then use the free curve tool to shape the sleeve cap. Sew the sleeve to the armhole, matching the notches you placed earlier. At this stage, the garment will look blocky — that is normal.
Run a quick simulation with low particle distance. The fabric will settle onto the avatar. Pause the simulation and inspect the fit. Use the 2D pattern tools to adjust the neckline curve or the sleeve length, then simulate again. Each iteration brings the fit closer.
Once the fit is satisfactory, run a final simulation with the particle distance set to your preferred quality level. If you plan to animate the shirt later, use the EveryWear template rigging to bind the garment to the avatar's skeleton. Export the final result as an Alembic file, setting the frame range to cover the entire simulation.
The package includes installation and activation instructions, which cover the process step by step. Follow those, and you will be ready to start draping.
Before it goes on the Mac
- macOS 12 or later
- Intel or Apple Silicon
Questions from the room
Does Marvelous Designer support macOS 12 on Intel Macs?
Yes, the requirements list macOS 12 as the minimum and the architecture includes Intel. So both Intel and Apple Silicon Macs are supported.
Installing it on the Mac
- Open the package and follow the included installation and activation instructions.
Notes from the control room
Sign in or open a catalogue account to leave a note.
No notes from the room yet. If you have used this build for a week, a short note helps the next person.