Luminar AI 1.5.5 (Mac)
Updated
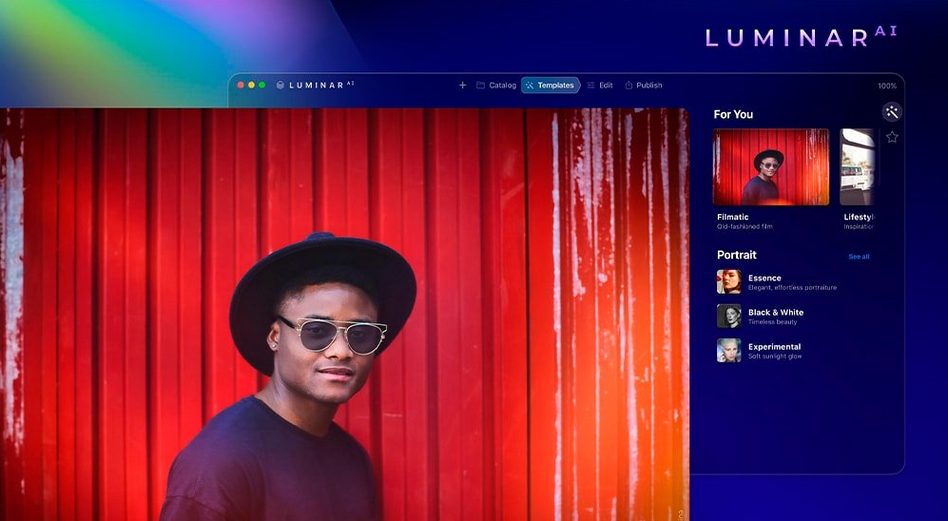
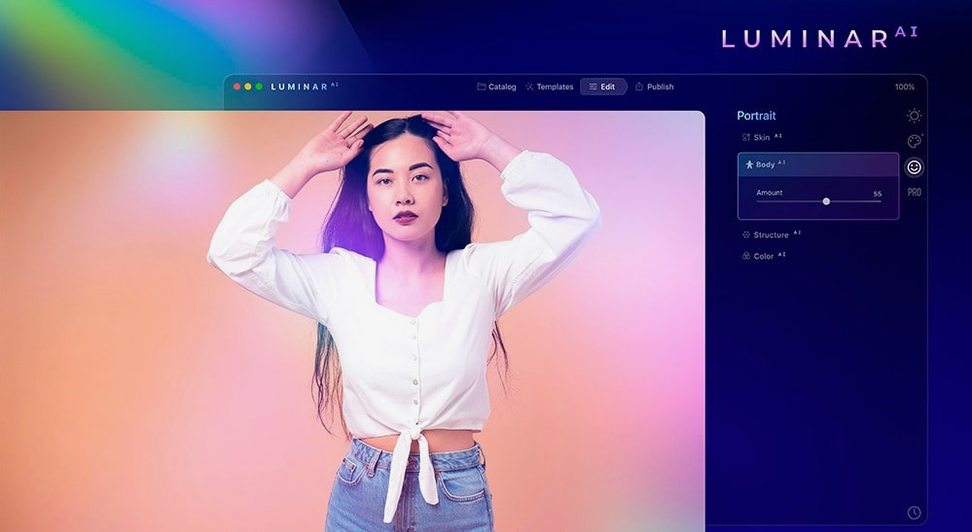
The catalogue note
Luminar AI targets the photographer who wants results without wrestling sliders. It runs as a standalone editor or as a plugin, and the current Mac build (1.5.5) supports macOS 10.13.6 and later, on both Apple Silicon and Intel.
Quick portrait retouching and eye adjustments with AI
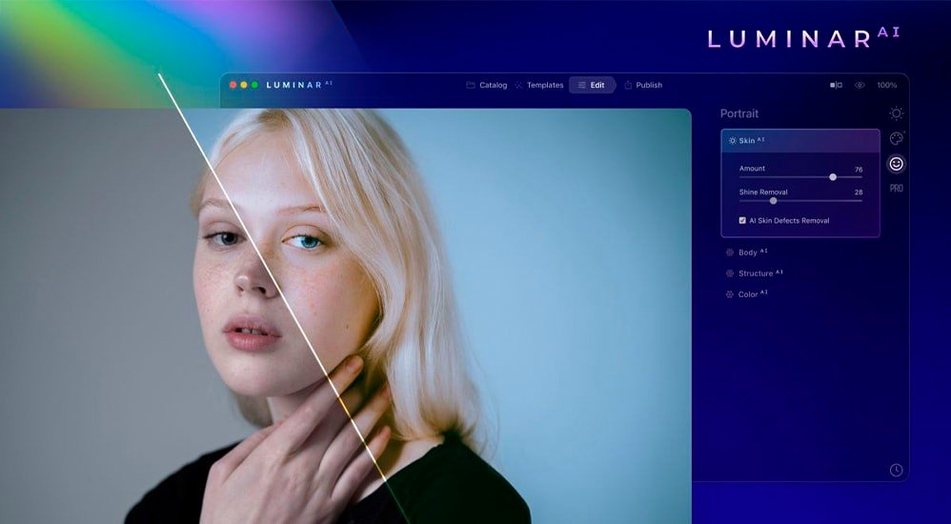
- Quick portrait retouching with Skin AI – removes blemishes while keeping pores and hair texture.
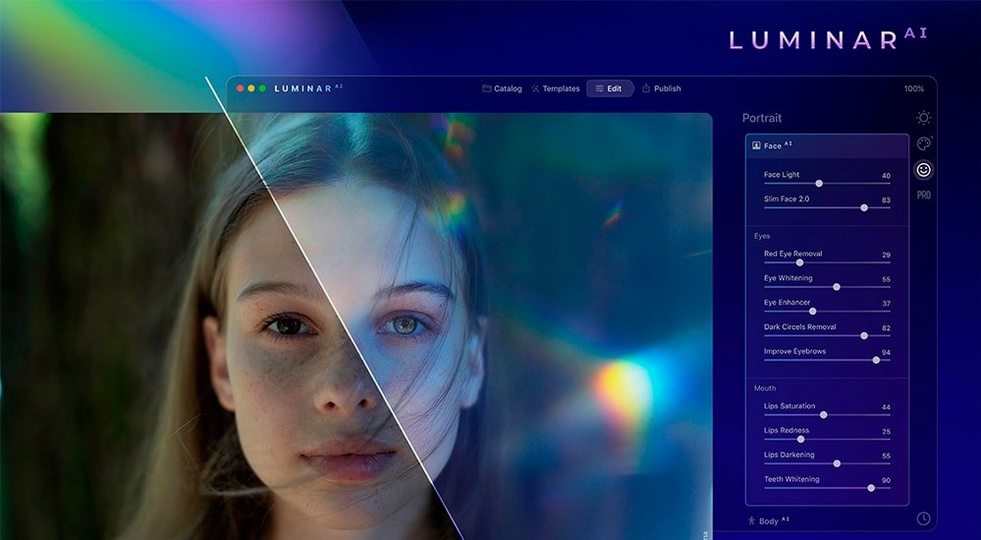
- Eye work with Iris AI – adjust iris size, brightness, and colour without masking.
- Scene enhancement with Structure AI – brings out detail in people, water, sky, and objects.
- One-slider lighting and colour fixes via Accent AI.
- Simulated background blur with Bokeh AI.
Limited manual control but works as a plugin
- Fully AI-driven, so fine manual control is limited compared to traditional editors.
- Interface languages: English, German, Spanish, Italian, Traditional and Simplified Chinese, Korean, Dutch, Portuguese, French, Japanese.
- Works as a plugin, so it can slot into an existing workflow.
Set output format and quality in Preferences first
When you first open Luminar AI, a few adjustments save time later. The default workspace can feel busy; head to Preferences and set your output format and quality early — TIFF or JPEG, depending on what your downstream workflow expects. If you edit alongside other tools, enable the plugin mode from the same panel so Luminar AI appears in your host editor’s filter menu. The cache location is worth pointing to a fast drive if you work with large folders. Turn off automatic updates if you prefer to control when new builds arrive.
Does not replace Lightroom's catalog management
Does it replace Lightroom? Not entirely. Luminar AI handles a different part of the process — it automates retouching and atmosphere, but it does not offer the same catalogue and asset management depth. Many photographers use it as a companion, not a replacement.
Will it run on an older Mac? The requirement is macOS 10.13.6 or later, and it supports both Intel and Apple Silicon. A 2015 MacBook Pro running High Sierra works, though AI processing takes longer than on newer hardware. No GPU requirement is listed, so integrated graphics are sufficient.
Is it safe to download from third-party sites? The usual caution applies — verify the checksum if one is provided, and scan the disk image before mounting. The TNT team release is widely shared, but you take responsibility for where you get it.
Can I use it as a plugin and standalone at the same time? Yes. The standalone app opens your images directly, while the plugin version appears in Photoshop, Lightroom Classic, and other compatible hosts. Both modes share the same AI templates and adjustments.
Drag in raw files, pick a portrait, open in editor
You start by dragging a folder of raw files into the standalone app. The grid view shows thumbnails with basic metadata. Pick a portrait shot where the sky is washed out and the subject’s skin needs work.
Open it in Edit mode. The right panel lists AI tools grouped by category. You click Sky AI first: a set of replacement skies appears as thumbnails. Choose one with soft clouds. The mask is generated instantly — edges around the hair look convincing, no halo.
Next, Skin AI. Iris AI follows: a slight size increase and a touch of brightness. The face looks more awake without looking processed.
For the foreground, Structure AI at moderate strength pulls texture out of the grass and jacket fabric. Accent AI then brings the overall exposure up half a stop and adds a hint of warmth. You toggle the before/after view — the change is clear, but it took maybe four minutes.
Export as a 16-bit TIFF, or send it to Photoshop via the plugin connection for final sharpening. The session is done.
Applying every AI tool at once makes results artificial
Applying every AI tool at once. The temptation is to toggle everything on — Sky AI, Bokeh AI, Atmosphere AI, Structure AI — and the result becomes artificial fast. Each tool works best when you pick one or two per image.
Relying on Accent AI as the only adjustment. It does a solid one-slider correction, but it cannot replace targeted edits. A portrait often needs Skin AI and Iris AI separately; Accent AI alone flattens the face.
Ignoring the template system. Beginners sometimes adjust every image from scratch. Luminar AI includes preset templates that apply a set of AI edits in one click. Starting from a template and tweaking from there is faster than zeroing every slider.
Not checking the mask edges. Sky AI and Bokeh AI generate masks automatically, but complex edges — tree branches, hair, fences — can fool the algorithm. Zooming in to check and using the refine brush catches most errors. Skipping this step leaves visible halos.
Forgetting to set the output format before export. The default may be JPEG at medium quality. If you need layers or transparency later, you end up re-editing. Set TIFF or PNG in Preferences at the start.
Before it goes on the Mac
- macOS 10.13.6 or later
- Apple Silicon or 64-bit Intel
Questions from the room
Does Luminar AI work as a plugin?
Yes, it can be used as a plugin in addition to running as a standalone application.
Which Macs are supported?
Luminar AI requires macOS 10.13.6 or later and supports both ARM and 64-bit x86 architectures.
Installing it on the Mac
- Mount the disk image and launch the app marked as Open Gatekeeper friendly.
- Press Enter in Terminal to bypass Gatekeeper.
- Drag the app to the Applications folder.
- Open the app from Applications.
Notes from the control room
Sign in or open a catalogue account to leave a note.
No notes from the room yet. If you have used this build for a week, a short note helps the next person.