KeyShot 2025.1 (Mac)
Updated
The catalogue note
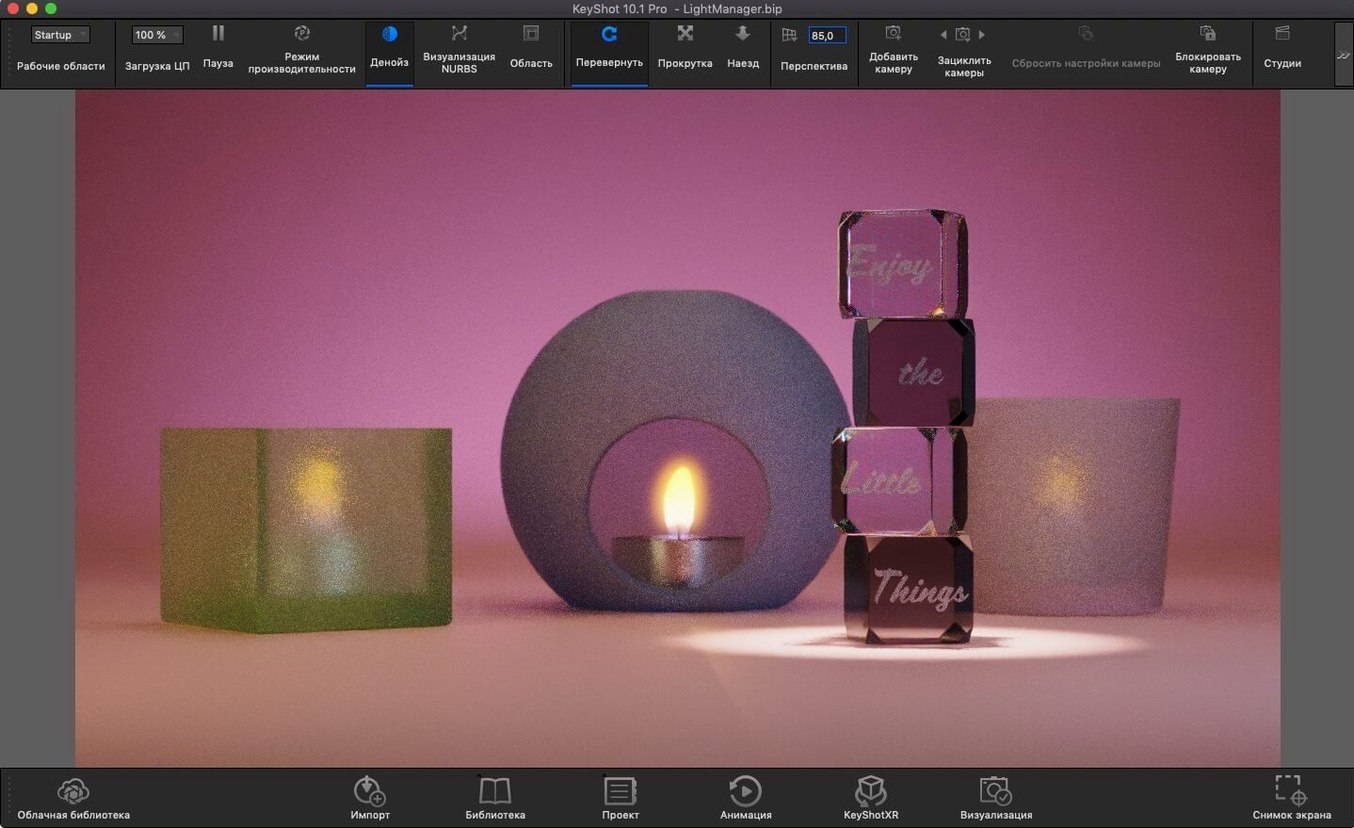
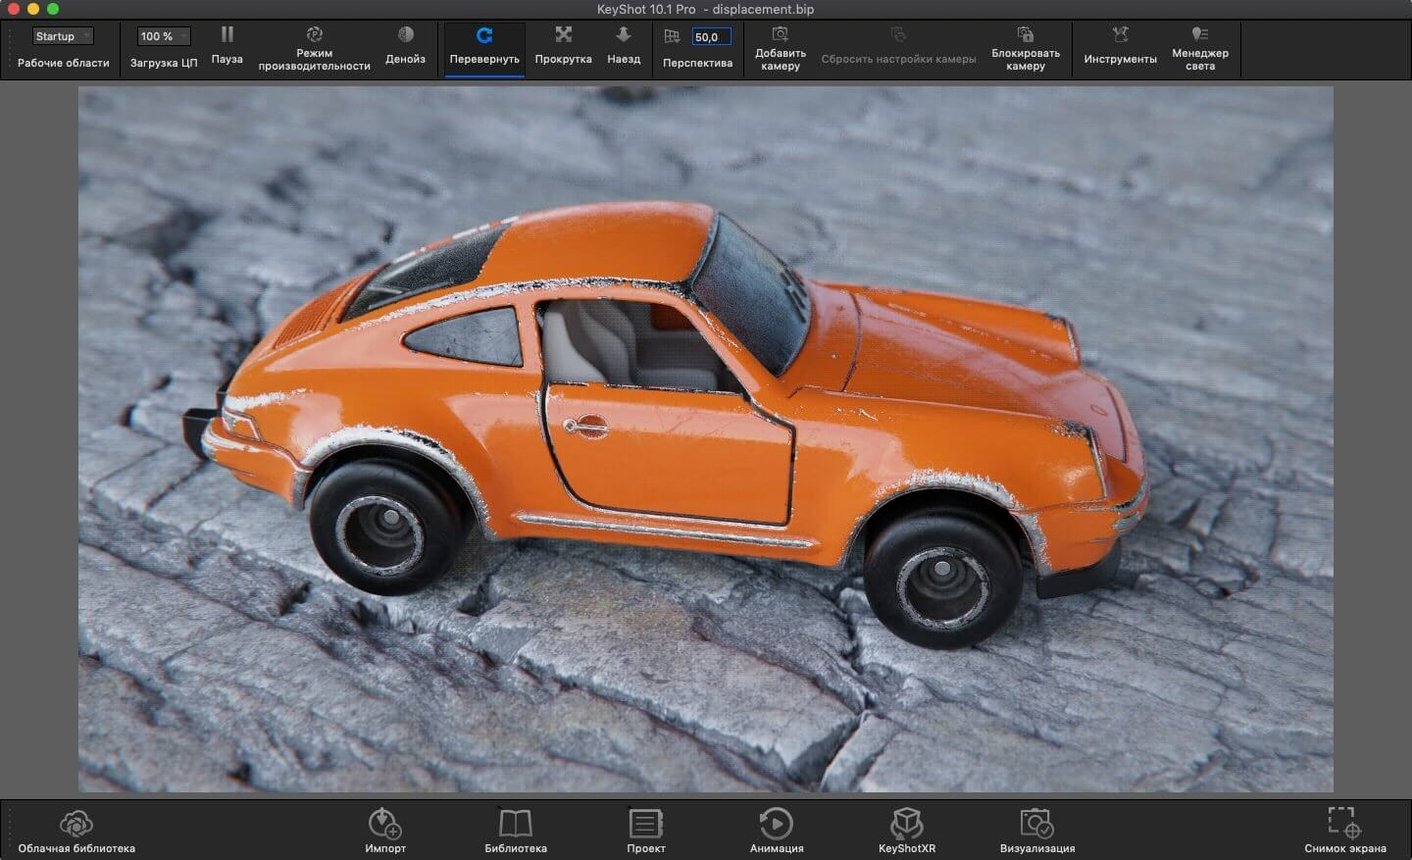
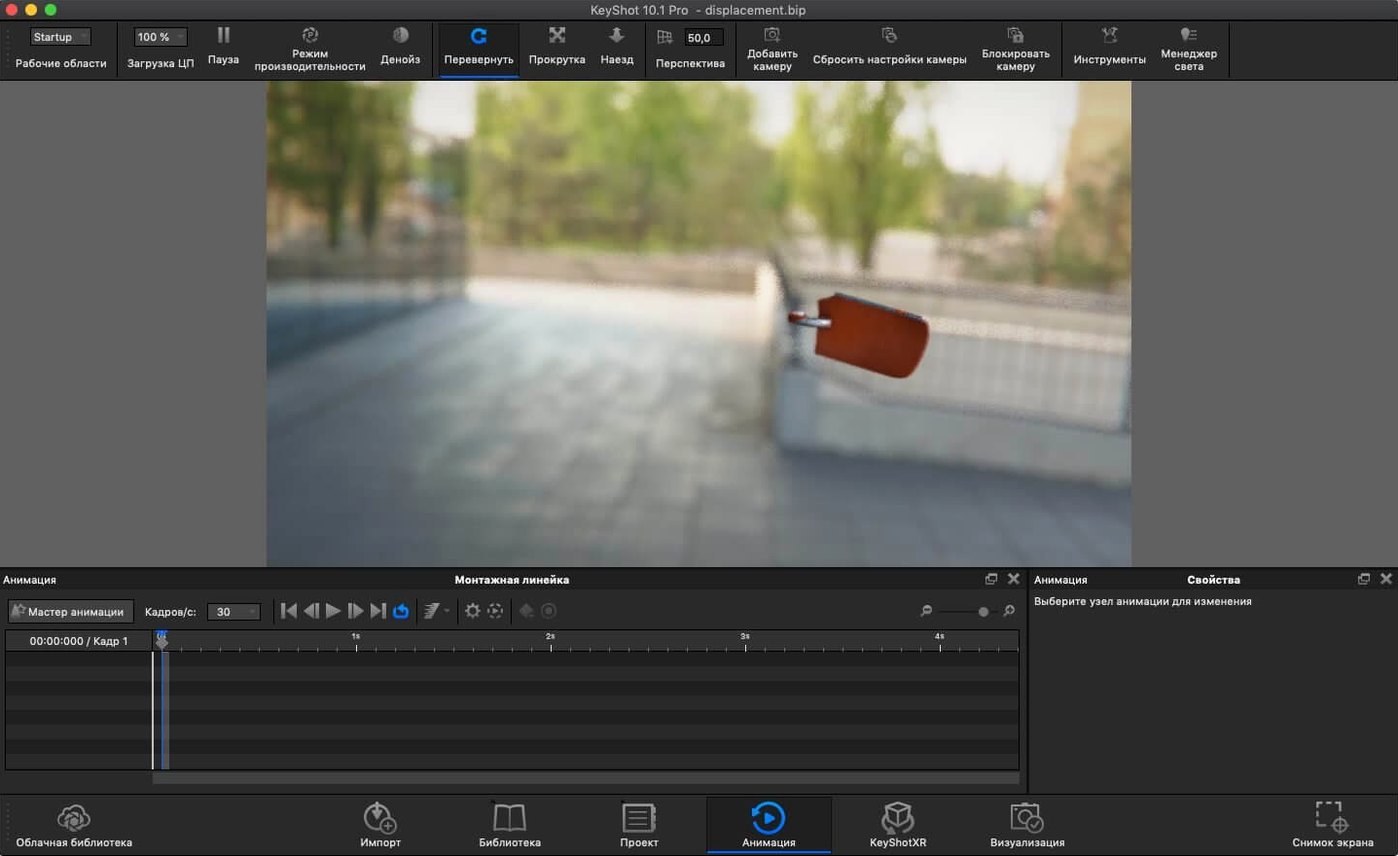
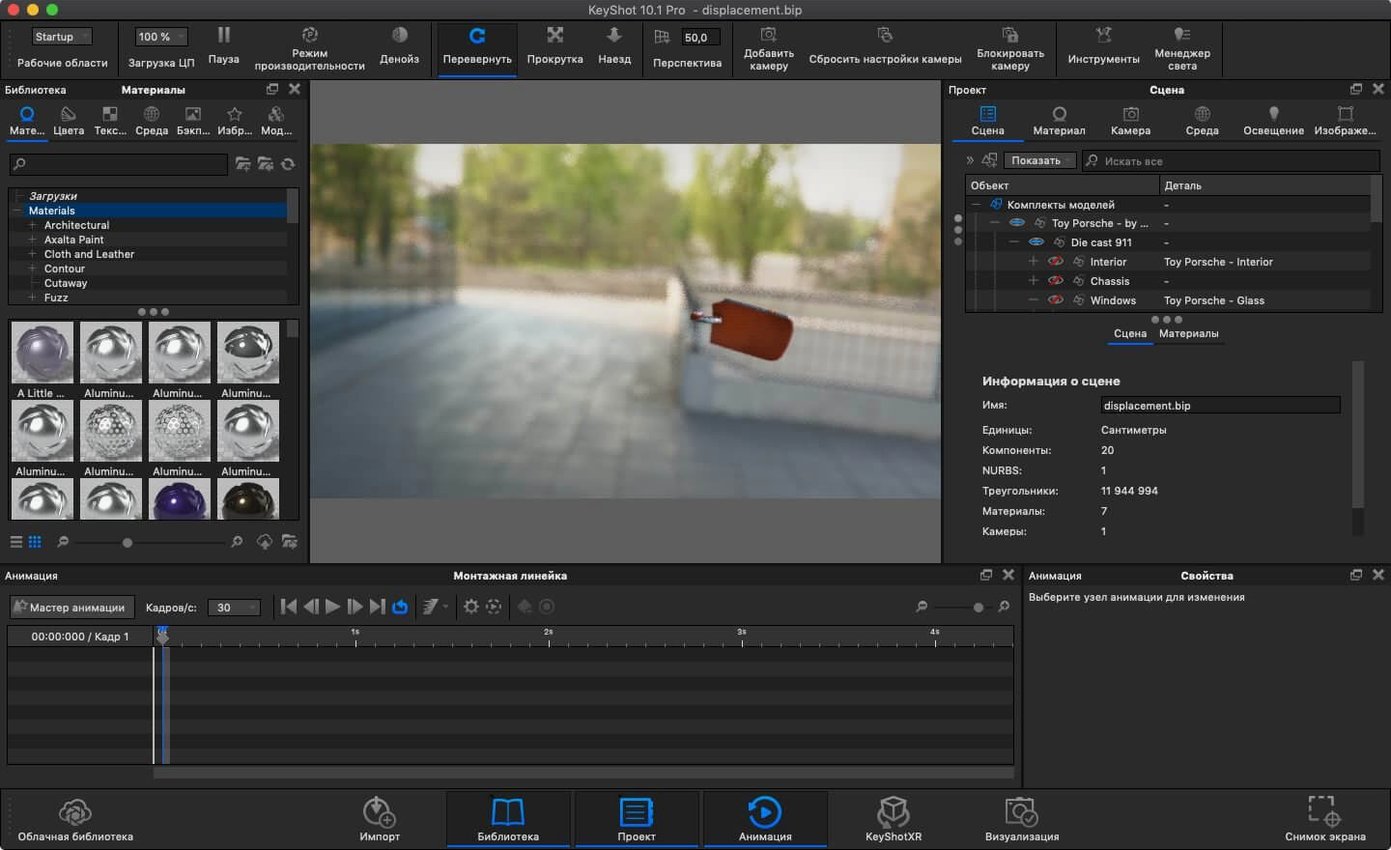
KeyShot Studio, a 3D rendering and animation visualization tool, is constructed on interactive ray tracing which displays outcomes during your workflow.
For product designers, industrial designers and CGI artists working on a keyshot studio mac setup, the workflow is straightforward:
- Import a model using one of the supported formats: OBJ, FBX, 3DS, IGES, STEP, JT, Collada or Parasolid.
- Assign materials and lighting from the built-in library. The new Light Tool in 2025.1 makes placing Physical Lights a more direct operation.
- Adjust the camera and scene. The viewport updates in real time, so you are not waiting on test renders to judge a change.
- Render the final frame or output an animation. For deliverables that travel, glTF export is new in this release, and AR export now supports USDz and GLB.
KeyShot operates independently or as an add-on, and it is compatible with Apple Silicon and Intel 64-bit Macs. If you need to present a product in context or iterate on a look quickly, this is the sort of tool that shortens the loop between model and image.
Plugins connect KeyShot to ALIAS, AutoCAD, CATIA, and more
KeyShot Studio works as a standalone application, but it also integrates with a wide range of 3D modelling tools as a plugin. The supported plugin workflows cover ALIAS, AutoCAD DWG/DXF, CATIA V5, Creo, Inventor, NX, Pro/ENGINEER, Rhinoceros, SketchUp, Solid Edge, SolidWorks and Maya. If you switch between modelling and rendering regularly, the plugin route saves the export-import step — you push geometry directly into KeyShot from the host application.
On the file-import side, KeyShot reads OBJ, FBX, 3DS, IGES, STEP, JT, Collada and Parasolid formats. That covers most engineering CAD packages and general-purpose 3D tools. Export in 2025.1 now includes glTF, USD and AR-ready USDz and GLB. If your final deliverable is a web viewer, an augmented reality preview or a game-engine asset, those formats mean you do not need a separate conversion step.
KeyShot operates directly on Apple Silicon and Intel 64-bit Macs under macOS. The setup and registration procedure follows a typical sequence: you execute the bundled steps, and when the server displays a Host or Host name issue, you launch Terminal, execute the supplied command to insert the local host mapping into /etc/hosts , then reboot the Mac. That is a one-time setup step, not something you revisit.
Twelve languages are supported by the interface: Japanese, Czech, French, Polish, Korean, Simplified Chinese, Traditional Chinese, Italian, Spanish, German, English, and Russian. If your studio works across languages, that helps keep the UI consistent for everyone.
KeyShot vs. other Mac 3D rendering apps
KeyShot Studio versus Cinema 4D (built-in renderers)
Cinema 4D with its Physical and Standard renderers is a common choice for motion graphics and broadcast work. KeyShot Studio is more focused on product visualisation and industrial design. Where Cinema 4D gives you a full modelling and animation toolset, KeyShot is a dedicated renderer with real-time ray tracing at its core. The workflow difference is noticeable: in KeyShot, you import a finished model and spend time on materials, lighting and camera work. In Cinema 4D, you are likely building or modifying geometry first. If your job is rendering models that come from CAD or engineering teams, KeyShot removes the temptation to tweak geometry and keeps you in the look-dev loop.
KeyShot Studio versus Blender (Cycles)
Blender with Cycles is a powerful open-source renderer, and it supports GPU acceleration on Mac. The comparison here is about workflow philosophy. Blender requires you to set up a node-based material system and often needs more manual configuration for physically accurate lighting. KeyShot ships with a library of physically based materials and HDRI environments that are ready to drag onto a model. The real-time viewport in KeyShot is also more immediate — Cycles Interactive mode exists in Blender, but the responsiveness depends heavily on scene complexity and hardware. For a designer who wants to see the result of a material change without adjusting nodes, KeyShot is the more direct tool.
KeyShot Studio versus Octane Render
Octane Render is a GPU-based renderer that runs on Mac through Metal. It produces high-quality results, but it is primarily a render engine that plugs into host applications like Cinema 4D or Blender. KeyShot Studio is a self-contained application with its own interface, material system and animation tools. Octane requires you to own a host application, and its material workflow is node-based. KeyShot gives you a standalone environment where you import, light, animate and export without leaving the application. If you work across multiple teams or need to hand a render project to a colleague who does not own a particular host app, KeyShot is simpler to transfer.
Start with HDRI lighting before assigning materials
- Set up the HDRI environment first. KeyShot uses HDRI lighting as the default method. Before assigning materials, load an HDRI environment that matches your intended lighting scenario. The viewport updates in real time, so you can see how the scene behaves before you commit to material choices.
- Use the new Light Tool for Physical Lights. The 2025.1 release adds a Light Tool specifically for placing Physical Lights. If you are used to positioning lights by numeric coordinates, try the tool instead — it gives you direct placement in the viewport, which is faster for iterative adjustments.
- Learn the Add Studio hotkey. The new hotkey for Add Studio lets you create multiple camera views and material variations quickly. This is useful when you need to present a product in different colours or angles without duplicating the scene manually.
- Check the import scale. When you import a model from a CAD application, the unit scale may differ from KeyShot's default. Verify the scale in the import dialog to avoid a scene where objects are either microscopic or oversized.
- Export test renders in glTF. The new glTF export in 2025.1 is useful for quick previews in web viewers. If you are iterating on a look, export a glTF and check it in a browser — it is faster than rendering a full frame each time.
Import a STEP model and produce catalogue-ready renders
This workflow assumes you have a finished CAD model in STEP format and need a set of still renders for a product catalogue.
- Import the model. Open KeyShot Studio, go to the import dialog and select your STEP file. The import process preserves the assembly structure if the CAD file contains multiple parts. Keep the default import settings unless the scale is wrong.
- Set up the HDRI environment. Open the Environment tab and choose an HDRI preset that matches a studio lighting setup. If the product has reflective surfaces, adjust the background brightness and rotation until the reflections sit naturally.
- Assign materials. Select each part of the assembly and apply materials from the library. For a plastic casing, use a diffuse or glossy material. For a metal component, use a metal material with the appropriate roughness. The viewport updates instantly, so you can see how the material reacts to the HDRI lighting.
- Place additional lights if needed. If the HDRI alone does not create enough separation on the product, use the Light Tool to add Physical Lights. Position a key light to highlight the front face and a rim light to separate the product from the background.
- Set up camera views. Use the Add Studio hotkey to create multiple camera angles: a front view, a three-quarter view and a detail close-up. Each studio can have its own material overrides if you need to show colour variants.
- Adjust render settings. Set the output resolution and choose a render mode. For a catalogue, a standard ray tracing pass with global illumination is sufficient. Enable final gathering and ambient occlusion for better contact shadows.
- Render. Start the render queue for all studios. While the renders process, you can continue working on another scene — KeyShot does not lock you out of the interface during rendering.
- Export. Once the renders finish, save them as PNG or TIFF. If the catalogue also needs a web version, export one view in glTF or USDz for AR preview.
This workflow keeps the process contained within KeyShot Studio. The model comes in from CAD, the materials and lighting are applied in one application, and the final deliverables leave in formats that match the target medium.
KeyShot requires macOS 12 or later and runs on Apple Silicon and Intel
KeyShot Studio 2025.1 (14.0.0.176) Fix requires macOS 12 or later. It is compatible with Apple Silicon and Intel 64-bit Macs. The installer includes an activation step that needs Terminal access once — you run a command to add a host mapping to /etc/hosts and then restart. That is the only system-level change the software makes.
The application itself is a 3D renderer with real-time ray tracing. On any supported Mac, the viewport will update as you adjust materials, lighting and camera settings. The responsiveness depends on scene complexity, but the architecture is designed to give interactive feedback rather than requiring a separate render preview step.
KeyShot supports a wide range of import and export formats, so it fits into existing pipelines without forcing you to change your modelling tools. The interface language can be set to one of twelve languages, which is helpful for multilingual studios or teams that work across regions.
The activation is a one-time process. After that, the software runs locally without phoning home.
If you work with CAD models regularly and need a rendering tool that shows results while you adjust, KeyShot Studio is a practical choice. It does not try to be a full 3D suite — it does one thing, rendering, and does it with a real-time workflow that keeps the feedback loop short.
Changes in this build
- Added a new hotkey for Add Studio.
- Added a new Light Tool for easier placement of Physical Lights.
- Added support for the Re-tessellate Tool in the Scripting API.
- Added glTF export and AR export in USDz and GLB formats.
Before it goes on the Mac
- macOS 12 or later
- Apple Silicon or Intel 64-bit
Questions from the room
What file formats can KeyShot Studio import?
It supports OBJ, FBX, 3DS, IGES, STEP, JT, Collada and Parasolid files.
Installing it on the Mac
- Open the included installation and activation instructions.
- If the server shows a Host or Host name error, open Terminal.
- Run the provided command to add the local host mapping to /etc/hosts.
- Restart the Mac.
Notes from the control room
Sign in or open a catalogue account to leave a note.
No notes from the room yet. If you have used this build for a week, a short note helps the next person.