Home › Mac Apps › Live Home 3D Pro
Live Home 3D Pro 5.1.1 (Mac)
Updated
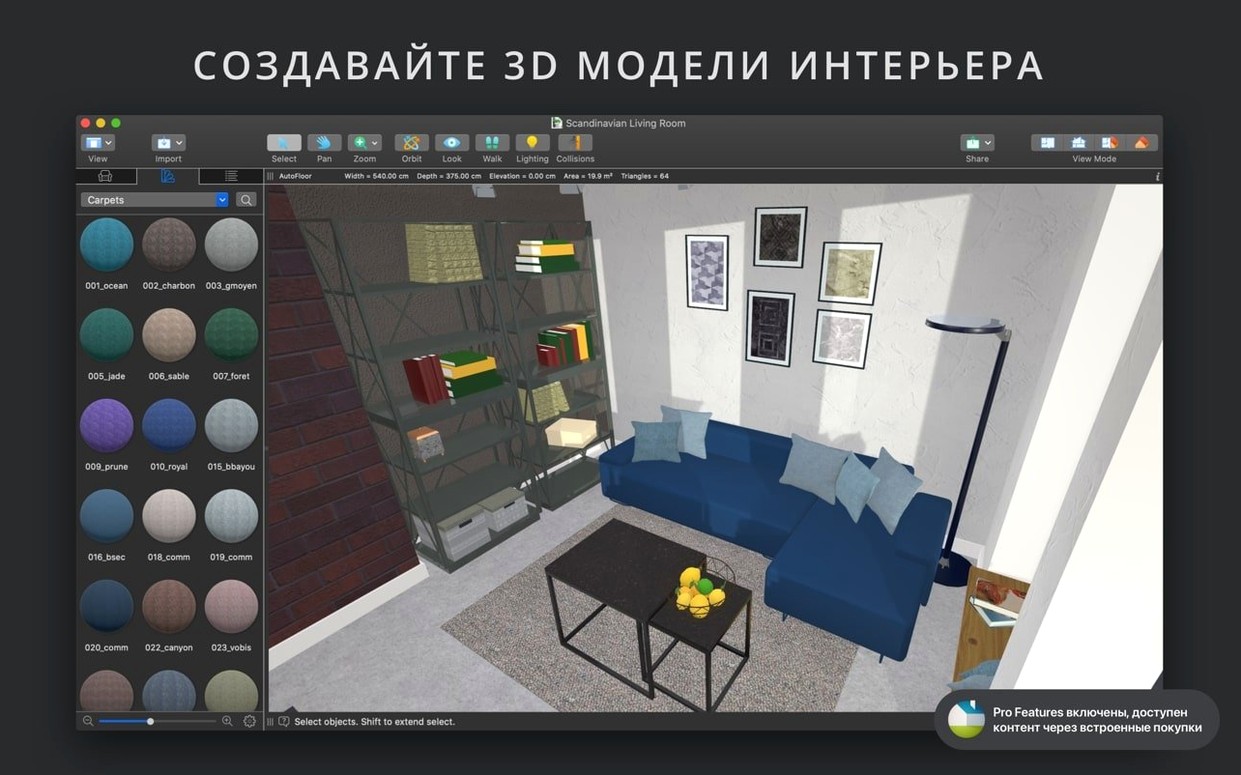
The catalogue note
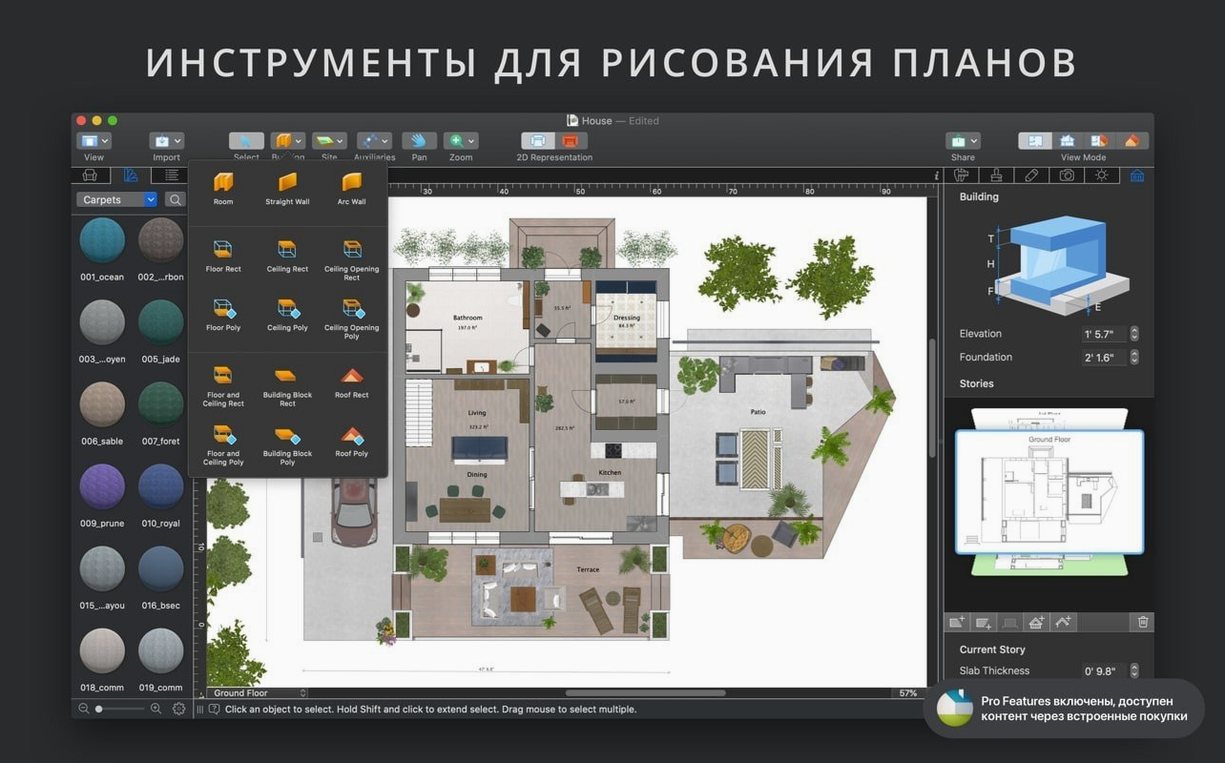
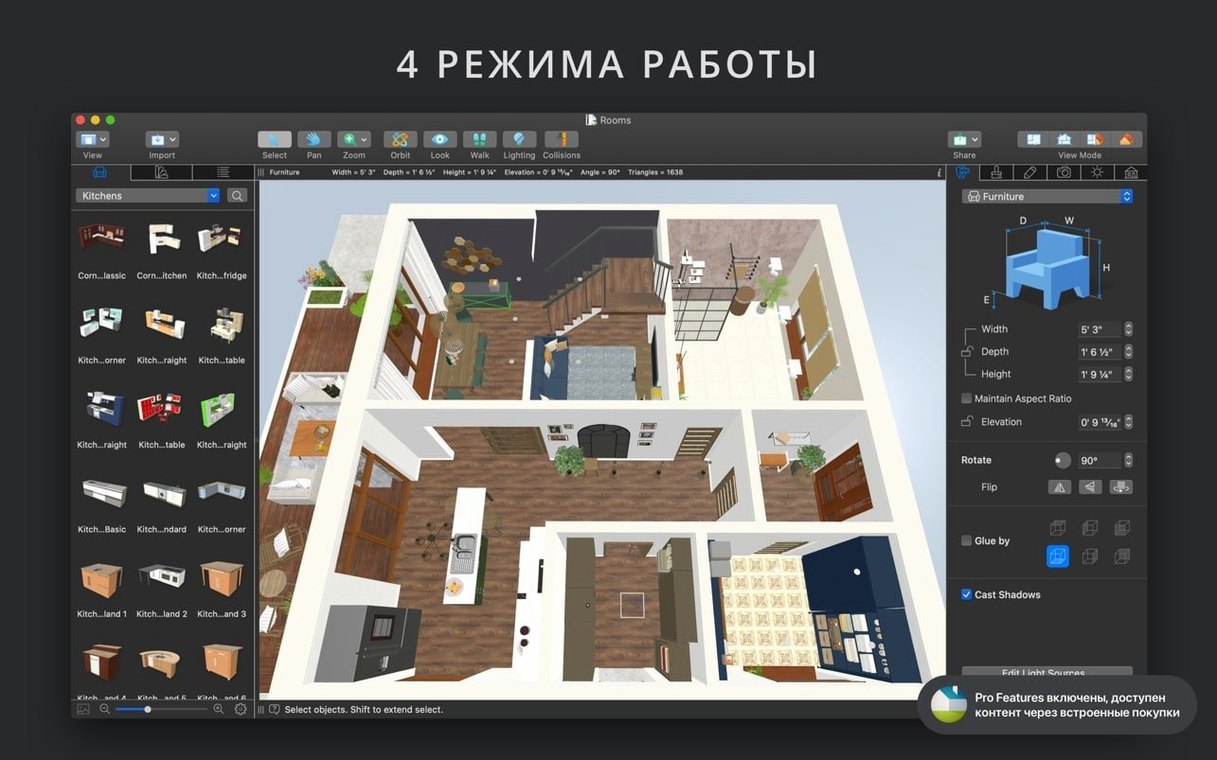
Live Home 3D Pro is a Mac application for interior, house, and landscape design in both 2D and 3D.
It fits well alongside the other tools a Mac user already relies on. The interface feels native, and the workflow is straightforward: draw walls, place furniture, adjust lighting, and switch between 2D plans and 3D views as you go. Precise placement tools with guides and snapping help when you need accuracy, and the level-of-detail control lets you simplify 3D models during editing, which keeps the viewport responsive on less powerful machines.
Good for:
- Designing interiors, houses, and landscapes with a unified toolset.
- Working with multiple floors (unlimited) and curved or straight walls.
- Customising materials with the advanced material editor – over 2,100 surface materials included.
- Furnishing quickly from a library of more than 2,000 models.
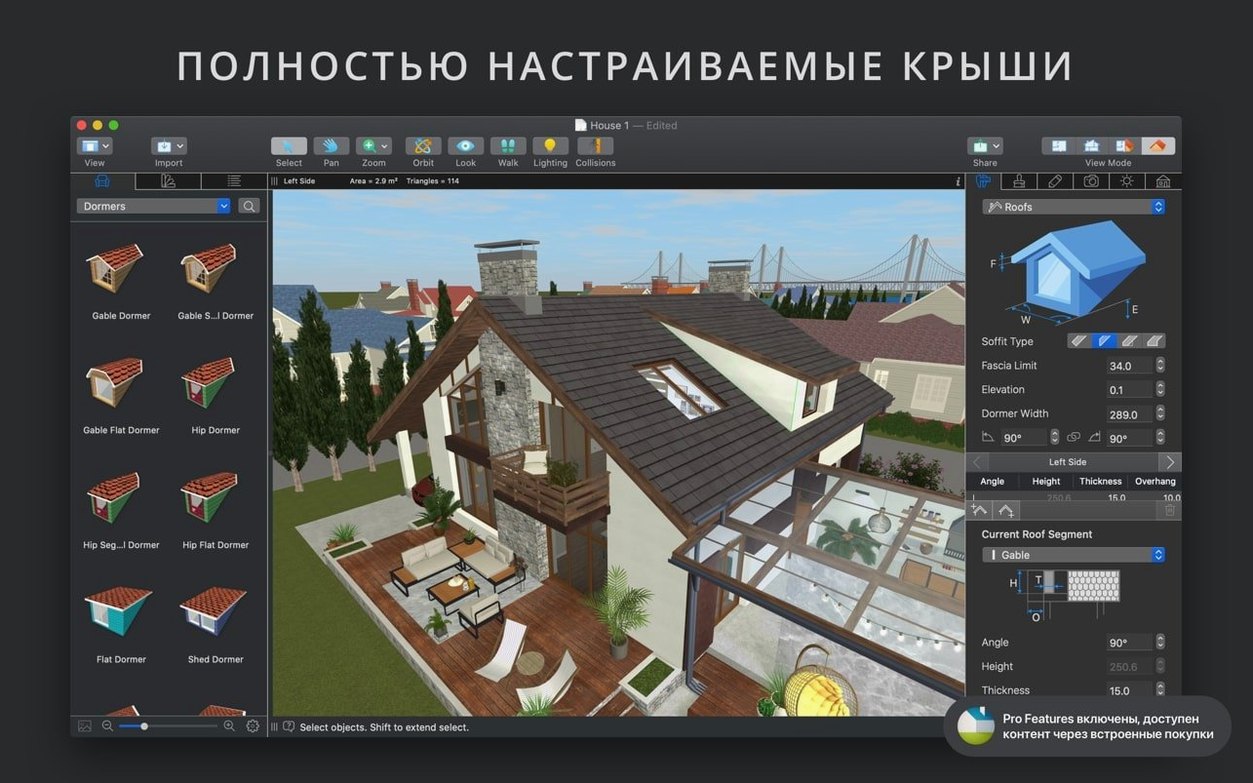
- Attic layouts – 16 adjustable attic types are built in.
Keep in mind:
- Version 5.0.4 addresses a specific licensing issue for the standalone Pro app – if you use that, this update matters.
- Requires macOS 12 or later; runs on both Intel and Apple Silicon.
- Interface languages include English, Russian, German, Spanish, Italian, Simplified Chinese, Ukrainian, French, and Japanese.
Set default measurement units before drawing
When you open Live Home 3D Pro for the first time, a few adjustments save you from correcting things later. Head to the preferences and set your default measurement units before you draw anything. Inches, feet, metres – pick the one your real-world projects use. The automatic dimension lines for walls, floors, and ceilings follow this setting, so getting it right early avoids a mass edit session later.
Enable the snapping and guide options if they are not already active. They make a noticeable difference when you place walls or furniture at precise distances. Disable them only if you work on freeform layouts where exact alignment gets in the way.
The level-of-detail control sits in the view options. Keep it at a medium setting while you block out rooms and push it higher only for final renders. This keeps the 3D view responsive when you add furniture, materials, or complex roof shapes. You can also adjust the shadow map quality from the same panel – the default is fine for editing, but bump it up before exporting a walkthrough video or high-resolution image.
If you work with multiple floors, turn on the vertical view mode early. It helps you see how rooms stack before you commit to stair placements and ceiling heights.
Plan garden layouts alongside house interiors with 12 roof templates
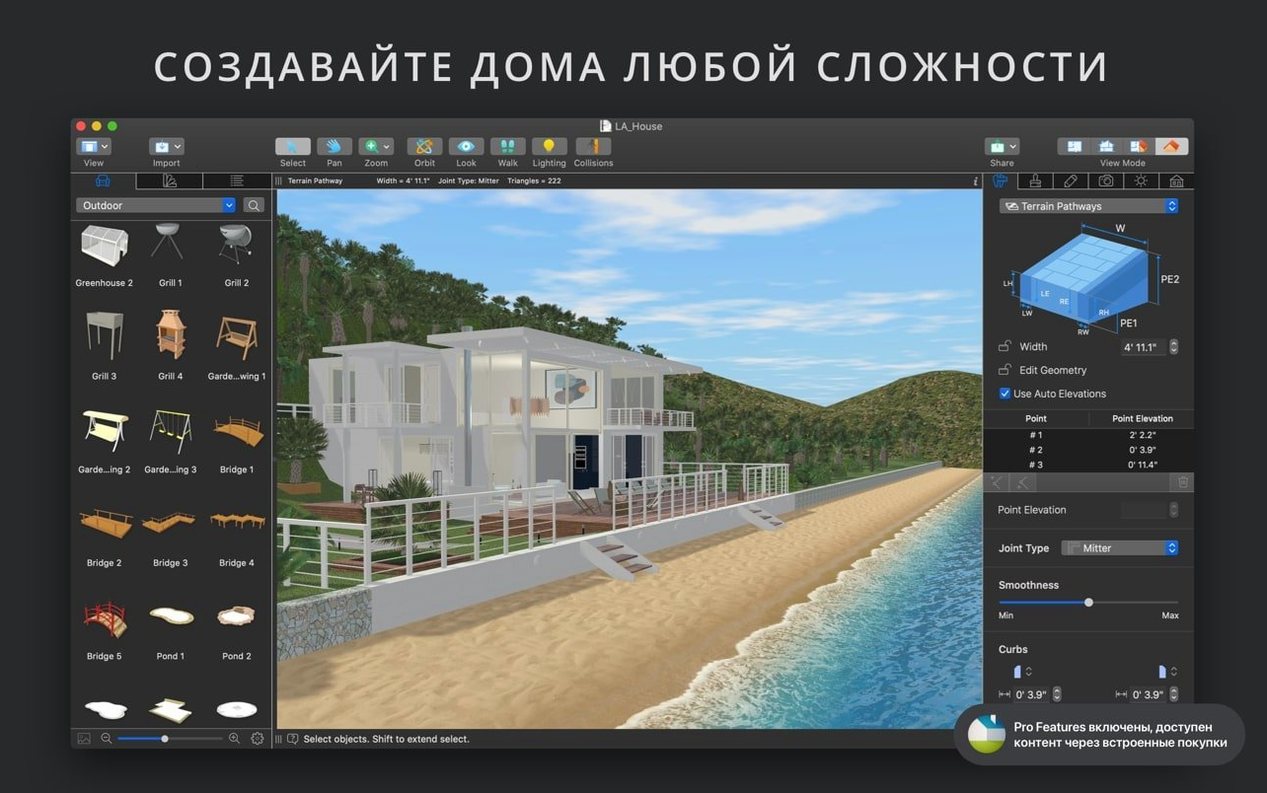
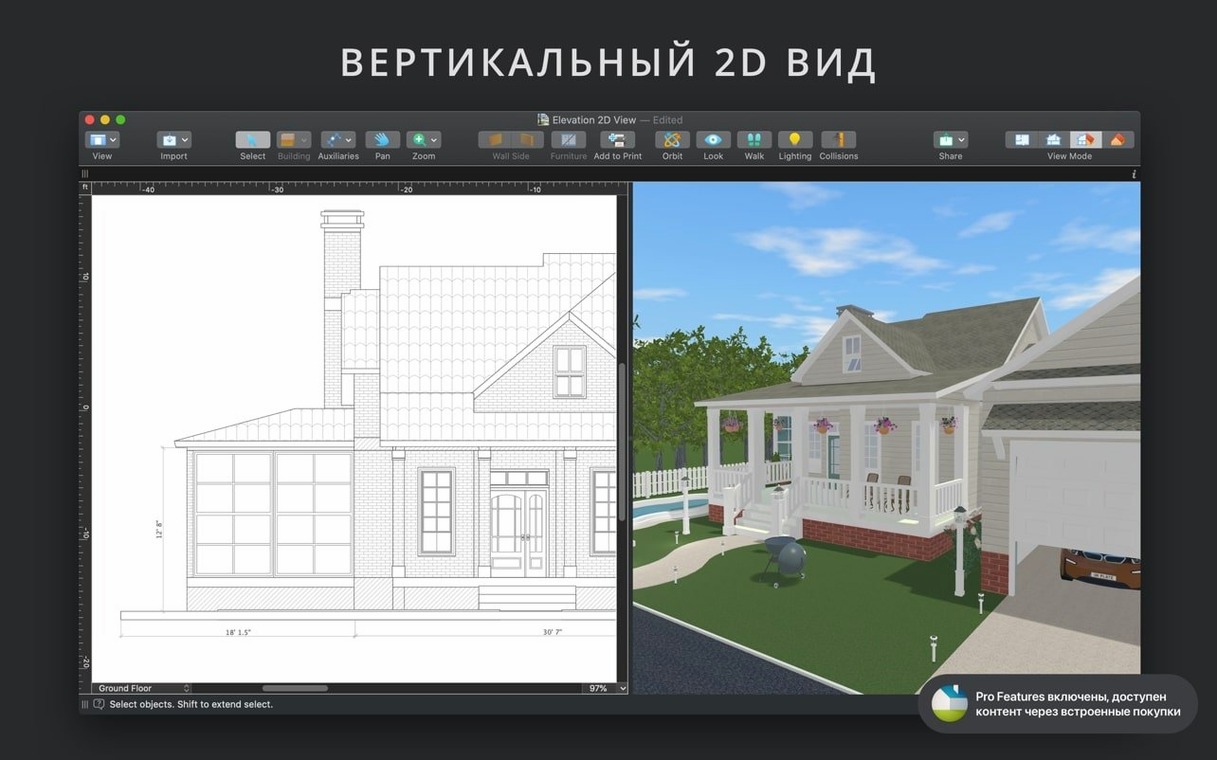
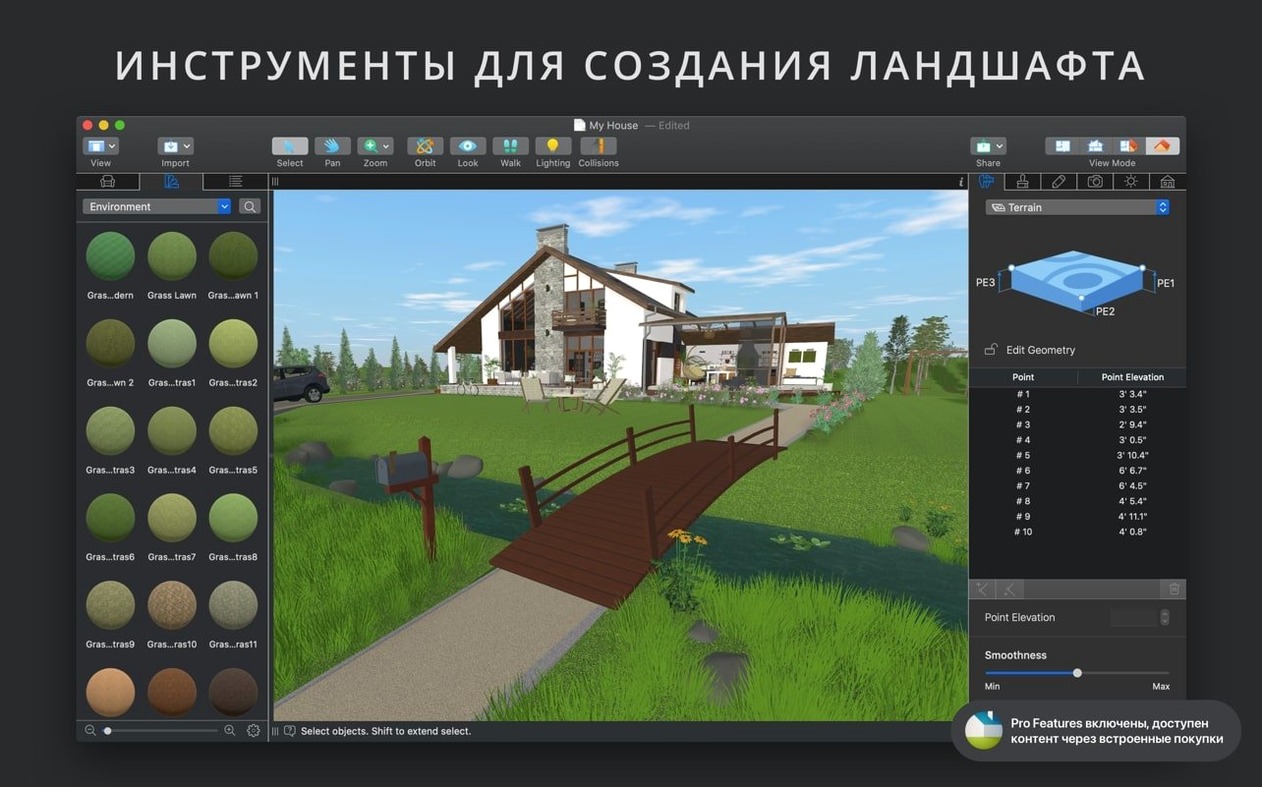
Consider someone who plans garden layouts alongside house interiors. A landscape designer starts by drawing the building outline in 2D, then switches to the elevation view to set the roof pitch using one of the 12 roof templates. Once the structure is in place, they turn to the terrain editing tools – a Pro feature – to shape the ground around the house. Slopes, paths, and planting beds get defined directly in 3D.
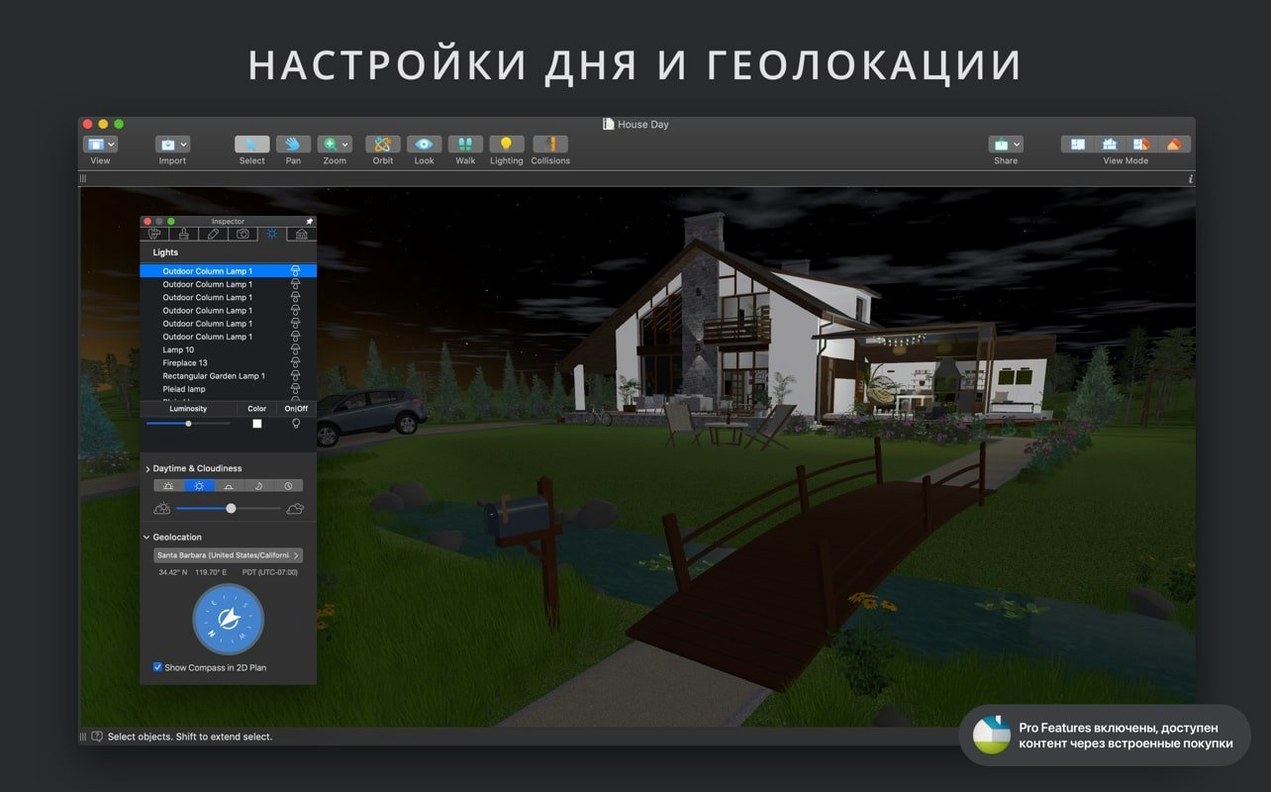
The same project contains a patio with custom paving. The designer imports a cobblestone texture from Finder using the image-as-material feature, then applies it to the patio surface. Furniture from the 2,000-item library populates the outdoor space: chairs, tables, a parasol. Natural lighting is set by geolocation and time of day, so the designer can see where shadows fall at different hours. A walkthrough video in Ultra HD exports at the end to show the client how the garden interacts with the house across the seasons.
For this user, the combination of house tools and terrain tools in one app means no switching between a CAD program and a landscape editor. The same project file holds everything.
Enable the snapping grid to avoid misaligned rooms
New users often start drawing walls without checking the snapping grid. The result is rooms that do not meet at clean angles, which later causes problems when placing windows, doors, or furniture. Always enable snapping before the first wall segment.
Another common error is ignoring the floor plan outlines that automatically show furniture and fixtures. Beginners sometimes place objects in 3D view without looking at the 2D plan, ending up with a table that looks fine in perspective but overlaps a wall when viewed from above. Switch between the 2D and 3D views regularly – they update in real time, so there is no reason to work in only one.
Beginners also tend to skip the material editor and rely on the built-in surfaces. The editor is worth learning early. You can adjust reflectivity, roughness, and colour on any material, or import an image from Finder for a completely custom finish. It takes five minutes to learn and makes the difference between a generic render and one that looks considered.
A final mistake: not setting the camera field of view and projection type before rendering. The default view works for editing but rarely gives the best composition for an export. Place multiple cameras around the scene and adjust each one for a specific purpose – a wide shot for the living room, a tighter one for the kitchen detail. It saves time compared to re-rendering after moving a single camera repeatedly.
Watch the wall-drawing tutorial and browse the gallery
- Open the built-in video tutorials and watch the one on wall drawing and room creation. It covers the snapping, dimension lines, and room outline features that form the basis of every project.
- Spend ten minutes browsing the gallery of house and room projects. Load one that resembles your own plan, then modify it. This teaches the interface faster than starting from a blank canvas.
- Use the help assistant when you get stuck. It sits inside the app and answers specific questions without sending you to a web browser.
- Import a simple object from Trimble 3D Warehouse – a chair or a lamp – to see how the import process works. Supported formats include SketchUp, COLLADA, FBX, and OBJ, so you are not limited to the built-in library.
- Try the roof creation assistant even if your current project does not need a roof. The 12 templates and the attic type options are quick to experiment with and show you how the app handles structural elements.
- Export one test render at moderate resolution to confirm your export settings work. JPEG, TIFF, PNG, and BMP are all available. If you plan to share with clients via Mail, Messages, or AirDrop, test the send feature with a small file.
- Enable iCloud syncing if you use multiple Macs. The project files are not large, and having them on both machines saves the hassle of manual transfers.
Share project copies via Mail, Messages, or AirDrop
Live Home 3D Pro works with the standard macOS sharing sheet. You can send a project copy directly from the app using Mail, Messages, or AirDrop. For team workflows, this means a quick way to hand off a draft without exporting to a separate file format first.
iCloud integration keeps projects accessible across your Macs. If you edit a floor plan on a MacBook in the living room and later open the same file on a Mac Studio in the office, the changes sync automatically. No manual version management needed.
Model import supports several common formats: SketchUp, COLLADA, KMZ, FBX, OBJ, and 3DS. If you already maintain a library of 3D assets from other design work, you can bring them into Live Home 3D Pro without conversion. The light source editor also works on imported objects, so a model from an external source can still cast realistic shadows and accept custom lighting.
Export options cover both static images and video. You can render 3D images as JPEG, TIFF, PNG, or BMP, and export walkthrough video in Ultra HD. The exported 3D models can be saved as COLLADA, SketchUp, VRML V2.0, X3D, FBX, or OBJ – useful if you need to move a scene into a rendering engine or a presentation tool later.
Live Home 3D Pro suits homeowners planning renovations with realistic 3D modeling and interior design tools, unlike live home 3d cracked. The same applies to live home 3d pro torrent and live home 3d pro crack searches. The app itself is self-contained and does not rely on any external service beyond iCloud and the built-in model library, so there is no practical reason to look for modified versions. The 2,000+ furniture models and 2,100+ materials cover most projects out of the box.
Changes in this build
Version 5.1.1 of Live Home 3D Pro has landed. No detailed patch notes were published alongside it, so this release is about maintenance and quiet refinements under the hood.
Before it goes on the Mac
- macOS 12 (Monterey) or later
- Apple Silicon or Intel 64-bit Mac
Installing it on the Mac
- Mount the disk image and open Open Gatekeeper friendly.
- Press Enter in Terminal to bypass Gatekeeper.
- Drag the app to the Applications folder.
- Open the app when installation is complete.
Notes from the control room
Sign in or open a catalogue account to leave a note.
No notes from the room yet. If you have used this build for a week, a short note helps the next person.