Updated
The catalogue note
The Edit Nodes toolbar in LightBurn 2.0 is one of those additions you don’t notice until you need to tweak a single vector point on a complex cut path. Then it’s suddenly indispensable. But before you get to editing, the first question is whether the software will actually launch on your Mac.
Check compatibility first
LightBurn 2.0.05 requires macOS 10.13 or later and an Intel 64-bit processor. On Apple Silicon Macs (M1, M2, M3 families) Rosetta 2 is mandatory — there is no native ARM binary at this point. The app runs fine under translation in my experience, but it’s worth knowing upfront if you’re on a machine that doesn’t have Rosetta installed yet.
Import what you need
You can bring in AI, SVG, DXF, PDF, PNG and JPG files, then use boolean operations, offset and weld tools to refine shapes. The software handles both vector and raster imports, so artwork from Illustrator or a hand-drawn scan both land in the same workspace.
Control the cutter
Once the design is ready, LightBurn talks directly to most GCode, DSP and Galvo controllers. You set power, speed, pass count and cut order per layer, and the brightness/contrast/dithering controls handle raster engraving. Rotary axes and cameras are supported as well.
Built for Intel Macs running High Sierra or later
LightBurn 2.0.05 is built for Intel 64-bit Macs running macOS 10.13 or later. If your machine is from 2012 or newer and still runs High Sierra or Mojave, it will launch. The DMG installer is the same file for all supported systems — no separate download for older or newer macOS versions.
On Apple Silicon, Rosetta 2 handles the translation layer. macOS will prompt you to install Rosetta the first time you try to open an Intel-only app, or you can install it manually from the Terminal. After that, LightBurn opens and works like any other application. The interface, file dialogs and controller connection all behave identically to an Intel Mac. There is no performance penalty in the design workflow — vector editing and layout are not GPU-bound tasks. The laser control pipeline sends GCode or DSP commands over USB or network, so the CPU overhead from Rosetta is negligible there too.
It stores user preferences and the material database in your ~/Library/Application Support/LightBurn folder. No background processes, no kernel extensions, no installer agents.
Complements Affinity Designer, Illustrator, and Inkscape
LightBurn does not replace your vector editor — it complements it. You can create artwork in Affinity Designer, Illustrator or Inkscape, export as SVG or PDF, then import into LightBurn for laser-specific adjustments. The built-in vector editor handles simple geometry, text and boolean operations, but complex illustrations are better prepared elsewhere.
On macOS, the app integrates with the standard Open and Save dialogs, so you can use Finder tags, iCloud Drive or any third-party cloud storage service. Drag and drop works: you can drag a PNG from Safari or a PDF from the Finder straight into the LightBurn workspace. The app registers itself as a handler for LBRN and LBPD files (project and device profile files respectively), so double-clicking a project file in the Finder opens it directly.
For workflow automation, you can use macOS Shortcuts or Automator to batch-export SVG files from other apps and then open them in LightBurn. There is no AppleScript or scripting support built into LightBurn itself, so automation is limited to file-level operations. The app does not integrate with the macOS printing system — laser output goes through its own controller panel, not the print dialog.
If you use a camera for alignment or material positioning, LightBurn supports it via the Camera Calibration tool introduced in version 2.0. The camera feed appears inside the app window, overlaid on the workspace. This works with any UVC-compliant webcam or document camera plugged into your Mac — no additional drivers needed.
Requires macOS 10.13 — older systems cannot install this version
Can I run it on an older Mac that is not supported anymore? LightBurn 2.0.05 requires macOS 10.13 as a minimum. If your Mac is stuck on macOS 10.12 or earlier, you cannot install this version. The developer lists older versions on the download page, so you might find a build that runs on your system — but those versions lack the 2.0 features like Dark Mode and the Edit Nodes toolbar.
Will it work on a MacBook Air with 4 GB of RAM? Yes, for basic layouts and simple engravings. Large bitmap imports (high-resolution PNG or JPG files) consume more RAM during processing, but 4 GB is sufficient for most hobbyist work.
Do I need a separate driver for my laser cutter? No. LightBurn speaks GCode, DSP and Galvo protocols directly. If your laser controller uses one of those — and most CO2 lasers, diode lasers and professional galvo systems do — you simply connect via USB or Ethernet and select the controller type from the dropdown. The app handles the rest.
Can I use it on two Macs? The licence allows installation on multiple machines you own. The activation system ties to a user account, not a specific computer. You can install the same DMG on your workshop iMac and your laptop without issue.
Double-click to open a blank workspace and start a laser cut job
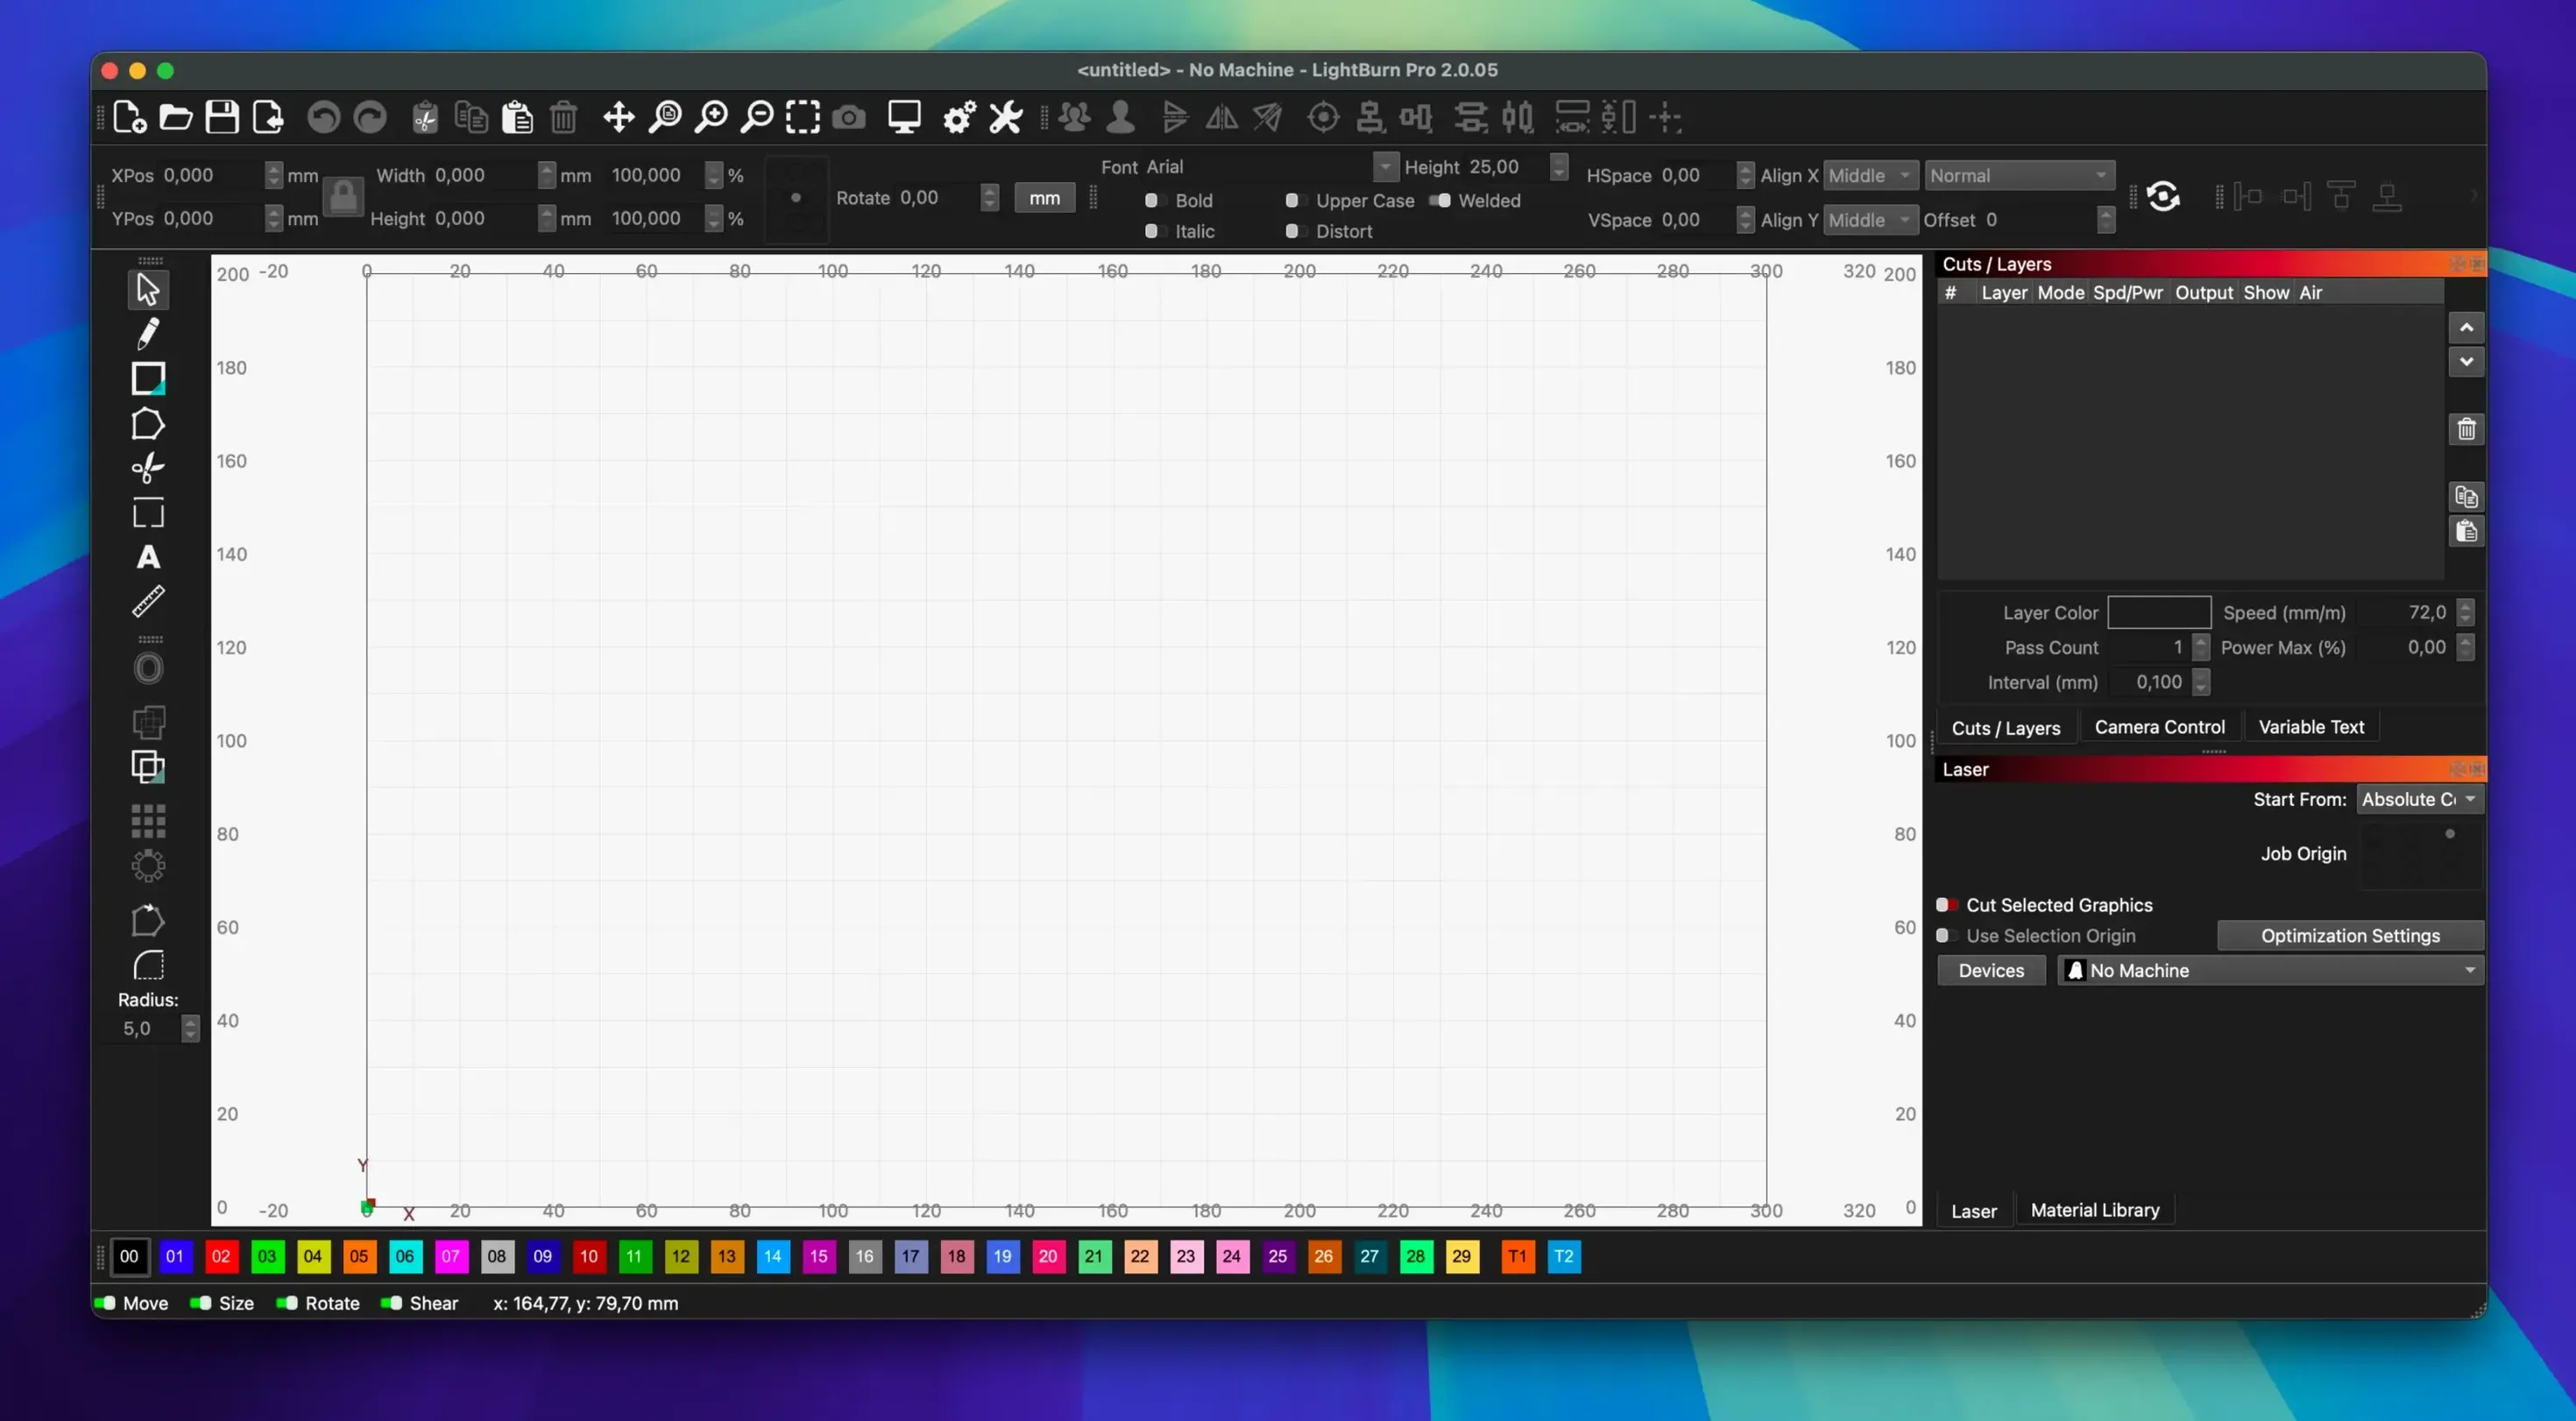
You sit down at your Mac, open the Finder and double-click the LightBurn application. The splash screen shows for a few seconds, then the main window appears with a blank workspace. You have a laser cut job for a set of plywood coasters with a geometric pattern.
First, you import the artwork. The SVG file you prepared in Inkscape is on the desktop. You drag it into the LightBurn window — the vector shapes appear centred on the workspace grid. The layers panel on the right shows each colour-coded element: the outer circle in red, the inner pattern in blue, the text in green. The green text layer stays at engraving parameters but with a slower speed for deeper contrast.
You notice the text is slightly off-centre. Instead of going back to Inkscape, you select the text layer and use the Move tool to nudge it 2 mm to the left. The Edit Nodes toolbar appears at the top — you don't need it now, but it is there if a vector point needs adjusting. You zoom in to check the spacing, then zoom out to see the full layout.
With the design ready, you connect the laser. You plug the USB cable from your CO2 laser into the Mac. LightBurn detects the controller — a Ruida 6442S — and the connection indicator turns green. You open the material library, select "3 mm plywood" from the presets, and the power and speed values adjust automatically to the stored settings. You double-check the bed size in the device settings and move the laser head to the home position using the jog controls in the Move window.
You place a piece of scrap plywood on the bed, run a frame outline to confirm the coaster fits within the material, then press Start. The laser runs through the engraving passes first, then cuts the outer circle. The job finishes without issues. You save the project as an LBRN file named coasters-v2.lbrn for future reuse. Total time from opening the app to finished part: about twelve minutes, most of it spent on parameter tweaking.
Some users search for lightburn torrent or lightburn mac crack — those are not official sources and may contain modified software. The same applies to lightburn mac torrent and lightburn mac full searches: the only reliable version is the one from the developer's download page, which includes all features with no limitations.
Changes in this build
- Fixed window title bar placement when stored offsets are incorrect.
- Fixed rotary jogging direction in CCW mode.
- Fixed a crash when importing SVG files with ungrouped DEF shapes.
Before it goes on the Mac
- macOS 10.13 or later
- Intel 64-bit processor
- Rosetta 2 required on Apple Silicon Macs
- Interface language: English
Questions from the room
Does LightBurn work on Apple Silicon Macs?
Yes, but Rosetta 2 is required — the application is Intel 64-bit only and does not run natively on ARM processors.
Which file formats can LightBurn import?
It imports vector and raster formats including AI, SVG, DXF, PDF, PNG and JPG.
Installing it on the Mac
- Open the downloaded disk image.
- Drag the app into the Applications folder.
- After copying finishes, launch the app from Launchpad.
Notes from the control room
Sign in or open a catalogue account to leave a note.
No notes from the room yet. If you have used this build for a week, a short note helps the next person.