
Home › Mac Apps › HitPaw Edimakor

Updated
The catalogue note
Version 2.6.0 of HitPaw Edimakor refines the timeline workflow rather than adding headline features. For someone who has spent time inside Premiere or Final Cut, the small changes matter: materials now follow the main clip when you drag it, and the timing ruler is precise enough to nudge a cut by frames without zooming in twice.
Precise timeline positioning
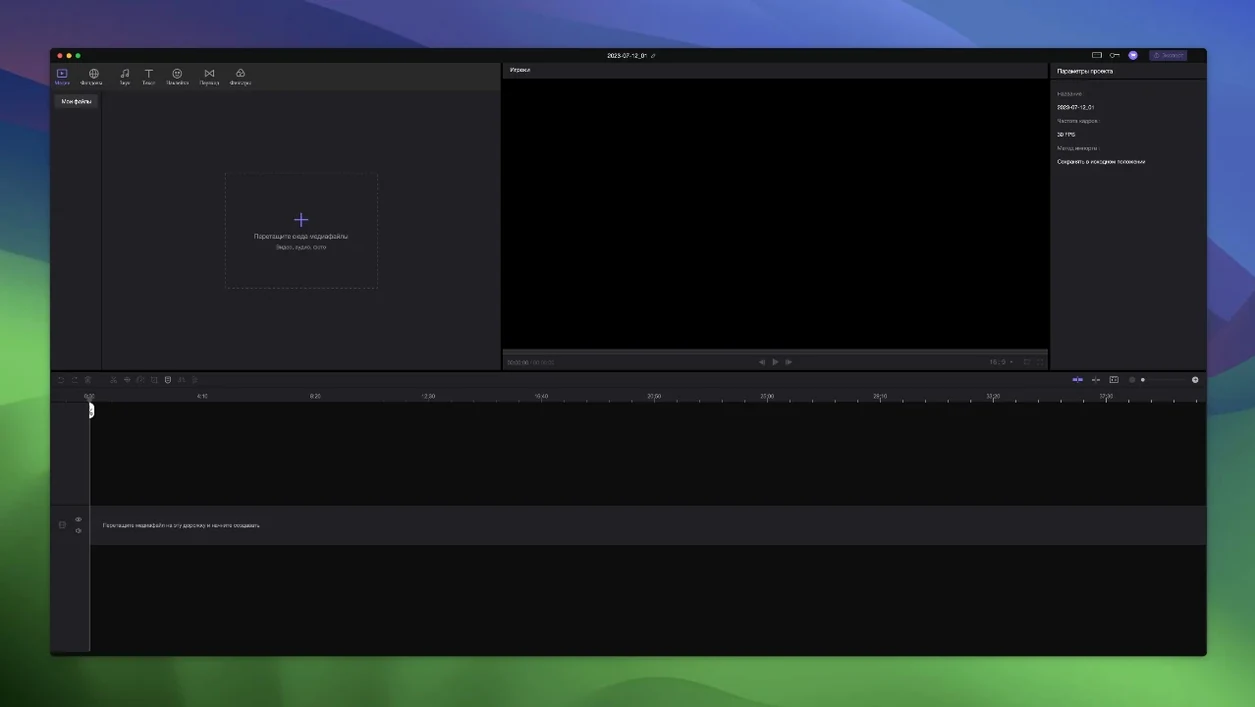
The timeline ruler shows subdivisions clearly, and you can snap keyframes or clip edges to exact positions. Combined with unlimited tracks, this makes split-screen work, voice-over alignment and multi-cam assembly straightforward — no track limit means you keep reference clips, b-roll and graphics stacked without collapsing layers.
Automatic track attachment
Elements from other tracks — subtitles, overlays, stickers — stay glued to the main video clip when you move it. That saves the manual re-sync that plagues lesser editors. If you re-time a scene, the attached elements follow; you only adjust the internal offsets.
Transitions and effects that don’t get in the way
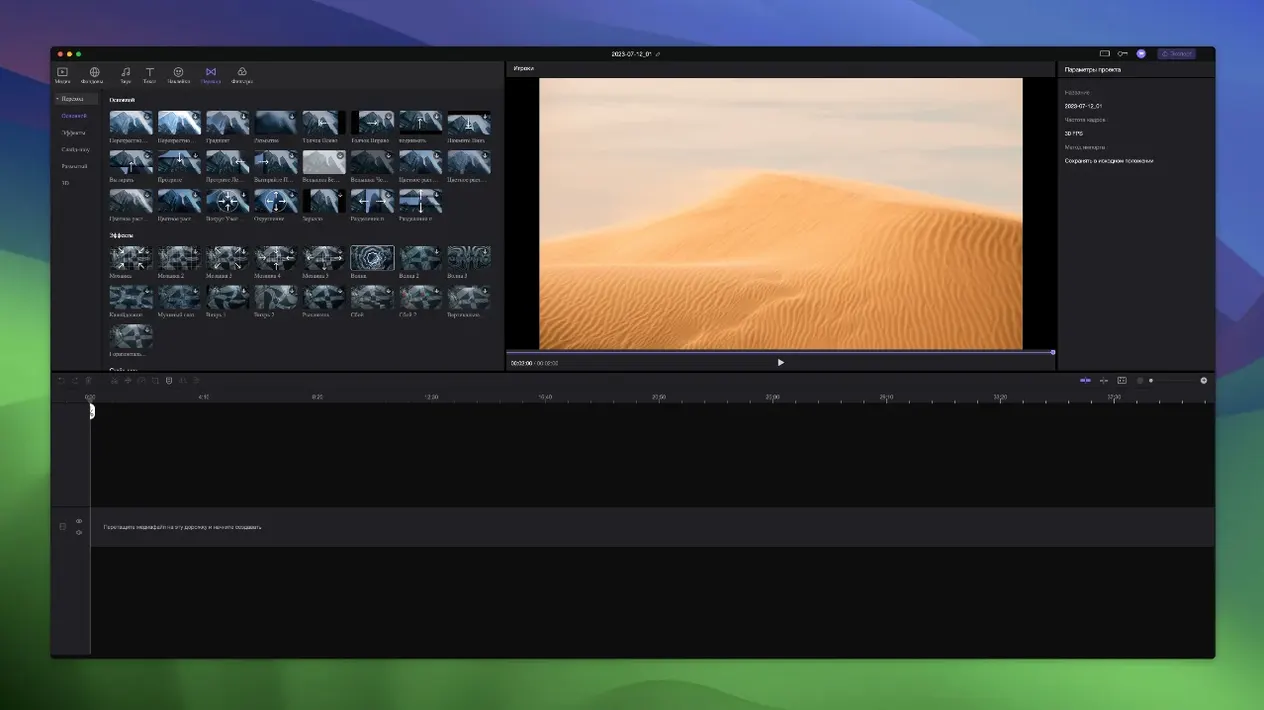
Cross dissolves, wipes and slide transitions render in real time on Intel Macs (macOS 10.15 and up), and the effect previews are fast enough to audition without waiting. For an editor who needs quick polish without opening After Effects, Edimakor 2.6.0 covers the gap neatly.
Set project resolution to your target output first
After installing Edimakor 2.6.0 and bypassing Gatekeeper, the default project settings are a reasonable starting point but not optimised for every workflow. A few adjustments save time later.
- Set the project resolution to your target output. Edimakor defaults to 1080p. If you deliver 4K, change this before importing clips — the timeline and preview scale accordingly, and you avoid re-rendering later.
- Enable snap-to-clip by default. The timeline’s precision works best with snapping active. Without it, you are nudging by frame manually every time.
- Check the auto-save interval. The default is every five minutes. If you work on longer projects, dropping it to two minutes is safer — crashes happen when you least expect them.
- Set your language early. Edimakor ships with 16 interface languages. Switching mid-project resets some panel widths, so pick English, German, Russian or your preferred one before importing media.
None of these are hidden, but they are easy to overlook when you first mount the disk image and drag the app into Applications.
Automatic track attachment saves one click per clip
The 2.6.0 build from HitPaw is a polish release. No new AI tools, no interface overhaul — just timeline behaviour and stability tweaks that affect how you work session to session.
- Track attachment is now automatic. Earlier versions required manual grouping. In 2.6.0, stickers, subtitles and overlays on other tracks follow the main video clip when you drag it. This eliminates the most common re-sync error in multi-track edits.
- Precise timeline ruler subdivisions. The ruler now displays finer increments without zooming. Positioning a keyframe or a cut at a specific frame is faster — you see the frame boundary directly, not after a zoom-and-scroll cycle.
- Unlimited tracks remain. This was already present, but the attachment feature makes it genuinely useful. You can stack reference clips, voice-over takes and graphics on separate tracks without worrying about track limits or manual alignment.
These are small changes. They do not transform Edimakor into a competitor for Premiere Pro, but they make a 30-minute edit session noticeably smoother.
A workflow for trimming and adding a transition to a clip pair
This is the most common task I do: trimming a clip and adding a cross dissolve between two segments. Here is the full sequence in Edimakor 2.6.0.
- Import both clips into the media bin. Drag the first clip onto track one.
- Drag the second clip onto track one, placing it after the first. They snap together if snapping is on.
- Hover the cursor over the end of the first clip until the trim handle appears. Drag left to trim off unwanted frames. The ruler shows frame boundaries, so you can cut exactly at a specific frame.
- Repeat for the start of the second clip — drag the trim handle right to remove the beginning.
- Open the transitions panel. Drag a cross dissolve onto the cut point between the two clips. The transition preview renders in real time on the timeline.
- Adjust the transition duration by dragging its edge on the timeline. The ruler helps you match it to the beat or a specific frame count.
- Play the sequence. If the timing is off, undo the transition, trim a few frames from either clip, and re-apply.
The automatic track attachment means any subtitle or sticker placed on a separate track above clip one stays with it when you trim or move it. That is the practical difference from older versions.
Editing a two-camera interview with b-roll in 2.6.0
Wednesday afternoon. I have a 15-minute interview to edit — two camera angles, a voice-over track and some b-roll. The clock is ticking.
I open Edimakor 2.6.0. The project opens to the timeline from the previous session — I had left it mid-edit. The ruler shows the cut points I marked yesterday, and the subdivisions are clear enough that I do not need to zoom. I drag the main interview clip to the left, trimming the silence at the start. The subtitles I placed on track two move with it automatically — no re-sync needed.
I add the second camera angle on track three. The timeline supports unlimited tracks, so I keep the first angle on track one for reference. I align the two clips by their waveform peaks — the ruler snaps the edge precisely. A cross dissolve at the cut point renders in real time. I preview it; it holds.
The voice-over track goes on track four. I trim the clip ends to remove breaths, using the frame-accurate ruler. The transition between the voice-over and the interview audio is a simple cross fade — drag, drop, done.
I add a sticker on track five over a key point in the interview. It attaches to the main clip automatically. I move the main clip to adjust the pacing, and the sticker follows. No manual repositioning.
I set the project resolution to 1080p, check the auto-save history to make sure nothing was lost, and export. The session was straightforward — no crashes, no re-sync headaches, no track limit warnings. For a tool that sits between iMovie and a full NLE, Edimakor 2.6.0 does exactly what it needs to do.
Before it goes on the Mac
- macOS 10.15 Catalina or newer
- Intel processor
Questions from the room
Does Edimakor work on macOS 26?
The current requirement is macOS 10.15 or newer, Intel architecture.
Installing it on the Mac
- Mount the disk image and run Open Gatekeeper friendly.
- Press Enter in Terminal to bypass Gatekeeper.
- Drag the app to the Applications folder.
Notes from the control room
Sign in or open a catalogue account to leave a note.
No notes from the room yet. If you have used this build for a week, a short note helps the next person.
Also filed under Mac Apps
The whole Mac Apps rack HitPaw Univd4.7.0 Mac Apps 525 MB
 HitPaw Video Converter4.5.0 Mac Apps 577 MB
 HitPaw Watermark Remover2.4.7 Mac Apps 290 MB
 iA Writer8.1.3 Mac Apps 23 MB Updated
 Iconize1.8.8 Mac Apps 5 MB
 Imagenomic Plugin Suite2027 Mac Apps 71 MB
 Imagenomic Portraiture4.5 Mac Apps 65 MB
 GraphPad Prism11.1.0 Mac Apps 68 MB