Updated
The catalogue note
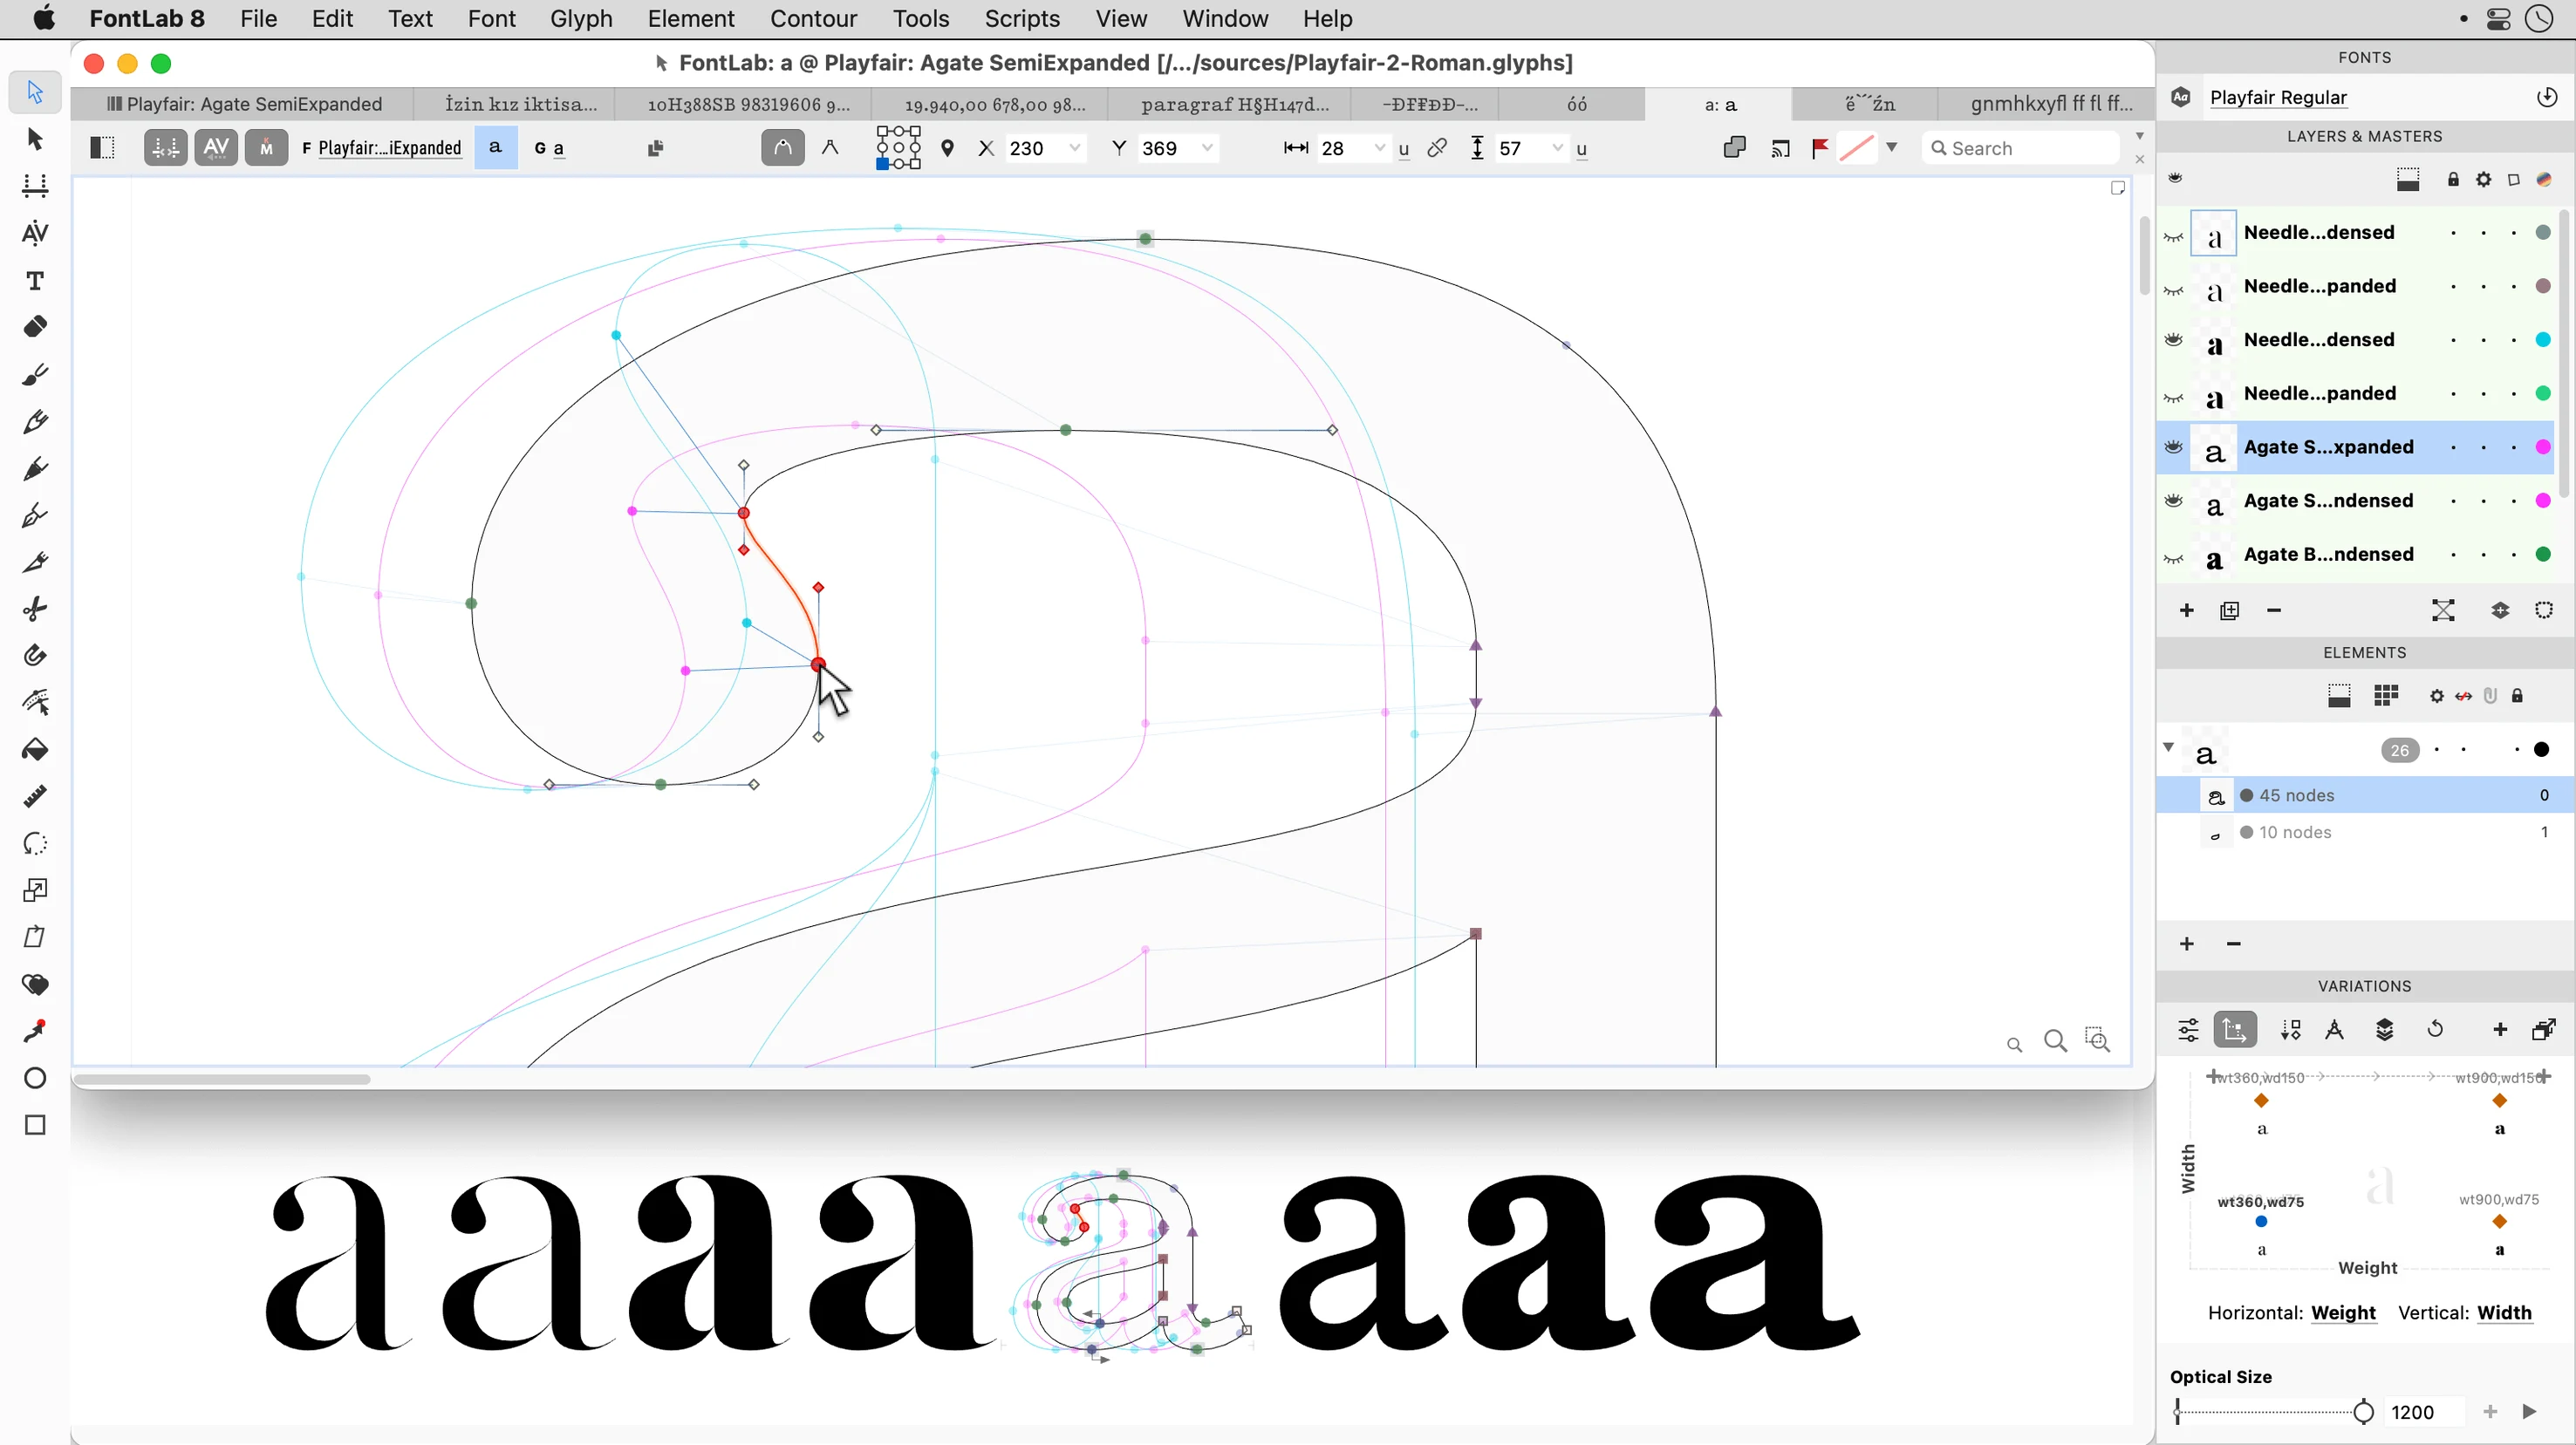
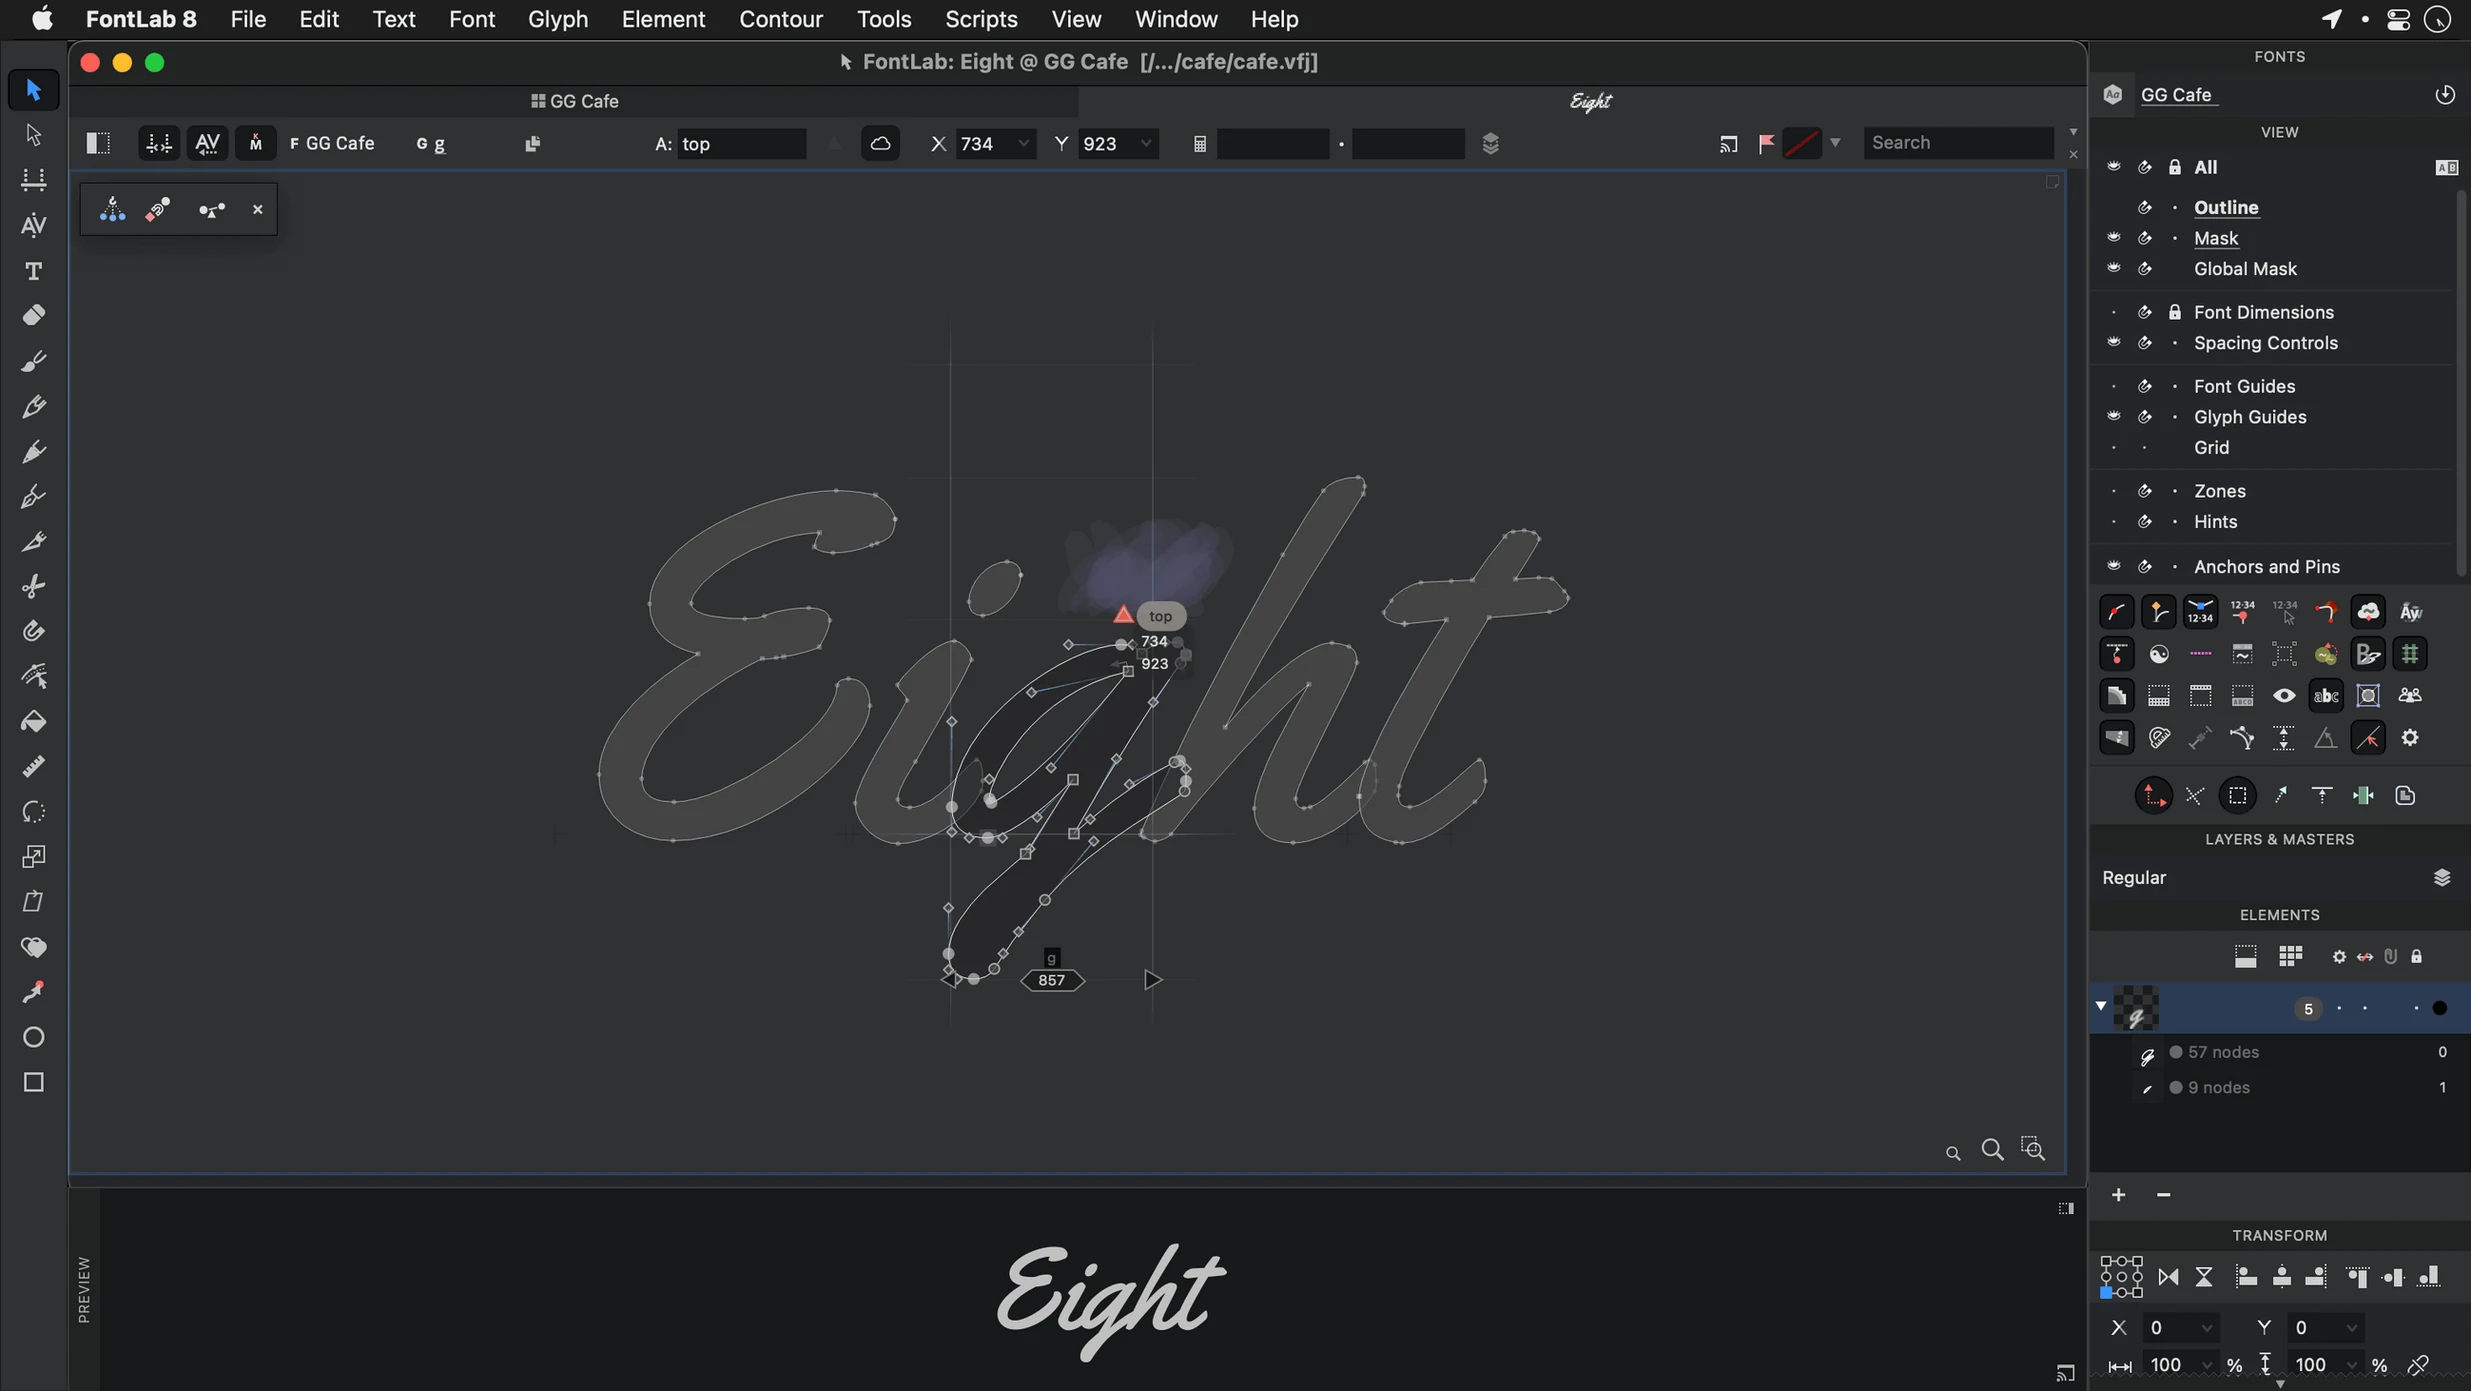
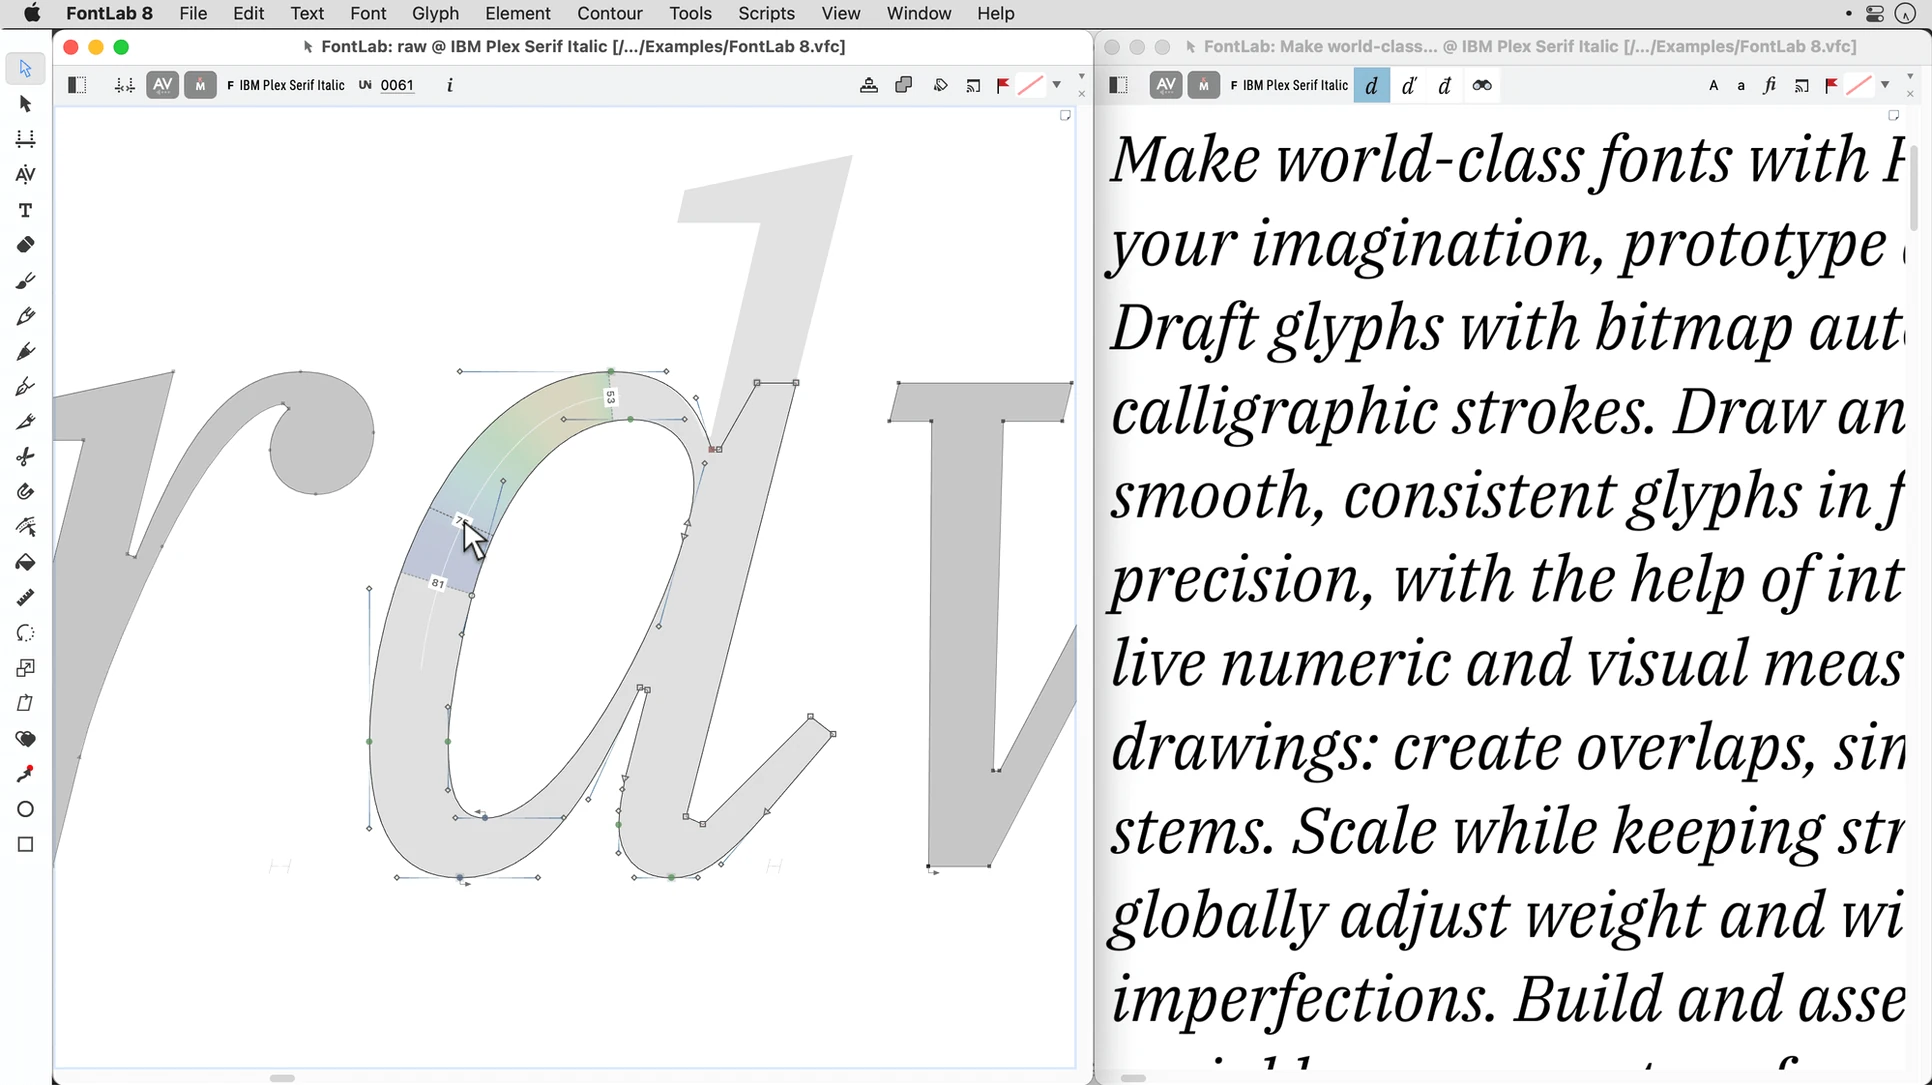
The moment you start drawing a glyph in FontLab 8, the vector tools feel like they belong in a dedicated illustration app, not a type editor. That’s the core of it: FontLab is built for people who treat letterforms as precision engineering.
Vector tools and drag-and-drop glyph assembly
- Vector drawing tools — handle Bézier curves with the same accuracy you’d expect from a professional vector app; import AI, EPS, TIFF or BMP files to trace over.
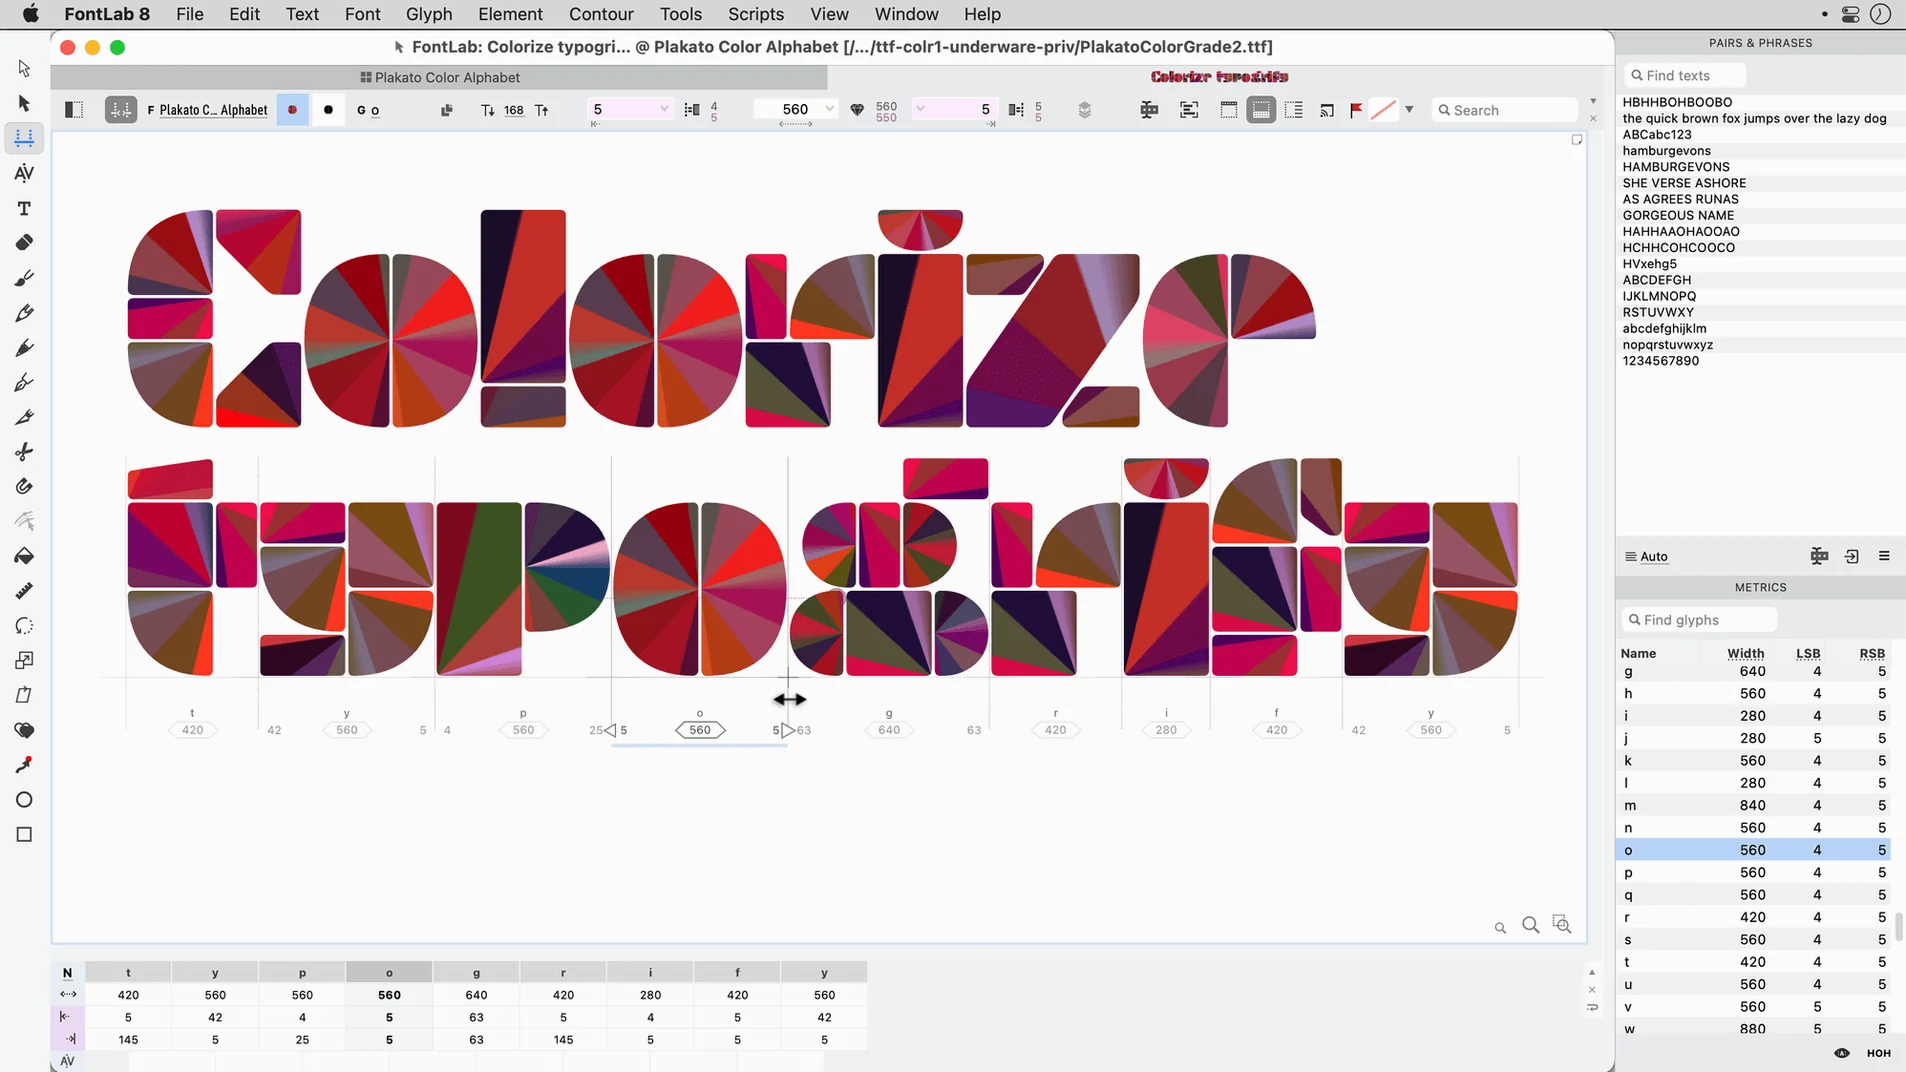
- Drag-and-drop glyph placement — assemble characters by dragging components into the editing window, which speeds up spacing and kerning.
- 200+ undo/redo levels — experimental changes don’t lock you in; you can step back through a long session without losing earlier work.
- Built-in font viewer and editor — preview and tweak OpenType, TrueType, Mac TrueType and TrueType AAT fonts without switching tools.
- Arabic and Hebrew support — the same vector engine handles bidirectional and cursive script shaping natively.
Native performance across Mac generations
FontLab 8.4 runs natively on Intel and Apple Silicon Macs, covering macOS 10.15 through macOS 26 Tahoe. That means it works on a 2019 Mac Pro and a 2023 MacBook Pro alike, with no Rosetta translation overhead. The current release (8.4.3.8984) includes roughly 500 improvements over version 8 and about 900 over FontLab 7 — mostly in glyph-editing speed and file import reliability.
Setting font metrics before drawing
The most common error is jumping straight into drawing without setting up the font's metrics first. New users often start placing points on a fresh glyph window, then realise later that the ascender, descender and cap heights are inconsistent across the whole typeface. Set those values in the font info panel before you draw the first letter, and you save hours of manual correction later.
Another frequent slip is ignoring the difference between layers. FontLab 8 works with background, foreground and mask layers. Beginners paste a scan into the wrong layer, then can't edit the vector overlay on top. The background layer holds reference images; the foreground is where you draw the final outlines. Keep them separate, and the trace workflow stays clean.
Third: overcomplicating spacing early on. People kern individual pairs before the basic sidebearings are even. Set uniform left and right sidebearings for your uppercase and lowercase groups first. Only then start adjusting the pairs that actually need it. FontLab's drag-and-drop glyph placement makes this quick once the baseline is right, but only if the foundation is there.
Lastly, beginners forget to check Unicode mapping before exporting. A font that looks correct in the editor can show blank squares in a text processor because the glyphs aren't assigned to the right character codes. FontLab's editable code pages and encodings are there for a reason — use them early, not after the first test print.
Fixing imported EPS or AI file scale
One snag that catches people: imported EPS or AI files come in at the wrong scale. The outlines land far outside the glyph window, or they're too small to see. Adjust the scale factor per import, or rescale the pasted outlines using the transform tools.
Another issue is OpenType feature code that doesn't compile. You write a ligature rule, hit generate, and get an error you can't parse. The cause is usually a missing glyph name or a typo in the feature syntax. Use the built-in feature editor's syntax check before building the whole font; it highlights the offending line. Keep your glyph names consistent with the font's naming table.
Some users report that the font viewer shows different rendering than the editor. That's not a bug — the viewer uses the system's text engine, while the editor shows the raw vector data. If the shapes look right in the editor but wrong in the viewer, the problem is typically in the metrics or in the OpenType layout code, not in the outlines. Check the sidebearings and the feature logic before blaming the curves.
Batch transformation can also trip people up. You apply a transformation to a whole glyph set, and half of them deform unexpectedly. The solution is to test batch actions on a small subset first. FontLab's undo history (200+ levels) will save you, but it's faster to preview the transformation on a single master before running it across the entire font.
Start with basic Latin glyphs, not a full import
Start with a simple set of glyphs — the basic Latin uppercase and a handful of lowercase — to learn the vector tools and the layer system. Don't import a full typeface from another editor on day one. Work through the drawing and spacing cycle on a small sample; it builds familiarity faster than reading the manual.
Get comfortable with the undo system early. Make deliberate mistakes: draw a curve, then undo ten steps, then redo. Understand how far back you can go before the history resets. This lets you experiment freely later.
Set up your workspace once. Arrange the glyph window, the font viewer and the layers panel where they stay. FontLab remembers the layout per project, so the first day's arrangement becomes your default workflow.
Test export early. Export a single glyph as an OpenType file, install it in the system and type it in a word processor. If the spacing or encoding is off, you catch it on the first day, not after drawing 200 glyphs.
If you're new to type design, keep the Arabic and Hebrew tools out of sight until you've learned the Latin workflow. The same vector engine handles both, but the shaping logic is different. Focus on one script at a time.
Faster glyph-editing with the latest update
FontLab 8.4 introduced roughly 500 improvements over version 8 and about 900 over FontLab 7. In daily use, the most noticeable change is faster glyph-editing. Redrawing a complex curve or adjusting a node no longer stalls the interface, especially on older Intel Macs. File import reliability also improved: EPS and AI files that previously imported with broken curves now come through correctly more often.
For users migrating from FontLab 7, the switch to native Apple Silicon support is the biggest practical difference. The app launches and responds without Rosetta, which matters when you're working with large font families. The interface also gained drag-and-drop glyph placement, a feature that was absent in version 7. Assembling ligatures or accented characters becomes a matter of dragging components into place rather than copying and pasting coordinates.
The 200+ undo levels are another change from FontLab 7, which had a shallower history. Now you can experiment with a bold weight transformation, step back twenty moves if it doesn't work, and still keep the earlier refinements. For production work, that reduces the fear of trying new approaches.
If you're still on FontLab 7 and considering the jump, the biggest time saver is the batch transformation and the improved OpenType feature editor. Version 8.4 handles multiple masters and variable font workflows more reliably, though the basics — drawing, spacing, exporting — remain the same muscle memory you already have.
Changes in this build
- 500 improvements over FontLab 8
- 900 improvements over FontLab 7
- Version 8.4.3.8984
Before it goes on the Mac
- macOS 10.14 or later
- Intel or Apple Silicon processor
Questions from the room
Can FontLab 8 edit Arabic and Hebrew fonts?
Yes, FontLab 8 supports Arabic and Hebrew script shaping natively within its vector editing environment.
What file formats can FontLab import?
It imports AI, EPS, TIFF and BMP files for tracing, and it edits OpenType, TrueType, Mac TrueType and TrueType AAT fonts.
How many undo levels does FontLab 8 offer?
FontLab 8 provides more than 200 undo and redo levels, so you can experiment freely and revert changes without losing earlier work.
Installing it on the Mac
- Open the downloaded disk image.
- Drag the FontLab app into the Applications folder alias.
- After copying finishes, open the app from Launchpad.
Notes from the control room
Sign in or open a catalogue account to leave a note.
No notes from the room yet. If you have used this build for a week, a short note helps the next person.