Home › Mac Apps › Clip Studio Paint

Clip Studio Paint 4.1.4 (Mac)
Updated
The catalogue note
Clip Studio Paint opens over 1,500 frame formats and layers across comics, manga and animation. The current version, 4.1.4, handles 3D objects and figures inside the canvas, which is the primary reason many artists search for 3d clip studio paint support — and it delivers it natively.
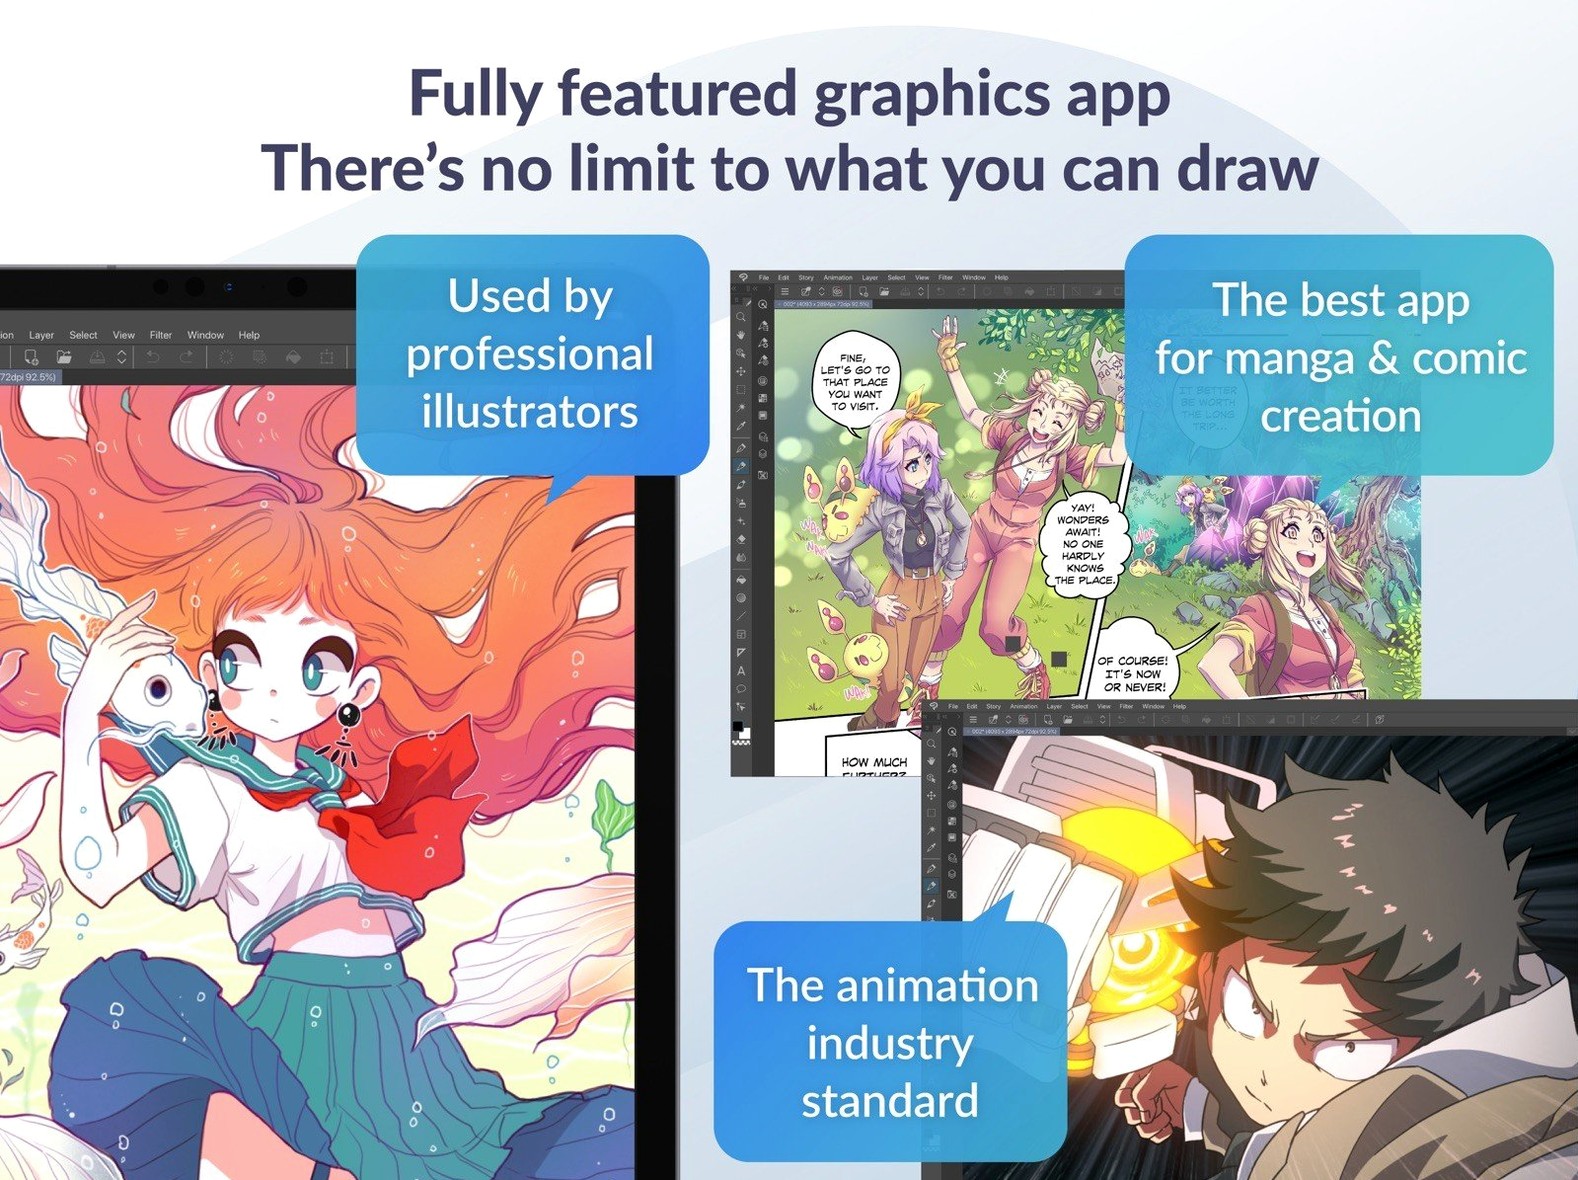
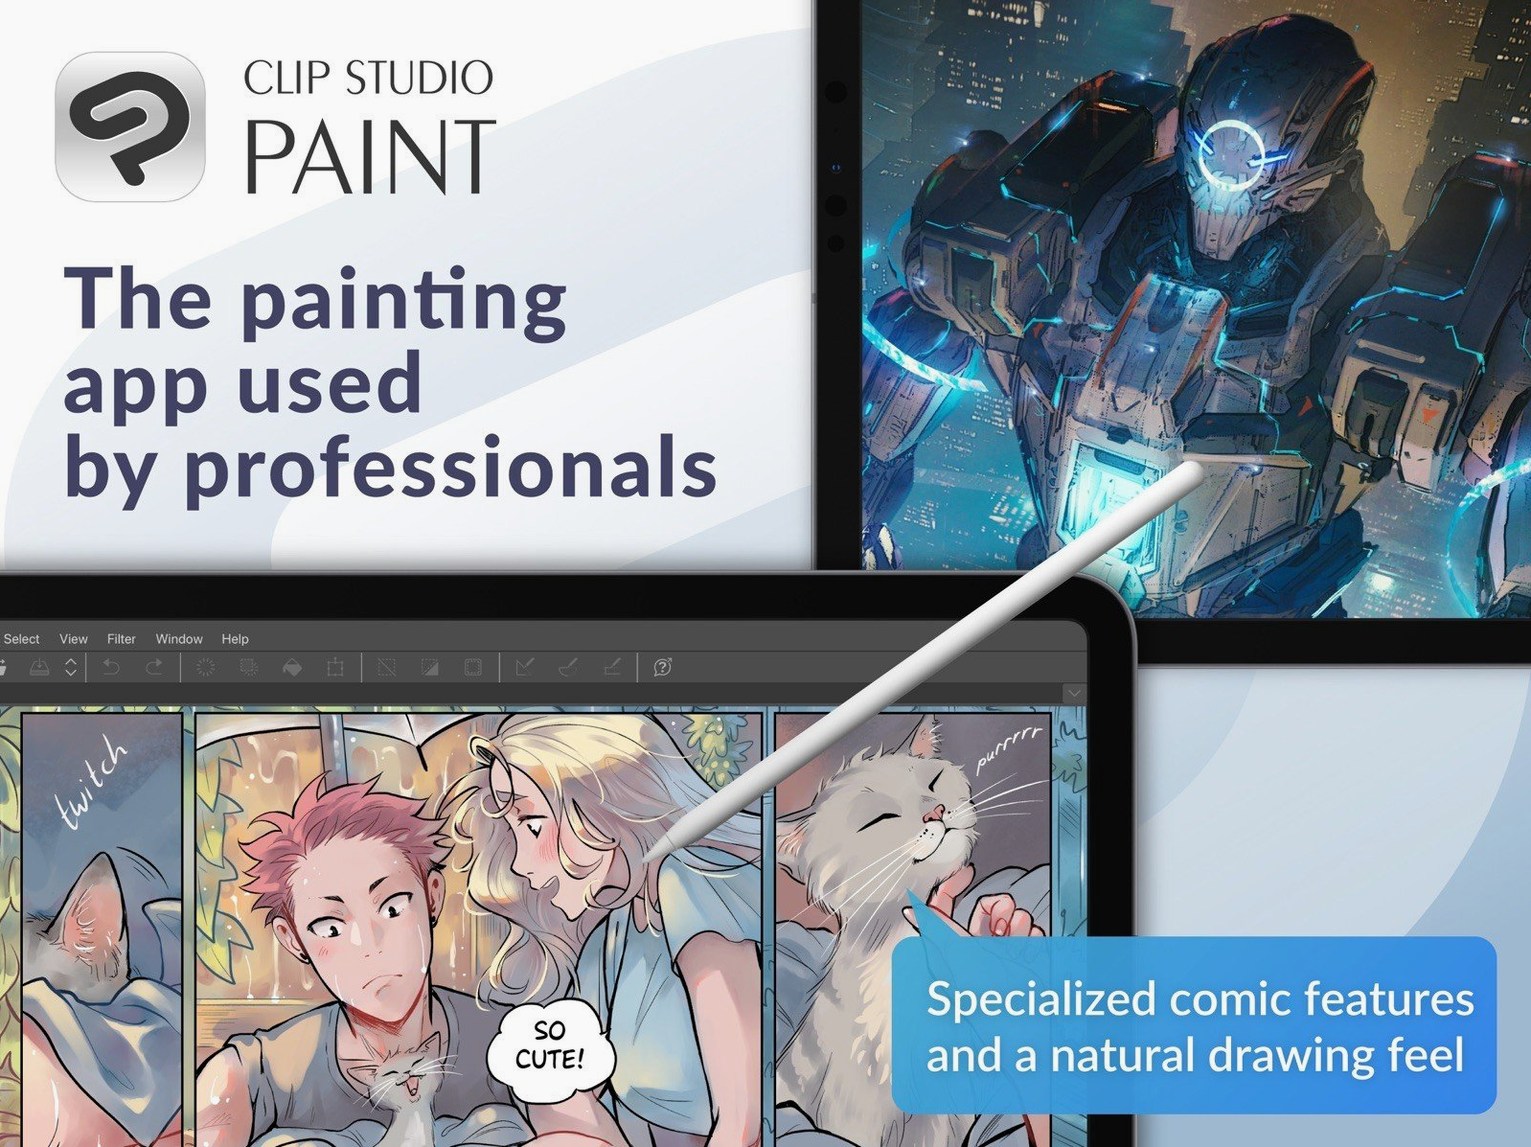
Drawing and comics
The app imports and exports layered PSD files, so you can move work between Clip Studio and Photoshop without flattening layers. Comic panel rulers, screentone tools, and text balloons are built in. PRO covers one-page illustration and manga; EX adds multi-page story management and advanced export options.
Animation
A timeline lets you control keyframes and cel timing. You can export sequences as GIFs, movie files, or still images. The light table function helps you compare frames while animating.
3D reference and scene setup
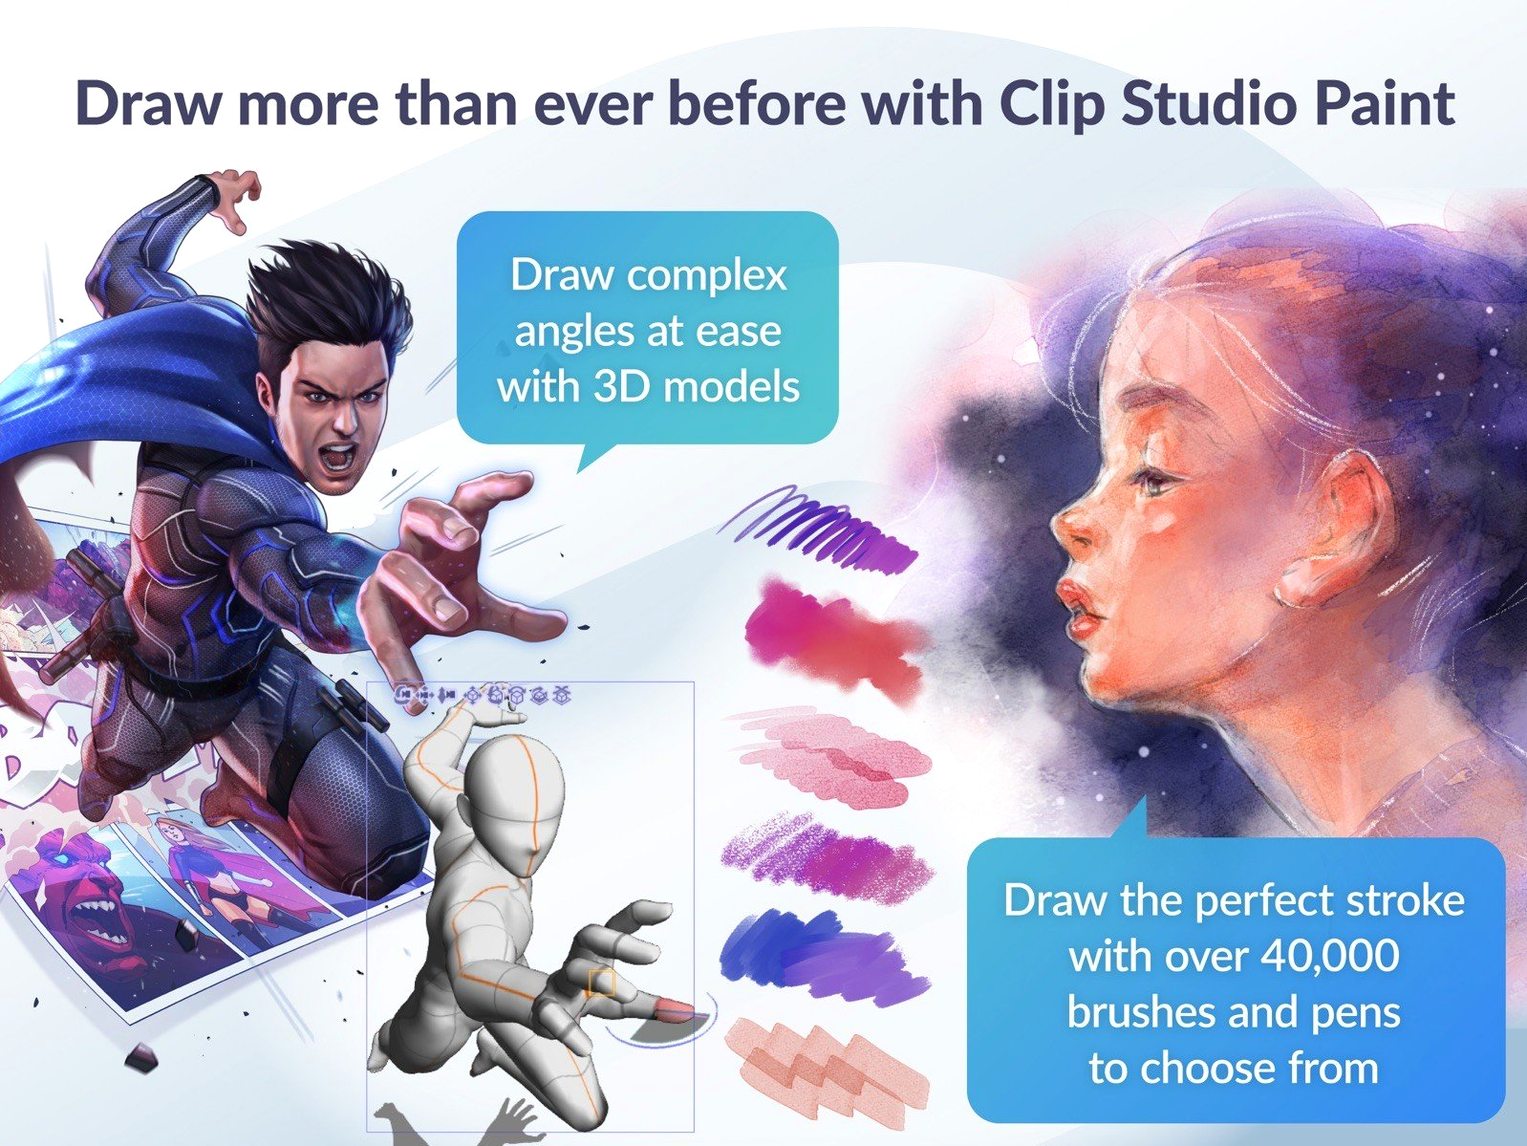
Import 3D models, rotate and pose them, then draw over them as a reference layer. The camera and lighting controls match the 2D view, which is useful for perspective-heavy panels. EX users get additional story-editing tools and more granular 3D material management.
Dial the stabiliser slider for faster sketching
Once you have chosen EX or PRO on first launch, spend ten minutes with the brush stabilisation settings. The stabiliser slider lives in the tool property palette and defaults to a value that feels sluggish for quick sketching. Dial it down to 3 or 4 for loose work, then raise it for inking. Every artist sets this differently, so try a few strokes on a blank canvas before starting anything serious.
Set up your canvas presets early. If you work at 600 DPI for print, save that as a template. If you export for web at 72 DPI, save that too. The preset dialog remembers page size, resolution, colour profile, and frame borders if you are working on comics. A minute of setup now saves you hunting through menus later.
Import a layered PSD file you already know. Verify that layer groups, blending modes, and opacity come across intact. Clip Studio Paint handles PSD round-trips well, but it is worth confirming your own files behave as expected before you rely on it for a deadline.
Pencil a manga spread on a new layer above rough layouts
I open Clip Studio Paint on a Wednesday afternoon. I have a two-page manga spread due in three days, and the rough layouts are already on paper. I create a new layer above and start the pencil pass with a hard round brush at 5 pixels, stabiliser at 7.
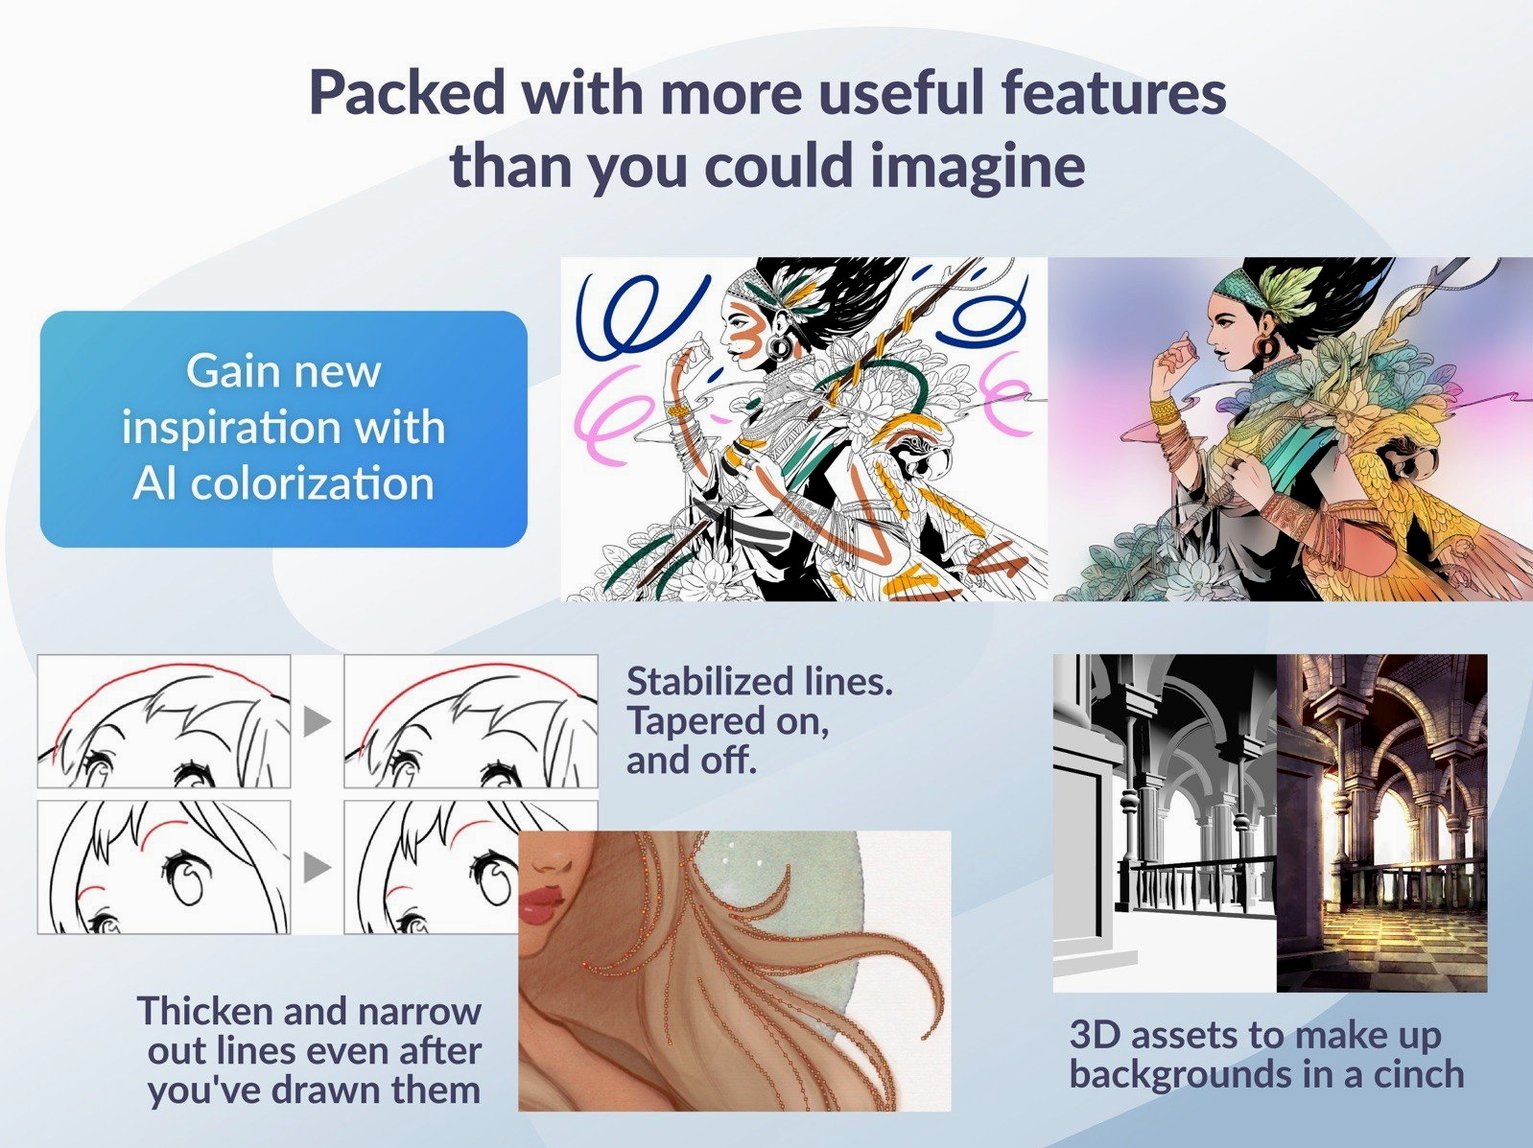
Once the linework is down, I switch to the vector layer. Vector strokes remain editable after you lift the pen — you can adjust line width, smooth curves, and erase intersections without losing the stroke. I ink the characters on one vector layer and the backgrounds on another, keeping them separate for easy correction.
I import a 3D figure from the material library to check the perspective on a tricky crouching pose. The 3D object stays in the file but gets hidden for the final render.
Toning comes next. The density slider lets me fade the tone gradually, which saves me from cutting masks by hand. I add dialogue balloons on a separate text layer, using the balloon sub-tool for tail positioning.
I export the finished pages as layered PSD files for my editor. If I were delivering directly, I would use the EX export function to generate a multi-page PDF with crop marks and bleed. I close the file without saving the 3D layer visibility state — the hidden figure stays in the project file, ready if I need to revisit the pose.
Raster, vector and 3D layers each behave differently
The most common error is ignoring layer types. A raster layer, a vector layer, and a 3D layer all behave differently. Beginners paint on a vector layer and wonder why the brush feels odd, or try to warp a rasterised line. Each layer type has its own tool set; reading the tool tip on the layer palette helps avoid the confusion.
Another frequent misstep is using the default brush for everything. The default G-pen works for inking but is too stiff for soft shading. Clip Studio Paint ships with hundreds of brushes, and you can adjust density, blending, and texture on any of them. Spend a few minutes browsing the brush library rather than fighting the default.
Many new users also forget to set frame borders before drawing their first comic page. Without a frame border, panel rulers and balloon auto-fitting have no reference. The result is panels that drift off the page edge. Create a frame border layer at the start of every comic project — it takes two clicks and saves an hour of repositioning later.
Fix brush lag by lowering the stabiliser value
Brush lag or delayed strokes. The stabiliser setting is the usual cause. Lower the value in the tool property palette until the stroke feels immediate. If the lag persists, check that you are not running a Quick Filter or Quick Effect on a large canvas — those previews can slow down real-time feedback. Temporarily disable them from the layer palette while you draw.
3D material drag-and-drop lands in the wrong place. Version 4.1.4 changed the behaviour when a 3D layer is selected outside a frame folder. The object now drops into the 3D layer rather than creating a new one. If you expect a separate layer, select a raster or vector layer first, then drag the material onto the canvas. The object still appears in a 3D layer, but the layer order stays predictable.
Exported PSD files look wrong in Finder on macOS 15. This was a known issue in earlier versions of Clip Studio Paint. Version 4.1.4 specifically fixed PSD exports of certain sizes so they display correctly in macOS 15 or later. If you still see a blank thumbnail, update to 4.1.4 and re-export. The file itself is fine — the preview thumbnail was the problem.
Version 4.1.4 addressed that. If you have an older project with missing frames, open it in 4.1.4 and check the timeline again. The fix prevents new occurrences but does not retroactively restore deleted cels.
Quick Look preview does not show the .clip thumbnail. The Quick Look integration for .clip files was improved in version 4.1.4 for macOS 15. If the preview remains blank, verify that your macOS is fully updated and that you have restarted the system after installing the Clip Studio Paint update. The feature relies on the macOS Quick Look generator, which can sometimes need a fresh launch.
Changes in this build
Before it goes on the Mac
- macOS 14 or later
- Intel or Apple Silicon processor
- 2 GB memory (8 GB or more recommended)
- OpenGL 3.3 compatible GPU
- A tablet and stylus with pen pressure sensitivity supported
- Internet connection required for some functions and license verification
Questions from the room
Does Clip Studio Paint work on macOS 15 Sequoia?
Yes. Version 4.1.4 improved Quick Look previewing of .clip files in macOS 15 and fixed a PSD export issue that could cause incorrect thumbnails in Finder on Sequoia.
What is the difference between PRO and EX?
PRO covers single-page illustration, manga and basic animation. EX adds multi-page story creation tools, advanced timeline features and more 3D material options for professional comic and animation work.
Installing it on the Mac
- Mount the downloaded disk image and run the standard installer.
- Choose EX or PRO on first launch.
Notes from the control room
Sign in or open a catalogue account to leave a note.
No notes from the room yet. If you have used this build for a week, a short note helps the next person.