Capture One 16.9.0 (Mac)
Updated
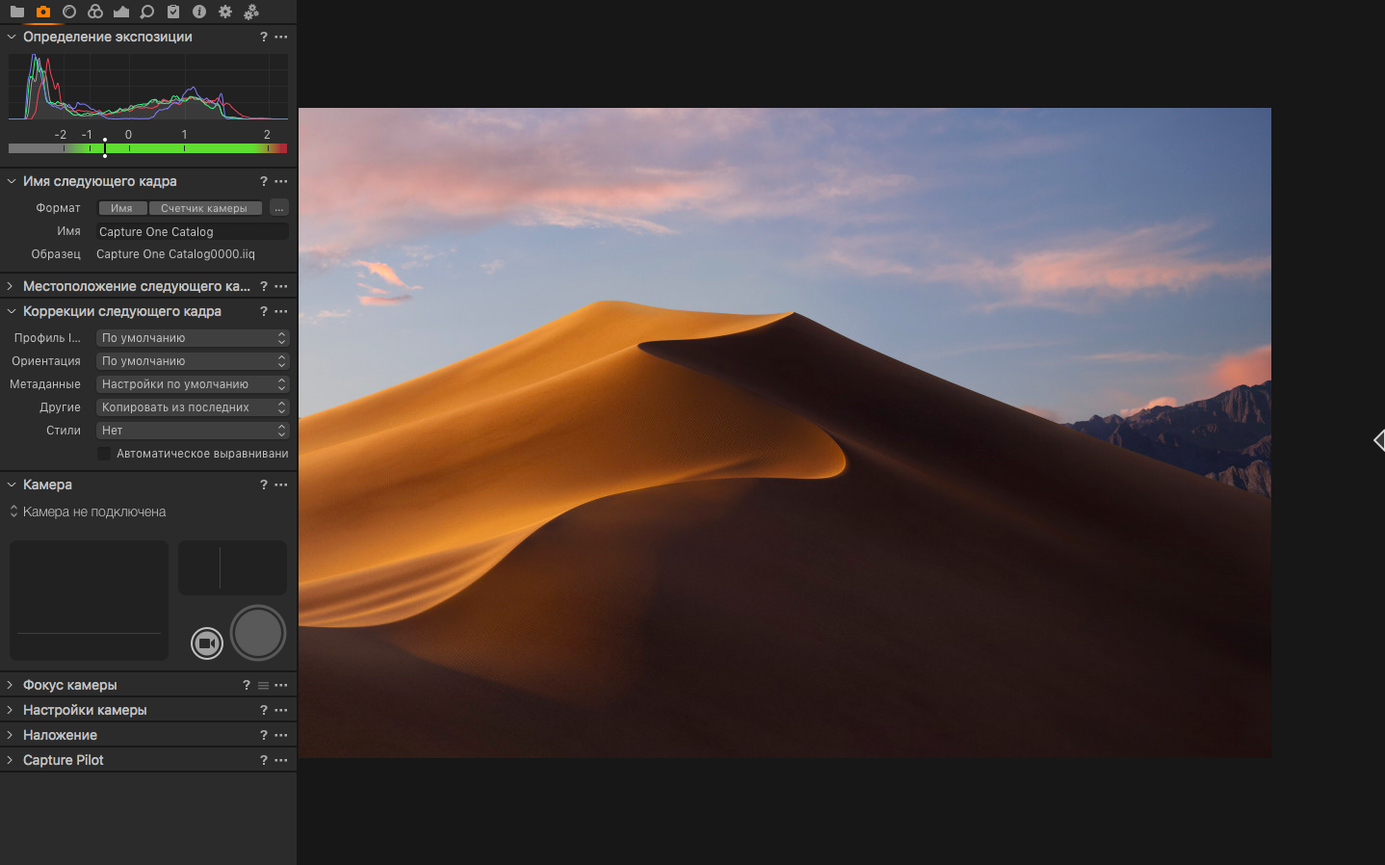
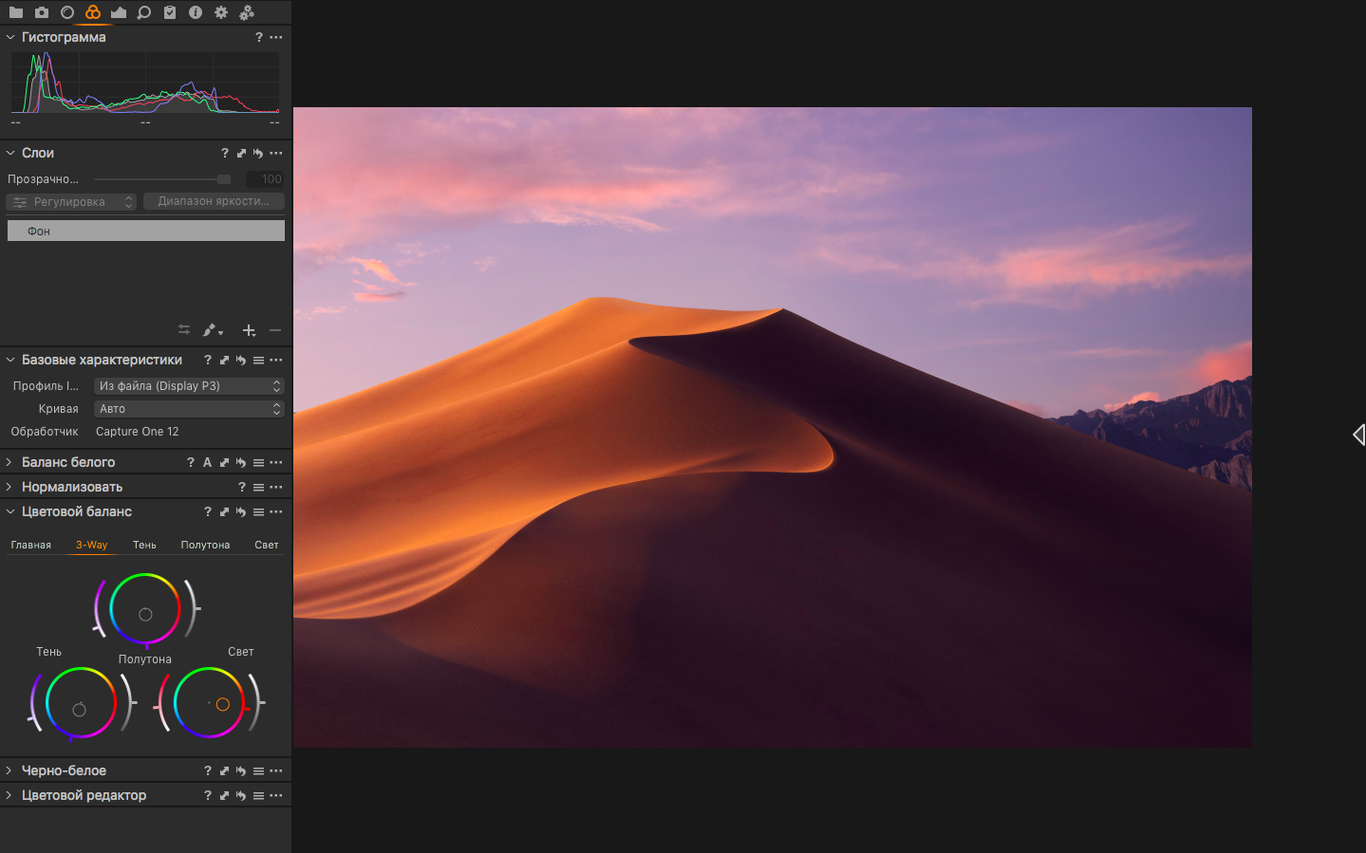
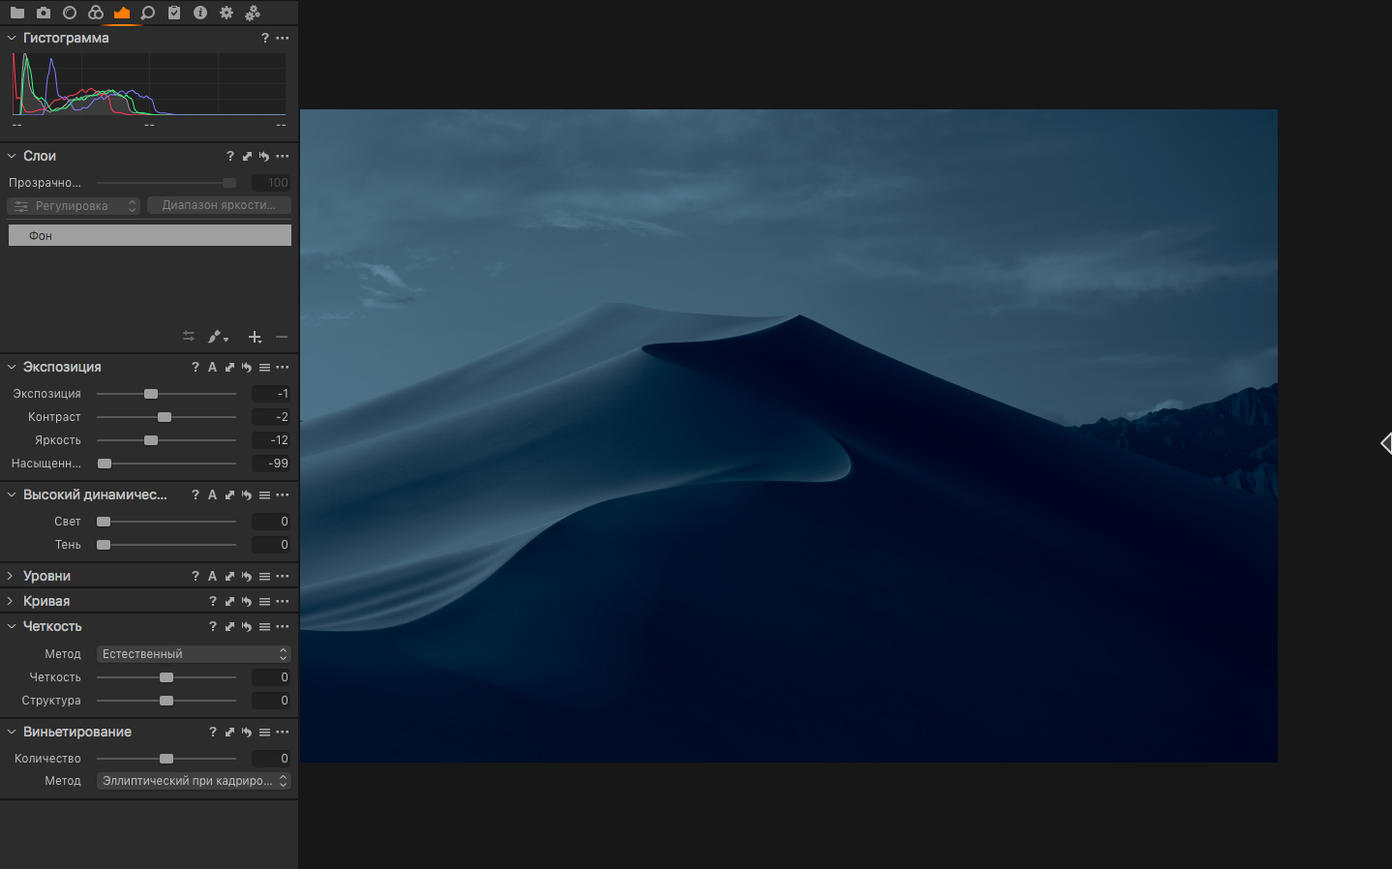
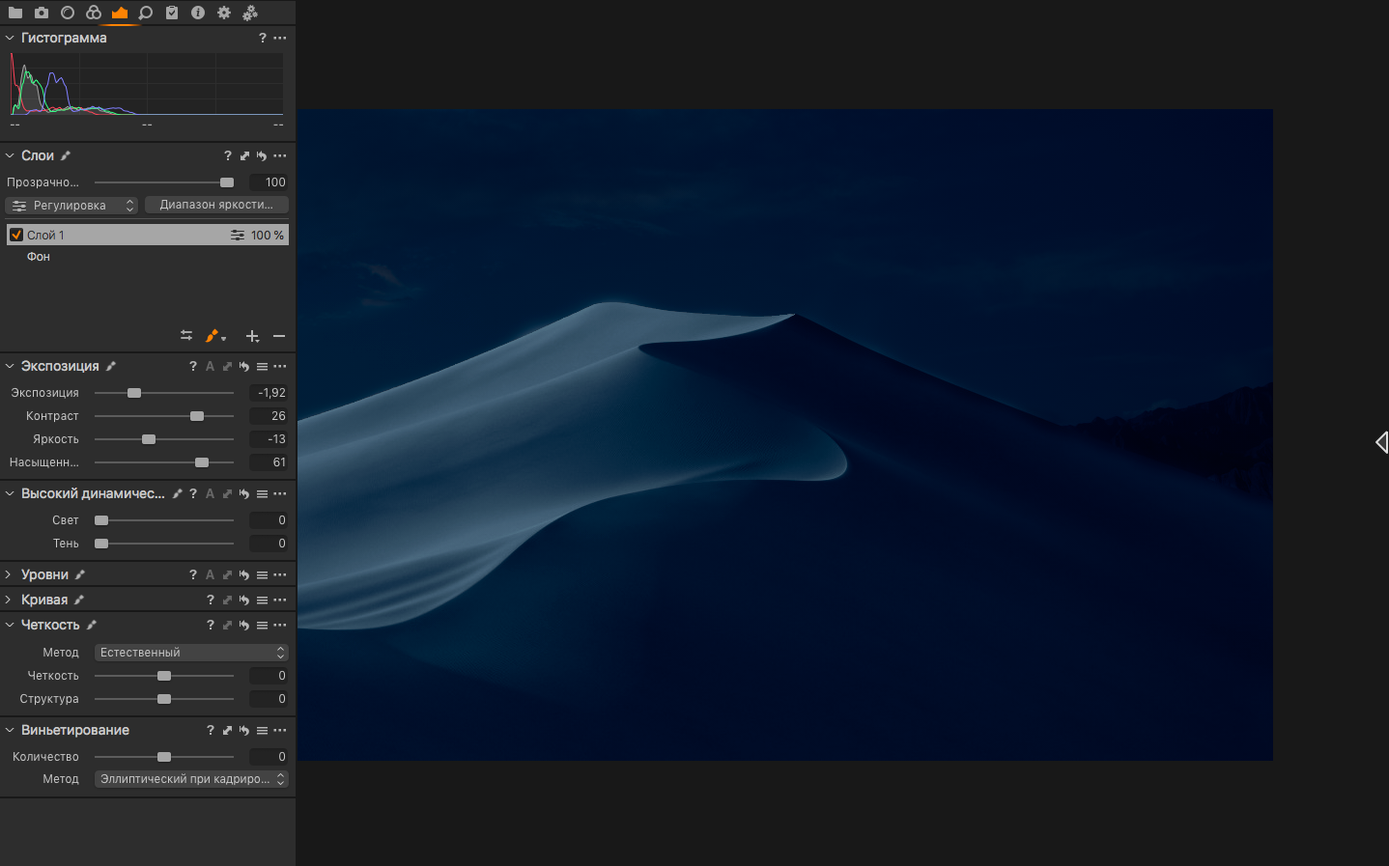
The catalogue note
Version 16.8 of Capture One brought two features I’d been waiting for: enhanced denoise and assisted review. The denoise engine now handles high-ISO files with less smearing, and assisted review flags likely misses during culling. Wireless tethering got a bump in reliability, and contact sheets are back for those who still think in film days.
Requires macOS 12 or later and a Gatekeeper bypass
Capture One needs macOS 12 or later, and it runs on both Intel and Apple Silicon. If you’re on an older system, that’s the hard limit. The installer is a simple drag-to-Applications affair, though you’ll need to bypass Gatekeeper once via Terminal. No surprises there.
Supports over 500 cameras with advanced color tools
This is a professional RAW converter that supports over 500 cameras. Colour control is the core: white balance via eyedropper on a neutral grey, colour noise reduction, and multiple correction variants for the same image. Export to full-size TIFF in RGB or CMYK, or JPG, depending on the client. The interface speaks eleven languages, including Ukrainian and Korean. If you shoot tethered or need serious colour grading, Capture One earns its place.
A tethered fashion session from start to finish
Let's walk through a real studio scenario. You're shooting a lookbook in the afternoon, and the art director wants to see each frame on a 27-inch monitor before the model changes outfits.
You open Capture One, create a new session, and name the folder by client and date. Under the tethering menu, you select your camera — the software recognises it immediately. One cable, one click, and the live view appears. Each shutter release sends the RAW file straight to the session folder, and the image pops up in the viewer within a second or two. No importing, no waiting.
First frame looks a stop underexposed. You adjust exposure in the tool tab, and the correction applies to the preview. The art director nods. You copy that adjustment to the next five frames by selecting them and pressing the sync button — the same white balance, the same sharpening. Meanwhile, the assistant flags a few missed-focus shots using assisted review, and you delete them without leaving the tethering workspace.
After forty minutes, you have 120 RAW files. You switch to the library tab and sort by rating. The ones marked five stars go straight into a contact sheet layout — a quick print for the client to take home. Before you pack the gear, you export the final selects as full-size TIFF in CMYK, ready for the printer. The whole session never left Capture One.
Imports your folder structure and speeds up culling
I start most edits by importing a card full of raw files. Capture One reads the folder structure as-is, so I can keep my own naming scheme. Once imported, I go through the contact sheet view — newly improved in 16.8 — and mark rejects with a swipe. The assisted review tool highlights images that are out of focus or badly exposed; I check those manually but it saves time on large batches.
Then comes colour. I pick one good frame, set the white balance with the eyedropper on a grey card, and fine-tune the tint slider. For the rest of the set, I apply that same white balance as a style. If the lighting changes between shots, I adjust per frame using the temperature and tint controls rather than starting from scratch.
When the colour is right, I look at sharpness and noise. For a high-ISO set from an evening shoot, I enable the enhanced denoise in the detail tool. The effect is noticeable without killing texture — hair and fabric still look natural. I save a few variants of the same image to compare denoise levels side by side.
Export is the last step. I select the final variants, choose TIFF in RGB for web or CMYK for print, and let the batch converter run. While it processes, I can start another import or adjust the next set. The queue runs in the background without locking the interface.
Works with 500+ camera models from major brands
Will it work with my camera? Capture One supports more than 500 models, from Canon and Nikon to Sony, Fujifilm, and Phase One. If your camera is less than two years old, it's likely in the list. The 16.8 update added support for the Canon EOS R6 V, Phase One IXM-RS250, and Panasonic DC-L10, so the coverage keeps growing.
Can I use it alongside Lightroom or other editors? Yes. Capture One reads your existing folder structure and doesn't force a catalog on you. You can import a subset of files, edit them, export, and go back to your other software. The colour profiles and corrections stay inside the session file, not in your originals.
Is the interface only in English? No. The software ships in eleven languages, including Russian, German, Spanish, Italian, French, Ukrainian, Korean, Simplified Chinese, and Japanese. You can switch languages in the preferences without reinstalling.
What about plug-ins? Capture One has a developer portal for third-party plug-ins. Denoise tools, export presets, and workflow automations are available from various developers. The plug-in system is stable but not as vast as Photoshop's — check the portal for what you need.
Do I need a fast Mac? It runs on both Intel and Apple Silicon Macs with macOS 12 or later. If you work with large batches or tethered sessions, a machine with decent RAM and an SSD makes a difference, but the software itself is well optimised for both architectures.
Wedding pro culls 800 RAW files with assisted review
A colleague shoots weddings with two Sony bodies and a Fujifilm for candid moments. After each ceremony, he imports around 800 RAW files into Capture One. His routine: first pass with assisted review to cull blurry or closed-eye shots — about ten per cent gone. Second pass: apply a base white balance correction to all files from the same room, then tweak exposure individually for underexposed altar shots. He creates two variants per image — one natural, one slightly warmed — and lets the client choose. Export runs overnight to JPG for the online gallery and TIFF for the album printer. He says the colour consistency between Sony and Fujifilm files is better in Capture One than in any other converter he's tried.
Enhanced denoise handles high ISO without plasticky results
Version 16.8 introduced three changes that affect daily work:
- Enhanced denoise — the new algorithm works at higher ISO values without the plasticky look of earlier versions. I reach for it more often now, especially on underexposed frames that need pulling up.
- Assisted review — flags likely misses during culling. Not a replacement for your own eye, but it catches the obvious out-of-focus shots you might scroll past in a hurry.
- Contact sheets — back after a few versions' absence. Useful for proof sheets and quick client prints straight from the session.
Wireless tethering also saw improvements in reliability. If you shoot tethered without cables, the connection drops less often and reconnects faster. The camera support list grew by three models, including the Canon EOS R6 V and Panasonic DC-L10.
None of these changes break existing workflows — they add to them. If you're on an older version, the denoise update alone justifies the upgrade. If you're new to Capture One, the current build is as stable and feature-complete as it's been in a while.
Changes in this build
Capture One Pro 16.9.0.10 arrives with the adjustments and bug corrections detailed on the developer's site. Nothing new to report on the feature side in this build — it's a maintenance release aimed at tightening up performance and stability across the supported macOS versions.
Before it goes on the Mac
- macOS 12 or later
- Apple Silicon or Intel 64-bit processor
Questions from the room
Does Capture One support my camera?
Capture One supports more than 500 camera models, so most current DSLRs and mirrorless cameras are covered. Check Phase One's list for your specific model.
Installing it on the Mac
The disk image clocks in around 1.2 GB. It expects macOS 12 or later and installs the same way whether you’re on Intel or Apple Silicon — four steps, no surprises.
- Mount the disk image and launch the Open Gatekeeper friendly file.
- Press Enter in the Terminal window that appears to bypass Gatekeeper.
- Drag the Capture One application icon into your Applications folder.
- The application is ready to use.
Notes from the control room
Sign in or open a catalogue account to leave a note.
No notes from the room yet. If you have used this build for a week, a short note helps the next person.