Home › Mac Apps › Binary Ninja

Binary Ninja 6.0.10601 (Mac)
Updated
The catalogue note
You have a binary you don't fully trust, or one you need to understand quickly. Binary Ninja is the sort of tool you open when static analysis has to go further than a hex dump. Here are the first things worth trying.
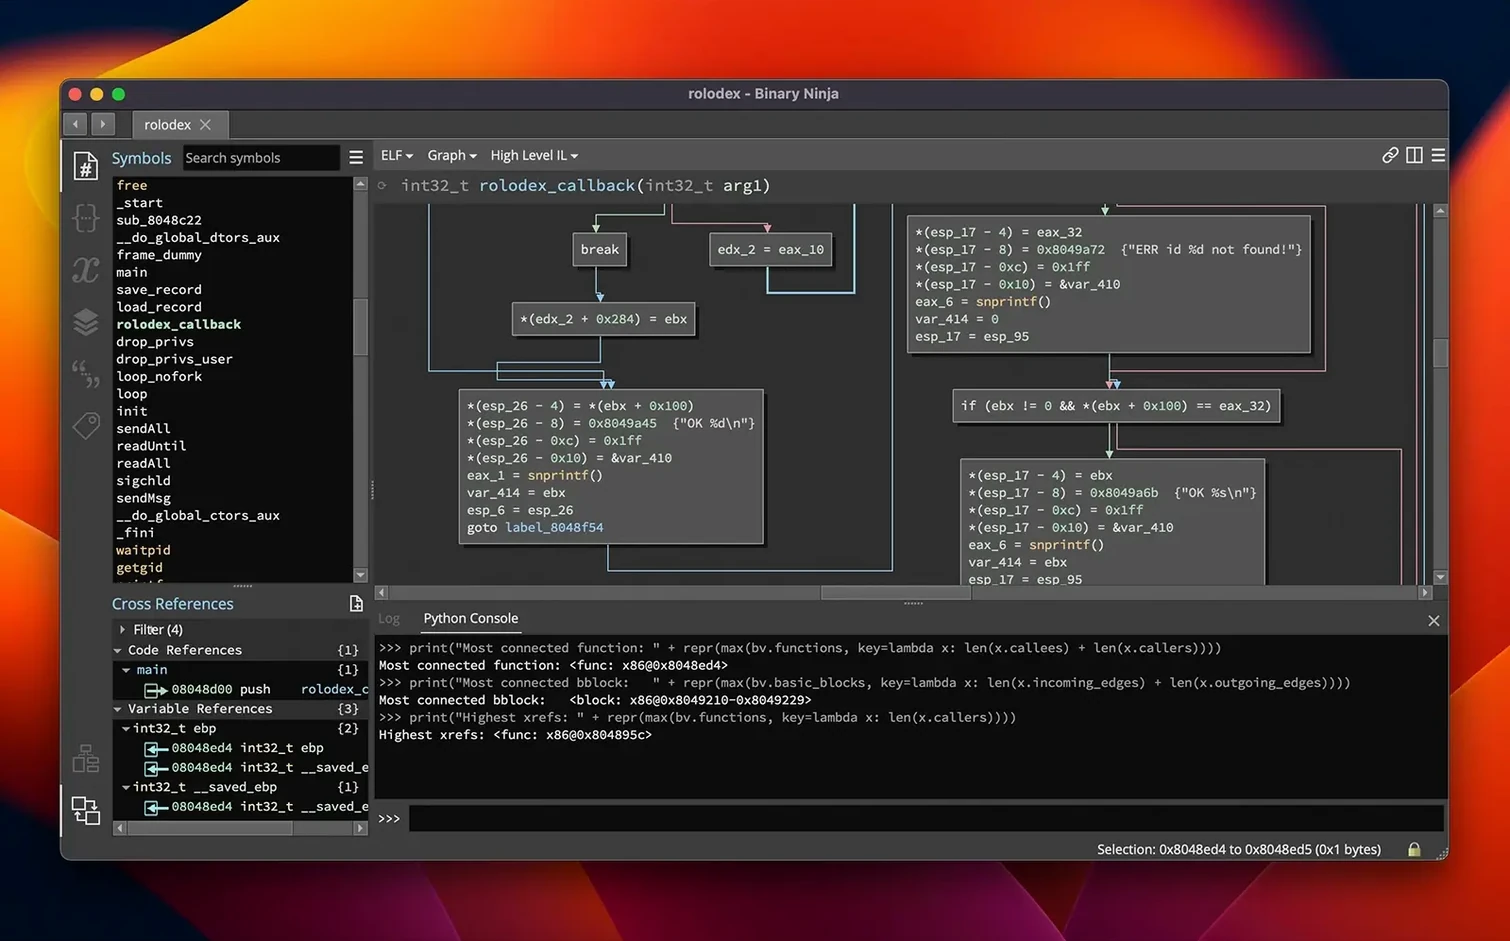
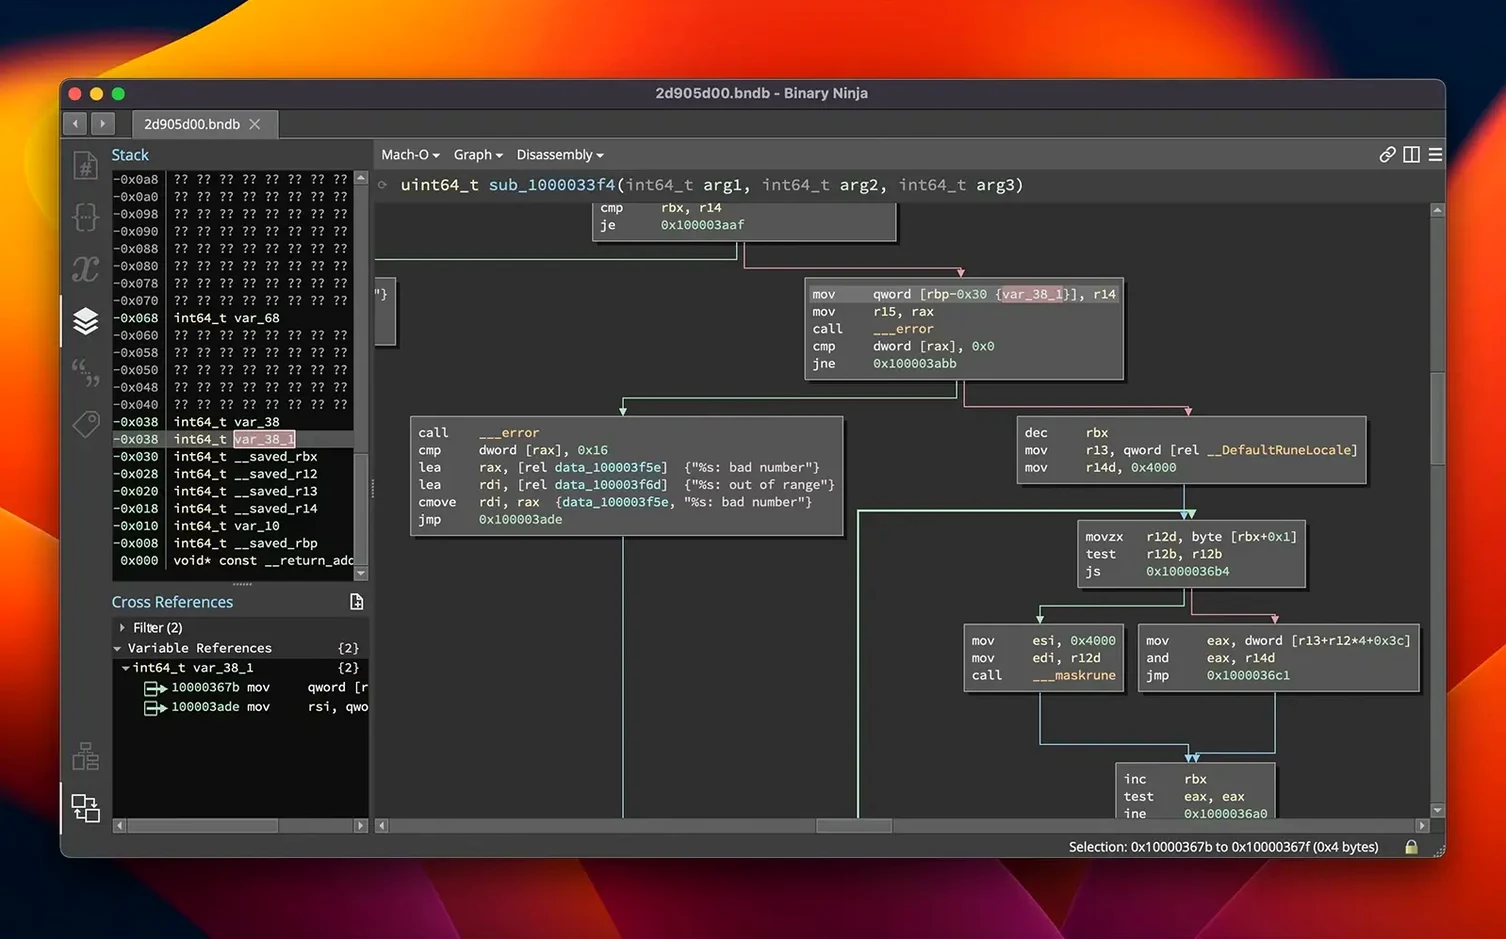
Explore the graph-based disassembly view first
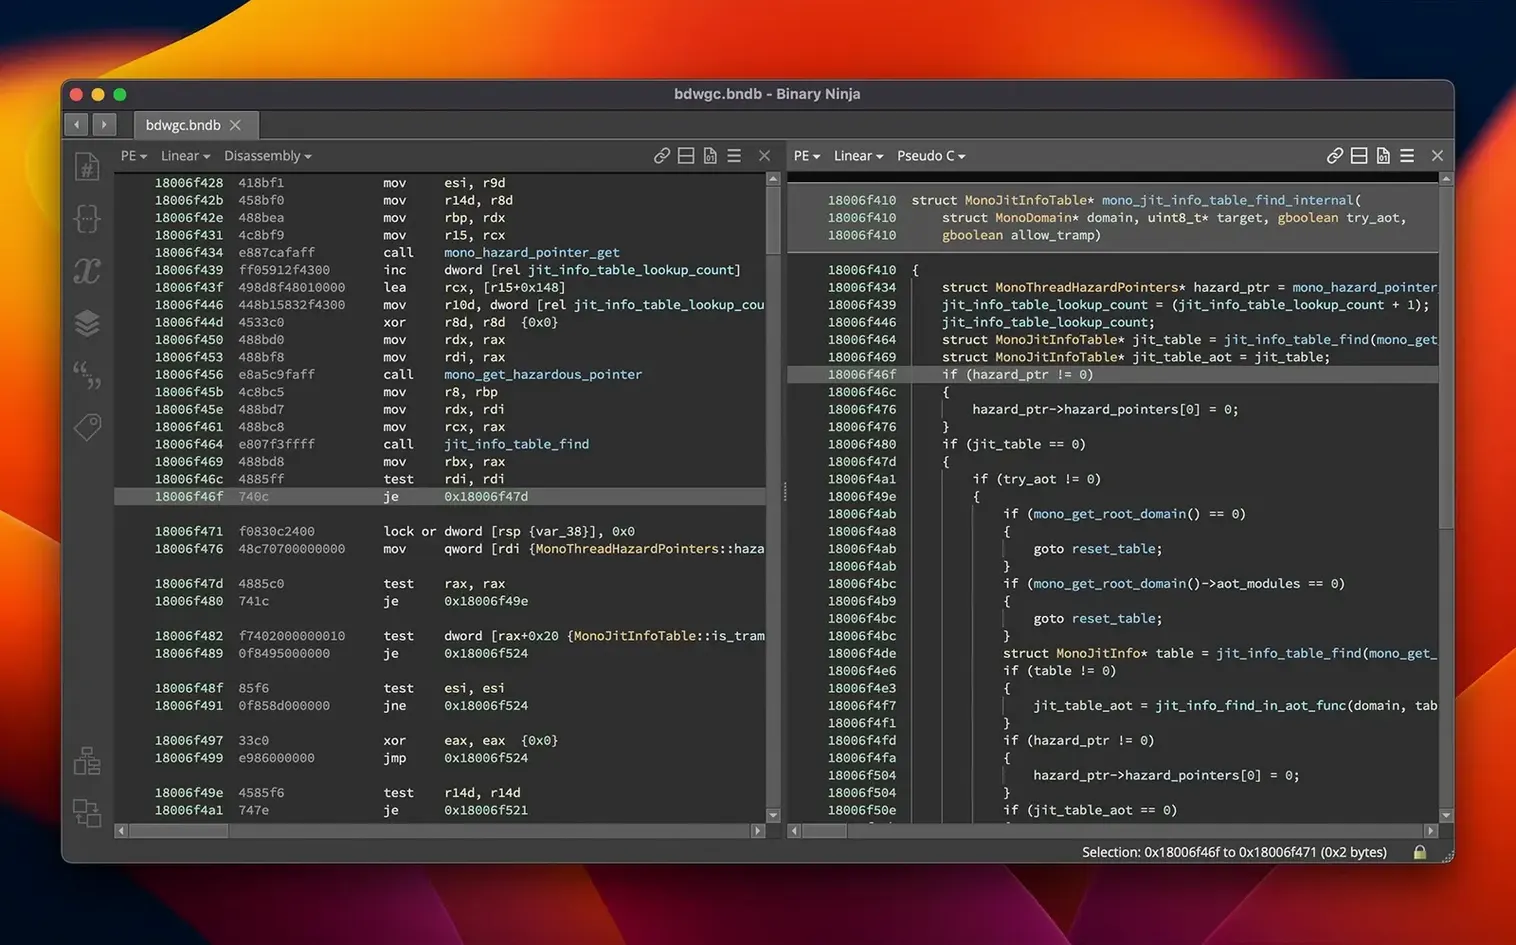
Disassembly view — pick any architecture from the supported list (x86, ARM, PowerPC, MIPS and more) and see the assembly with cross-references drawn as lines. Move around; the graph layout takes a moment to get used to, but it pays off.
Decompilation to C or BNIL — for supported architectures, Binary Ninja can lift the code to something closer to readable C. BNIL is its own intermediate language, useful when you want to reason about the logic without assembly noise.
Binary patching — edit assembly directly, apply preset patches, switch to the hex editor for raw bytes, or write a small C snippet with the built-in SCC compiler. Handy for quick fixes in tests.
Naming and typing — rename variables and functions, apply types, create structures, add comments. This is how you build a map of a binary as you work through it.
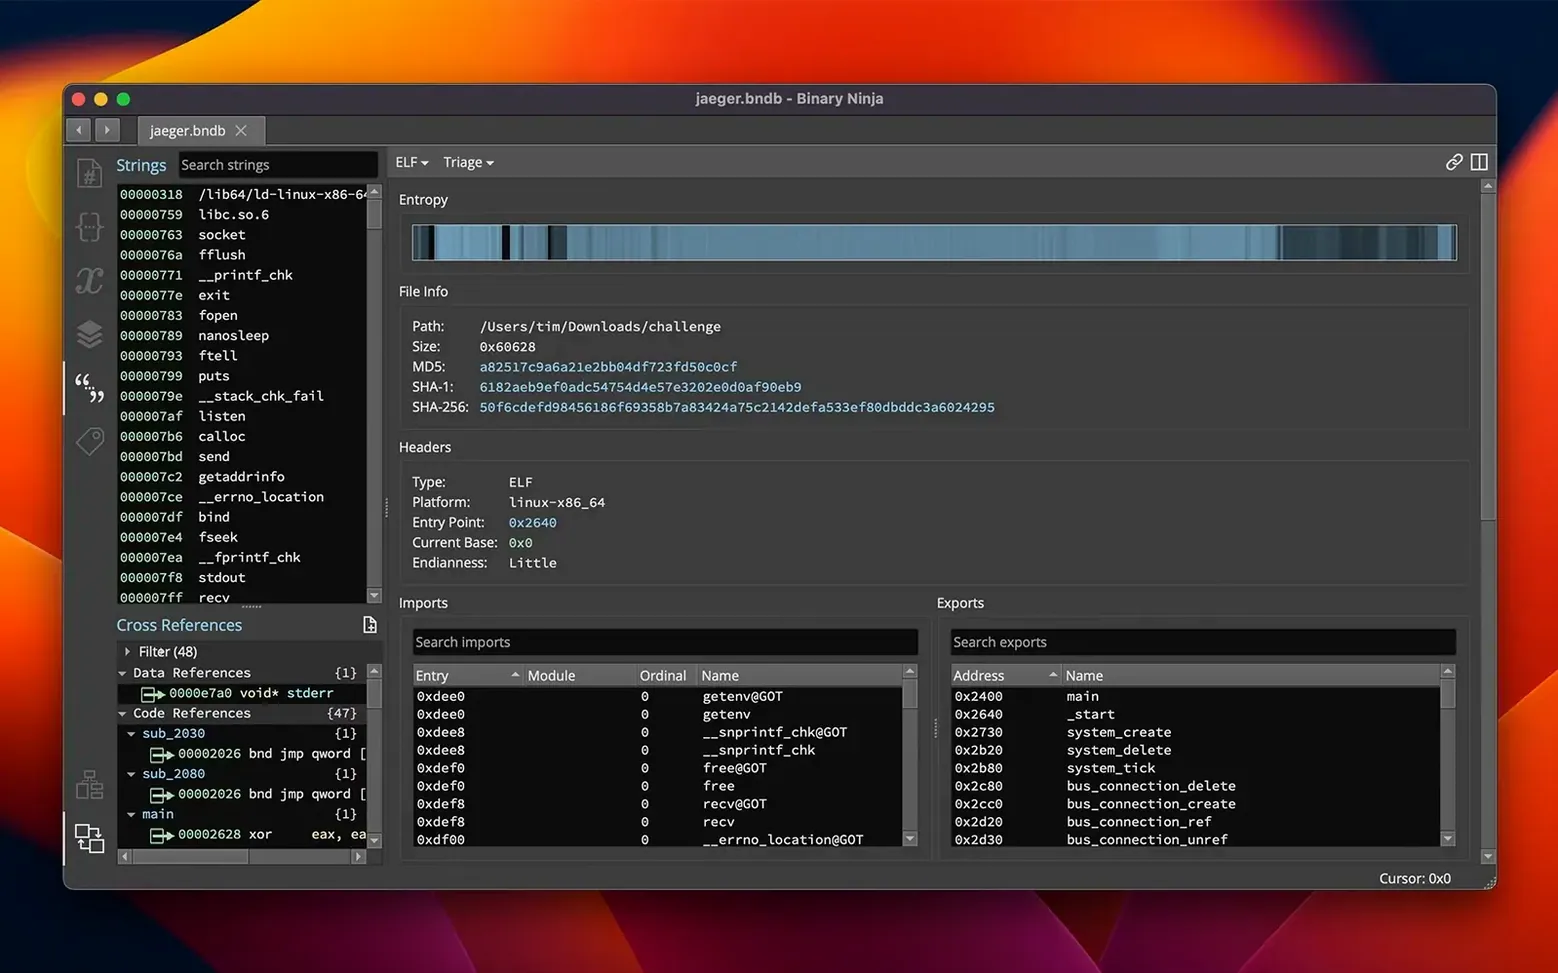
Entropy graph and batch processing — the entropy graph highlights regions that are compressed or encrypted, and batch processing lets you run analysis across multiple files without babysitting each one.
Plugins via the Extension Manager — the redesigned manager in 6.0 makes it easier to find and install community plugins. The API also supports C++, Python and Rust if you want to write your own.
Avoid trusting decompiled output without checking assembly
The most frequent error is jumping straight into decompilation without looking at the disassembly first. New users often treat the C output as the ground truth, but the decompiler makes assumptions that can be wrong — especially with obfuscated or hand-optimised code. Read the assembly alongside the decompiled view until you understand where the lifting introduces ambiguity.
Another mistake is ignoring the type system. It is tempting to rename a few variables and call it done, but Binary Ninja's analysis relies on correct type propagation. If you leave a pointer as a raw integer, cross-references and structure offsets will be wrong. Spend time defining structures and applying proper types early.
Beginners also tend to overlook the headless mode. When you have a batch of binaries to analyse, clicking through each one in the GUI wastes time. Learning the command-line workflow from the start saves hours later.
Lastly, people often forget that the plugin manager — now the Extension Manager in 6.0 — needs a network connection to fetch the catalogue. Running it in an isolated VM without internet means you get no community plugins. Download what you need beforehand.
Pair with otool or nm for quick symbol dumps
Binary Ninja works well alongside the standard macOS toolkit. You can use otool or nm from the terminal for a quick symbol dump, then load the same binary into Binary Ninja for deeper analysis. The headless mode also accepts piped output, so you can script a pipeline that extracts something with command-line tools and feeds it straight into analysis.
On macOS, the app integrates with Quick Look — select a binary in Finder and press space to see basic metadata without opening the full interface. This is not a feature Binary Ninja advertises, but it works because macOS reads the Mach-O headers natively.
For collaboration, you can export analysis results as JSON or Python scripts and share them with colleagues who use other tools. The BNIL intermediate language is also useful if you need to port analysis logic between Binary Ninja and a custom toolchain.
If you use a debugger like LLDB alongside, Binary Ninja's naming and type information can be exported as comments or Python structures that mirror your debugging session. It is not a live link, but keeping both in sync manually is manageable for focused reverse-engineering tasks.
Runs on macOS 10.15+ including Apple Silicon
Binary Ninja 6.0.10601-personal runs on macOS 10.15 or later and supports both ARM and x86 64-bit architectures. That covers Intel Macs from late 2015 onwards and all Apple Silicon machines. The installer is a standard macOS package; activation instructions are included, so you will need to follow the steps in the documentation to unlock the full feature set.
The interface is English only. Plugins from the Extension Manager are community-maintained and may not all be updated for version 6.0 yet — check the compatibility notes before installing. The bundled Python 3.13 on Linux does not apply to macOS; the macOS version uses the system Python or a user-installed one.
No network connection is required after activation unless you want to browse or install plugins. The headless mode works identically on both architectures, so scripts that run on an Intel Mac should behave the same on Apple Silicon. Memory and disk usage depend on the size of the binaries you analyse — expect larger files to take longer to load, but no special configuration is needed for typical reverse-engineering workloads.
Changes in this build
- New MCP server for external tool integration.
- New Binary Similarity feature to find related code.
- Plugin Manager redesigned as the Extension Manager.
- Added TMS320C6x architecture.
- Performance and memory usage improvements.
- Refactored calling convention and HLIL structure initializers.
- Bundled Python 3.13 on Linux.
- Migration wizard and debugger improvements.
Before it goes on the Mac
- macOS 10.15 or later
- Apple Silicon or Intel
- Interface language: English
Questions from the room
Which macOS versions does Binary Ninja support?
Binary Ninja requires macOS 10.15 or later. It runs on both Intel and Apple Silicon Macs.
Can I patch a binary directly in Binary Ninja?
Yes. You can edit assembly, use preset patches, modify raw bytes in the hex editor, or compile C with the built-in SCC compiler.
What architectures are supported on macOS?
Binary Ninja supports x86, x86-64, ARMv7, ARMv8/AArch64, PowerPC, 6502, Z80 and MIPS. On macOS specifically, ARM and x86 64-bit are covered.
Installing it on the Mac
- Download the package from the site.
- Open the package and follow the included install instructions.
- Apply the activation instructions from the package to get started.
Notes from the control room
Sign in or open a catalogue account to leave a note.
No notes from the room yet. If you have used this build for a week, a short note helps the next person.