Home › Mac Apps › BAO Mask Avenger
BAO Mask Avenger 2.7.5 (Mac)
Updated
The catalogue note
Version 2.7.5 of BAO Mask Avenger fixes an M1 compatibility issue on Mac, so it now runs natively on Apple Silicon systems with After Effects 2024 through CS6.
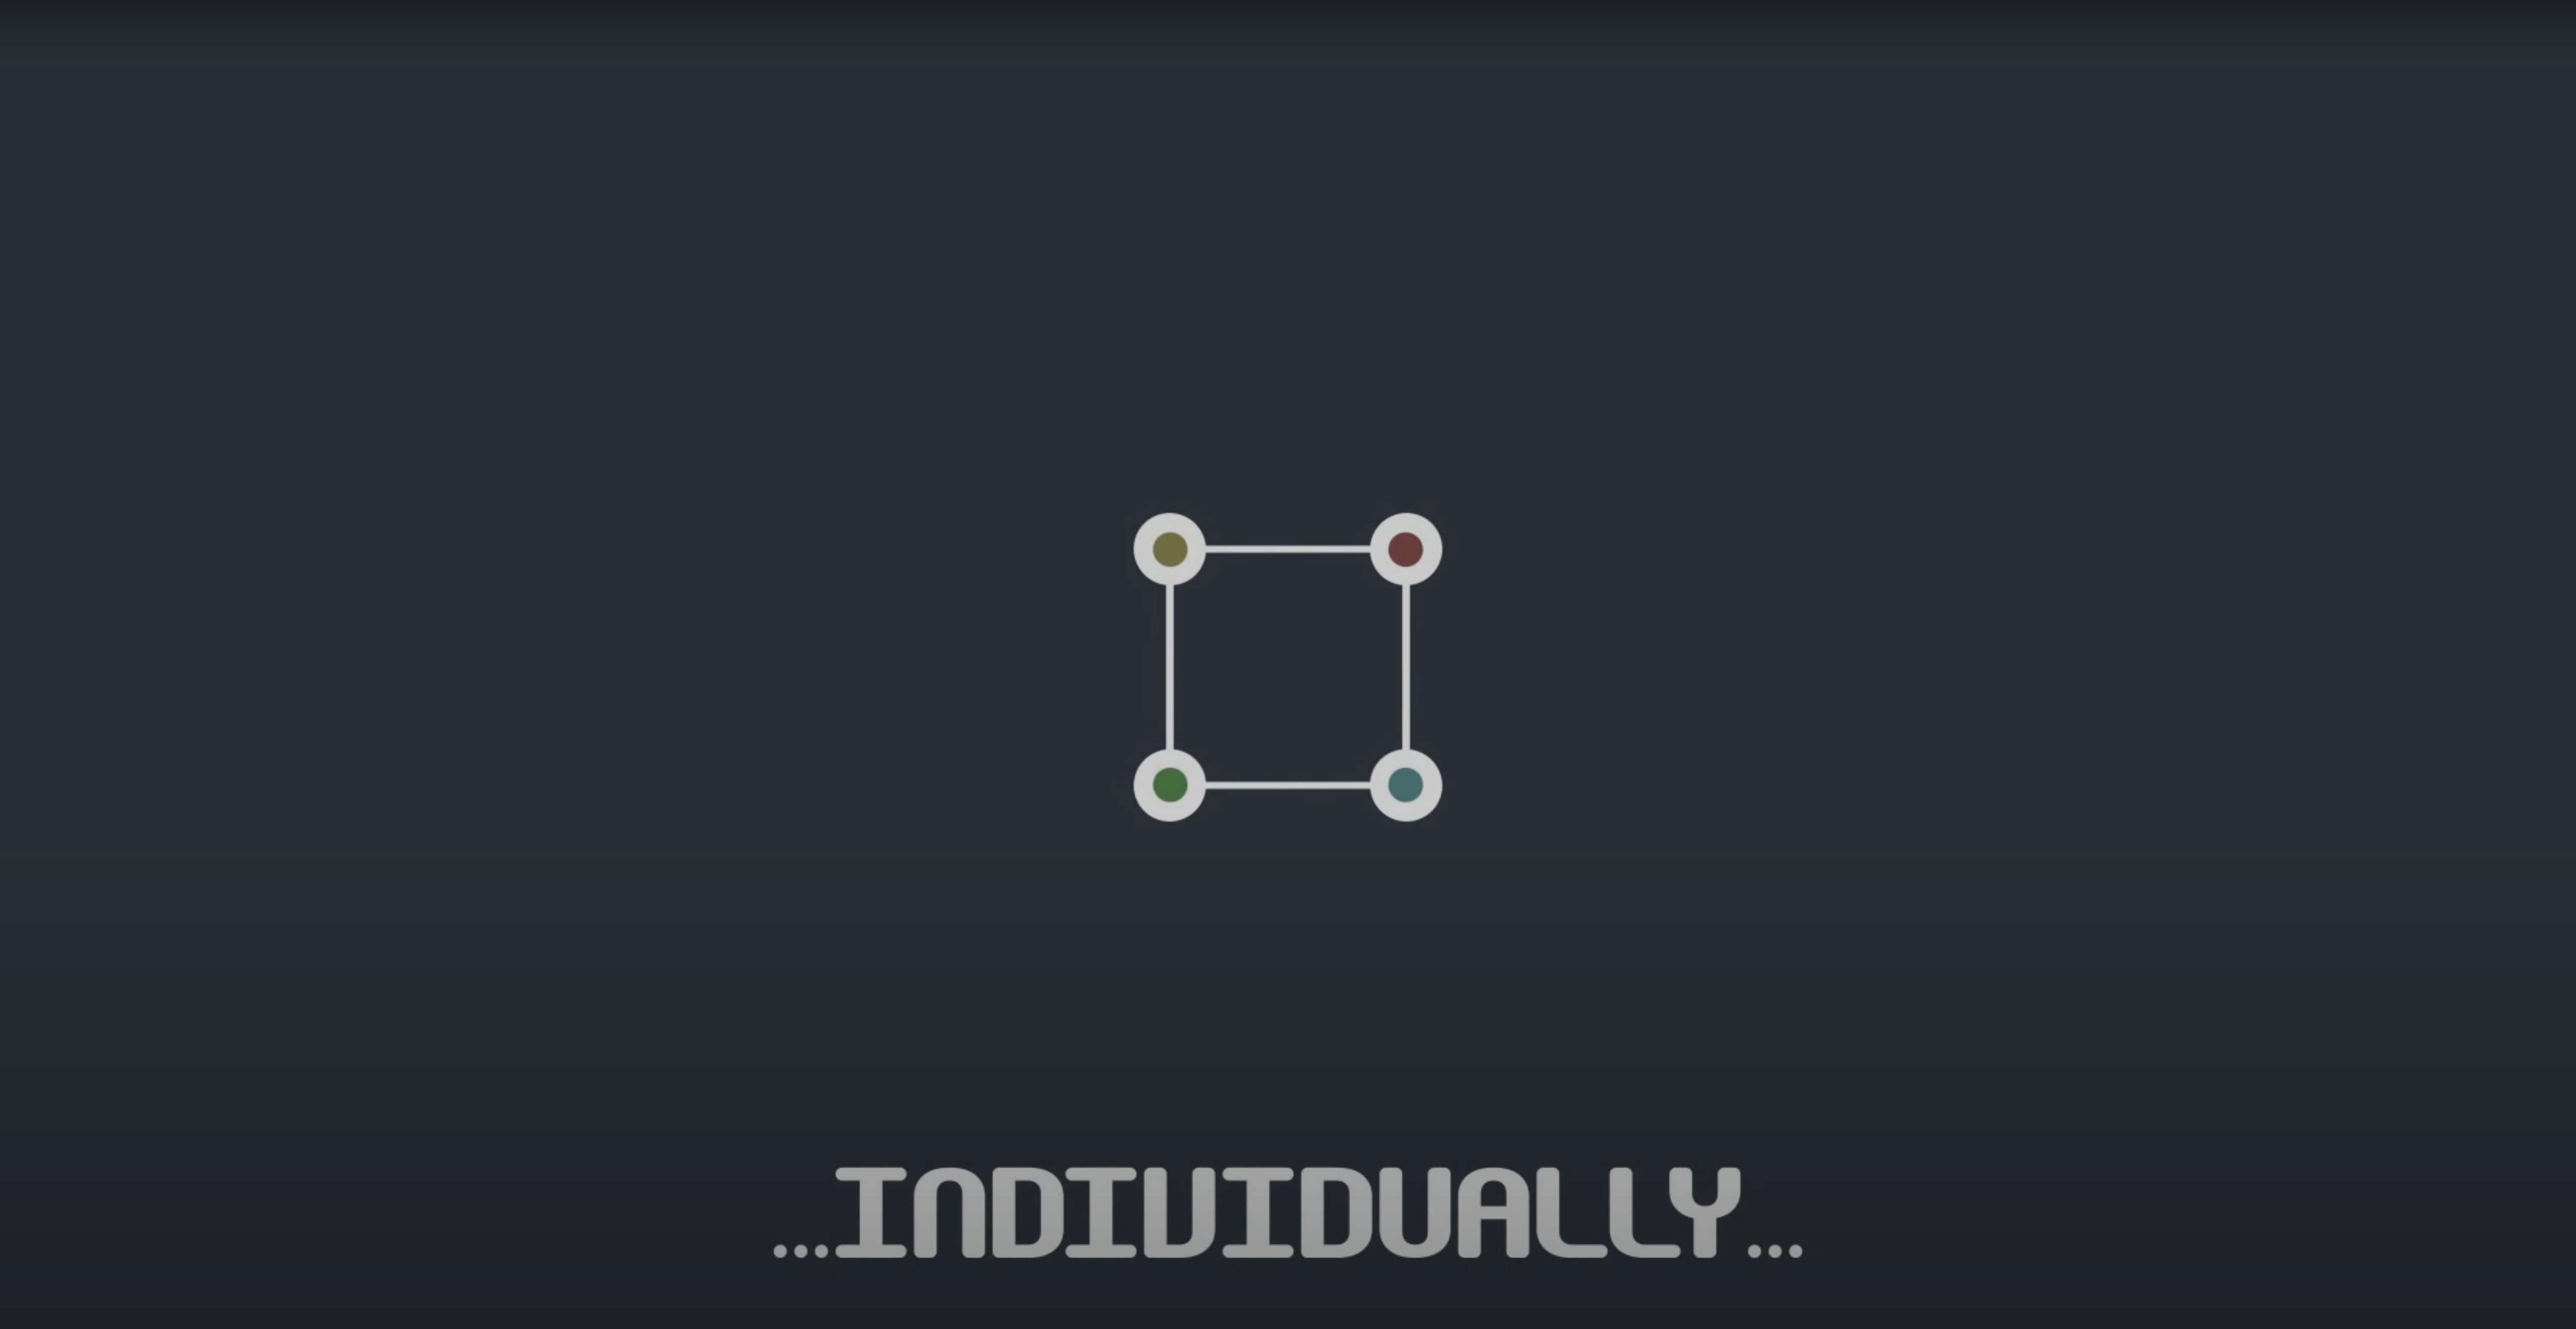
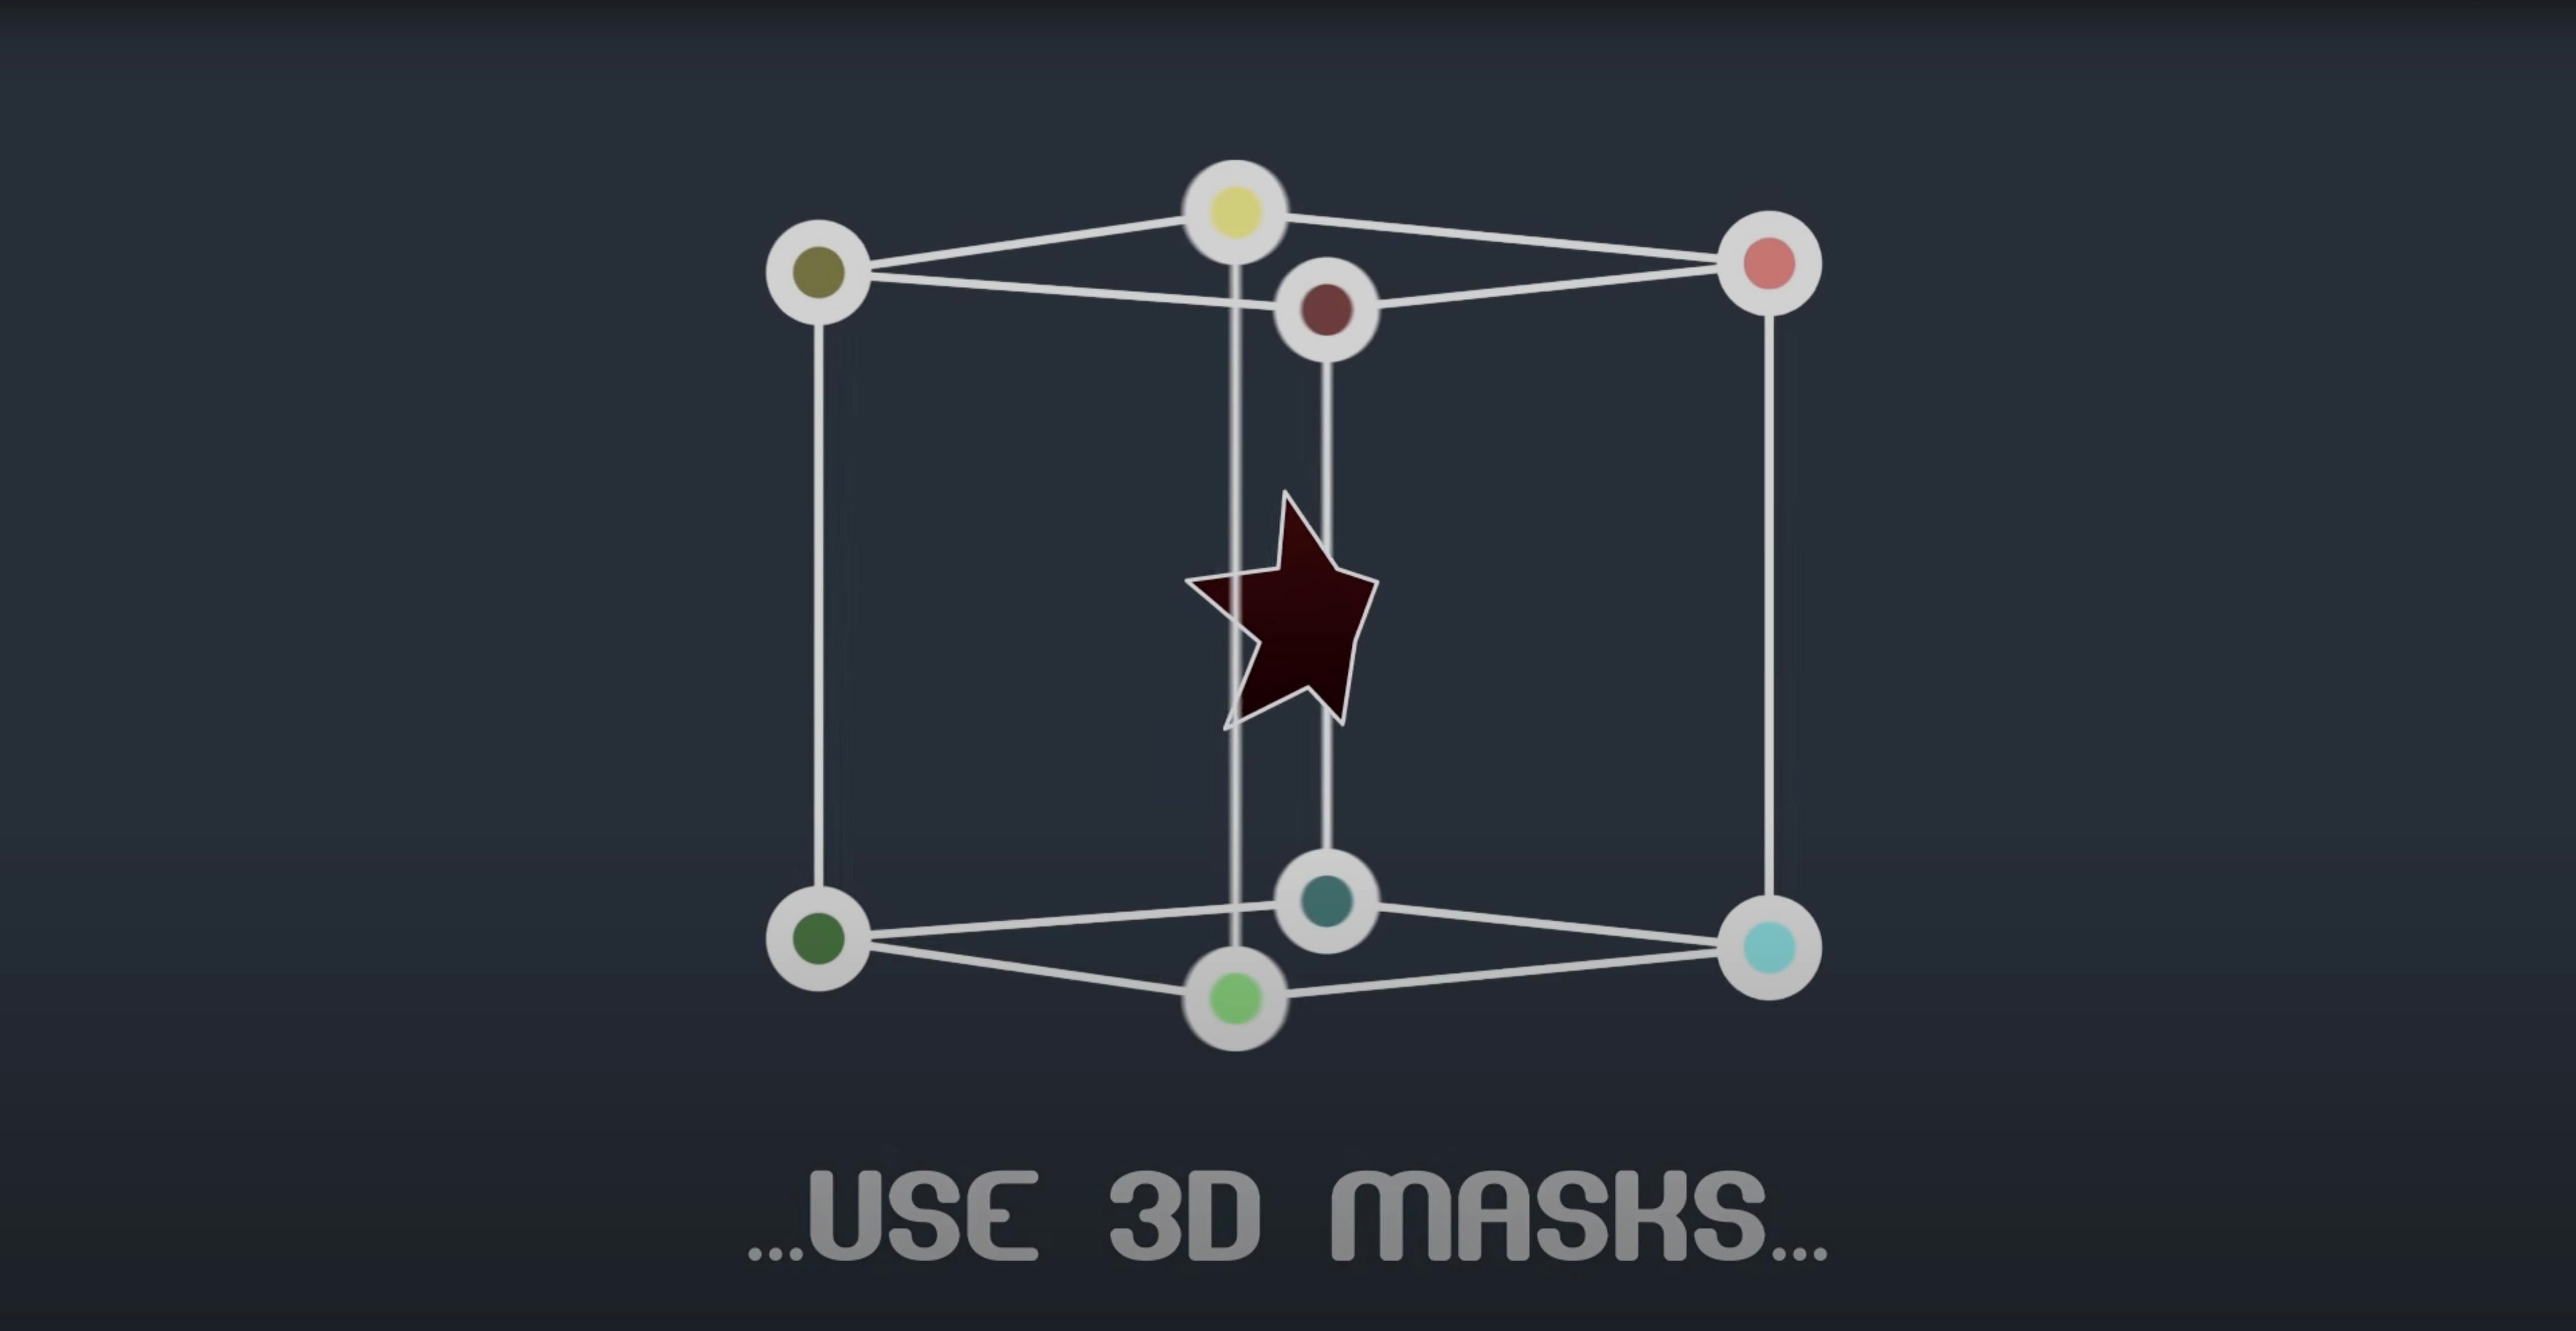
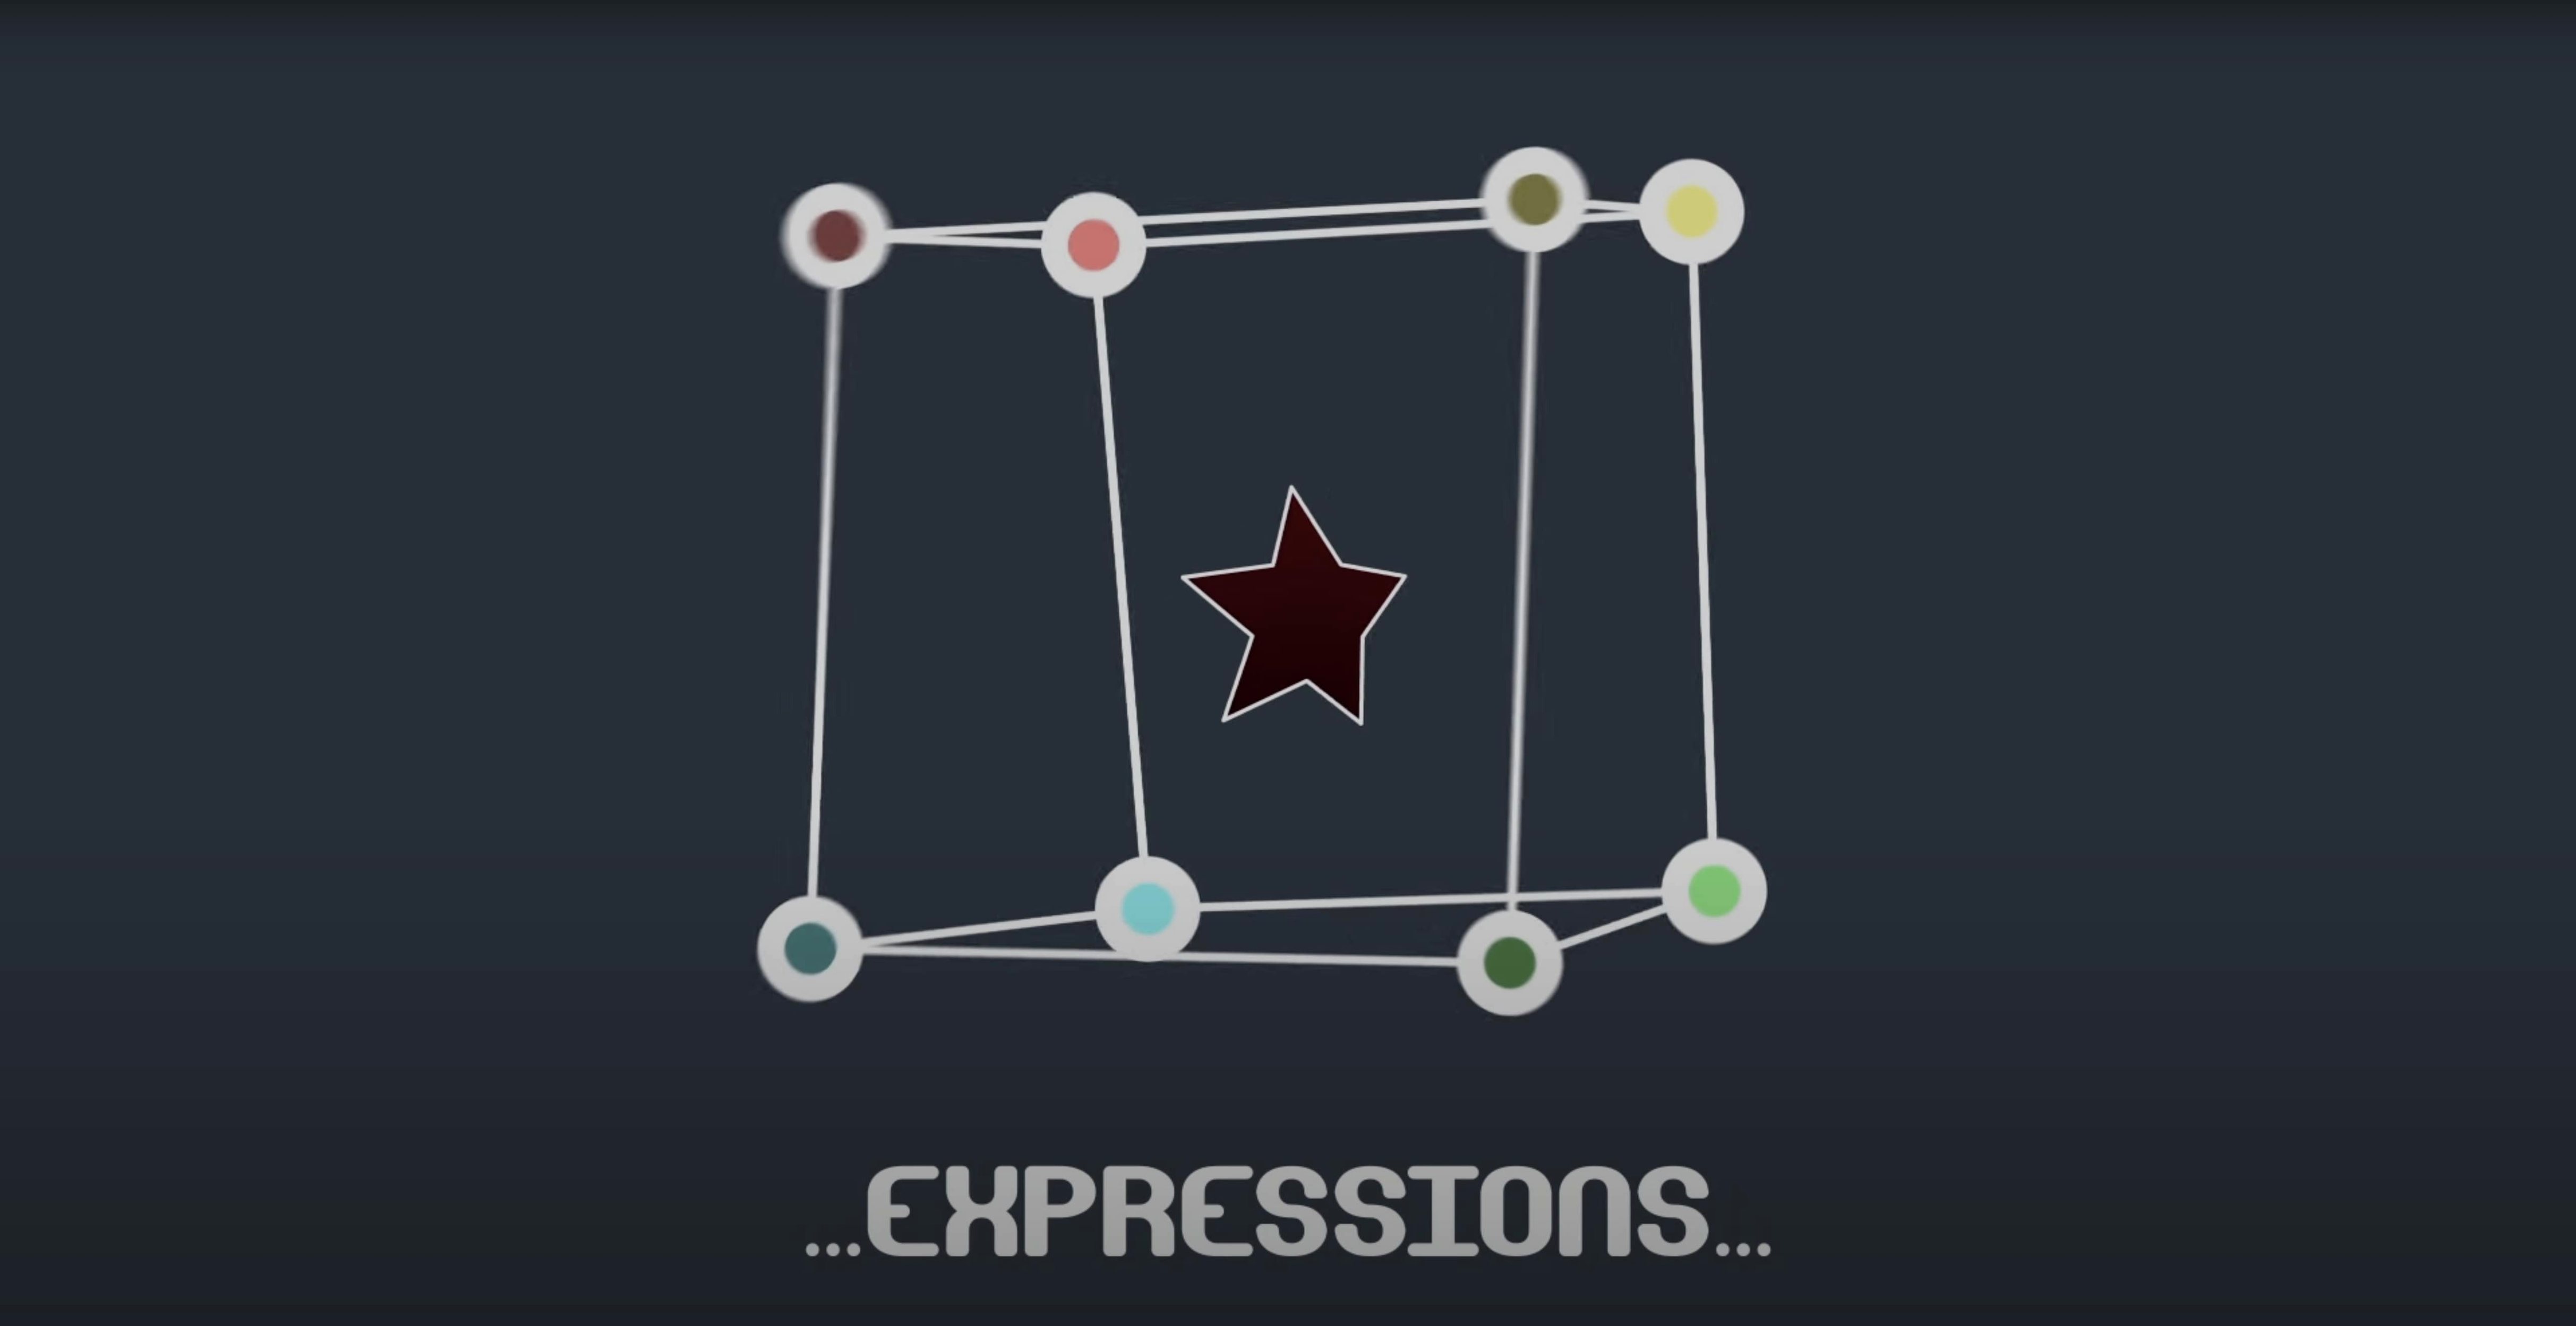
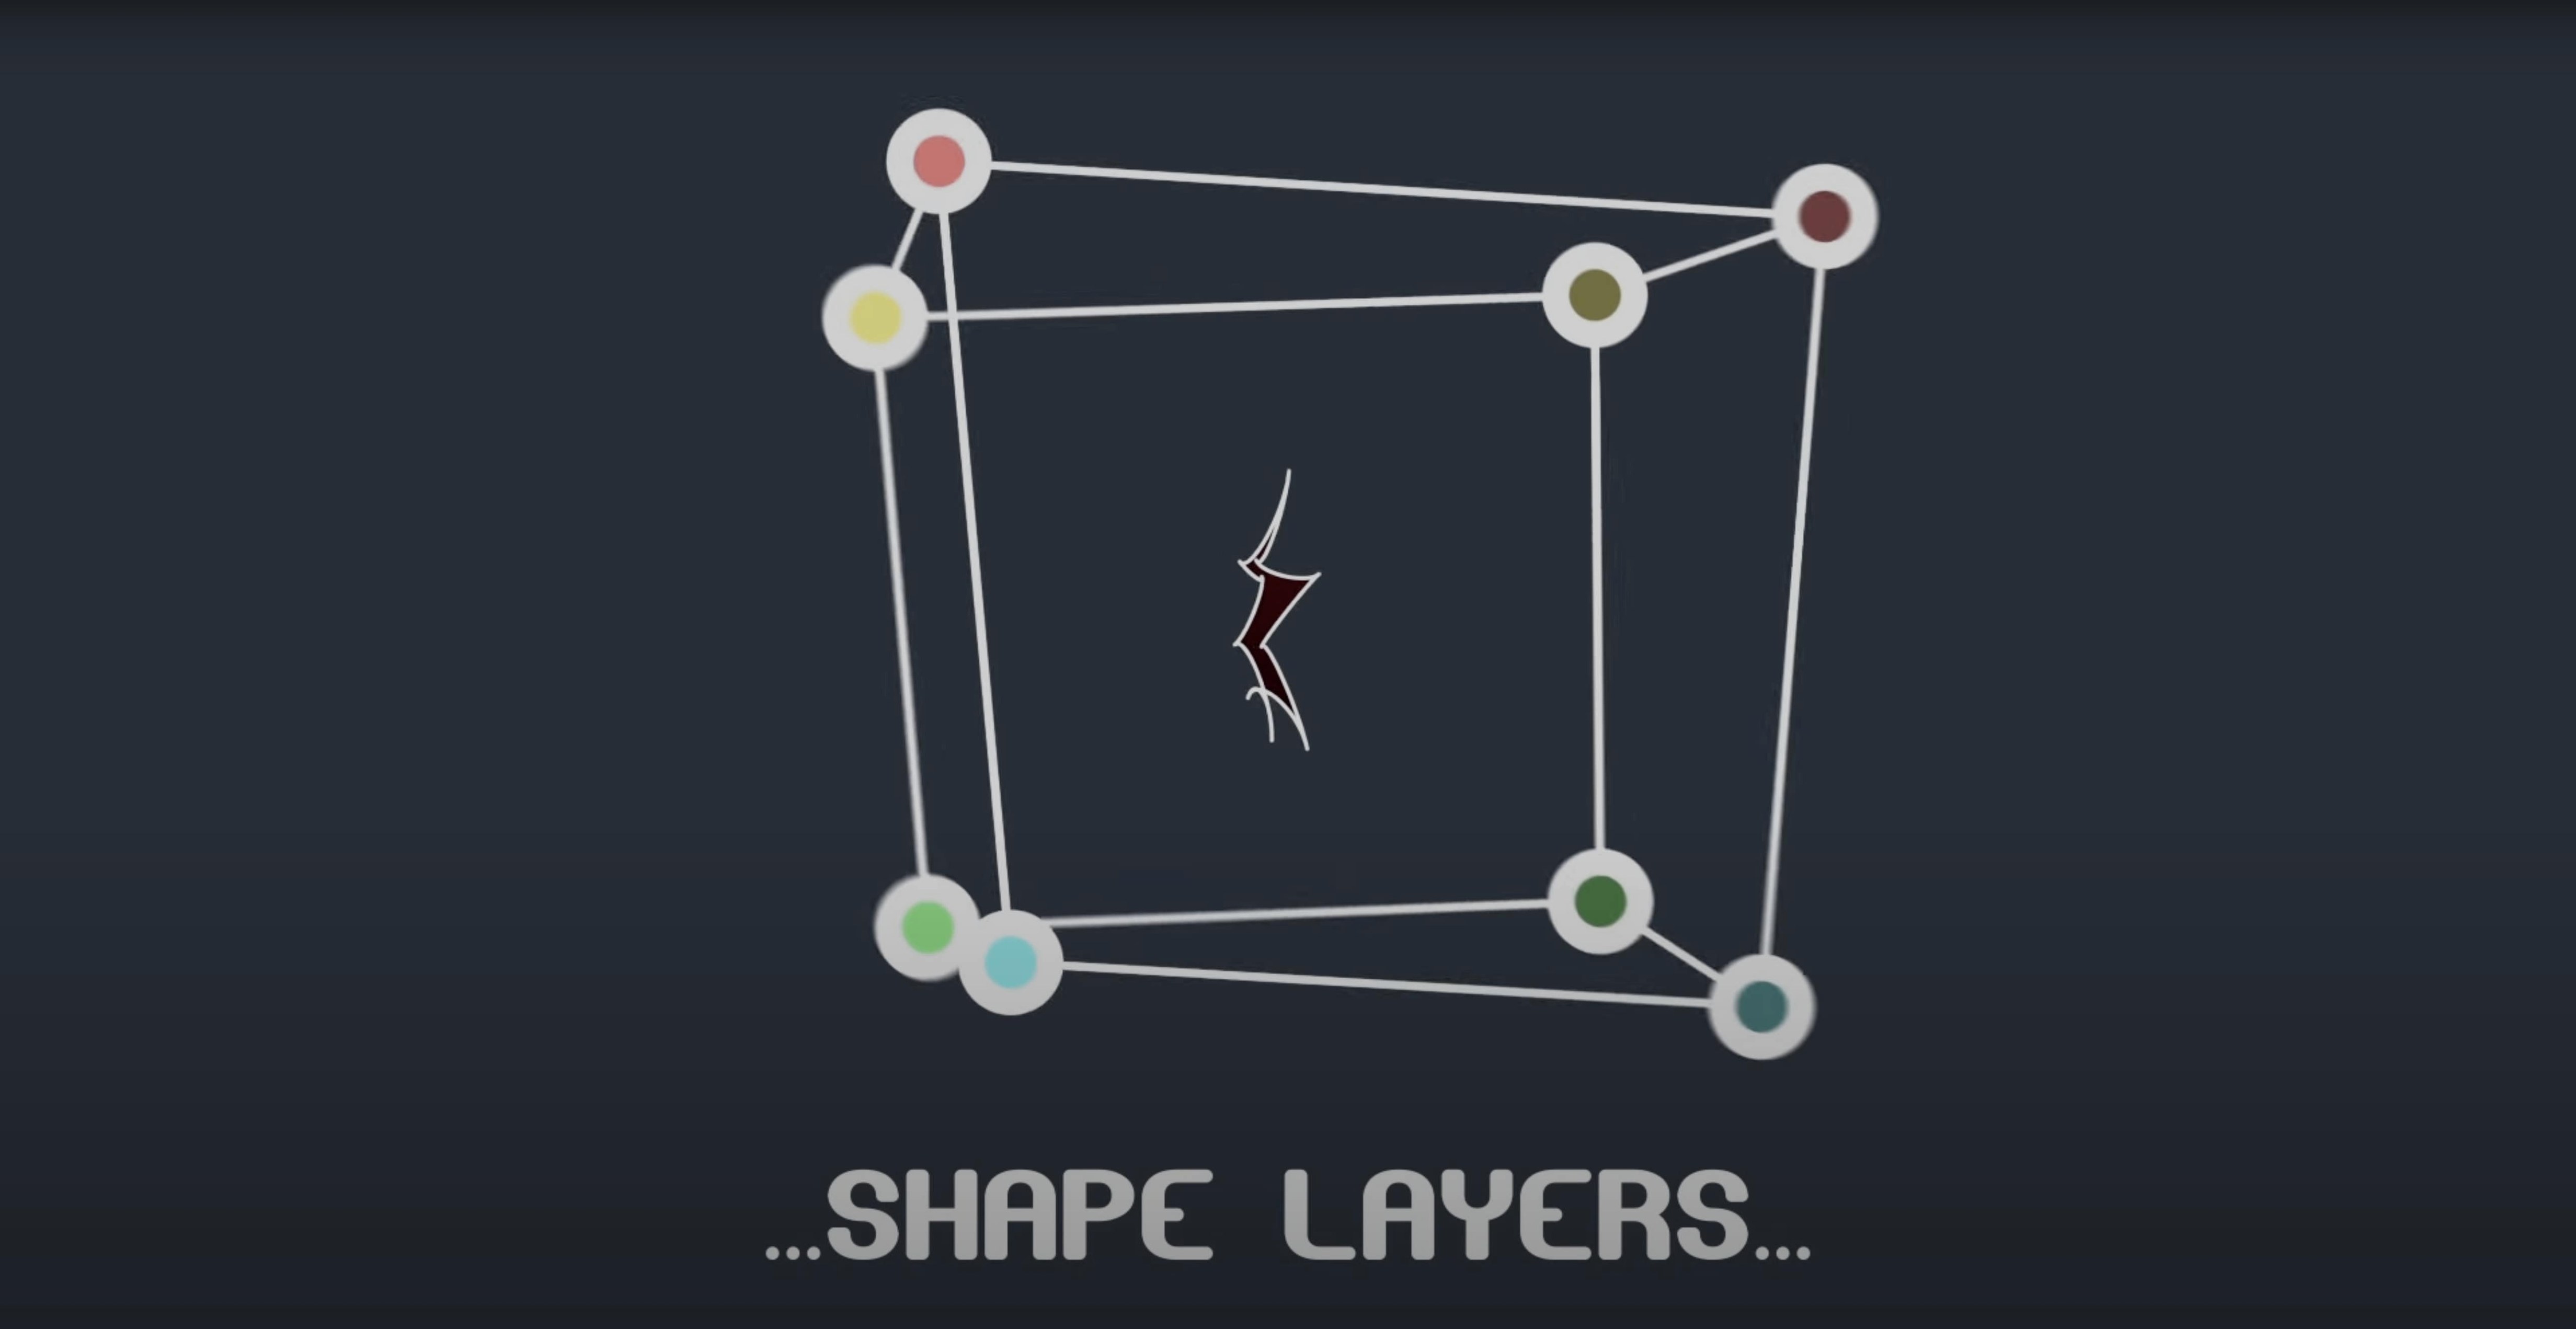
This plugin treats mask vertices and their tangents as individual objects. You can read position and orientation data from any point along a mask path, then link individual vertices to tracker points using a pick-whip expression. It works with both regular masks and shape layers, and you can choose to control vertices only or bring in full tangent handles for finer shaping.
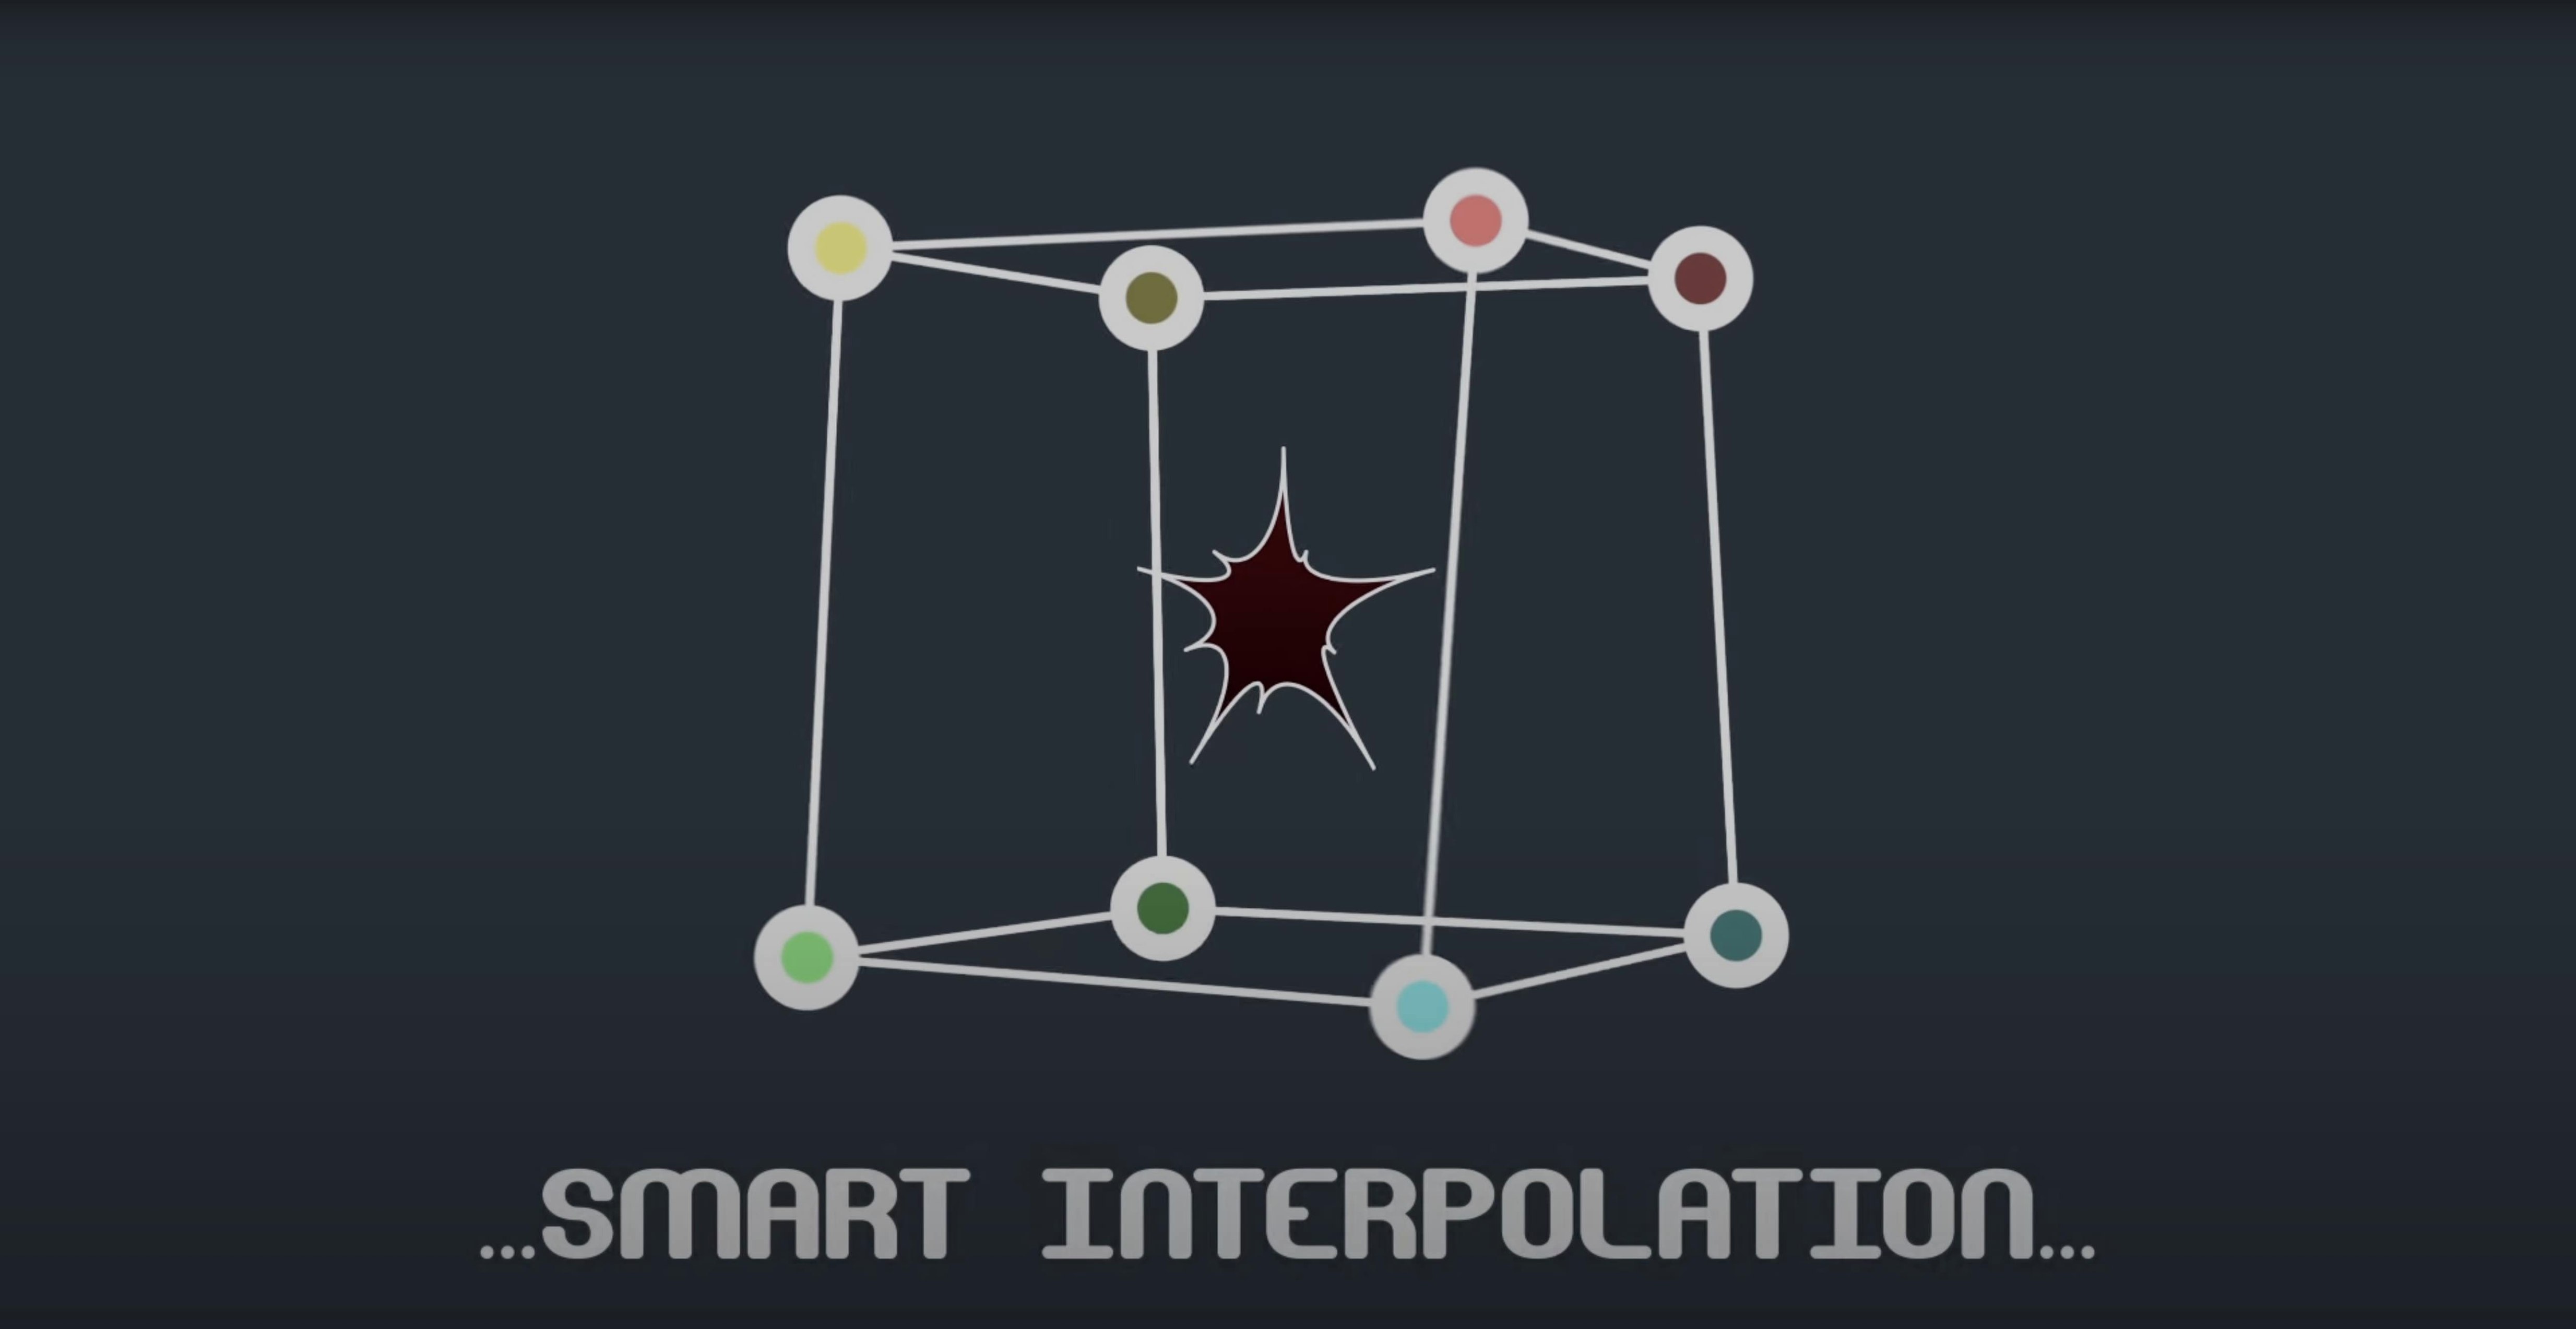
The intelligent interpolation mode bases movement on the centre of gravity or on an independent key anchor point, which makes morphing sequences smoother without manual keyframe tweaking. There is also a freeze mode that bakes the mask data so you can share the project with editors who do not have the plugin installed.
Start with a rough mask on a solid layer
Start with a simple mask on a solid layer. Draw a rough shape, then open the Mask Avenger panel and explore how each vertex responds to direct selection. The plugin integrates with After Effects' own Free Transform mask tool, so you will find the control points behave much like standard path points, but with tangents exposed individually.
Test the freeze mode early. Apply a mask animation, then freeze it and reload the project without the plugin active. This confirms your collaborators can see the result even if they do not own Mask Avenger. It also works as a safety net while you learn the workflow.
Try linking one vertex to a null layer using the built-in expression script. The pick-whip method is the same as standard After Effects expressions, so it should feel familiar. Once linked, move the null and watch the vertex follow. This is the fastest way to understand how Mask Avenger separates mask control from the path itself.
Animating every vertex creates a messy timeline
The most common error is trying to animate every vertex when only a few need keyframes. Mask Avenger can expose all tangents at once, and it is tempting to set keyframes on every handle. The result is a dense, hard-to-edit timeline. Instead, use the intelligent interpolation mode with the centre-of-gravity setting for broad morphing, then add individual vertex keyframes only where the shape changes direction.
Another misstep is forgetting the freeze step before handing off a project. If you send a comp with Mask Avenger active to someone who lacks the plugin, the masks will not render. Freeze the mask data as soon as the animation is final, and keep the unfrozen version in a separate comp if you need to revise later.
New users also overlook the shape layer option. Mask Avenger works with shape layers, not only with mask paths. Applying it to a shape layer can simplify workflows that previously needed Mask Renderer or manual conversion. If you are used to baking masks to shape layers, test this early rather than falling back to older methods.
Replaces Mask Renderer with direct vertex and tangent control
Mask Avenger sits in a small category of After Effects plugins that give per-vertex mask control. It replaces the need for Mask Renderer, which converted masks to shape layers but did not offer direct vertex animation or tangent handles. Mask Avenger does all that within a single plugin panel and adds expression linking, which Mask Renderer lacked.
Another comparable tool is the built-in After Effects mask path system combined with manual keyframes. That works for simple shapes but becomes unwieldy when a mask has dozens of vertices. Mask Avenger lets you select individual vertices, read their position and orientation data, and animate them independently without editing every keyframe on the path property. The native system cannot do that without complex expressions.
There is also GeoBender from a different developer, which deforms shapes but focuses on geometric transformations rather than per-vertex mask editing. Mask Avenger stays closer to traditional mask workflows, so motion graphics artists moving from standard After Effects masking will find the learning curve shorter.
Enable full tangent control only for curved shapes
Open the plugin preferences and enable full tangent control only when you need it. Working with vertices alone keeps the interface cleaner and reduces the number of visible handles. Switch to full tangents for curved shapes that require precise in-and-out control.
Set the default interpolation mode to centre of gravity unless your animation relies on a specific anchor point. The centre-of-gravity mode distributes movement evenly across the mask, which suits most morphing tasks. Switch to the independent key anchor point only when you need a fixed reference for the shape to pivot around.
If you work with tracker data, activate the expression link option early in your comp setup. Linking a vertex to a tracker point via pick-whip saves time later, and the expression stays editable if the tracker data changes. Leave freeze mode off during editing; it bakes the data and prevents further tweaks. Activate it only as a final step before export or handoff.
Changes in this build
- Fixed an M1 compatibility issue on Mac.
Before it goes on the Mac
- macOS version not specified
- Architecture: Intel and Apple Silicon
- After Effects 2024, 2023, 2022, 2021, 2020, CC 2019, CC 2018, CC 2017, CC 2015.3, CC 2015, CC 2014, CC, CS6
- Interface language: English
Installing it on the Mac
- Installation and activation instructions are included in the package.
Notes from the control room
Sign in or open a catalogue account to leave a note.
No notes from the room yet. If you have used this build for a week, a short note helps the next person.