
Home › Logic Pro Plugins › Toontrack EZkeys

Toontrack EZkeys 2.1.5 (Mac)
Updated
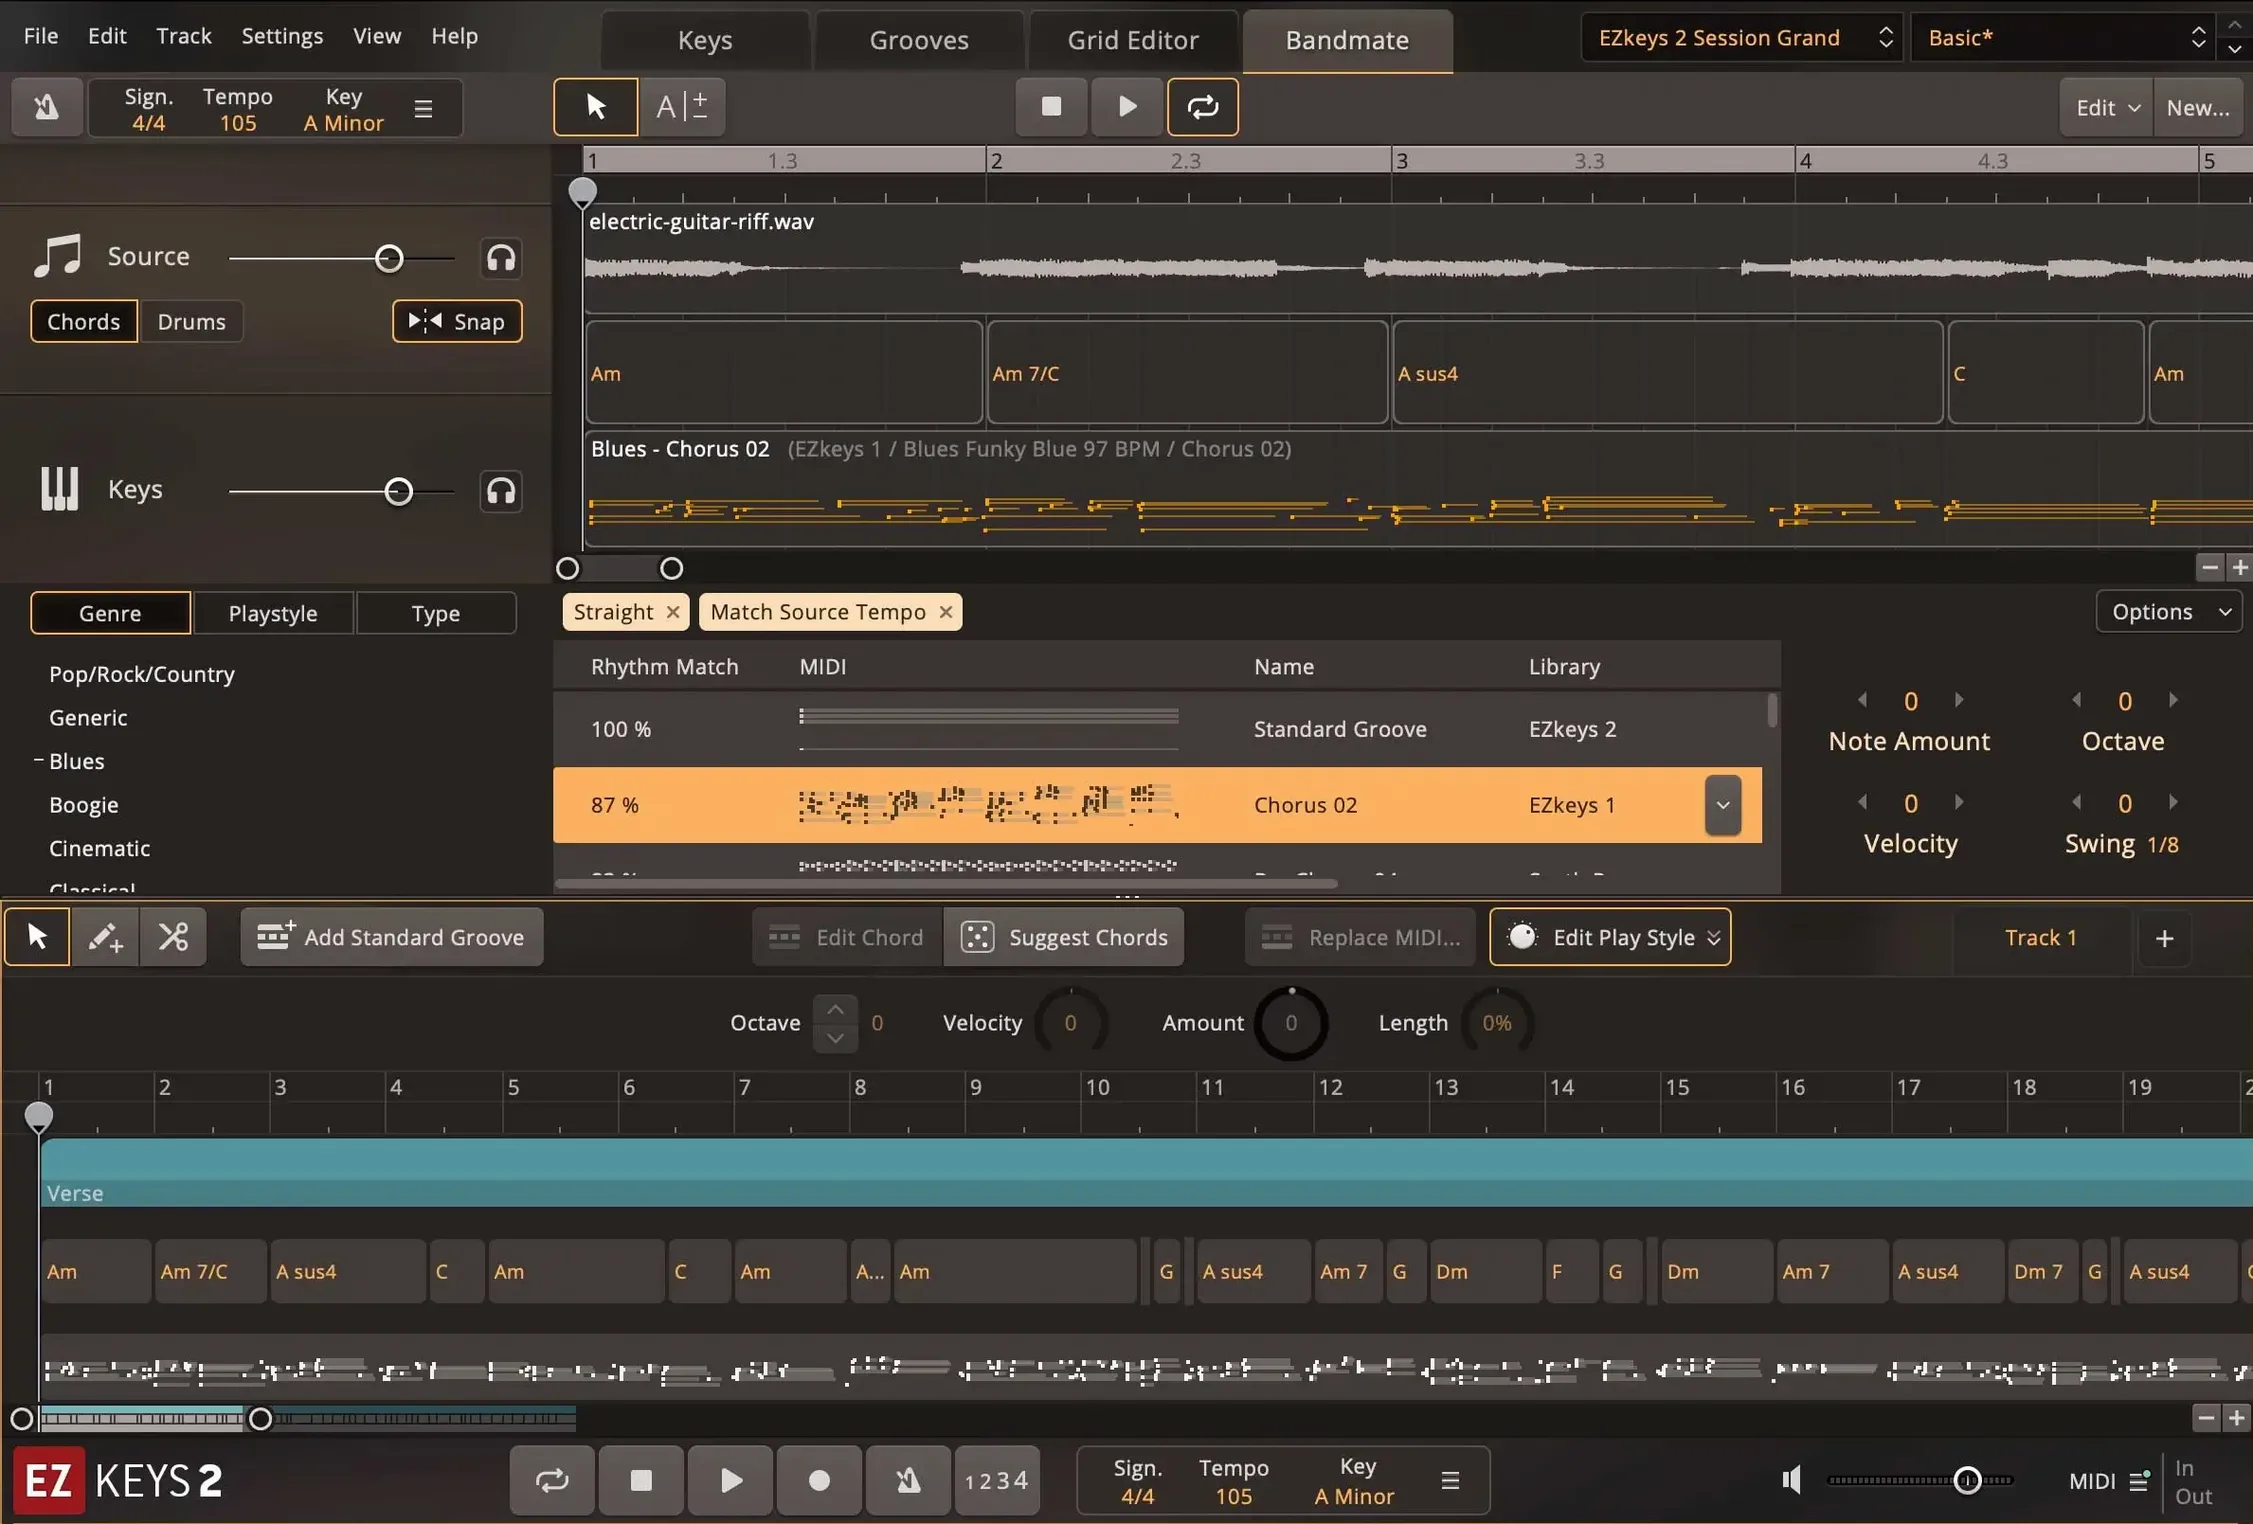
The catalogue note
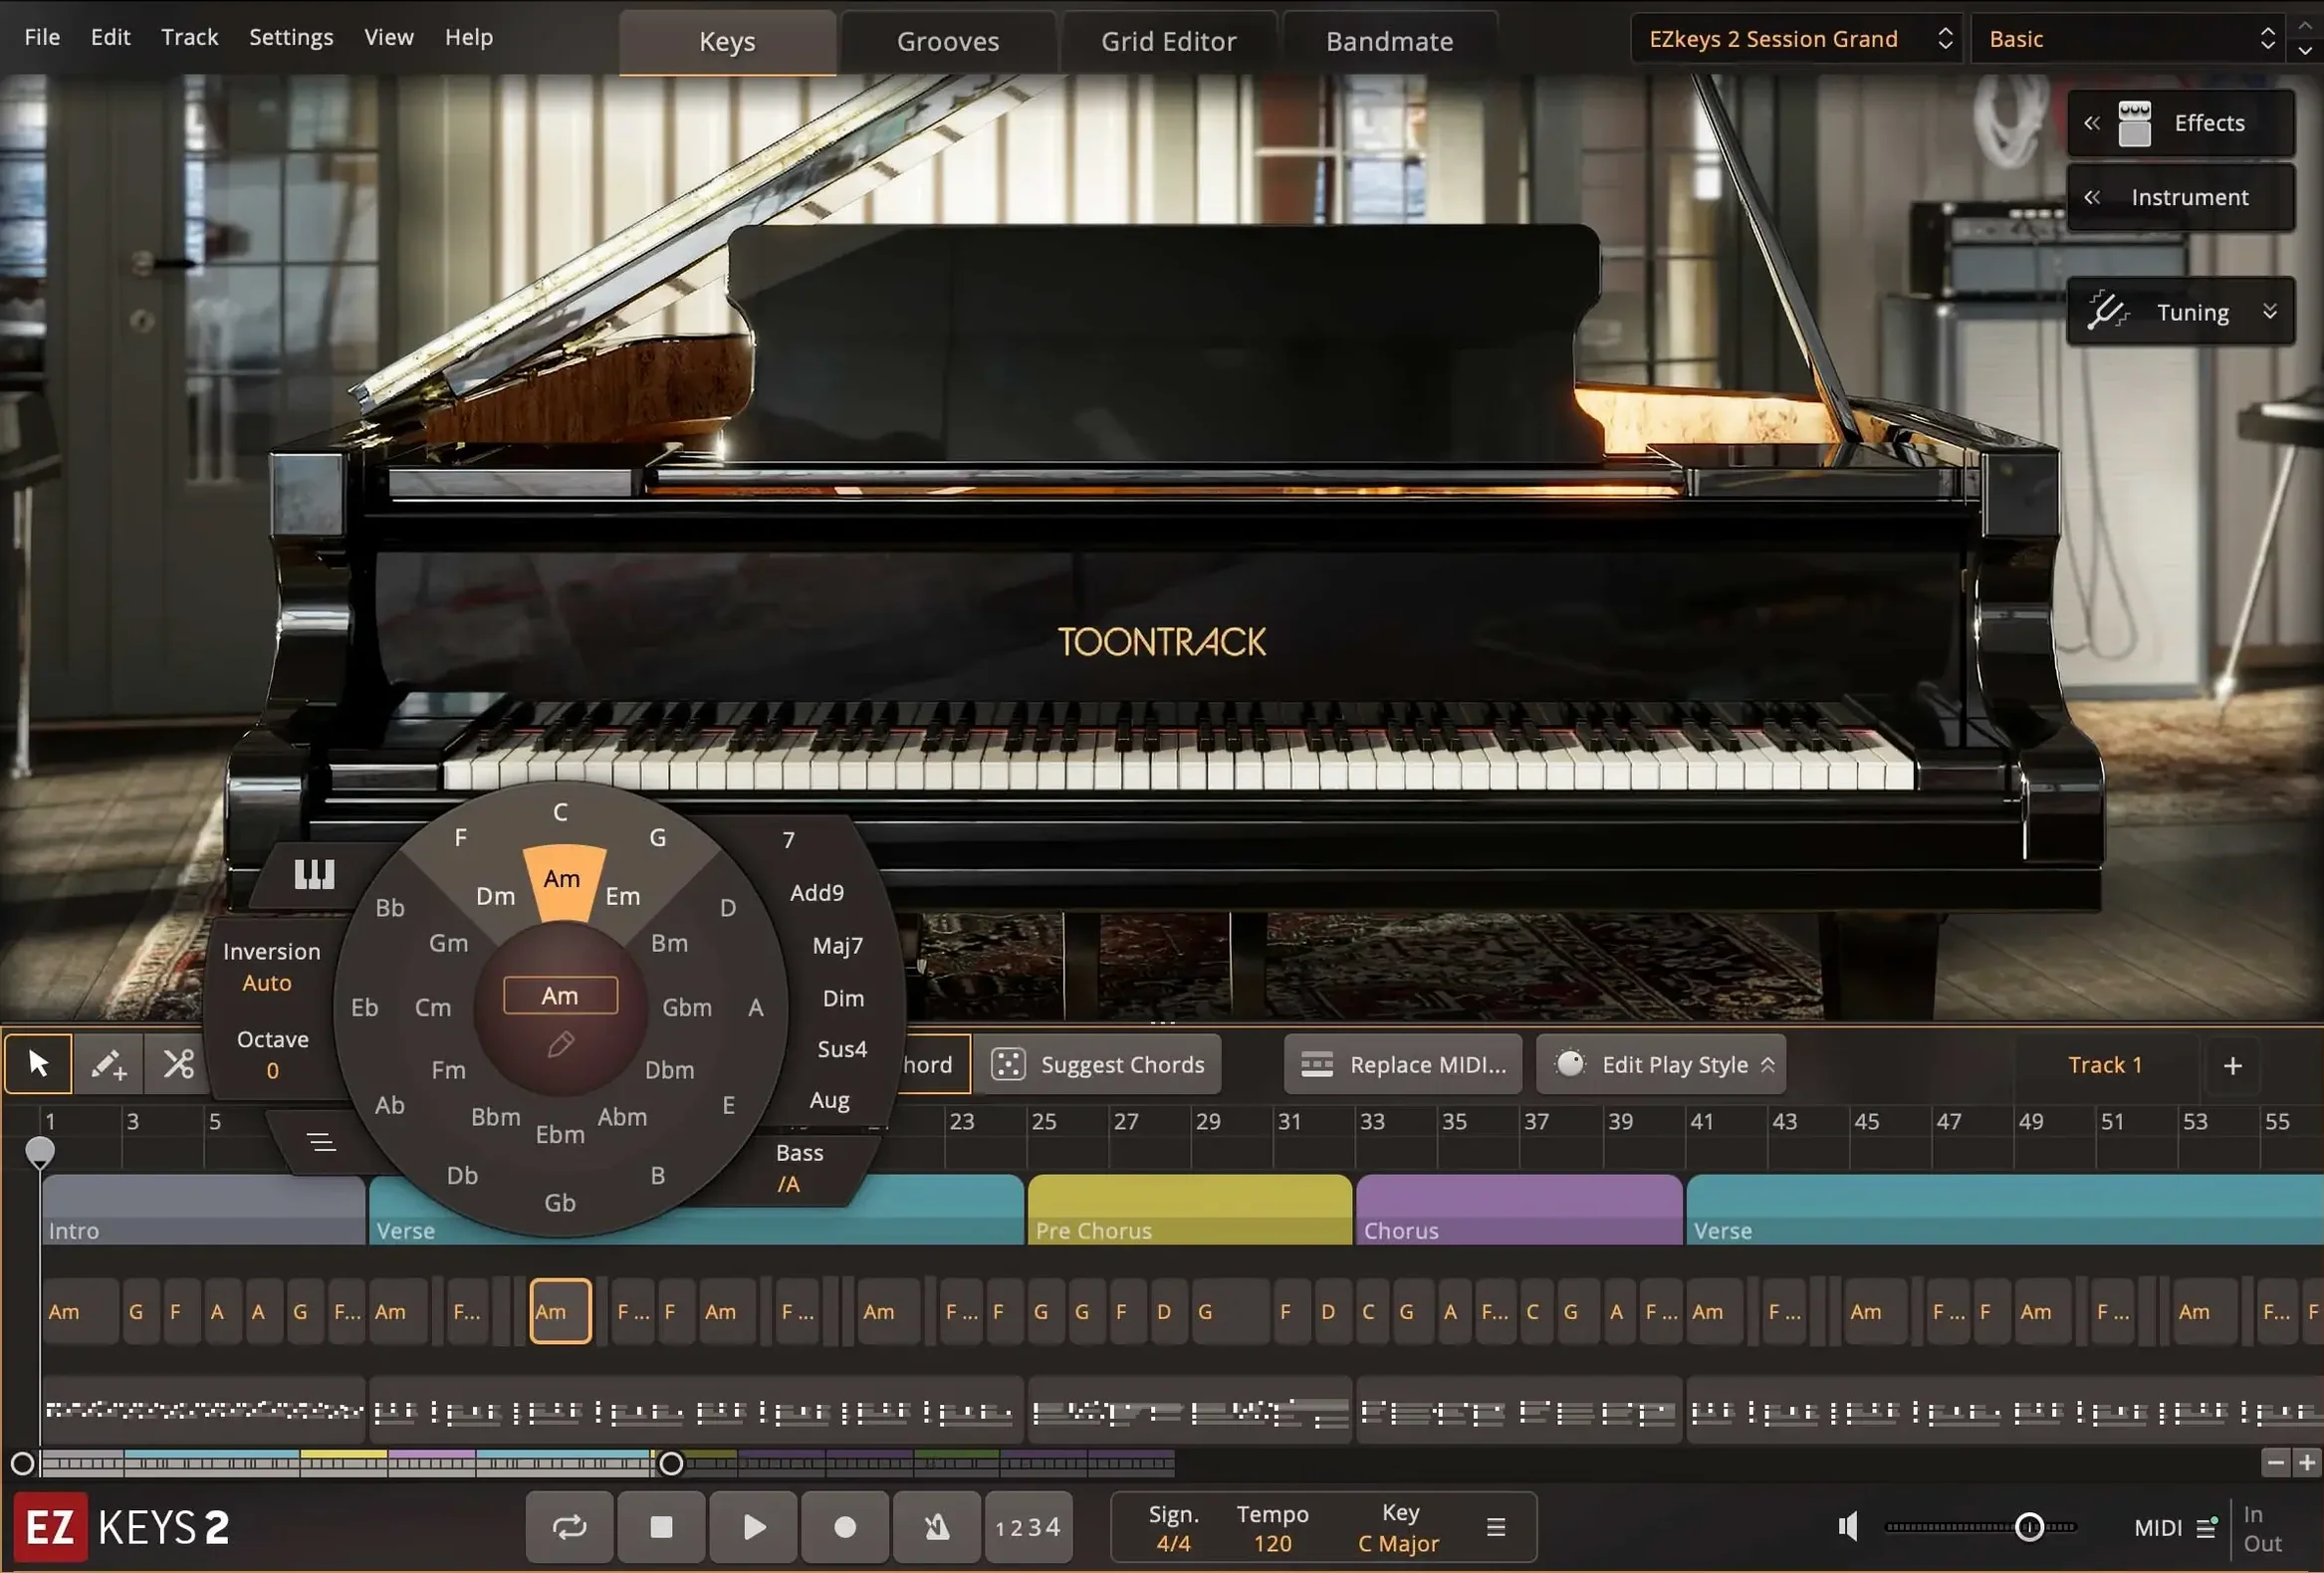
The problem EZkeys solves is simple: you want to play or program a piano part that sounds like a real instrument in a real room, without spending an hour on microphone placement or velocity layers. It is a plugin and standalone application that puts a Fazioli F212 grand piano — recorded at Riksmixningsverket in Stockholm — straight into your session.
Tracks
EZkeys runs as an AU plugin on a software instrument track. Its core sound library covers the grand piano with multiple microphones and ambiences, so you can dial in everything from a close jazz sound to a distant ballroom tail. The Chord Wheel and Tap2Find help you build progressions and find accompaniments from your own rhythm and note input.
Buses
You route the EZkeys track to a bus or aux for group processing — reverb, compression, or parallel saturation. The plugin handles polyphonic material well, and CPU performance has improved significantly on multi-core Macs, making it practical to run several instances on separate buses for layered keyboard parts.
Drag MIDI parts for songwriting, sketches, or film cues
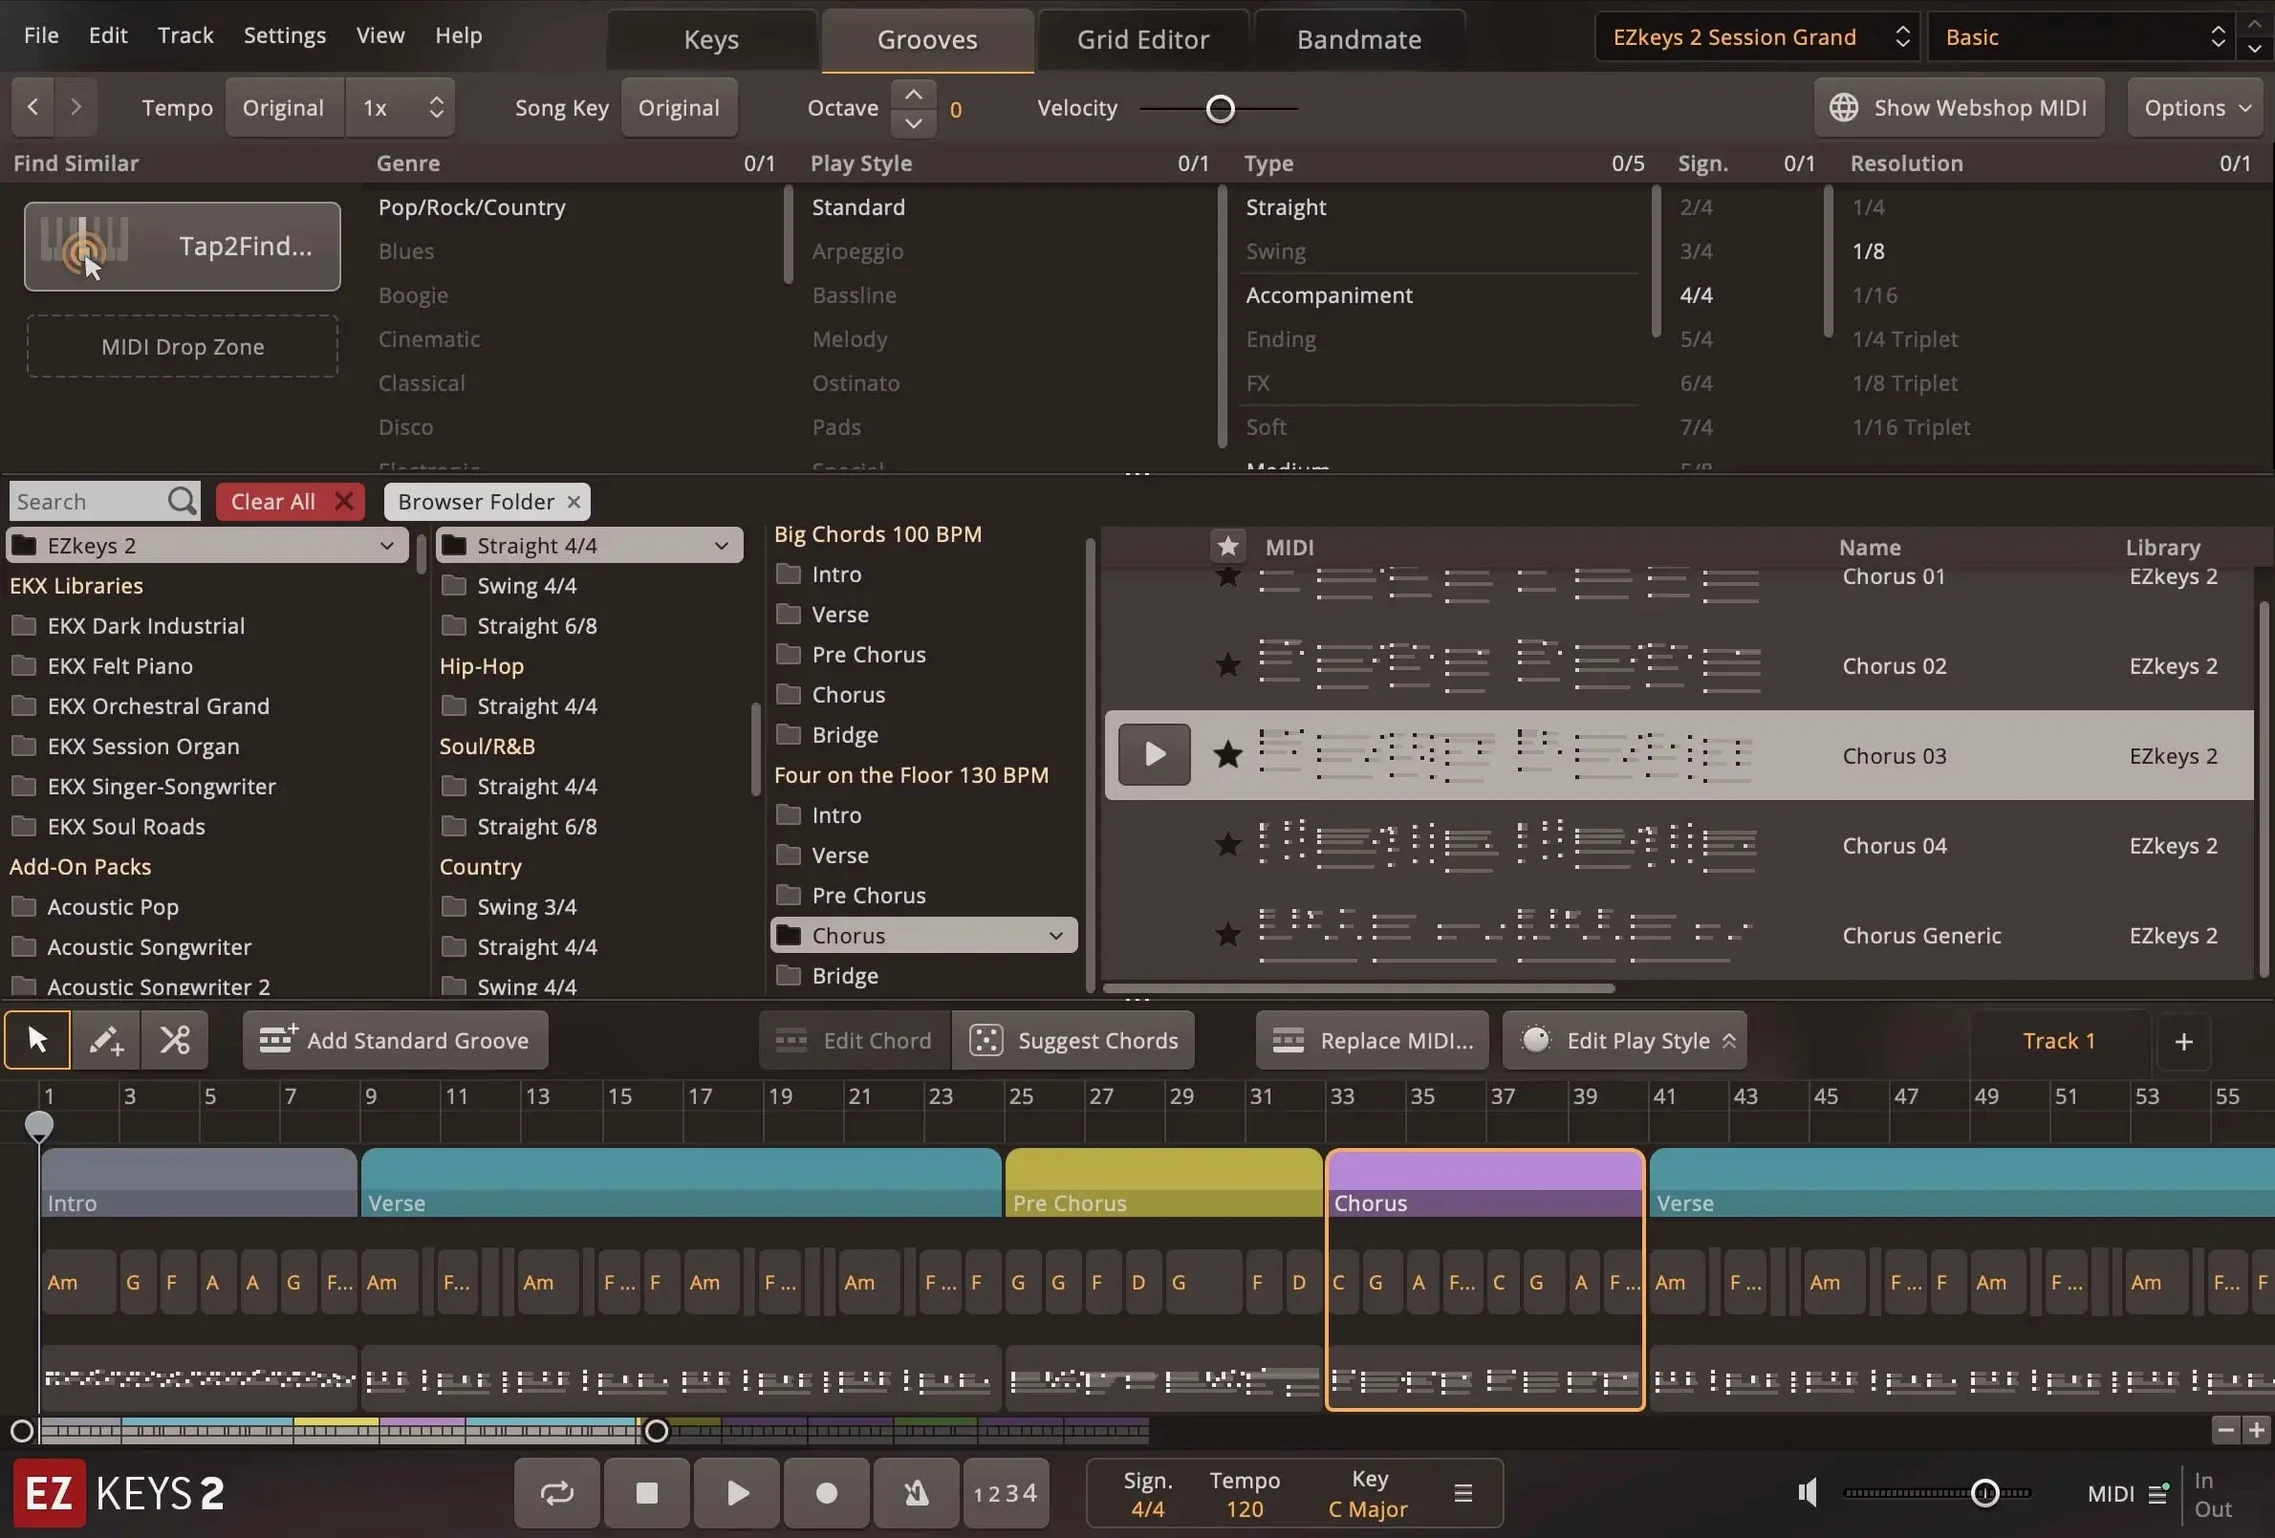
Songwriting is the obvious use: the MIDI library covers genres and playing styles, so you can drag parts into the arrangement and edit them. It also works for quick sketches, film cues, or any session where you need a credible piano sound without a pianist or a grand piano in the room.
Sketch standalone or insert as a plugin with the Fazioli preset
Open EZkeys as a standalone for sketching, or insert it as an instrument plugin on a track. I usually start with the browser open and the library view showing the grand piano presets. The Fazioli sits at the centre of most sessions, but I will occasionally load the String Machine or the new Transistor Organ EKX for contrast.
Once a sound is chosen, the Chord Wheel is the first thing I touch. Clicking chords builds a progression that the MIDI library can then interpret as a performance — the rhythm and feel come from the pattern you select, not from your own playing. For a verse that needs space, I pick a sparse, half-time groove; for a chorus lift, something busier with eighth-note movement.
Tap2Find gets used when I have a melody in my head but no clear chords under it. I tap a rhythm into the pad with the mouse or a controller, then hum or play a few notes on the keyboard. EZkeys suggests accompaniments that fit both the rhythm and the pitches. It is not a replacement for theory knowledge, but it saves time when you are stuck on a bridge transition.
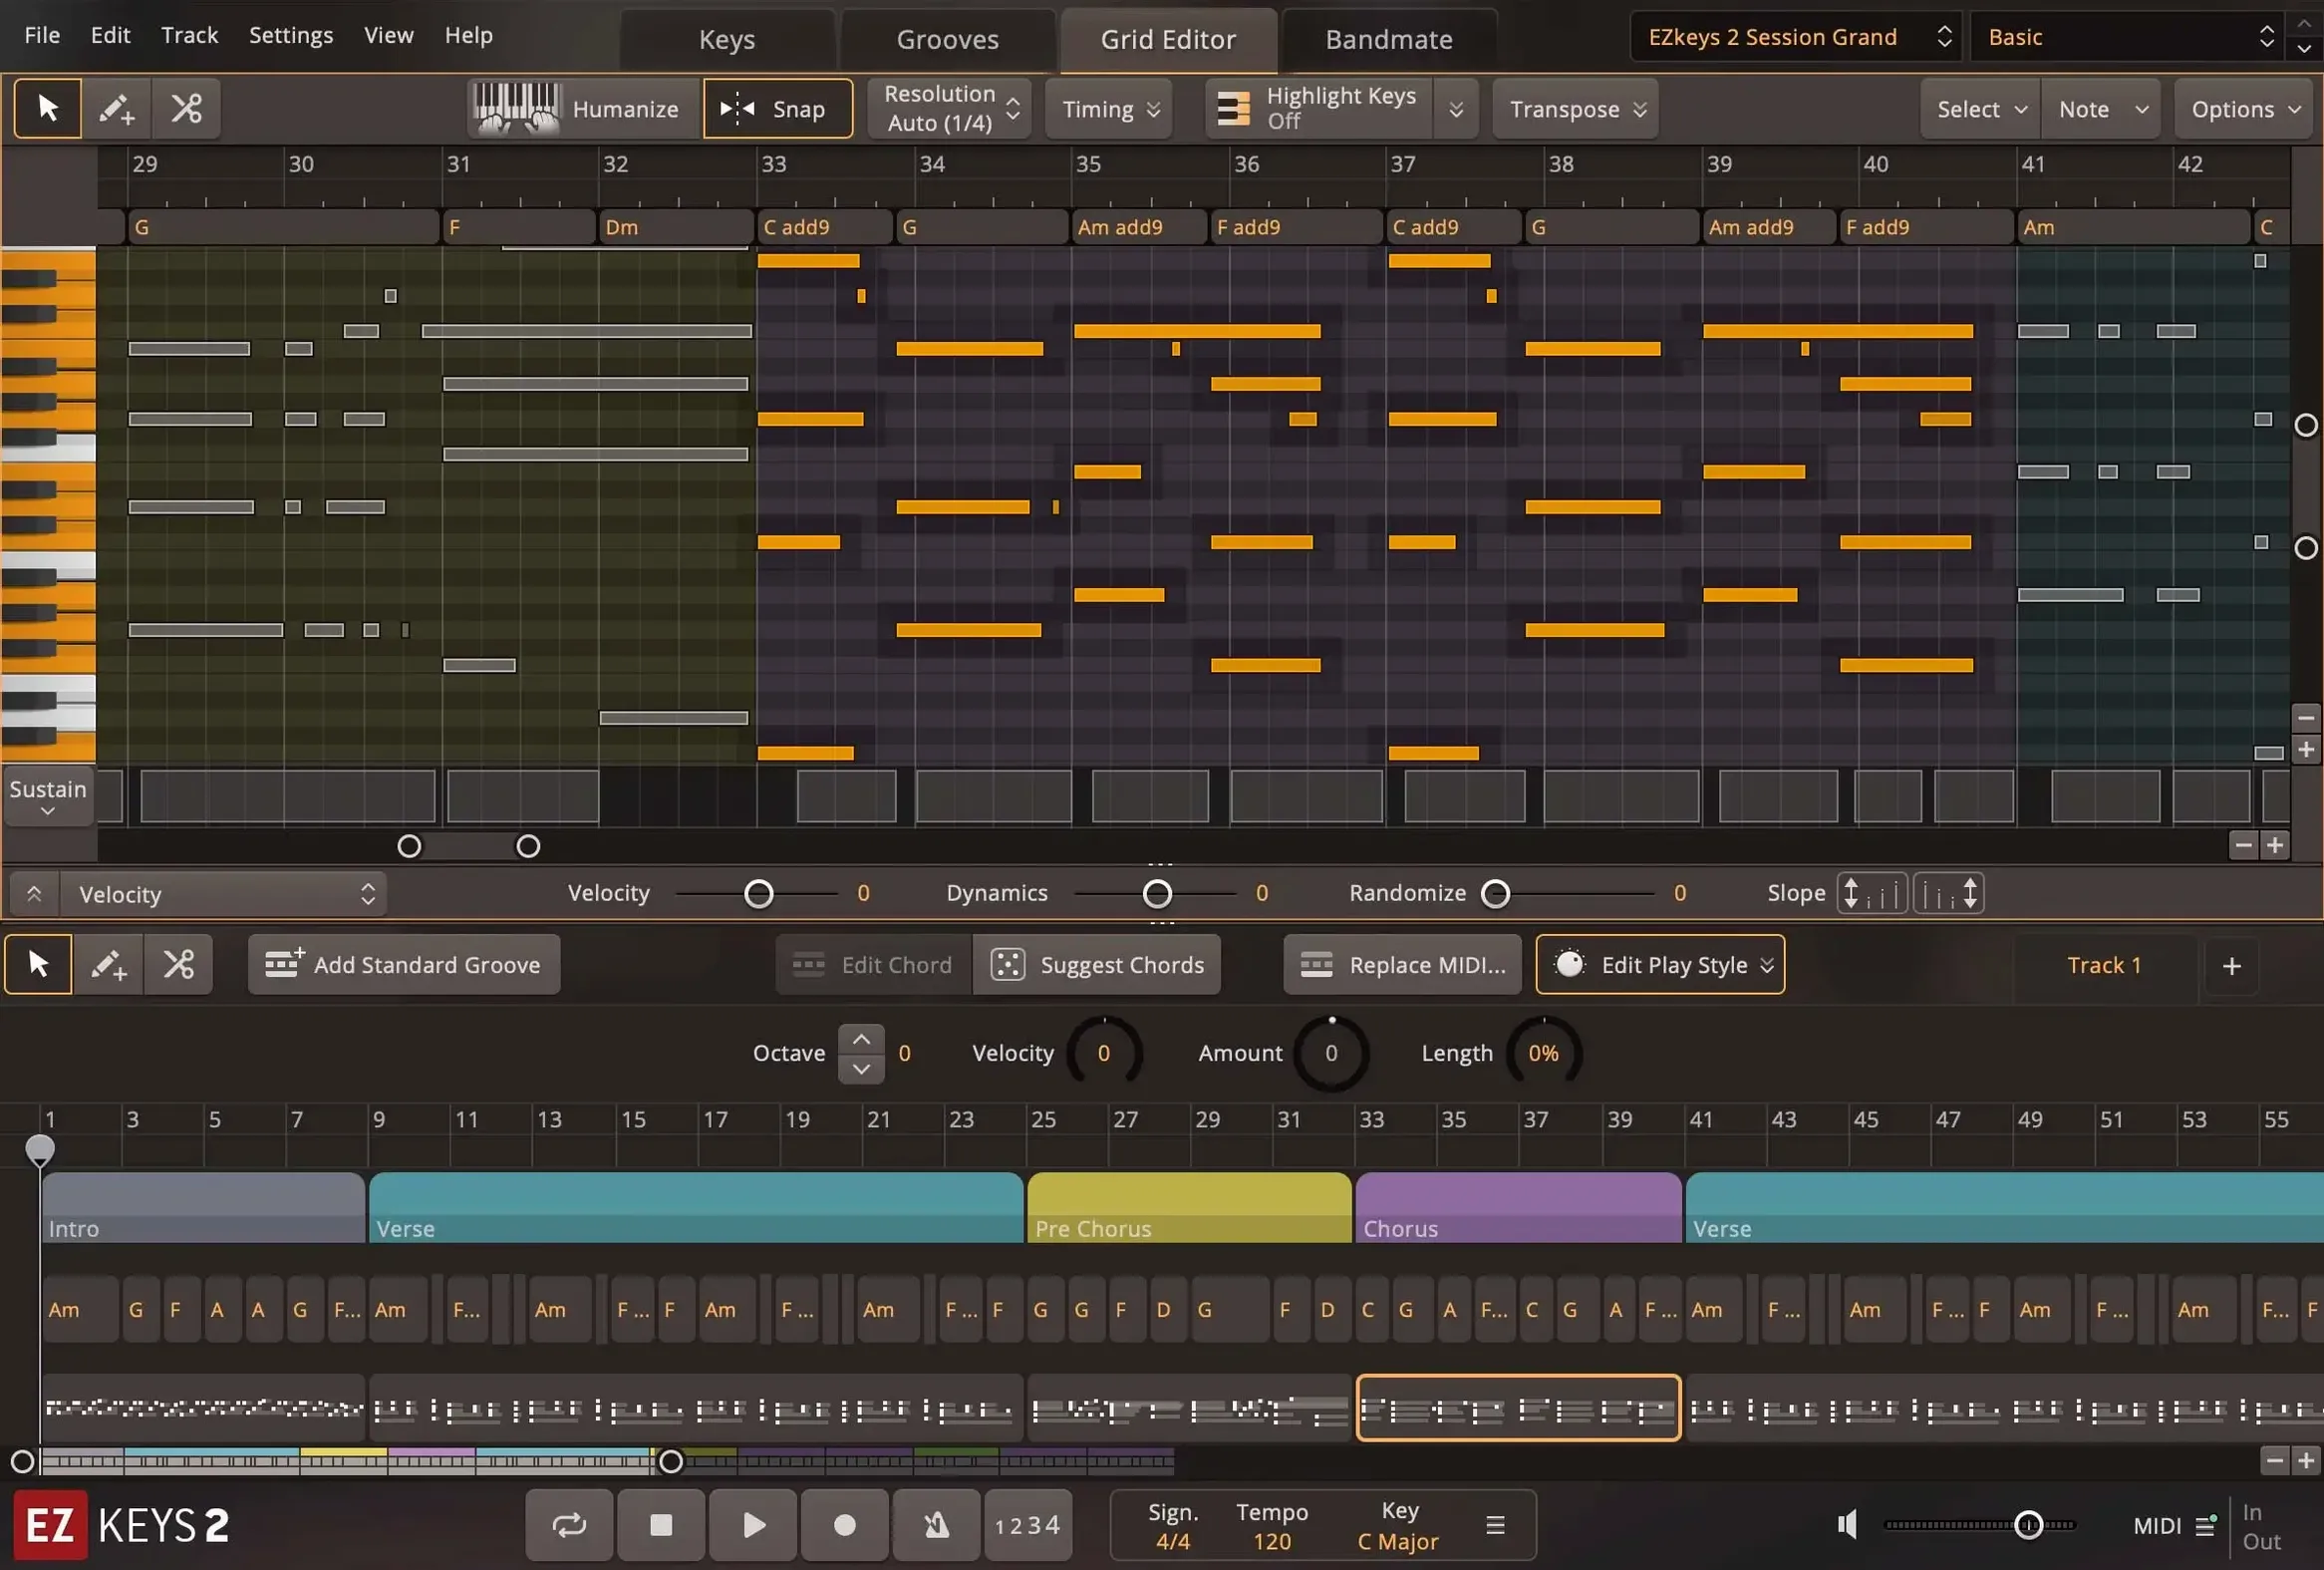
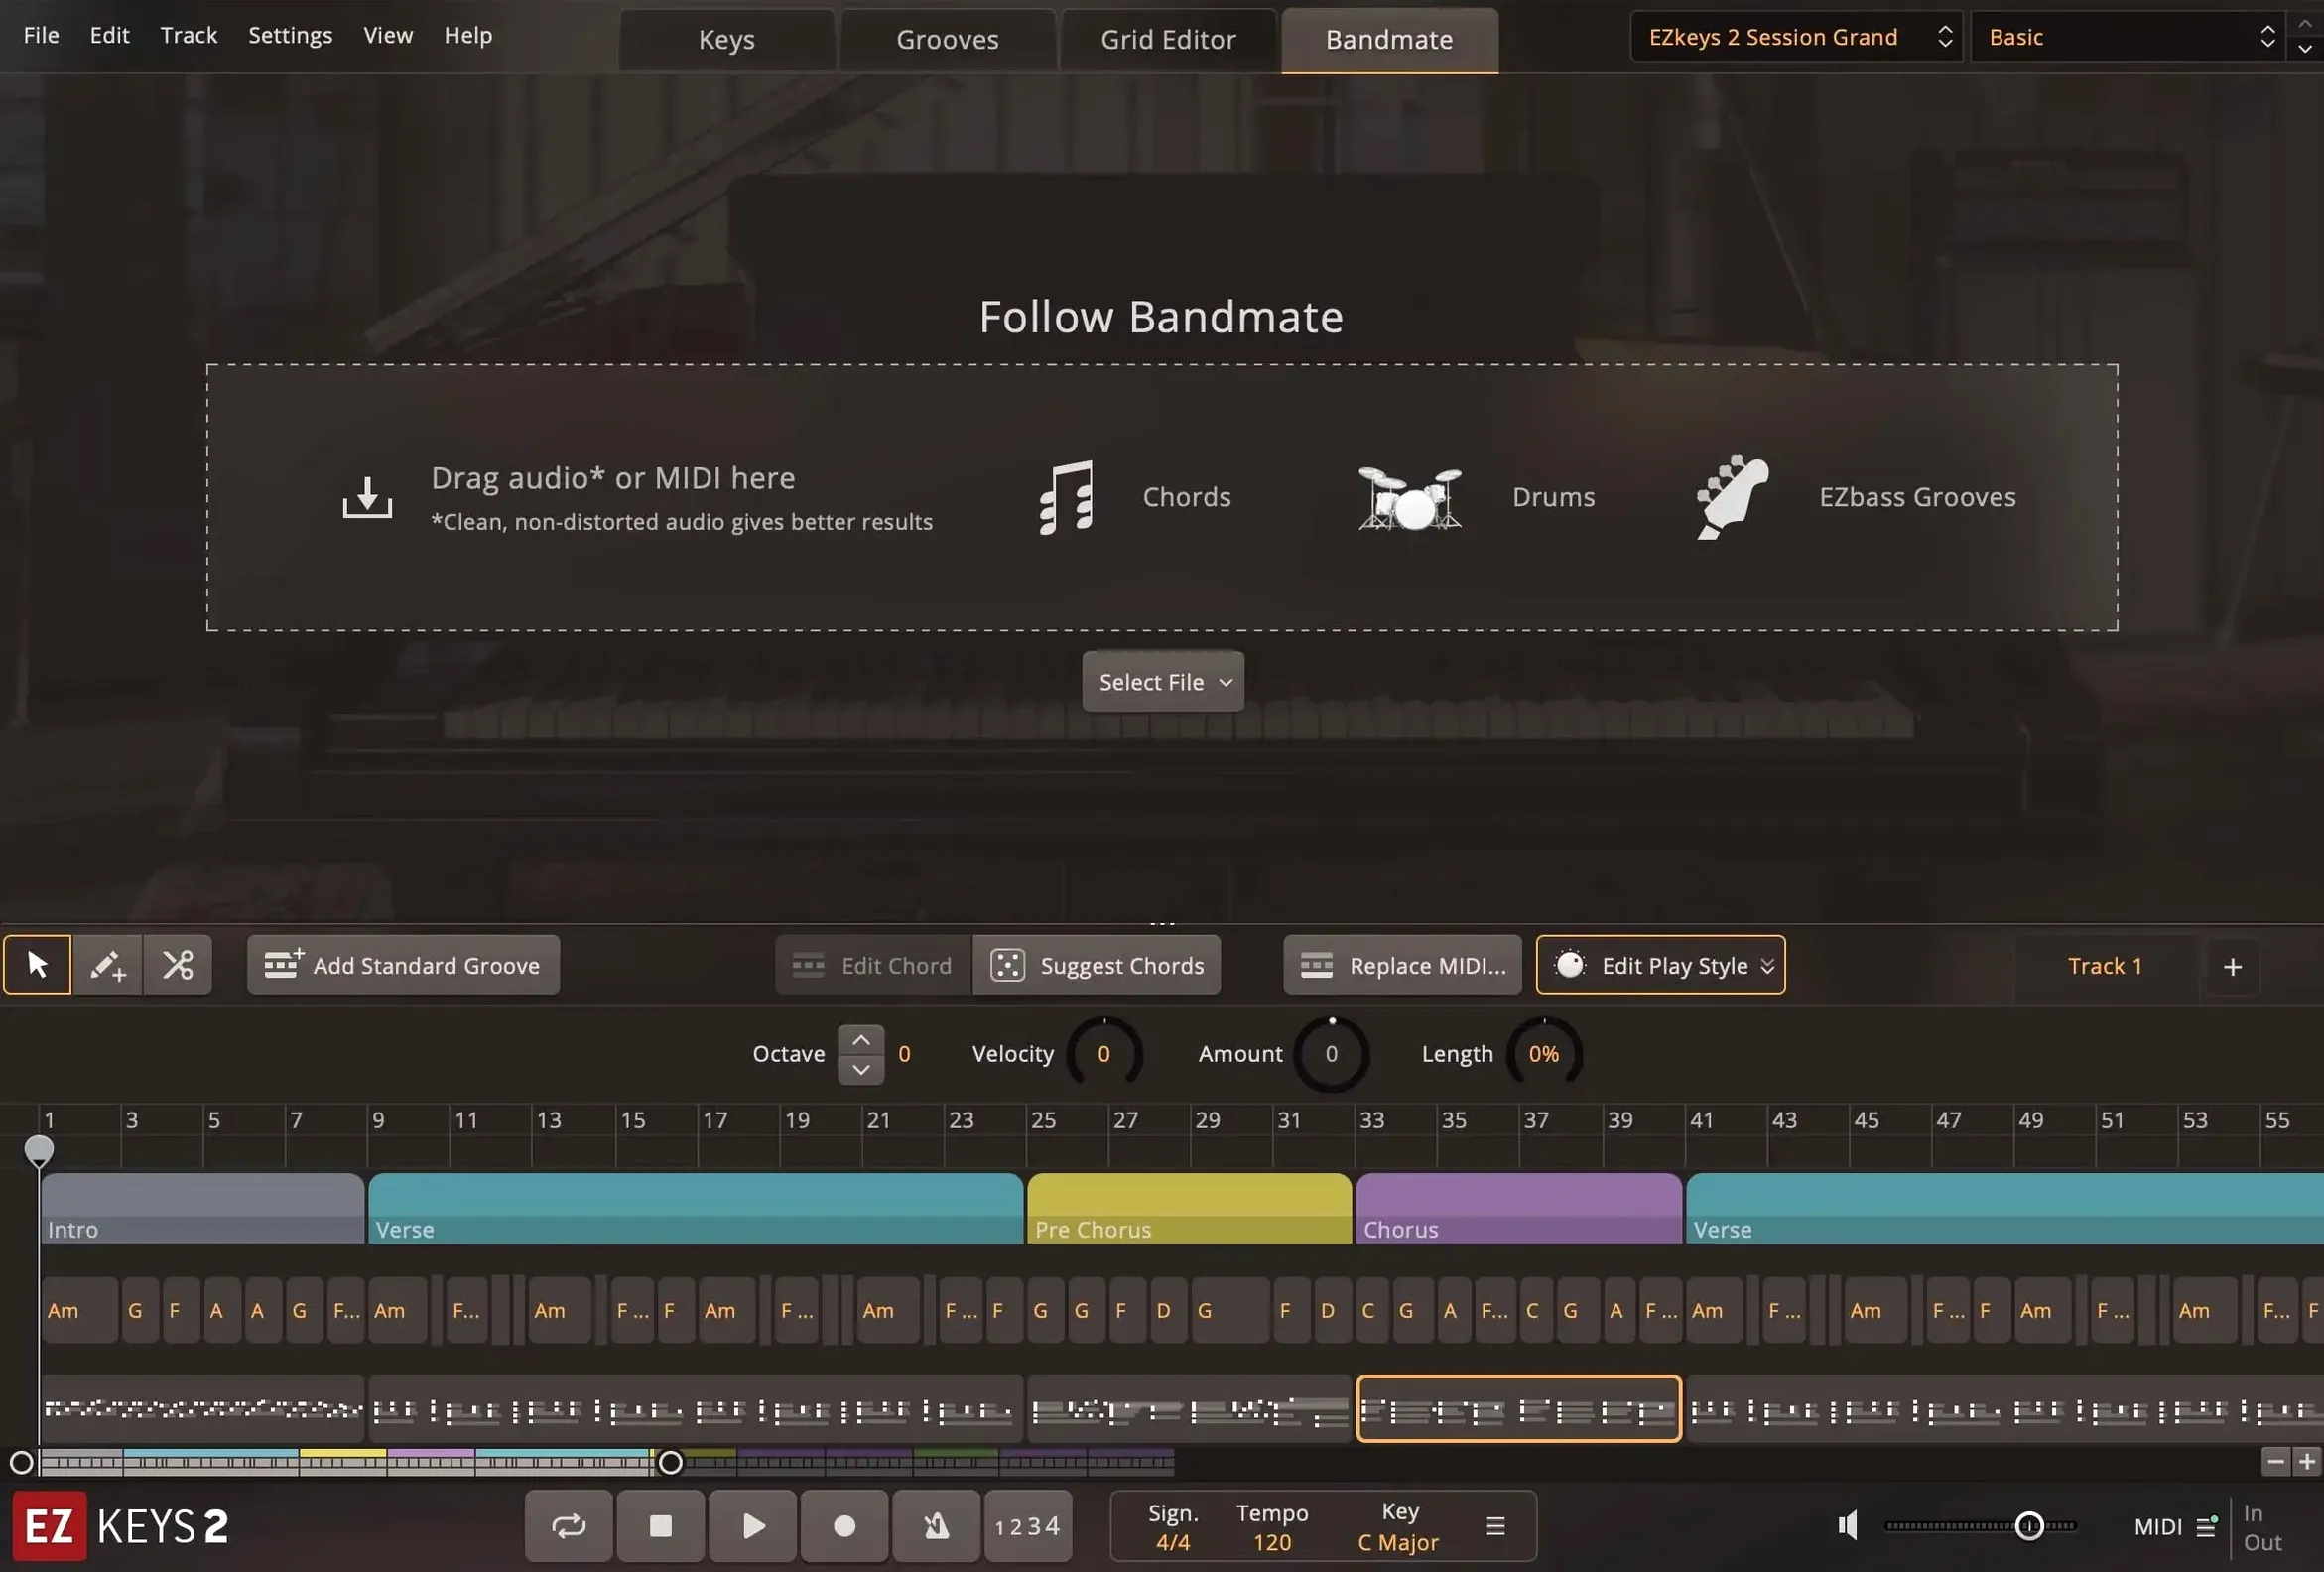
Bandmate is the tool I reach for when I have an audio file or a MIDI clip from another project. Drag it in, and the plugin generates chords and a groove that match the original. I then tweak the voicing and the feel using the MIDI editor inside the plugin — the piano roll is clear enough that I can move notes, adjust velocities, and change the length of held chords without going back to the DAW's own editor.
The arrangement view in the standalone version lets me build a song structure directly. Sections are labelled verse, chorus, bridge, and I drag MIDI parts between them. Once the structure feels right, I export the MIDI or record the audio into my DAW for mixing.
Audition mic positions for a dry or balanced piano sound
The default sound is the grand piano with a balanced room mic blend. Before you do anything else, audition the microphone positions — the close mics give a dryer, more intimate sound that sits well in a busy mix, while the ambience options push the piano back into the stereo field. Make a mental note of which ones work for your typical material.
MIDI packs from the EZkeys library are worth browsing early. The factory set covers many styles, but the genre-specific packs offer articulations and phrases that the core library only hints at. You can preview them in the browser without loading a full track.
The interface is resizable, so set the window to a size that works with your screen. On a smaller display, keep the browser pane collapsed when you are not browsing sounds. On a larger monitor, expand the piano roll view so you can see several bars of MIDI data at once.
If you work with multiple instances of EZkeys in a single project — for layered electric and acoustic pianos, for example — keep an eye on the MIDI channel routing. Each instance responds to a different channel unless you set them to omni mode. The CPU improvements in version 2.1.5 help here, but sensible voice counts are still a good idea.
Set MIDI input and confirm Tap2Find accuracy
The plugin's preferences are minimal, but a few adjustments make the first sessions smoother. Set the MIDI input to your controller if it is not detected automatically. The Tap2Find feature relies on accurate note input, so confirm that your keyboard's velocity curve is not flattening everything to the same level.
In the standalone version, check the audio output device and the sample rate. If you are running at 44.1 kHz and your interface supports 48 kHz, the difference is small, but staying consistent with your DAW's project settings avoids resampling when you transfer files later.
The default MIDI library browser shows all available packs. I find it easier to mark favourites for the packs I use regularly — the filter then hides the rest, and browsing becomes faster. You can do this from the browser menu.
If you plan to use Bandmate with audio files, set your system's audio input to the same interface you use for recording. The feature analyses the incoming audio, so a clean signal path gives better results. A quick test with a simple piano and vocal recording will tell you whether the generated chords match your song's harmony.
Changes in this build
Before it goes on the Mac
- macOS 10.13 or later
- Intel or Apple Silicon processor
- Interface language: English
Questions from the room
Can I use EZkeys 1 MIDI packs with EZkeys 2?
Yes, EZkeys MIDI packs require a working installation of EZkeys 1 or EZkeys 2, so your existing library works with the newer version.
Installing it on the Mac
Notes from the control room
Sign in or open a catalogue account to leave a note.
No notes from the room yet. If you have used this build for a week, a short note helps the next person.
Also filed under Logic Pro Plugins
The whole Logic Pro Plugins rack Toontrack EZmix Bundle3.2.2 Logic Pro Plugins 977 MB
 Tone Empire EDYN1.0.2 Logic Pro Plugins 198 MB
 Tsuga Audio MoonBass1.0.0 Logic Pro Plugins 7 MB
 uJAM Cinedream1.0.1 Logic Pro Plugins 3.5 GB
 UJAM Symphonic Elements STRIIIINGS1.3.1 Logic Pro Plugins 4.4 GB
 Synapse Audio The Legend HZ v2.0.2.R12.1 Logic Pro Plugins 472 MB
 UnderTone Audio UnFairchild1.0.8 Logic Pro Plugins 220 MB
 Supertone Air1.0.1 Logic Pro Plugins 408 MB