
Home › Logic Pro Plugins › Serato Sample

Serato Sample 2.2.0 (Mac)
Updated
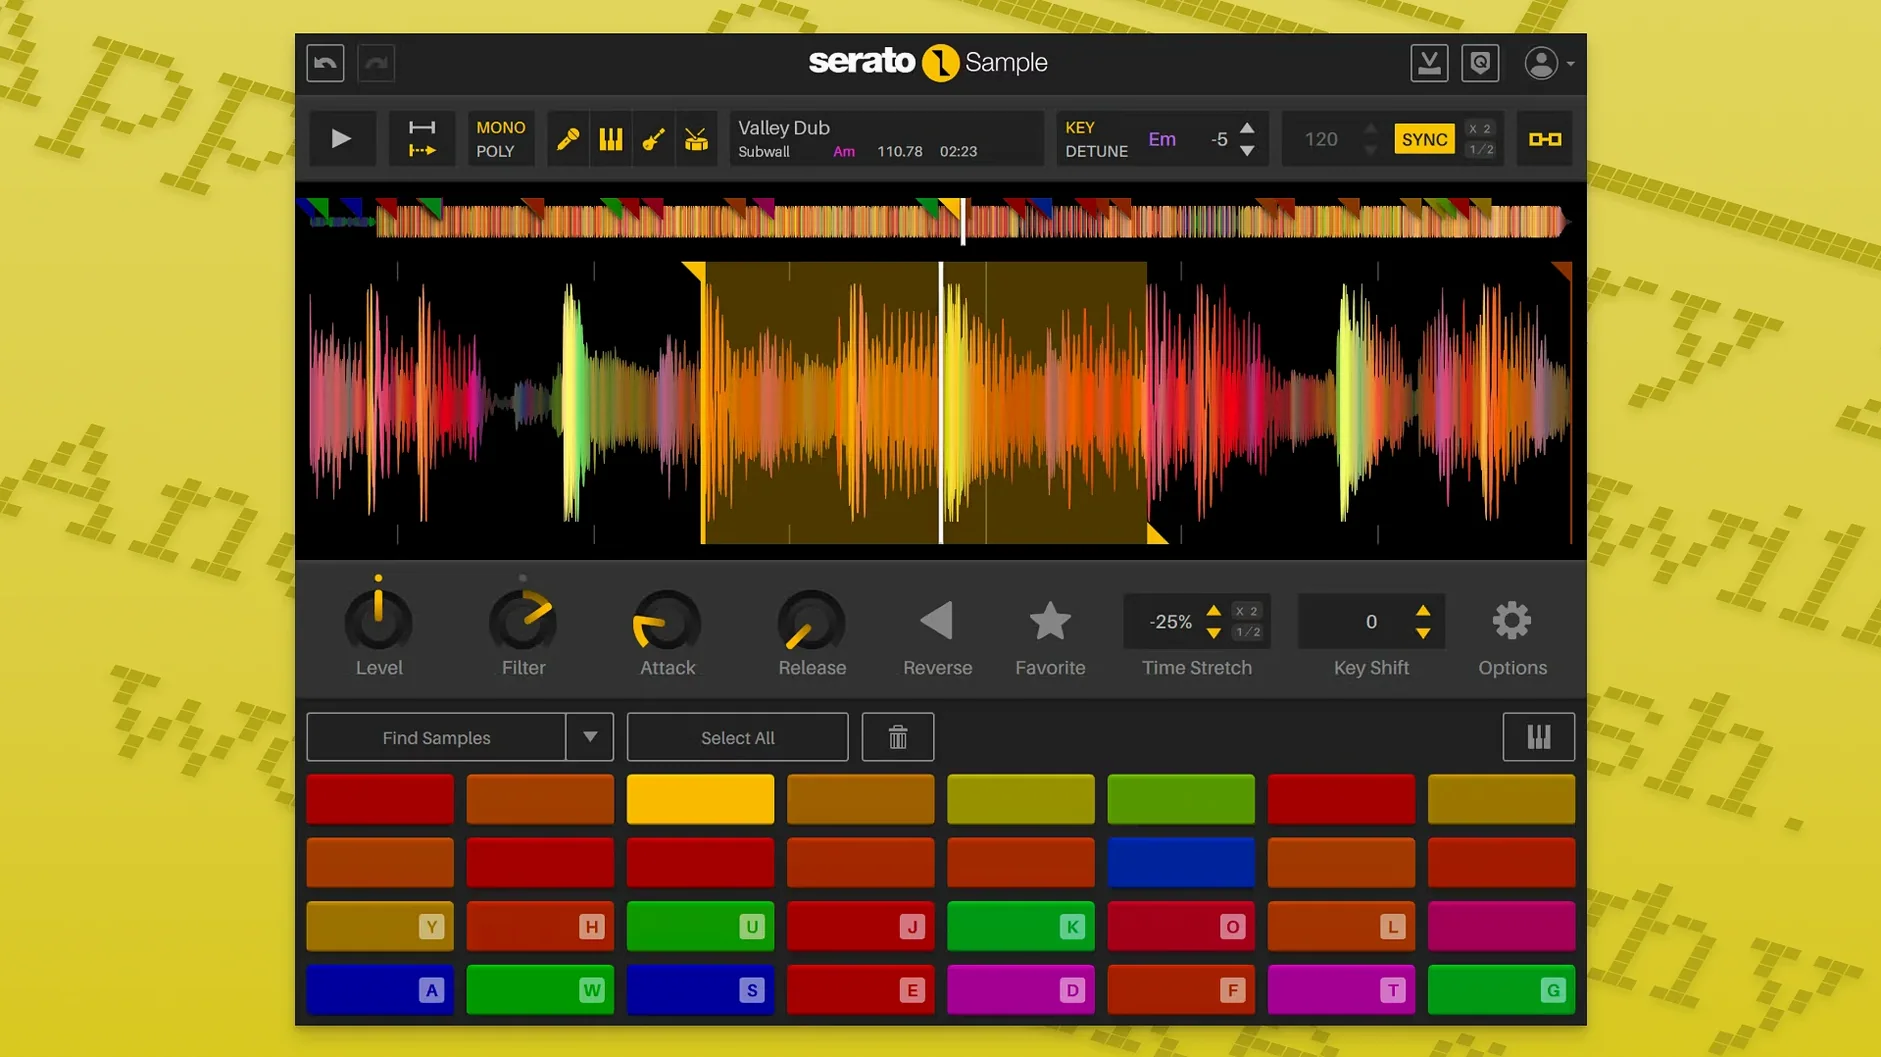

The catalogue note
Chopping samples usually means losing time to manual warping and key matching. Serato Sample 2.2.0 is built to cut that down: drop a loop in, let it detect tempo and key automatically, and align it to your project. The stem separation from Serato Stems goes further, isolating acapella, melody, bass, and drums so you can work with the parts you actually want.
Before installing, people ask what formats it runs in. The plugin supports VST, VST3, AU, and AAX, so it slots into Logic, Ableton, Pro Tools, and most other hosts. It runs on both Intel and Apple Silicon Macs, with a 64-bit ARM build for the newer hardware. The interface is in English, and the current version adds individual stem level controls plus host automation for stem on/off and levels.
Keyboard Mode is worth knowing about if you like playing samples chromatically across a controller. And the one-click cut, align, and isolate actions mean most of the editing happens before you touch a fader. macOS Tahoe is supported, as is AlphaTheta SLAB hardware.
Runs on macOS 11 Big Sur or later, Intel and Apple Silicon
Serato Sample 2.2.0 does not demand a specific machine. The requirement is macOS 11 Big Sur or later, which covers the last several major macOS releases including Tahoe. Both Intel and Apple Silicon architectures are supported, so whether you run a 64-bit Intel Mac or an ARM-based one, the plugin installs the correct binary.
The installer comes as a standard disk image. You open it and run the installation procedure. No extra background services or separate app launchers are involved. The plugin registers itself with your DAW's plugin scan path, and that is it.
Because it is a sampler plugin, it loads into your host like any other instrument. The CPU and memory footprint depends on the sample length and the number of stems you separate. Shorter loops with two or three stems use less resources than full 4-stem separation of a long file. The host automation parameters — Stem On and Stem Levels — add a small overhead when automated heavily, but nothing a modern Mac would notice.
The build is 64-bit only. If you still run a 32-bit host under Rosetta on older Intel Macs, this plugin will not appear. Most current DAWs are 64-bit anyway, so this is rarely a limitation.
Drag a 90-second soul record, get instant tempo and key detection
Tuesday evening. I have a new Ableton project open, tempo set to 128 BPM. I drag a 90-second soul record from my desktop into the Serato Sample plugin window.
The plugin analyses the sample. Within a few seconds the detected BPM — 94, unquantised — displays. The key shows as E minor. I click the sync button, and the waveform snaps to a beatgrid that matches my project tempo. The original tempo's swing is preserved because the beatgrid follows the sample's transients, not a rigid grid.
I want only the vocal phrase and the bassline. I click the stem separation button. After a short process, the plugin shows four stems: vocal, drums, bass, melody. I mute the drums and melody stems by clicking their on/off buttons. I adjust the vocal stem level up by 3 dB and the bass stem level down by 2 dB using the new individual level controls added in version 2.2.0.
Now I enable Keyboard Mode on my MIDI controller. The sample plays chromatically across the keyboard, with the pitch-shifting handled by Pitch 'n Time. I record a short melodic phrase into a MIDI clip. The plugin's MIDI output goes to a new track, and I can edit the notes in the piano roll.
I automate the Stem On parameter for the vocal stem so it only plays during the chorus section. The host DAW writes the automation lane. The stem fades in and out per my arrangement. I move on to the next track.
What a full session might look like
Start the DAW. Create an instrument track. Load Serato Sample as the plugin. Drag a sample in. Let it detect tempo and key. Sync the beatgrid. Separate stems if needed. Play the sample from the mouse or keyboard. Record MIDI. Adjust stem levels. Automate stem on/off. Export or bounce the track with the processed sample. This whole workflow takes a few minutes once you know the plugin's layout.
Works with Logic Pro, Cubase, Studio One, Pro Tools, and offline
Does it work with Logic Pro? Yes, the AU format covers Logic and any AU-compatible host. VST3 works in Cubase, Studio One, and others. AAX covers Pro Tools.
Can I use it without an internet connection? The plugin does not require a constant internet connection. Stem separation runs locally on your machine. The only online interaction is the initial download and installation, and any future updates.
Will it work on my 2017 iMac? If that iMac runs macOS 11 or later, yes. The Intel build covers older Macs. The ARM build is for Apple Silicon models. Both are included in the same installer, so the correct one activates automatically.
How do I separate stems for a whole song? You drag the full audio file into the plugin. The stem separation processes the entire sample at once. You then adjust the four stem levels independently. For very long files, separation takes longer, but it processes the whole sample, not just the first loop slice.
Can I save the separated stems as audio files? The plugin outputs stems as separate audio streams within your DAW. You can bounce each stem to audio tracks or export them from your host. The plugin itself does not include a separate export function; that happens at the DAW level.
What if my sample is not quantised? The beatgrid system handles unquantised samples. It detects the sample's natural transients and creates a grid that follows them. You can then sync that grid to your project tempo without losing the original feel.
Does it work with Serato Stems separately? The stem separation in Serato Sample uses the same engine as Serato Stems. You do not need to install a separate app. It is built in.
Relying on detection alone skipping manual slice adjustments
Not syncing the beatgrid before separating stems
Stem separation works on the raw sample. If you separate stems before syncing the beatgrid, the stems will remain at the original tempo and not align to your project. Always click the sync button first. The beatgrid snap happens before the stem processing, so the separated parts come out already tempo-matched.
Forgetting to enable Keyboard Mode before playing
Beginners often drag a sample in, see the waveform, and start clicking the mouse to trigger sounds. That works for playback. But if you want to play the sample chromatically across a keyboard, you need to enable Keyboard Mode first. Without it, the MIDI controller plays a single note or nothing at all. The mode switch is obvious once you know where it is, but it is easy to miss on the first session.
Assuming all stems are equally loud
The four stems — vocal, drums, bass, melody — come out of separation at different levels depending on the source material. A drum-heavy loop might have the drum stem peaking while the melody stem is quiet. Beginners often wonder why one stem sounds weak. The individual level controls in version 2.2.0 are there to balance them. Use them. Do not try to compensate with the master output gain alone.
Overlooking the automation parameters
Stem On and Stem Levels can be automated by the host DAW. Beginners tend to draw automation lanes for volume or mute on the track itself, which defeats the point of the plugin's internal control. Automating the plugin's own parameters gives you finer control, especially when you want one stem to fade in while another cuts out at the same moment. The automation is smoother and more predictable.
Not checking the key after syncing
Automatic key detection works on most samples, but it is based on the sample's harmonic content at the start. If the sample has a key change or ambiguous tonality, the detected key might be off. Beginners trust the detection without checking. A quick listen to the sample against a reference note saves you from building a track around the wrong key.
Forgetting to save the sample inside the plugin
When you close the DAW project, Serato Sample saves its state with the project file. But if you drag a sample in and later move or delete that audio file on your hard drive, the plugin loses the pointer to it. Keep your source samples in a dedicated folder. Alternatively, let the plugin embed a copy of the sample if your DAW supports that feature. Relying on external file paths is risky after a clean-out session.
These are small things. A few sessions with the plugin and they become automatic. The main advantage of Serato Sample is that it reduces the steps between finding a sound and using it in a track. The common mistakes are mostly about the order in which you do those steps.
System-wise, macOS 11 Big Sur or later is the requirement. No exotic setup, just a standard disk image and installer.
Changes in this build
- Stem levels can be adjusted individually.
- Stem On and Stem Levels can be automated by the host DAW.
- Support for AlphaTheta SLAB was added.
- Mouse wheel scrolling works on parameters when hovered.
- Support for macOS Tahoe was added.
Before it goes on the Mac
- macOS 11 Big Sur or later
- Intel or Apple Silicon
Questions from the room
Does Serato Sample 2.2.0 work on Apple Silicon Macs?
Yes, it ships as a 64-bit ARM build and also supports Intel Macs.
Installing it on the Mac
- Open the downloaded disk image.
- Run the standard installation procedure.
Notes from the control room
Sign in or open a catalogue account to leave a note.
No notes from the room yet. If you have used this build for a week, a short note helps the next person.
Also filed under Logic Pro Plugins
The whole Logic Pro Plugins rack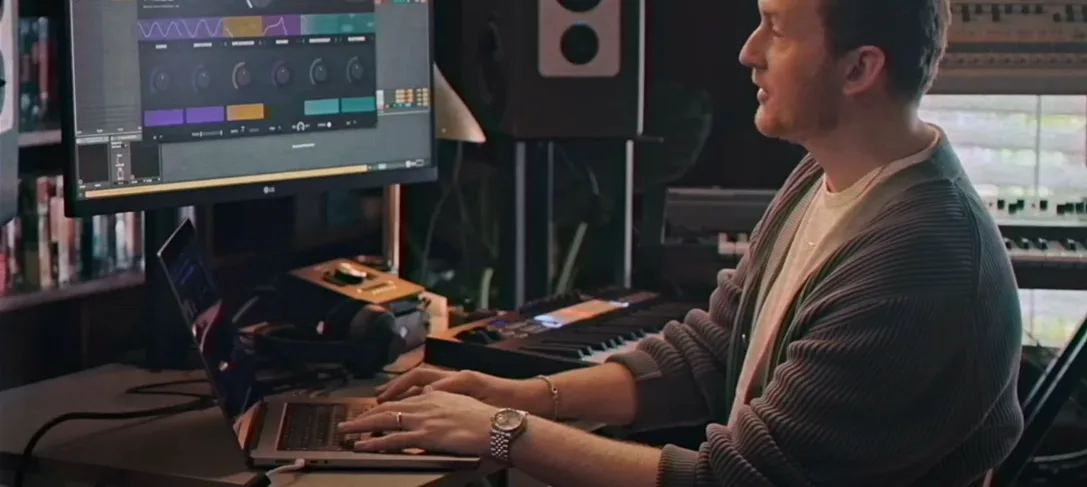 Serato Hex FX1.2.0 Logic Pro Plugins 105 MB
 Scaler 33.3.2 Logic Pro Plugins 1.4 GB
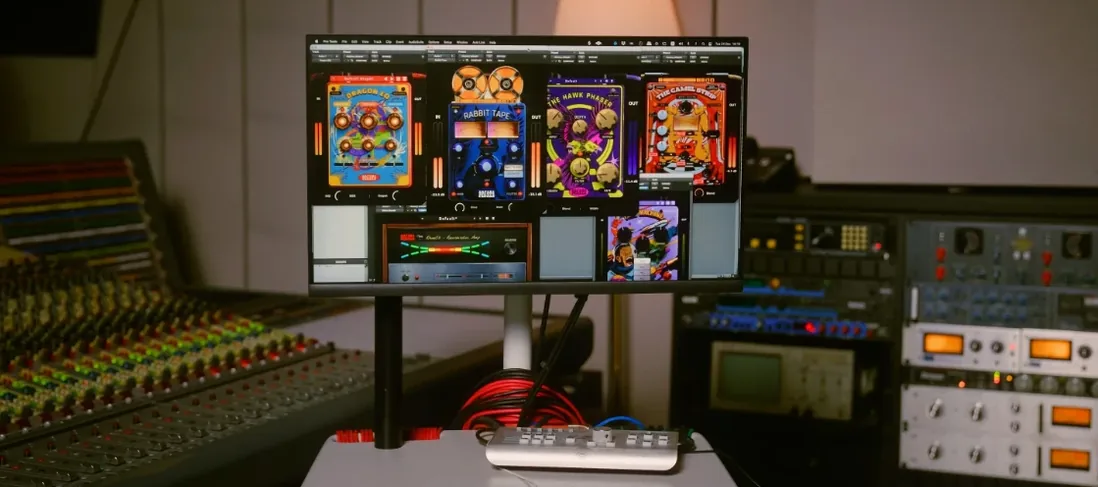 Safari Pedals Everything Bundle2026.05 Logic Pro Plugins 628 MB
 Slate Digital Fresh Air1.0.9 Logic Pro Plugins 40 MB
 Slate Digital Murda Melodies1.1.1 Logic Pro Plugins 179 MB
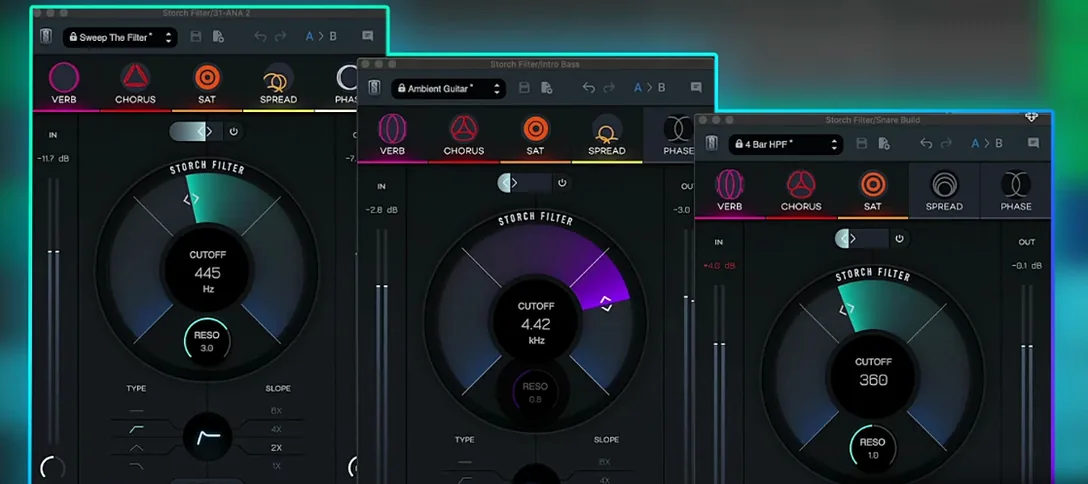 Slate Digital Storch Filter1.0.6 Logic Pro Plugins 69 MB
 Roland ZENOLOGY Pro2.0.7 Logic Pro Plugins 1.8 GB
 Roland Cloud Legendary Series2025.06.29 Logic Pro Plugins 1.3 GB