Audio Hijack 4.6.0 (Mac)
Updated
The catalogue note
Audio Hijack 4.6.0 now supports MacOS 27 (Golden Gate) and updates the Whisper.cpp backend to 1.9.2, which brings a Recommended transcription model to the built-in Transcribe block. The rest of the app stays focused on what it has always done well: recording and processing audio from nearly any source on your Mac.
Chain processing blocks like a hardware rack
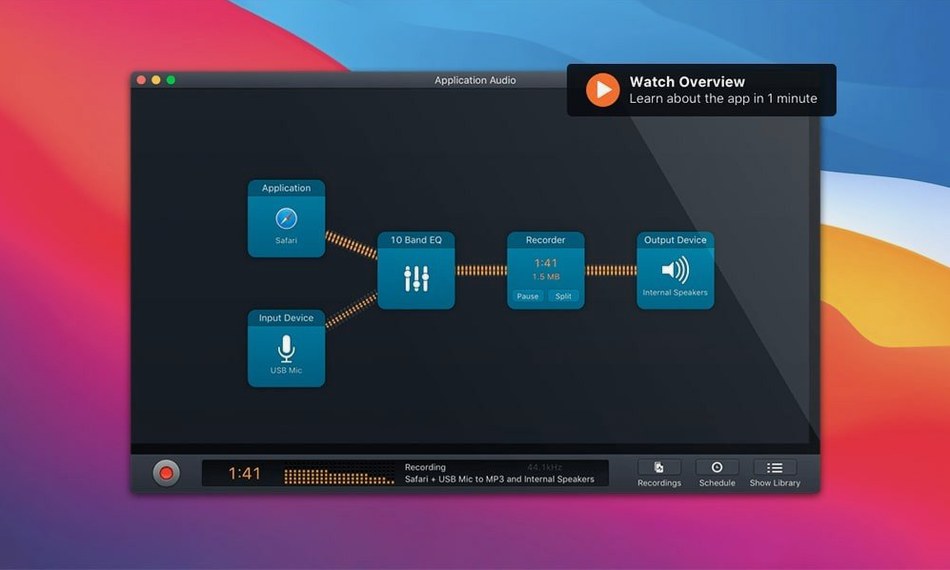
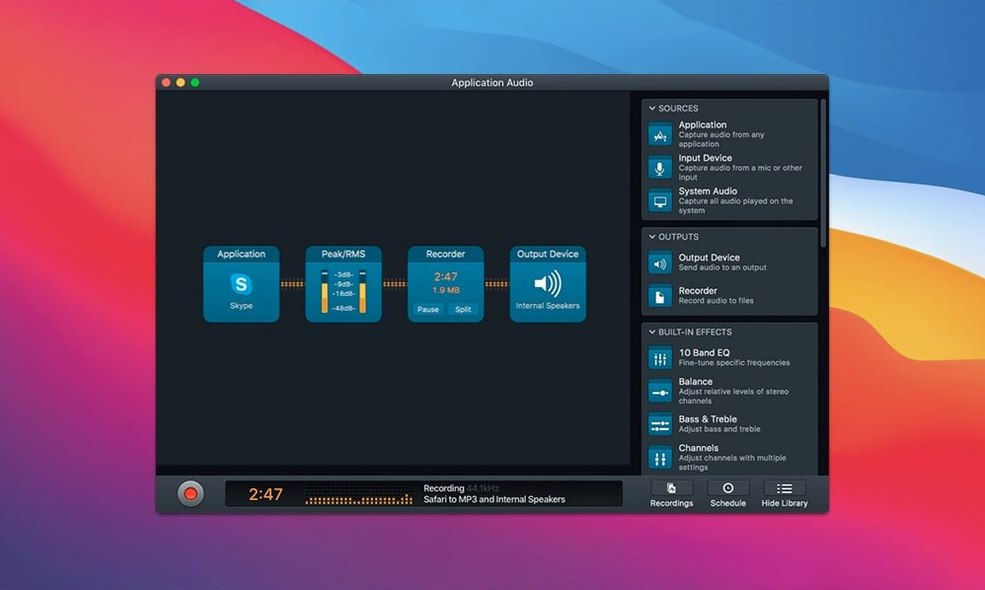
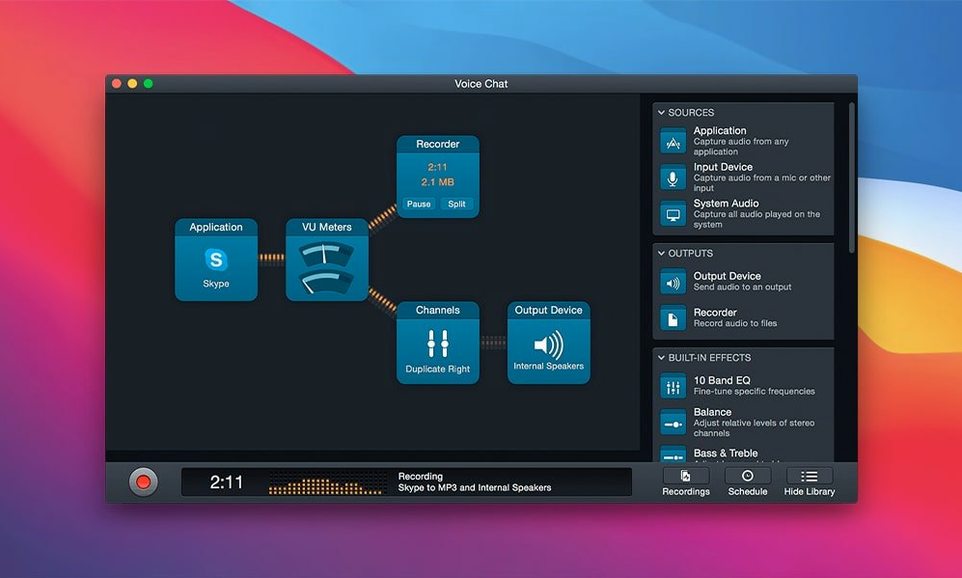
- Block-based interface — chain processing blocks (Denoise, Declick, Dehum, Transcribe, and others) in any order. Each block does one job, and you rearrange them like routing in a hardware rack.
- Multi-source recording — capture from applications, DVD players, internet streams, VoIP services, microphones, or analog line inputs, all within a single session. Useful for podcasters pulling in a remote call and a local mic at the same time.
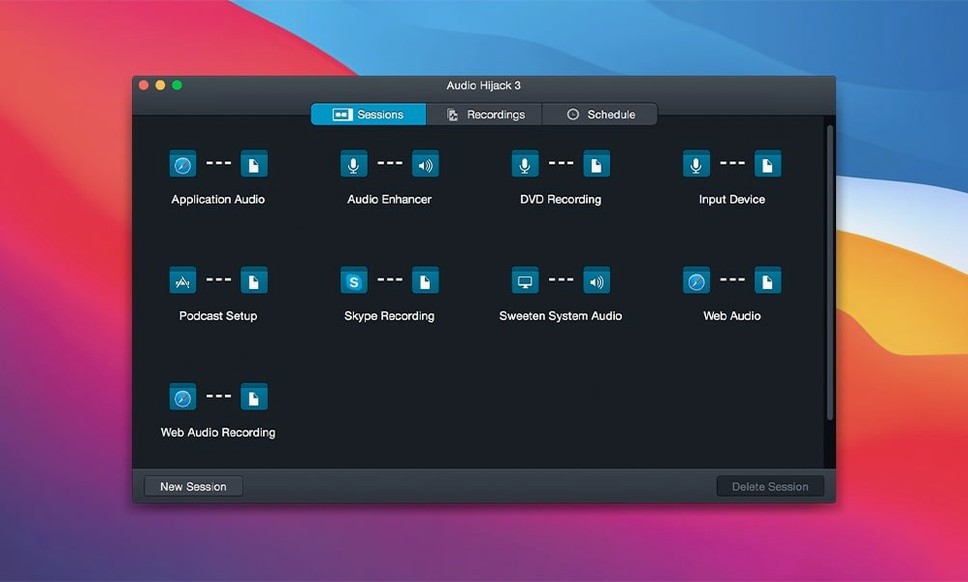
- Templates for recording — pre-configured setups for digitising tapes or records, so you can start capturing without building a signal chain from scratch.
- FLAC output — lossless compression for archiving alongside the usual WAV and AIFF options.
Noise removal that works on real-world sources
The Denoise, Declick, and Dehum filters target the specific kinds of noise you get when transferring old media. Declick handles pops from vinyl, Dehum deals with mains hum and low-frequency rumble, and Denoise reduces broadband hiss. Applied through the block-based interface, they can be stacked or adjusted per source, which makes Audio Hijack a practical tool for digitising a collection of cassettes or records without sending the audio through separate restoration software.
Mute or solo individual blocks with Option-click
Audio Hijack hides a few useful details in plain sight. The block interface lets you mute or solo individual blocks by holding Option and clicking the block's power button — a quick way to compare processed and unprocessed audio without tearing the chain apart. The session window remembers its last size and position per source, so switching between a full-screen podcast session and a compact music-capture window keeps the layout consistent. The Record button's drop-down menu offers a "Record for a Duration" option, which sets a timer and stops recording automatically, handy for scheduled captures of internet streams or radio shows. And if you hold Shift while dragging a block, it snaps to the nearest connection point, preventing accidental misalignments in complex chains.
Test the Transcribe block with the Recommended model
- Test the Transcribe block with the Recommended model — version 4.6.0 introduces a Recommended transcription model in the Transcribe block. Open a test session with a short audio file or live mic feed, select the Recommended option from the model dropdown, and let it process a few seconds. Compare the output to the previous model if you have one — the updated Whisper.cpp backend (1.9.2) may improve accuracy for your accent or content.
- Use a template for your first session — instead of building a block chain manually, open the Template chooser (File > New Session from Template) and pick one that matches your source. The "Podcast Recording" or "Digitize Cassette Tape" templates include a sensible starter chain of blocks. Tweak the gain and filters after recording, not before — it saves time on the first run.
- Check the output format early — by default, Audio Hijack records to AIFF or WAV. If you plan to archive long recordings, switch to FLAC in the Output block's settings. FLAC cuts file size without losing quality, which matters for multi-hour podcast sessions or digitised albums.
- Enable Gatekeeper-friendly installation — the disk image opens with a "Open Gatekeeper friendly" option. If you see a warning from macOS, press Enter in Terminal as the install steps describe; the app runs normally after that. No extra permissions needed for the core recording functions.
Set a dedicated recording folder in Preferences
Before you start your first real session, open Audio Hijack's Preferences (Cmd+,) and adjust these:
- Recording location — set a dedicated folder for Hijack recordings, separate from your general Downloads or Documents. A folder named "Hijack Captures" on an external drive or a secondary internal volume keeps files organised and prevents accidental deletion.
- Audio device selection — under the Audio tab, confirm the input and output devices match your hardware. If you record from a microphone, select it here; for app-only capture, set the output to "Default Output" and let Hijack tap the system stream.
- Auto-save and crash recovery — enable automatic saving of session states. If Hijack or macOS crashes mid-recording, the app recovers the session on relaunch with the block chain intact, though the recording itself stops at the crash point.
- Transcribe block model caching — if you use transcription regularly, keep the model cached locally. The Transcribe block downloads models on first use; caching avoids re-downloading between sessions. Check the block's settings for a "Keep model on disk" toggle.
Route FaceTime audio through a Denoise block for a noisy guest
Consider a podcast engineer who records a weekly interview show over FaceTime. The guest joins from a laptop in a noisy coffee shop. In a single Audio Hijack session, the engineer routes the FaceTime audio through a Denoise block to cut background hiss, then a Dehum block to remove a low-frequency rumble from the shop's air conditioning. A second source — a local microphone — captures the host's voice in the studio. Both feeds merge into one recording chain, with the Transcribe block running the Recommended model to generate a rough transcript for show notes. After the call ends, the engineer exports a FLAC master for archiving and a WAV file for editing in a DAW. No separate noise-reduction software, no manual alignment of two audio tracks — the session handles it all in one window.
Changes in this build
Before it goes on the Mac
- macOS 14.4
- Intel or Apple Silicon processor
- Interface language: English
Questions from the room
What audio sources can Audio Hijack record from?
It records from applications, DVD players, internet streams, VoIP services, microphones, and other analog sources, including multiple sources in one session.
Does Audio Hijack include noise removal?
Yes, it includes three noise-removal filters: Denoise, Declick, and Dehum, designed for cleaning up transfers from vinyl and tape.
What output formats does Audio Hijack support?
It supports FLAC output alongside standard formats like WAV and AIFF, with templates for digitising tapes and records.
Installing it on the Mac
- Mount the disk image and run Open Gatekeeper friendly.
- Press Enter in Terminal to bypass Gatekeeper.
- Drag the app to the Applications folder.
- Open the app when installation is complete.
Notes from the control room
Sign in or open a catalogue account to leave a note.
No notes from the room yet. If you have used this build for a week, a short note helps the next person.