Home › Audio › Acon Digital Acoustica 7

Acon Digital Acoustica 7 7.7.1 (Mac)
Updated
The catalogue note
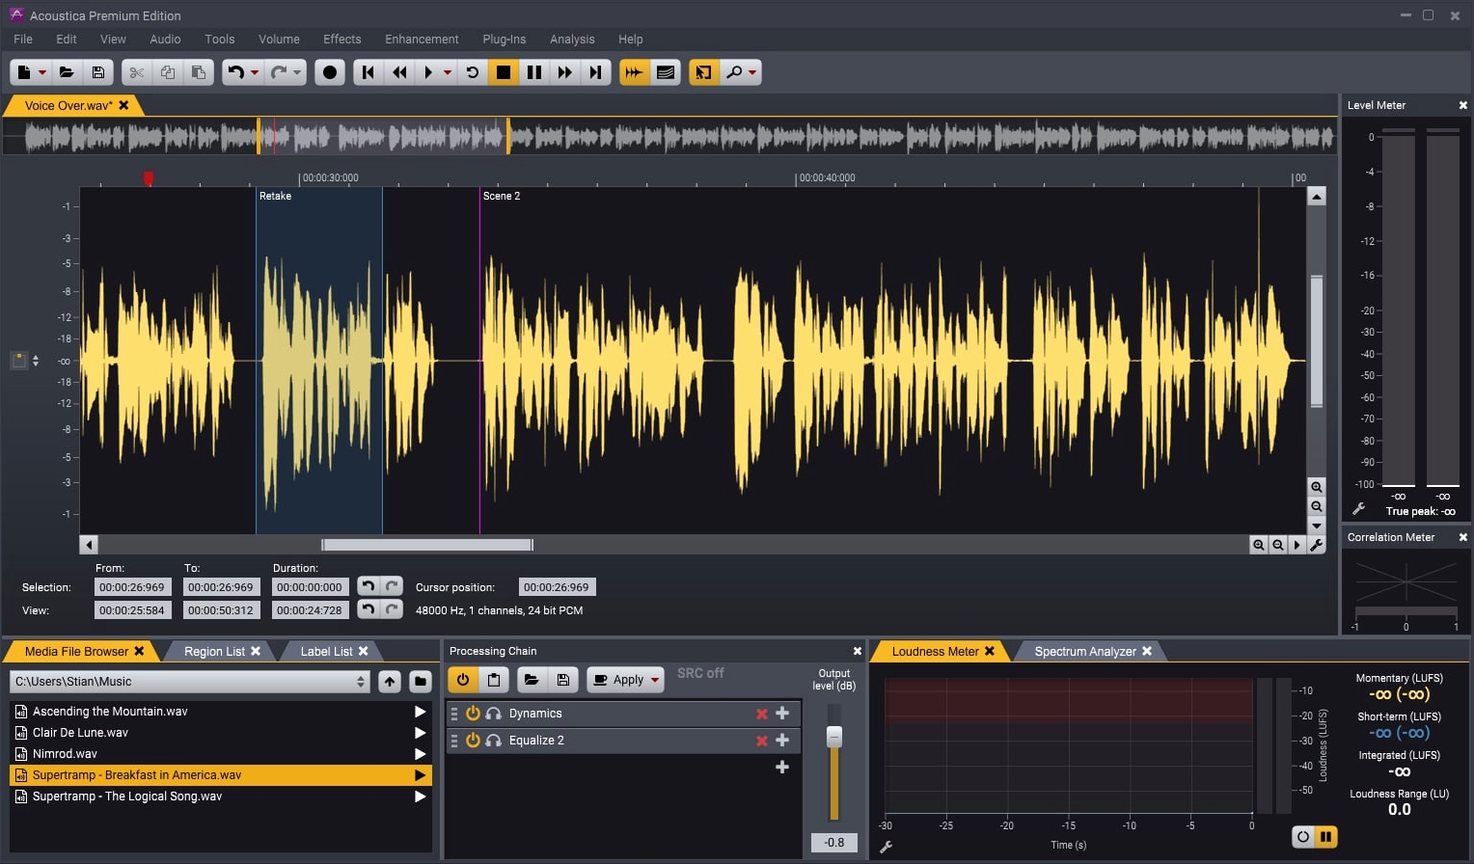
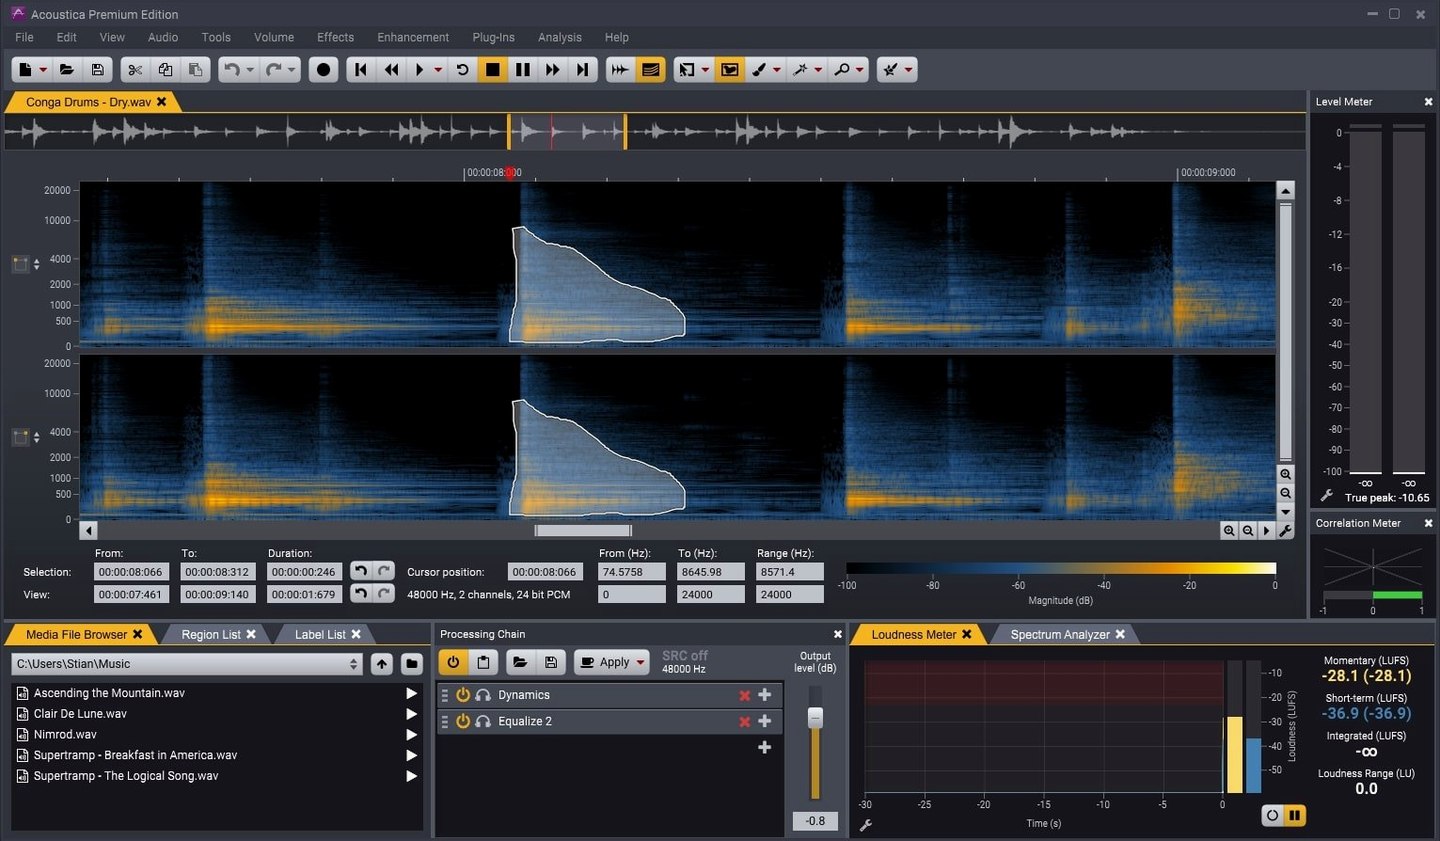
Acoustica 7 handles audio files up to 32-bit resolution and 384 kHz sampling rate, making it a practical choice for high-resolution editing, mastering, restoration, and podcast production. The current version, 7.7.1, keeps all the core tools—multitrack sessions, the Mastering Suite with Equalize 2, Dynamics, Multiband Dynamics, Limit, and Dither—and adds Pro Tools ARA support, 100 new processing chain presets, and optional GPU-accelerated speech recognition. The new Installation Manager simplifies downloading Acon Digital products.
What hasn’t changed is the breadth of included tools. The DeBuzz:Dialogue module automatically reduces hum and buzz in dialogue recordings. The Remix tool splits a full mix into five parts and remixes them in real time. For analysis, you get EBU R-128 loudness, true peak, phase correlation, and spectral meters. The Premium Edition adds spectral editing. Plug-in support covers Audio Units, VST, and VST3 on Mac, and the Transfer AAX plug-in moves audio between Pro Tools and Acoustica.
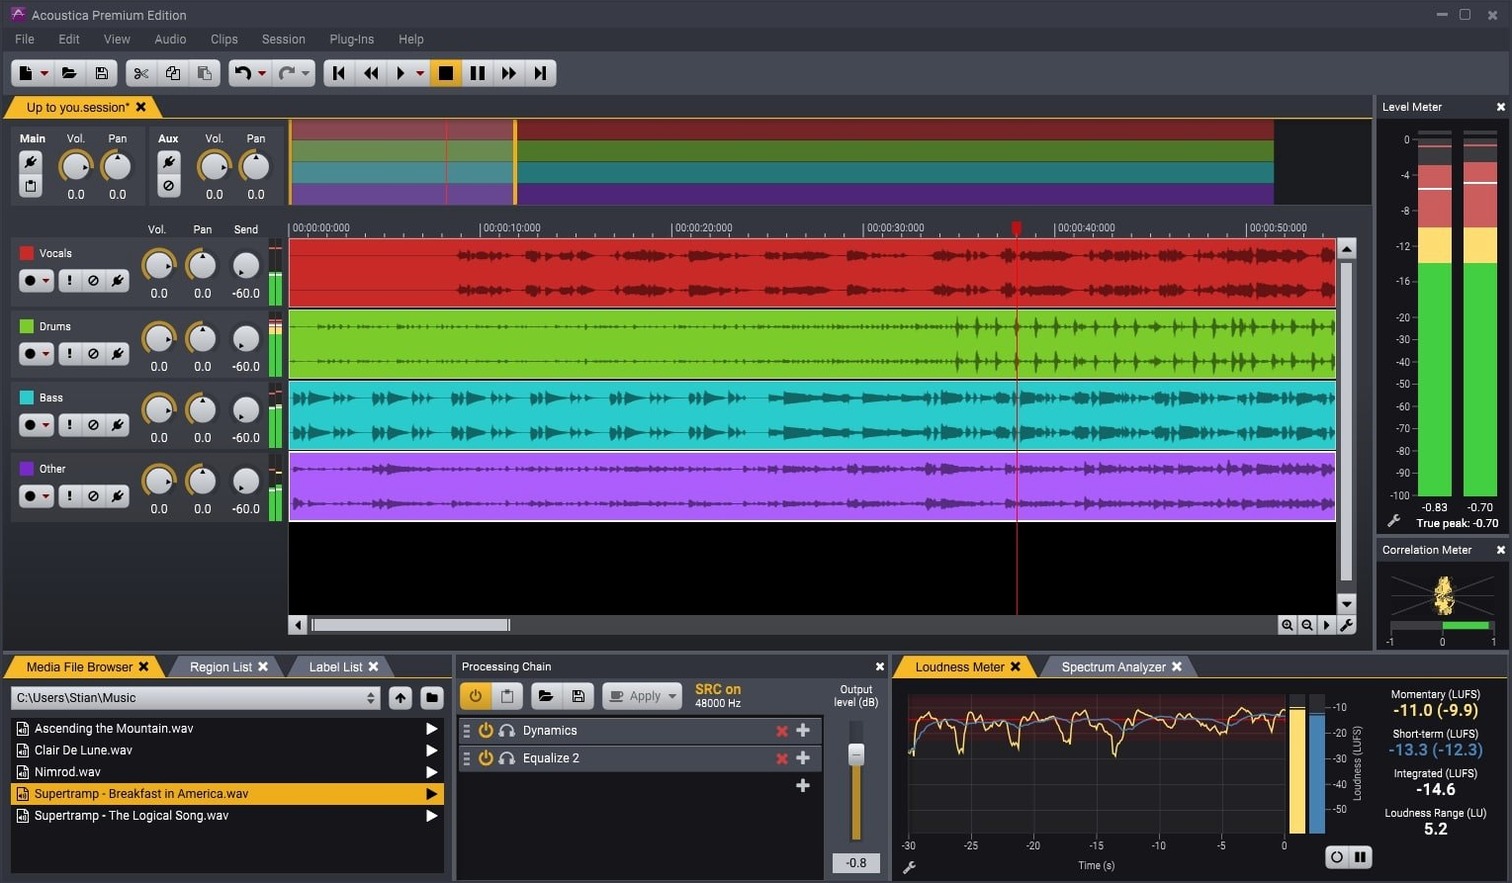
For multitrack work, you import or record clips on separate tracks. The interface stays in English. The package includes installation and activation instructions. If you already own a previous version, the 7.7 update brings Pro Tools integration and a handful of workflow improvements without altering the editor’s established character.
Clip editor vs multitrack view confusion
A few things tend to trip people up during the first sessions with Acoustica 7. The most frequent is confusion between the single-track clip editor and the multitrack view. If you open a file and cannot see the waveform properly or the editing tools feel limited, check that you are in the clip editor—multitrack mode is for arranging clips, not for detailed waveform work. Toggle between the two using the mode switcher near the top of the window.
Another recurring issue is plug-in scanning. If a favourite VST or Audio Unit plug-in does not appear in the plug-in list, open the plug-in manager from the preferences menu and rescan manually. The scan sometimes misses newly installed plug-ins until you trigger a full rescan. Also, note that 32-bit plug-ins are not supported—Acoustica 7 requires 64-bit versions.
Some users report that the Restoration Suite modules seem inactive on certain audio. This usually happens because the noise profile has not been captured. For DeNoise 2, select a short section of silence or noise-only audio, then click the Learn button before applying the reduction. The same principle applies to DeHum 2 and DeClick 2—they need a sample of the unwanted sound to work properly.
Learn from the 100 included mastering presets
Start by loading a short stereo file and exploring the included processing chain presets. Version 7.7 ships with 100 presets, so browse through a few to see how the Mastering Suite modules interact. This gives you a feel for the signal flow without having to build chains from scratch.
If you work with dialogue, test the Extract:Dialogue, DeWind:Dialogue, DeRustle:Dialogue, and DeBuzz:Dialogue modules on a real recording. Each module targets a specific problem—try them individually before stacking them, as applying all four at once can over-process the audio. Solo each module to hear what it removes.
For podcasters: set up a multitrack session with a few tracks, record a short test, and use the Remix tool to separate speech from music. The deep learning split works in real time, so you can adjust levels without rendering. This is also a good way to learn how the multitrack mixer handles routing and effects sends.
Adjust audio interface buffer to 256 or 512 samples
Open the preferences dialog and check the audio device settings. Acoustica 7 defaults to the system output, but if you use an external audio interface, select its driver and adjust the buffer size. A buffer of 256 or 512 samples works well for editing and mixing; lower values are only needed for live monitoring during recording.
Under the editing preferences, enable auto-scroll if you plan to do long recordings or podcast sessions—this keeps the waveform centred as playback progresses. Disable it when doing precise edits on short clips.
In the plug-in section of the preferences, set the VST and VST3 folders to match your usual locations. Acoustica 7 scans these folders at startup, so pointing them to the right place saves time later. If you use the Transfer AAX plug-in with Pro Tools, make sure the AAX folder path is also set correctly.
Finally, check the analysis panel defaults. The EBU R-128 loudness meter and true peak display are turned on by default, but you can enable the phase correlation and spectral analysis views from the panel’s context menu if you need them regularly. Once set, these preferences persist across sessions.
Changes in this build
- Version 7.7 adds 100 processing chain presets
- Version 7.7 adds GPU-accelerated speech recognition as an option
- Version 7.7 adds a new Installation Manager for downloading Acon Digital products
Before it goes on the Mac
- macOS OS X 10.10 or later
- Intel or Apple Silicon processor
- Interface language: English
Questions from the room
Does Acoustica 7 support Audio Units on Mac?
Yes, Acoustica 7 supports Audio Units plug-ins on Mac, alongside VST and VST3 formats.
What does the Pro Tools ARA support in version 7.7 do?
Version 7.7 adds Pro Tools ARA support, allowing tighter integration between Acoustica and Pro Tools for audio transfer and editing.
Installing it on the Mac
2. Open the disk image and run the installer.
3. Installation and activation instructions are included inside the package.
Notes from the control room
Sign in or open a catalogue account to leave a note.
No notes from the room yet. If you have used this build for a week, a short note helps the next person.