Updated
The catalogue note
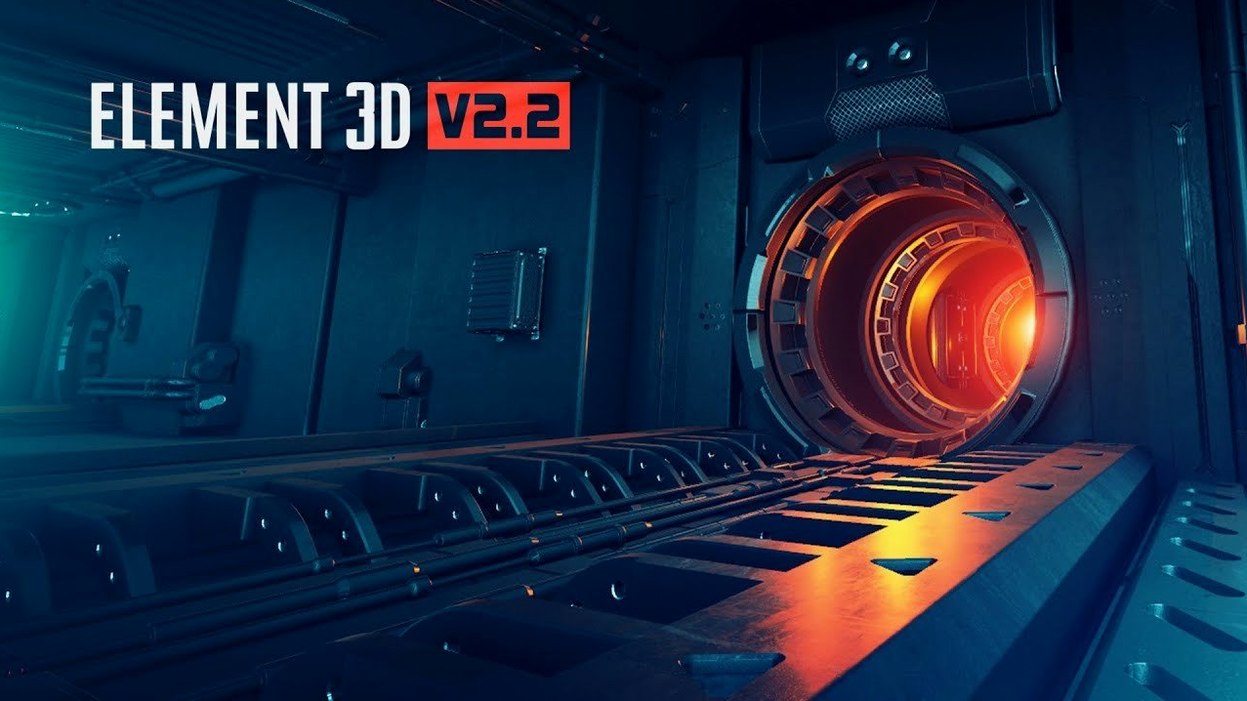
Element 3D 2.2.3 runs on Intel Macs with After Effects, and it is the kind of plug-in that changes how you approach motion graphics. It is a 3D object based particle plug-in with a fast Open GL rendering engine, so you work directly inside your comp without leaving After Effects.
Working with objects and particles
- Import a 3D object – you can bring in models created in Cinema 4D, then place them in your After Effects scene.
- Set up the particle array system – clone, manipulate, and distribute objects across the scene with controls for count, position, and rotation.
- Tweak the render engine – adjust shadows, reflections, and ambient light to match your footage.
- Animate and preview – because the engine is Open GL based, you get quick feedback while scrubbing the timeline.
The controls are laid out in a way that feels familiar to After Effects users: sliders for particle behaviour, transforms for object placement, and a material section for surface properties. It is not a full 3D suite, but it does what it says – fast object and particle rendering inside After Effects.
Requires an Intel Mac with macOS 10.12 or later
Element 3D 2.2.3 requires an Intel Mac with macOS 10.12 or later. It is a 64-bit plug-in, so your copy of After Effects must be the 64-bit version as well. The installer is straightforward, but you will need to follow the activation steps included in the package. Once installed, the plug-in appears under the Effects & Presets panel in After Effects as Element, ready to be applied to a solid layer.
Because the engine relies on Open GL, your Mac's graphics card matters more than the CPU for viewport performance. Integrated Intel GPUs will work, but the plug-in is designed with discrete graphics in mind. The help files reference 5 independent 3D groups and 3D Object Groups control for replicator settings, so you can expect a degree of organisational depth once you start building scenes with multiple models.
Build a logo reveal using an OBJ model and cloned objects
This walkthrough assumes you have a 3D model of your logo exported as an OBJ file, and some footage to composite over.
- Create a new solid in After Effects and apply the Element 3D effect. The interface opens inside the Effect Controls panel.
- Click the Scene Setup button. This launches the custom interface where you import geometry. Load your OBJ file and place it into one of the 3D groups.
- Return to the Effect Controls panel and locate the particle array system. Set the particle type to use the 3D object group you just created. Adjust the count to, say, 50 clones.
- Use the distribution controls to spread the clones across a grid or a sphere. Set random rotation values so each clone faces a slightly different direction.
- Add a camera layer in After Effects. Move it around to frame the cluster of logo objects. Because Element 3D respects native After Effects cameras, you can keyframe the camera position for a slow orbit.
- Enable shadows and ambient occlusion in the render settings. This gives the clones depth against your background footage.
- Animate the particle count from 0 to 50 over the first second, so the logo pieces appear to assemble. Then animate the camera to pull back and reveal the full form.
This is a typical use case for motion graphics artists who need a 3D look without leaving After Effects or learning a dedicated 3D application. The particle system handles distribution, and the Open GL engine lets you preview the animation in real time as you adjust parameters.
Refines the core engine without adding new features
Version 2.2.3 is listed as an update for Element 3D V2.2. If you were running an earlier build of V2, the main difference is that this release refines the core engine rather than adding new features. The plug-in remains a 3D object based particle plug-in with a fast Open GL 3D rendering engine, which is how it has been described since V2 launched.
In practice, the update means you are working with the most recent stable version of the renderer. There are no new group types or particle behaviours introduced here, but the existing controls for replicator settings and 3D groups behave as documented in the help files. For users who have been on an older V2 build, the upgrade is about consistency and compatibility with current After Effects releases rather than a change in workflow.
Plug-in not appearing? Check the 64-bit installer and plug-ins folder
- Plug-in does not appear in After Effects – Make sure you have installed the 64-bit version of the plug-in and that After Effects is also 64-bit. Check the plug-ins folder for the correct file. Re-run the installer if necessary.
- OBJ files do not import – Element 3D expects OBJ files with geometry only. If your model uses materials or textures that are not standard, export from Cinema 4D or your 3D app with the OBJ format set to triangulate faces and include only mesh data. The plug-in handles materials separately in the Scene Setup interface.
- Particles appear as cubes or default shapes – This usually means the particle type is not linked to your 3D group. Go to the particle array controls and set the object group to the one containing your imported model. If the group is empty, no custom geometry will display.
- Slow preview performance – Lower the particle count and reduce the shadow quality in the render settings. You can also set the viewport to draft mode while scrubbing the timeline. The final render will use full quality.
- Camera moves do not affect the scene – Element 3D needs a camera layer in the comp to respond to perspective changes. If you are using the default active camera, create a new camera layer and animate that instead.
These are the issues that tend to surface when people start using the plug-in for the first time or after updating. Most of them come down to linking the right object group or checking the camera setup. The help files cover the 3D Object Groups control and replicator settings in detail, so that is a good place to go if you need a refresher on how groups interact with the particle system.
Changes in this build
- Version 2.2.3 is an update to Element 3D V2.2.
- Rebuilt as a 3D object based particle plug-in.
- Uses a fast Open GL 3D rendering engine.
Before it goes on the Mac
- macOS version not specified by the developer.
- Intel architecture.
- Adobe After Effects.
Questions from the room
Can I import Cinema 4D objects into Element 3D?
Yes, Element 3D can import 3D objects created in Cinema 4D directly into After Effects.
What does the particle array system do?
It lets you clone, manipulate, and distribute objects in a scene, creating particle-based effects without leaving After Effects.
Installing it on the Mac
- Open the package and follow the included installation and activation instructions.
- Complete the steps to install and activate the plug-in inside After Effects.
Notes from the control room
Sign in or open a catalogue account to leave a note.
No notes from the room yet. If you have used this build for a week, a short note helps the next person.