Home › Mac Apps › DxO PureRAW 6

DxO PureRAW 6 6.4.1 (Mac)
Updated
The catalogue note
Anyone who shoots RAW on a Mac and wants cleaner files before touching an editor will find PureRAW 6 straightforward. The app does one thing—denoise, demosaic, correct lens flaws—and hands you a ready-to-edit DNG or linear raw. For a newcomer, the following five features are worth testing first.
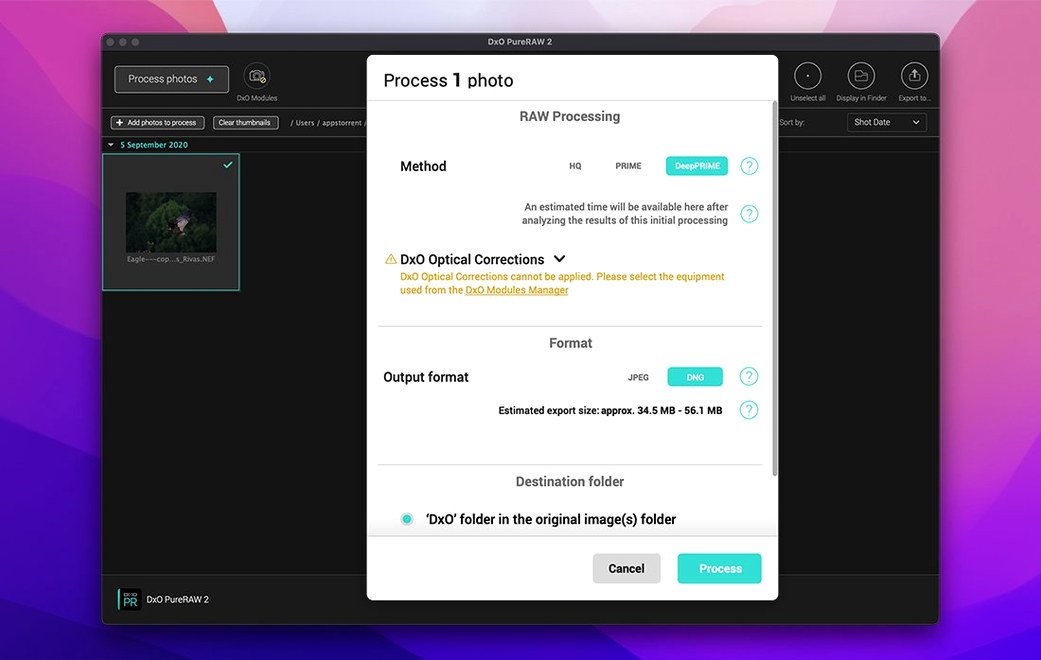
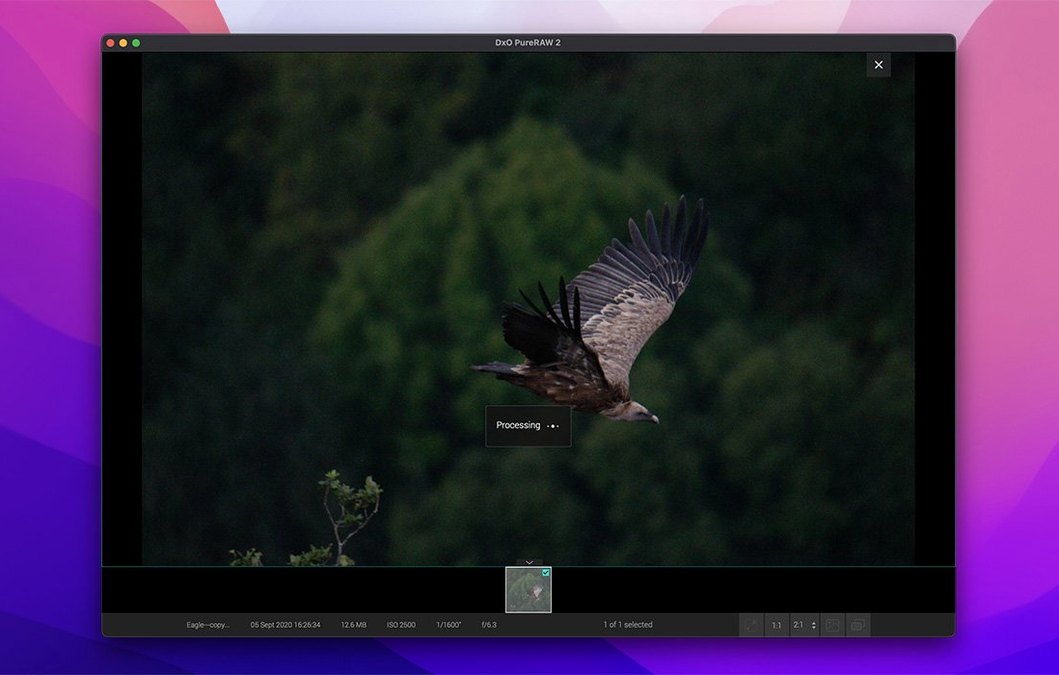
- Process a single RAW through the default settings. The difference in shadow noise is immediately visible.
- Enable the high-fidelity DNG compression option. It cuts file size without altering the raw data—useful for archiving.
- Queue a folder of 20–50 files and watch the batch parallelisation spread work across your Mac’s cores. No need to wait for each file sequentially.
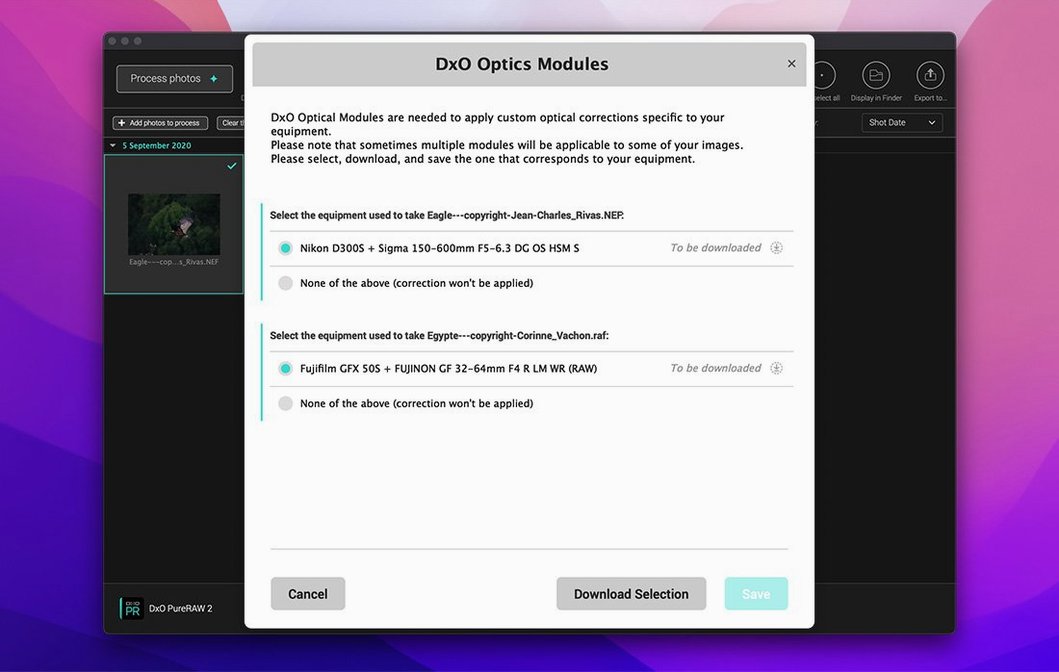
- Check the lens sharpness and distortion corrections. PureRAW reads the embedded lens profile and applies its own optical module.
- Export a DNG and open it in your usual editor. The file integrates as a normal raw, not a rendered TIFF.
The jump from version 5 to 6 brought a handful of changes that affect daily use, not just the spec sheet. Here is what shifted in practice.
DxO Wide Gamut becomes the default working colour space
The most noticeable shift is the working colour space. PureRAW 6 now uses DxO Wide Gamut internally, which means the DNGs it produces contain a wider colour range than before. If your editor handles wide-gamut files well—Capture One, Lightroom, Affinity Photo—you will see more saturated colour information in the raw data, especially in deep blues and greens. Older editors that assume ProPhoto RGB may clip or shift those colours slightly, so check the first export.
The DeepPRIME XD3 engine replaces the previous generation. On a single image the difference is subtle: slightly cleaner high-ISO grain at 6400 and above, with less of the plastic look that earlier neural networks sometimes left on faces and foliage. Batch processing benefits more directly because the engine is better at parallelising across multiple cores, so a queue of 40–50 files finishes sooner than it did in version 5 on the same hardware.
AI-powered dust spot removal is new. It is not a full retouching tool—it finds repeating dust patterns (the kind you get from a dirty sensor at small apertures) and removes them before the DNG is written. For anyone who shoots landscapes or architecture at f/11–f/16, this saves the tedium of cloning out the same half-dozen spots across a whole set of images. It works automatically during processing; there is no manual spot-picker.
The high-fidelity DNG compression option is now more aggressive while remaining visually lossless.
Lower denoising strength for natural-looking details
Out of the box, PureRAW 6 applies its default denoising level to every image. That is fine for a first test, but you will want to tweak two settings early on.
- Denoising strength — slide it down from the default to around 60–70 % for ISO 800–3200 files. The XD3 engine is aggressive enough that lower ISOs can end up looking over-smoothed at full strength. Keep the default only for ISO 6400 and above.
- Output colour space — if your editor does not support DxO Wide Gamut, switch the export to ProPhoto RGB or Adobe RGB in the preferences. Otherwise the colours will appear muted or clipped when you open the DNG. This is the first thing to check if your processed files look off in your usual raw converter.
Also enable high-fidelity DNG compression from the start. There is no downside for editing, and the space saving adds up fast across a large batch.
PureRAW pre-processes RAW files before Lightroom or Capture One
PureRAW 6 occupies a specific niche: it pre-processes RAW files before they reach your main editor. Two other apps sit in a similar space, though each approaches the problem differently.
Adobe Lightroom Classic — Lightroom has its own AI denoise (introduced in late 2023) and lens corrections built into the develop module. The difference is that Lightroom applies these edits as part of its catalogue workflow, not as a standalone export step. PureRAW is faster at batch processing because it does not have to manage a catalogue or render previews; it writes DNGs and stops. For a photographer who uses Capture One or Affinity Photo as their main editor, PureRAW avoids locking you into Adobe’s ecosystem.
Capture One Pro — Capture One includes excellent noise reduction and lens corrections natively, and its colour handling is arguably better than PureRAW’s output. The trade-off is speed: Capture One’s processing is single-threaded in many operations, so a batch of 100 files takes noticeably longer than the same batch run through PureRAW. Capture One also costs more and is a full editor, not a preprocessing tool. If you already own it, you may not need PureRAW unless you process very large volumes or work on older hardware.
ON1 NoNoise AI — ON1’s denoising engine is comparable to DeepPRIME XD3 at high ISOs, and it also runs as a standalone app or plugin. The main difference is that ON1 applies its corrections to the rendered image, not to the raw data. PureRAW’s output remains a raw file that retains more editing headroom for exposure and white balance adjustments. ON1 is better suited for photographers who want a finished file straight out of processing and do not plan to edit further.
Fix flat DNGs by switching the output colour space in preferences
Three issues crop up regularly, and each has a straightforward fix.
DNGs appear flat or desaturated in my editor — This is almost always the DxO Wide Gamut colour space. Open PureRAW’s preferences and set the output colour space to ProPhoto RGB or Adobe RGB, then re-process the files. If your editor supports colour management properly, the files will look correct after that change.
Batch processing stops or hangs halfway through — PureRAW relies on Metal for GPU acceleration on Macs. If you have multiple apps using the GPU simultaneously (a browser with hardware acceleration, a video player, another image processor), the Metal driver can time out. Restarting PureRAW and re-queuing the remaining files usually clears the issue.
DNG files are larger than expected despite compression enabled — The high-fidelity compression option reduces size for most files, but images with very high ISO noise (12800 and above) compress less because the noise itself is random data that does not shrink well. This is normal. For those files, you can either accept the larger size or reduce the denoising strength slightly, which lowers the noise floor and allows better compression.
That covers the core workflow. From there, adjusting the denoising strength per image becomes a matter of taste.
Before it goes on the Mac
- macOS 15.7 Sequoia
- Apple M1 or Intel Mac with AMD Radeon Pro RX5700
- 8 GB RAM
- 6 GB available disk space
- 1280 × 768 display
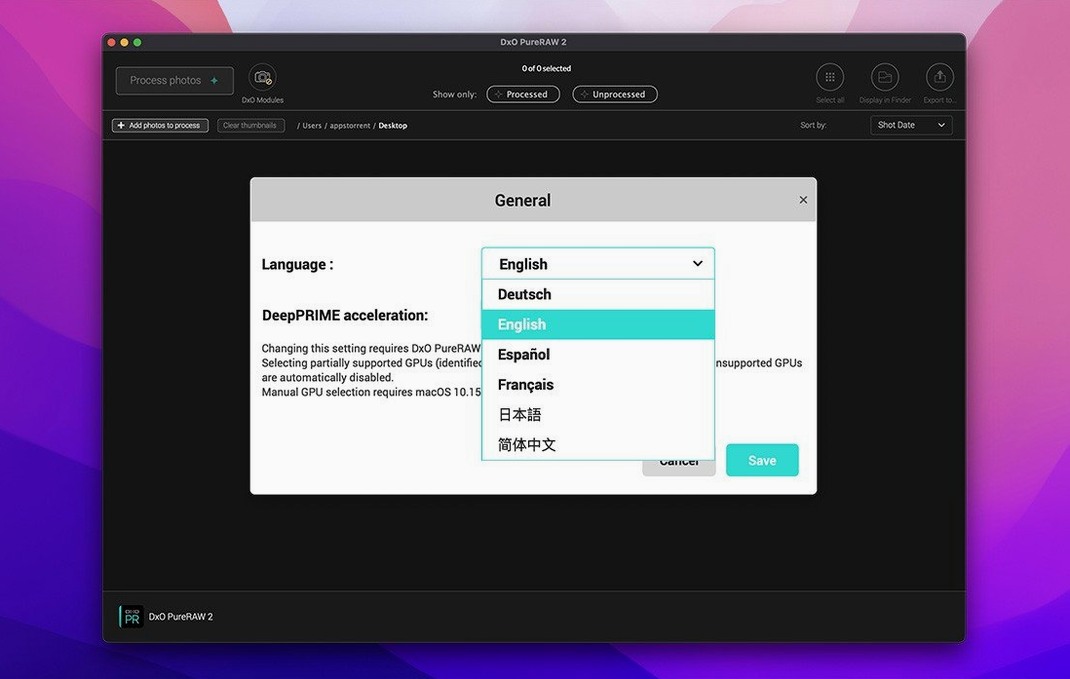
- Interface language: English
Questions from the room
Do I need an Apple Silicon Mac to run DxO PureRAW 6?
No. The minimum configuration includes an Apple M1, but Intel Macs with an AMD Radeon Pro RX5700 are also supported. macOS 15.7 Sequoia and 8 GB RAM are required.
Installing it on the Mac
- Mount the downloaded disk image.
- Run the standard installer procedure.
Notes from the control room
Sign in or open a catalogue account to leave a note.
No notes from the room yet. If you have used this build for a week, a short note helps the next person.