Home › Mac Apps › Vector Magic

Updated
The catalogue note
Vector Magic converts bitmaps to clean vector paths. The 1.20 edition handles JPEG, GIF, PNG, BMP, TIFF and PSD files, up to 10 MB or 10 megapixels per image. Offline on a 64-bit Intel Mac — no server calls, no file uploads.
Runs on macOS 10.7 and later
- Does it work on newer macOS versions?
- Can I edit the result after tracing?
- Is batch processing available?
- What vectorisation modes are there?
- How do I get started?
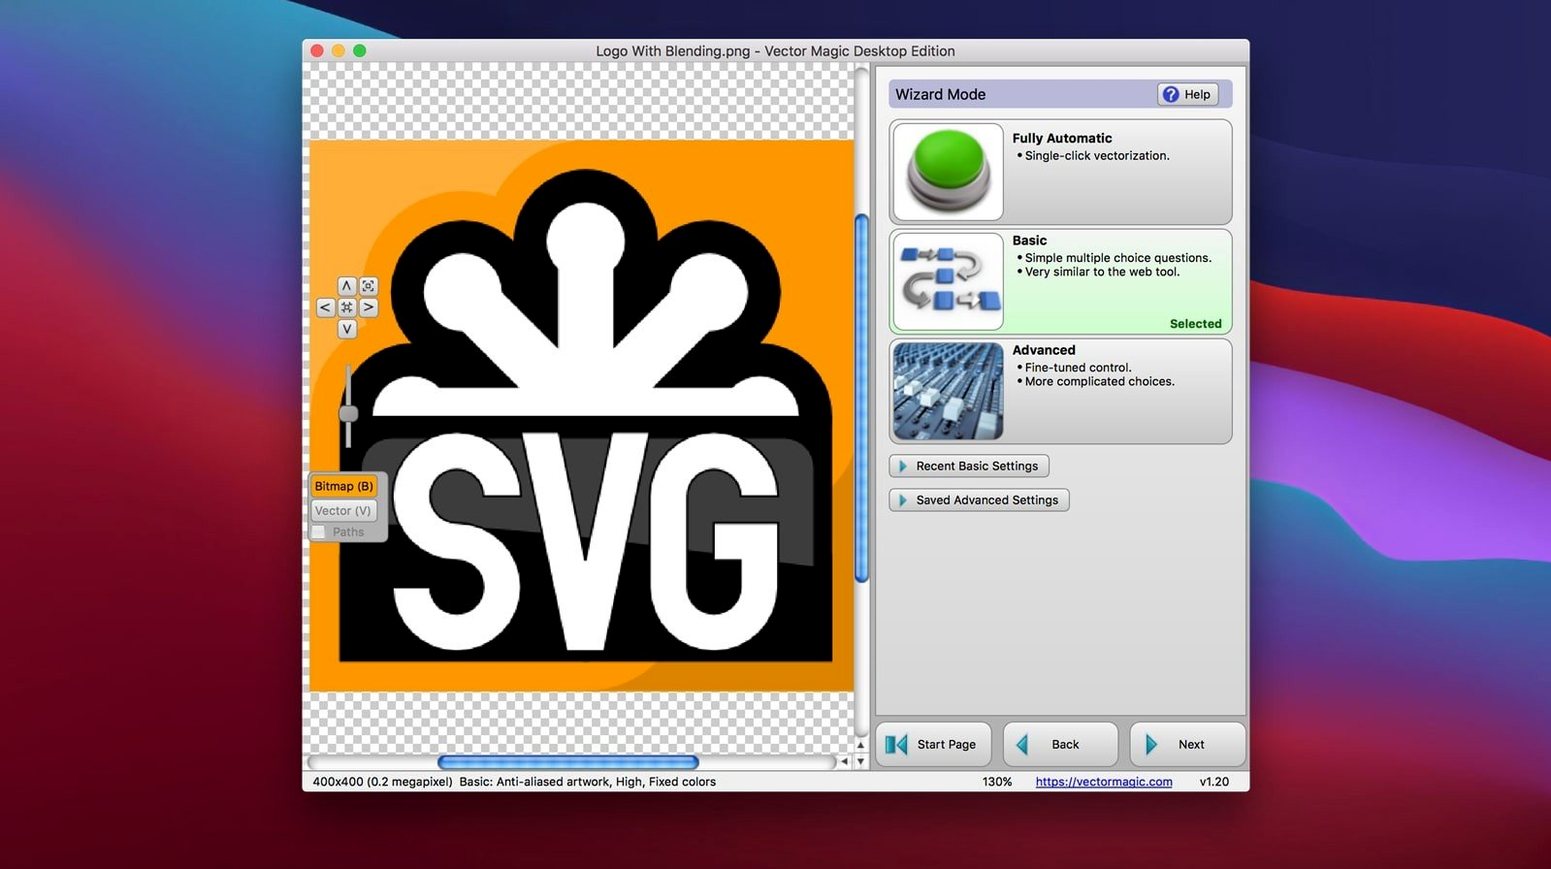
The app runs on OS X 10.7 and later as a 64-bit Intel binary. Segment editing lets you tweak curves and corners after conversion. Batch mode handles multiple files in one pass. Three modes — automatic, basic, manual — cover everything from one-click tracing to detailed control. Copy and paste works between documents. Built-in help walks through each step.
Restores old logos from scans and low-res PNGs
A friend runs a small design studio that restores old brand marks. Clients bring in scanned letterheads, faxed logos, or low-resolution PNGs from a website — none suitable for print. Vector Magic sits on their iMac alongside Illustrator. For one recent job, a client sent a 2 MB JPEG of a 1980s brewery emblem: a circular crest with a hop leaf, a ribbon and serif lettering. The original scan had a pale yellow background and rough edges from the scanner. Loading it into Vector Magic, the friend used the background removal tool first, then switched to manual mode to preserve the ribbon's sharp curves. The result exported as an AI file that opened cleanly in Illustrator, ready for colour separation. The whole process, including minor curve corrections with segment editing, took under ten minutes per emblem. That kind of speed matters when you're billing per revision, not per hour.
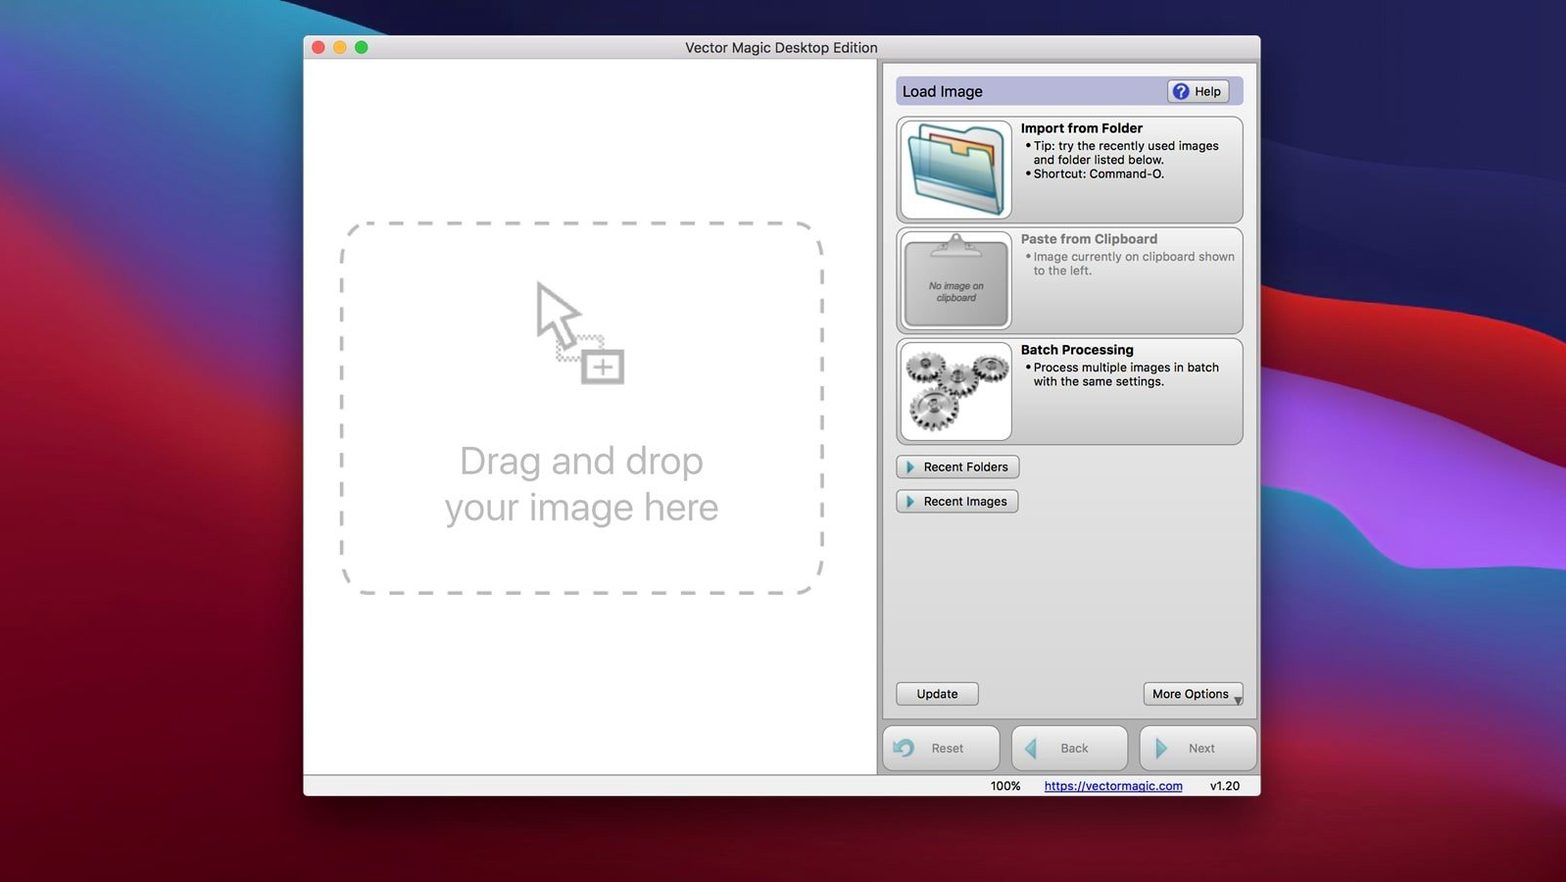
Drag a PNG from Finder to start automatic tracing
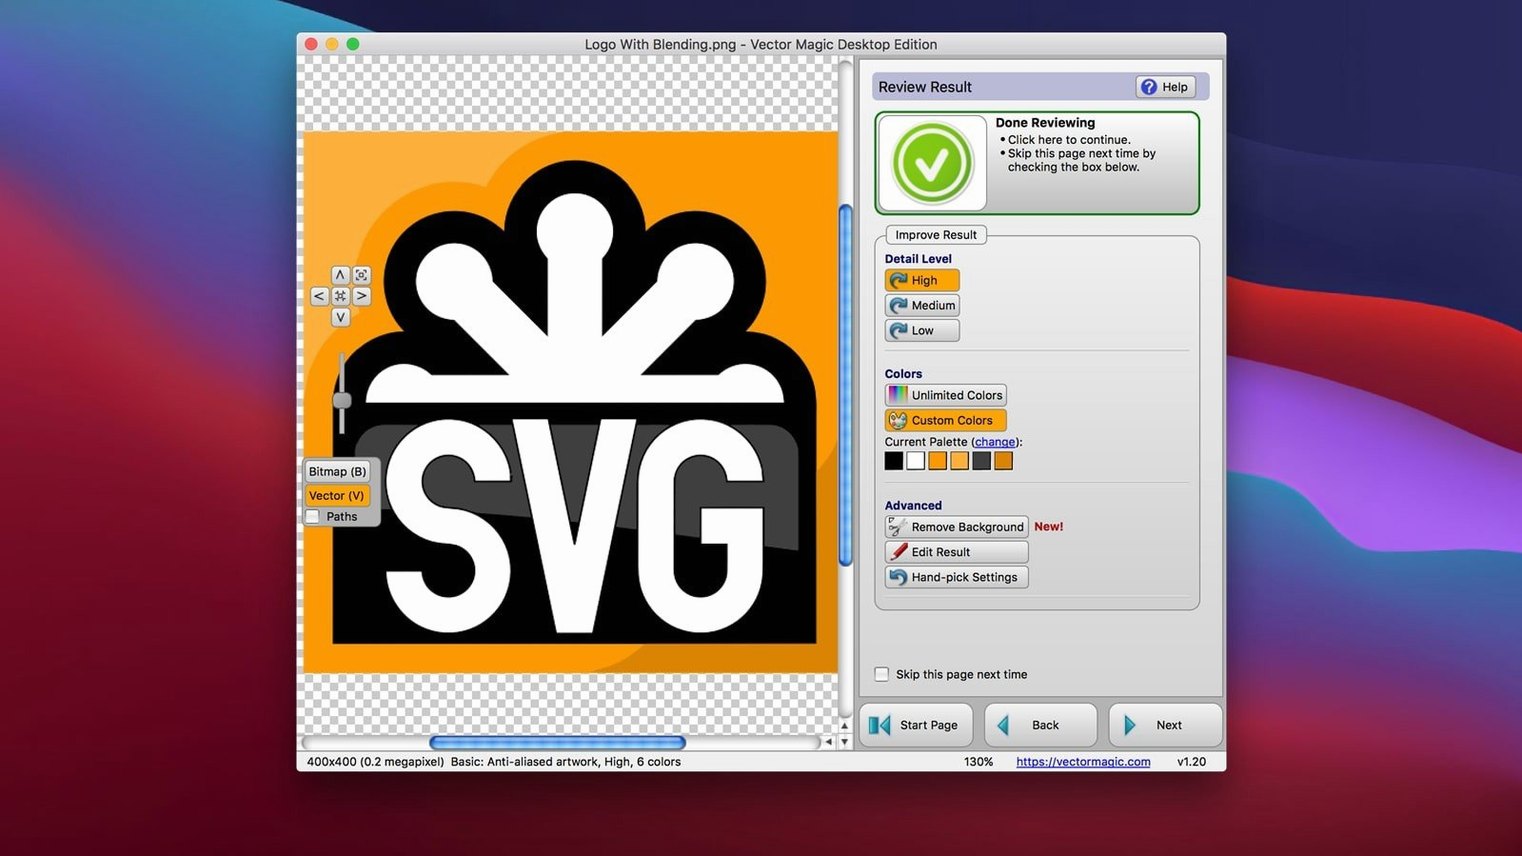
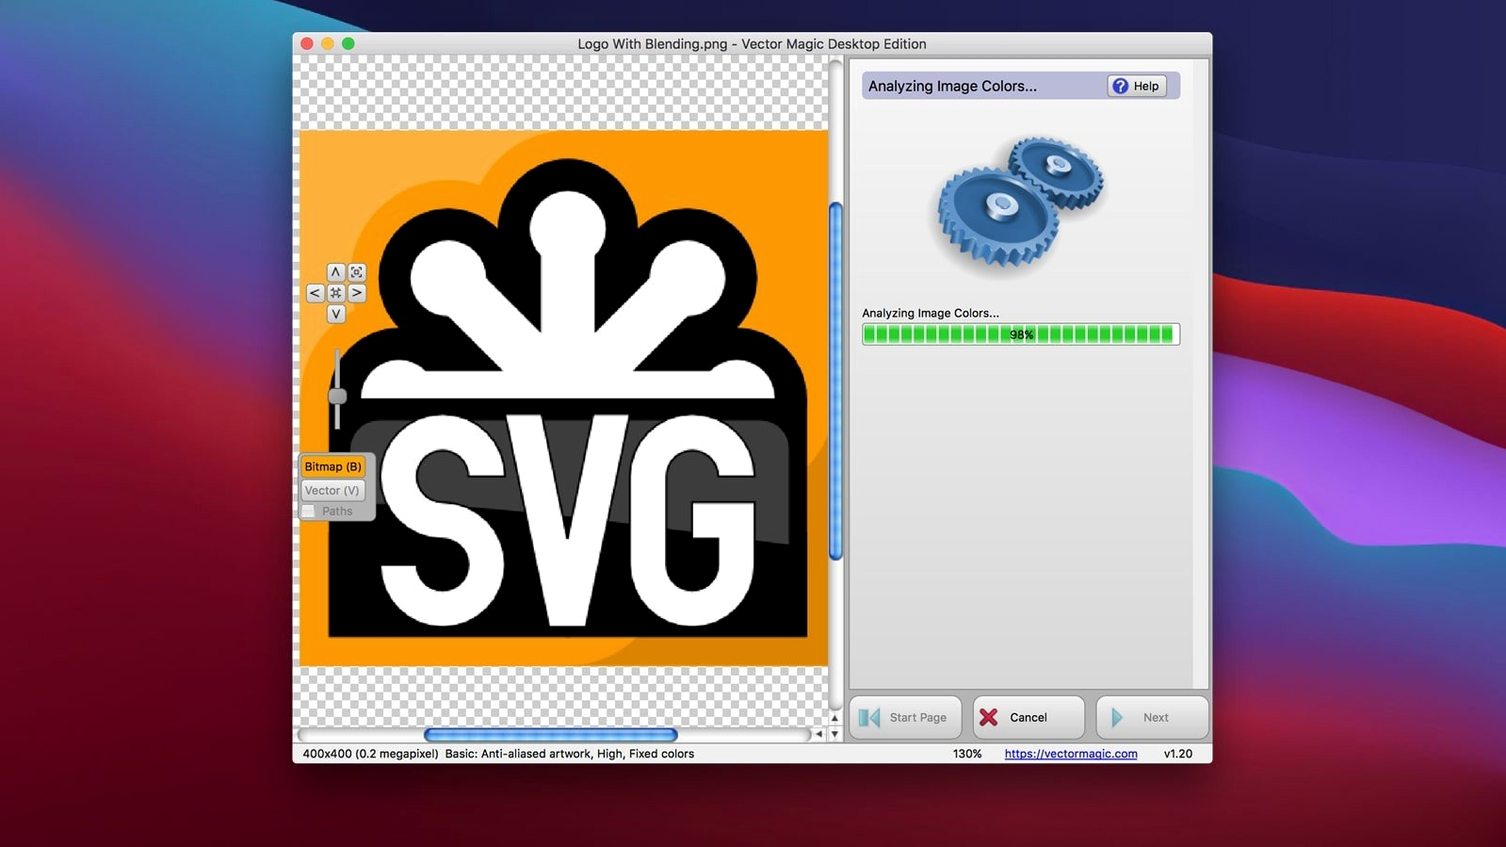
You drag a PNG file from Finder onto the Vector Magic window. The app reads it, checks the 10 MB and 10 megapixel limits, and opens the preview. The automatic mode runs by default — a first pass that produces a reasonable vector outline for most clean graphics. For a logo with a solid background, you click the background removal button in the improvement tools panel. The preview updates instantly.
If the automatic result has too many anchor points or misses a thin stroke, you switch to manual mode. Here you adjust individual parameters: detail level, corner fitting, path smoothing. Each slider changes the preview in real time. Once the paths look correct, you select all paths with a click and use segment editing to nudge a wayward curve on the lettering. Copy the result to the clipboard, paste it into an open CorelDRAW document, and export the final as EPS for the client's print house. If there are ten more logos in the same batch, you run the batch processing command and let Vector Magic convert them all with the same settings. The session ends with a folder of SVG and PDF files, each named after the original bitmap.
Switch to manual mode for text, gradients and fine detail
Most users start with automatic mode and never touch the defaults. That works for simple shapes. For anything with text, gradients or fine detail, open manual mode immediately and adjust three things:
- Detail level — turn it down if the preview shows noise or jagged edges; turn it up if thin lines are lost.
- Corner fitting — increase for logos with sharp angles (type, geometric shapes); decrease for organic curves (leaf outlines, handwritten scripts).
- Background removal — enable it before you start tracing, not after. Removing the background post-trace creates unnecessary anchor points along the edge of the canvas.
The preview responds instantly to each change. There is no reason to guess — watch the image update and decide per file. If you work through a batch of similar images, set manual mode once and apply the same preset to the whole batch.
Don't feed it files over 10 MB or 10 megapixels
The most common error is feeding it a file that exceeds the 10 MB or 10 megapixel limit. The app simply refuses to open it. Resize the bitmap in an editor first. Another mistake is using automatic mode on a photograph — Vector Magic is built for logos, illustrations and type, not continuous-tone photos. The output will be a mess of tiny paths. Use it on images that already have clean edges.
Beginners also forget to remove the background before tracing. A white or coloured rectangle behind the subject creates a vector shape for the whole canvas, doubling the file size and making editing harder. Use the background removal tool, then trace. The third mistake is ignoring segment editing after conversion. The first vector pass is never perfect for complex shapes. Zoom in, select a segment, and adjust the curve handles. It takes seconds and improves the result noticeably. If you plan to use vector magic crack mac or search for a vector magic torrent, remember that the desktop edition runs offline and does not depend on a server — a cracked version may simply not work with newer macOS versions.
Single-window interface with drag-and-drop from Finder
The application is a 64-bit Intel binary, compatible with OS X 10.7 and later. It opens as a single window with a toolbar and a large preview area. The interface is English. Drag-and-drop works from Finder or from the desktop. Copy and paste transfers vector data to Illustrator, CorelDRAW and other vector-aware applications. The maximum input size is 10 megapixels; files larger than 10 MB are rejected. Batch processing queues files and applies the same settings to each. The built-in help covers the three modes and the improvement tools. No network connection is needed at any point — all conversion happens locally. If you search for vectormagic torrent or vector magic mac torrent, the version you find may be older or modified; the official 1.20 build is the one described here.
Before it goes on the Mac
- macOS OS X 10.7 or later
- Intel 64-bit processor
- Maximum file size: 10.0 MB
- Maximum image size: 10.0 megapixels
- Interface language: English
Questions from the room
Can Vector Magic handle layered PSD files?
Yes, it reads PSD files as an input format. The conversion flattens the layers into a single vector result.
Installing it on the Mac
- Mount the disk image.
- Drag the app to the Applications folder.
Notes from the control room
Sign in or open a catalogue account to leave a note.
No notes from the room yet. If you have used this build for a week, a short note helps the next person.