Scrivener 3.5.2 (Mac)
Updated
The catalogue note
The snapshot feature is one of those understated tools that quietly saves a project. You can capture the entire state of a document — or just a selected section — and roll back later without losing the thread of edits. It fits the core idea of Scrivener: keeping you organised when the manuscript grows past a few thousand words.
Bug-fix release leaves workflow unchanged
Version 3.5.2 is a bug-fix release, so the workflow remains unchanged from earlier 3.x builds. The application still treats a project as a binder of folders and individual texts, with a dedicated Research folder for PDFs, audio, images or plain notes. Automatic saving runs in the background, and you can switch between a corkboard, outliner or full-screen composition mode without moving files around. Both Apple Silicon and 64-bit Intel Macs are supported under macOS 10.13 and later.
What remains unchanged
The layout, the compile system and the snapshot mechanics are identical to what long-term users already know. There are no new interface languages, no added export formats and no shift in system requirements. The emphasis stays on handling large volumes of text without forcing a particular writing method.
Start with a new project template for long-form writing
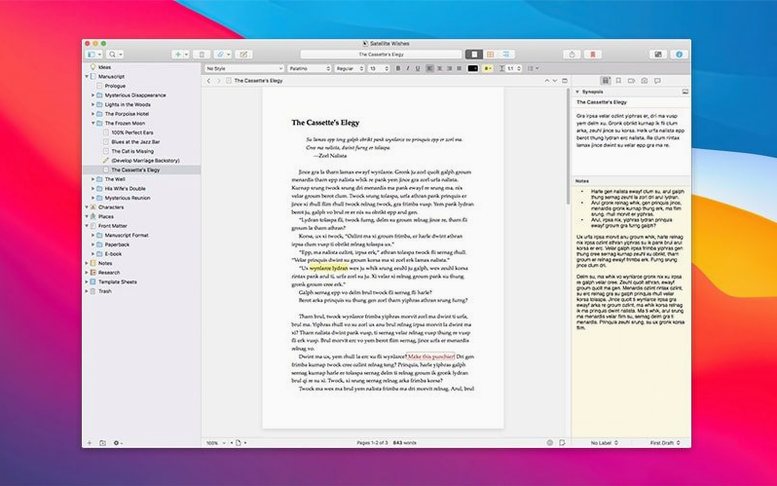
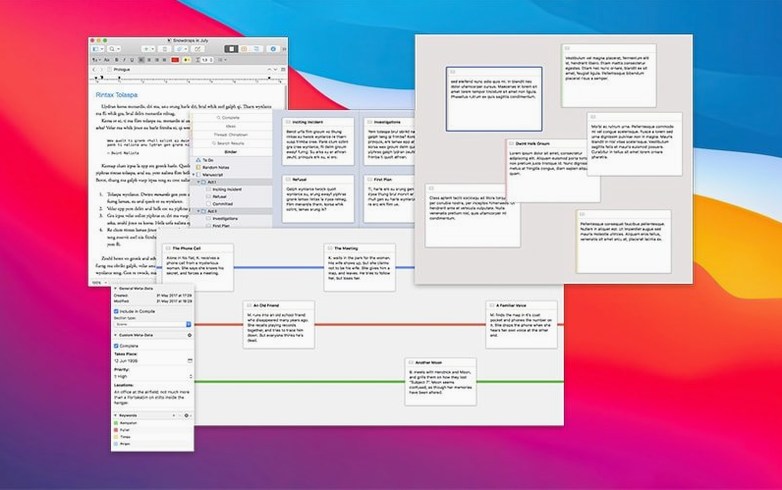
Start by creating a new project for something like a long-form article or a short non-fiction book. The blank project template presents you with a binder on the left, an editor pane in the middle, and an inspector on the right. The first thing is to fill the Research folder: drag in a few PDFs of source material, maybe a voice memo recorded on the phone as an audio file, and a text note with rough bullet points. Scrivener imports these without conversion, so you can read the PDF inline or play the audio from within the editor pane.
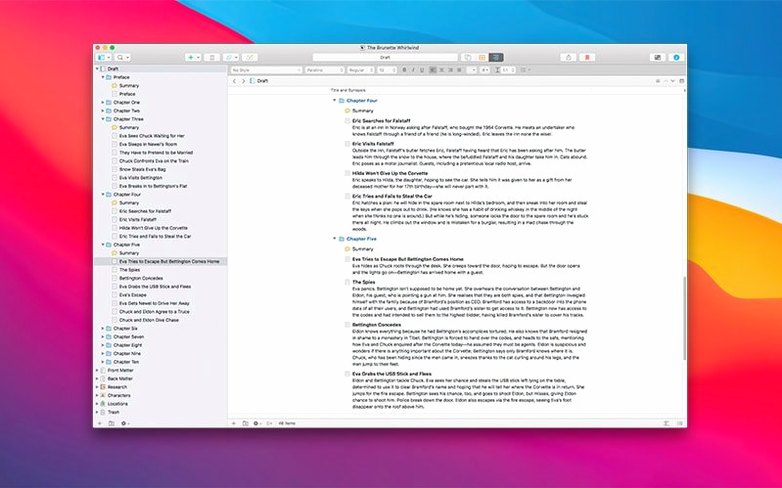
Next, build the manuscript structure. In the binder, create folders for each chapter or major section. Inside each folder, add individual scenes or sub-sections as separate documents. This is where the corkboard view becomes useful — switch to it and each document shows up as a virtual index card. You can reorder scenes by dragging cards, add colour labels to mark status (draft, revise, final), and write a synopsis for each one without opening the full text.
Writing begins in earnest in composition mode. The editor clears away most of the interface, leaving only the text and a clean background. You can set a word goal for the session and watch the progress bar fill as you type. When you hit a section that needs revision, right-click the document and take a snapshot — the current version is stored and you can continue editing without fear of losing that earlier state. Snapshots are visible in the inspector, and you can restore any of them later.
Throughout the session, automatic saving keeps the work safe. At the end of the day, the project can be compiled into a single text file, a Word document, or a PDF for sharing with an editor. The compile panel lets you choose what parts of the binder to include, so you can export only the manuscript and leave the research behind.
Shorten the auto-save interval before starting a large project
Before diving into a large project, open the preferences and adjust a few defaults. The auto-save interval can be set to a shorter period — every two minutes instead of the default — if you tend to type in long bursts and want extra assurance. Under the Editor options, turn on word count targets for the project or for individual documents; this adds a small progress bar at the bottom of the editing pane.
The snapshot feature is enabled by default, but it helps to enable automatic snapshots on compile. That way, every time you export, a new snapshot is created so you always have a pre-compile copy. In the preferences, under Snapshots, you can also choose to include comments and formatting in the snapshot, which is useful for preserving the full context of a section.
Play back audio files directly from the Research folder
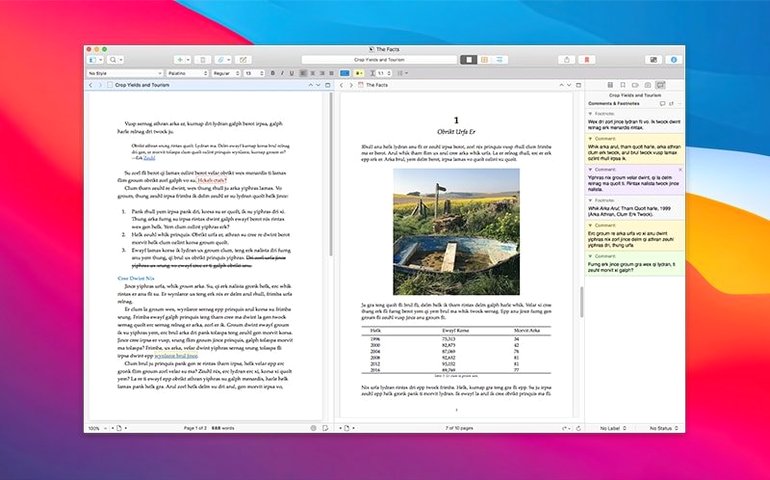
Several features are not obvious from the main interface but become essential once discovered. The Research folder can hold audio files that you can play back directly inside Scrivener — useful for interviews or dictation notes. There is no need to switch to another app. Similarly, PDFs open in a simple reader pane where you can highlight text and copy it into your manuscript.
The corkboard view hides a few practical details. Each index card shows the document title and the first few lines of text by default, but you can also display the synopsis you wrote earlier. The label colour and status icons are customisable per project, so you could use green for first drafts, yellow for revisions, and red for final sections. This system is entirely free-form — Scrivener does not enforce any particular workflow.
Another detail: the binder lets you drag documents between folders freely, and it keeps the internal links intact. If you move a scene from one chapter to another, any cross-references you wrote remain correct.
Ulysses offers markdown focus but not the same tool set
There are a few applications that overlap with Scrivener's area, though none combine the same set of tools in one place.
Ulysses offers a clean, distraction-free writing environment with a focus on markdown and a minimalist interface. It handles long documents well and syncs across devices via its own cloud service. Where it differs is in research management — Ulysses does not have a dedicated research folder for PDFs, audio or images. You would need to keep supporting material in a separate app or as linked files. Scrivener keeps everything inside the project file.
iA Writer is even more stripped down. It concentrates on the act of writing with a single typeface and a plain text approach. Its strength is focus, but it lacks the binder, corkboard, snapshots and compile system that Scrivener builds around a project. For a short piece, iA Writer is ideal. For a hundred-page manuscript with a hundred source documents, it is not the right tool.
Google Docs (or a local word processor like Pages) can handle large documents if you are comfortable with a single long file. Neither offers snapshots, a research folder, or the ability to rearrange sections by dragging index cards. They are available on any platform and make collaboration straightforward, but they do not treat the project as a collection of organised pieces. Scrivener is built around that very approach.
Scrivener helps writers organize long projects, but a scrivener mac crack is risky and unethical. The version covered here is the TNT-team release, which runs on both Intel and Apple Silicon Macs under macOS 10.13 and later.
Changes in this build
Before it goes on the Mac
- macOS 10.13 or later
- Apple Silicon or 64-bit Intel processor
Questions from the room
Can I keep multiple versions of a single document?
Yes. Snapshots can be created for an entire note or for selected fragments, letting you preserve and compare different drafts.
What kind of research material does the Research folder support?
It accepts text notes, PDF files, audio clips and images — all stored within the project so you don't chase external files.
Installing it on the Mac
- Mount the disk image and run Open Gatekeeper friendly.
- Press Enter in Terminal to bypass Gatekeeper.
- Drag the app to the Applications folder.
- Open the app after installation is complete.
Notes from the control room
Sign in or open a catalogue account to leave a note.
No notes from the room yet. If you have used this build for a week, a short note helps the next person.