Home › Mac Apps › MotionVFX - mLowers Universal for FCP
MotionVFX - mLowers Universal for FCP (Mac)
Updated
The catalogue note
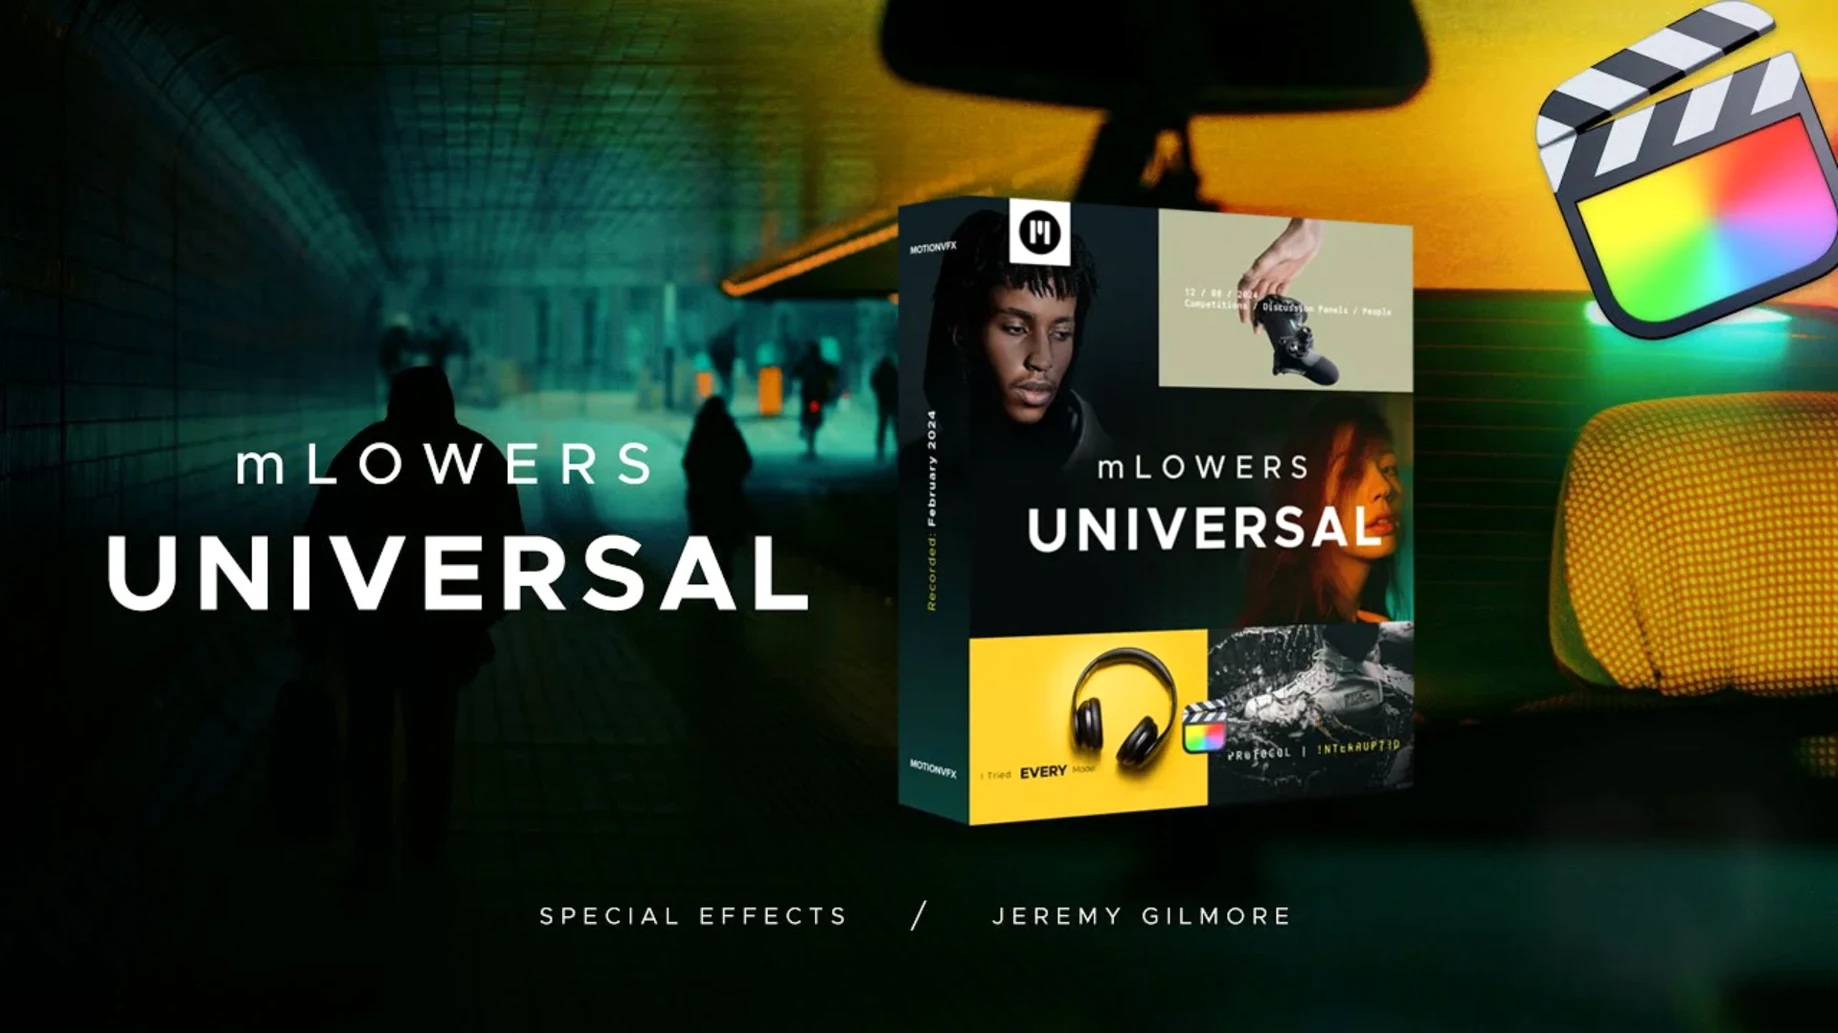
You are cutting a short promo and need a quick lower-third that doesn’t look like every other template in the bin. MotionVFX’s mLowers Universal gives you a library of presets that range from retro typewriter feels to clean high-tech overlays, plus dedicated social media markers for pushing clips across platforms. The movie-screen-inspired titles add a cinematic touch without forcing you to build masks or keyframes by hand.
| Detail | Info |
|---|---|
| Product | mLowers Universal |
| Developer | MotionVFX |
| Host | Final Cut Pro |
| Category | Title / lower third presets |
No need to close Final Cut Pro before copying files
Because the files go into a specific system folder rather than running an installer, some people wonder whether Final Cut Pro needs to be closed first. It does not — you can copy the templates while the app is open. However, Final Cut Pro only scans the Motion Templates folder on launch, so you will need to quit and reopen it for the presets to appear in the Titles browser.
Another frequent question is whether the templates work across multiple user accounts on the same Mac. The path given in the instructions — /Users/Your Name/Movies/Motion Templates/Titles — is per-user. If two editors share a machine, each account needs its own copy of the files. There is no system-wide install option unless you create symlinks, which is not necessary for typical use.
No activation, licence file or online check is involved. The presets are standard Final Cut Pro titles; you drop them in, they appear, they work. That also means you can move the folder between Macs on a USB drive as long as the destination machine has Final Cut Pro and the same macOS version that supports the templates.
A workflow: adding a lower third to a talking-head clip
Imagine you have a 30-second interview clip where the speaker introduces themselves. You want their name and role on screen for the first eight seconds, then a clean fade-out so the viewer focuses on the conversation.
Place the clip on the primary storyline in Final Cut Pro. Open the Titles browser and locate the mLowers Universal category — it should appear as a folder with the preset thumbnails. Scan through the designs: you will see retro typewriter styles, high-tech glitch overlays, movie-screen inspired frames and social media markers. Pick a clean, readable lower third that matches the tone of the interview. For a professional but understated look, the high-tech category works well; for a casual vlog, the retro designs fit better.
Drag the chosen preset onto a connected storyline above the primary clip, positioned at the start. The title appears in the viewer. Click on it and adjust the text fields in the inspector — replace the placeholder name and role with the speaker’s actual details. The animation timing is built into the template, so the text will fly in or fade up automatically.
To control the duration, trim the title clip in the timeline. For an eight-second on-screen time, drag the end of the title clip to the eight-second mark. If the template includes a built-in fade-out, it will happen near the end of that duration. If not, add a simple fade transition from the effects browser to the title clip’s end.
That is the whole process: drop, type, trim. No keyframes, no mask tracking, no font matching.
Presets respect your Final Cut Pro font preferences
Because the presets are standard Final Cut Pro templates, they respect the same text styling options you already use. If you change the default font in Final Cut Pro’s preferences, new instances of mLowers Universal presets will pick up that font automatically. You can also override per-title in the inspector — useful when you want a branded typeface for a specific client.
The templates work alongside Motion, if you own it. Double-clicking a preset in Final Cut Pro’s browser opens it in Motion, where you can dig into the layers, adjust animation curves or swap out background elements. That is not required for normal use, but it gives advanced editors the freedom to customise without rebuilding from scratch.
On the macOS side, the files are simple folders and .moti templates. Time Machine backs them up with the rest of your Movies folder. If you use storage optimisation in macOS, the templates stay local by default — they are small enough that you would not want them offloaded to iCloud anyway.
Social media markers with platform-specific call-to-action text
Editors who produce short-form content for social media will find the social media markers immediately useful — those presets are designed with platform-specific call-to-action text and sizing in mind. If you regularly export the same project for Instagram, YouTube and TikTok, the markers save you from rebuilding lower thirds for each version.
Freelancers who work on multiple client projects each month benefit from the variety of styles. One project might need a clean corporate look; the next calls for glitchy, energetic titles. Having 70 presets in one pack means you rarely need to open a separate title generator for a one-off job.
Motion graphics beginners — editors who know Final Cut Pro but avoid Motion — get the most obvious advantage: they can add animated lower thirds without learning a second application. The presets are drag-and-drop, and the included styles cover enough ground that you are unlikely to feel limited.
On the other end, experienced editors who already own Motion can use mLowers Universal as a starting point for custom builds, tweaking the included templates rather than building from a blank canvas. That saves time on projects where the client wants a specific look but the deadline is tight.
Once installed, the presets sit in Final Cut Pro’s Titles browser, ready to drag onto clips.
Before it goes on the Mac
- macOS (version not specified by developer)
- Final Cut Pro
Questions from the room
Does mLowers Universal work with Final Cut Pro for Intel and Apple Silicon Macs?
Yes, it runs inside Final Cut Pro on both Intel and Apple Silicon Macs without extra configuration.
What kinds of designs are included in the pack?
The pack includes retro-style titles, high-tech overlays, movie-screen-inspired designs and social media markers for cross-platform video promotion.
Installing it on the Mac
- Copy the template files to
/Users/Your Name/Movies/Motion Templates/Titles. - If prompted, replace any existing files with the same name.
- Open Final Cut Pro: the new titles appear under the Titles browser.
Notes from the control room
Sign in or open a catalogue account to leave a note.
No notes from the room yet. If you have used this build for a week, a short note helps the next person.