
Topaz Video AI 1.7.2 (Mac)
Updated
The catalogue note
Topaz Video AI 1.7.1 keeps the same core workflow — load a clip, pick a model, let the neural net do the heavy lifting — but the version number reflects stability refinements rather than new features. Here is what the application actually does, explained by the task it solves.
Upscaling — resolution increase without the pixel soup
Feeds a low-resolution source through trained AI models to produce clean 4K or even 8K output. Works with old DVD rips, archival footage or standard HD material.
Denoising — cleaning low-light and grainy footage
Removes sensor noise and compression artefacts while keeping detail. Useful for anything shot in dim conditions or on older cameras.
Frame-rate conversion — smooth motion from choppy sources
Interpolates new frames between existing ones.
Restoration — recovering focus and sharpness
Sharpens blurred video and restores detail lost in compression or age. Works on old home movies, security cam footage or any source that needs a clarity pass.
Workflow — a few clicks, one preview
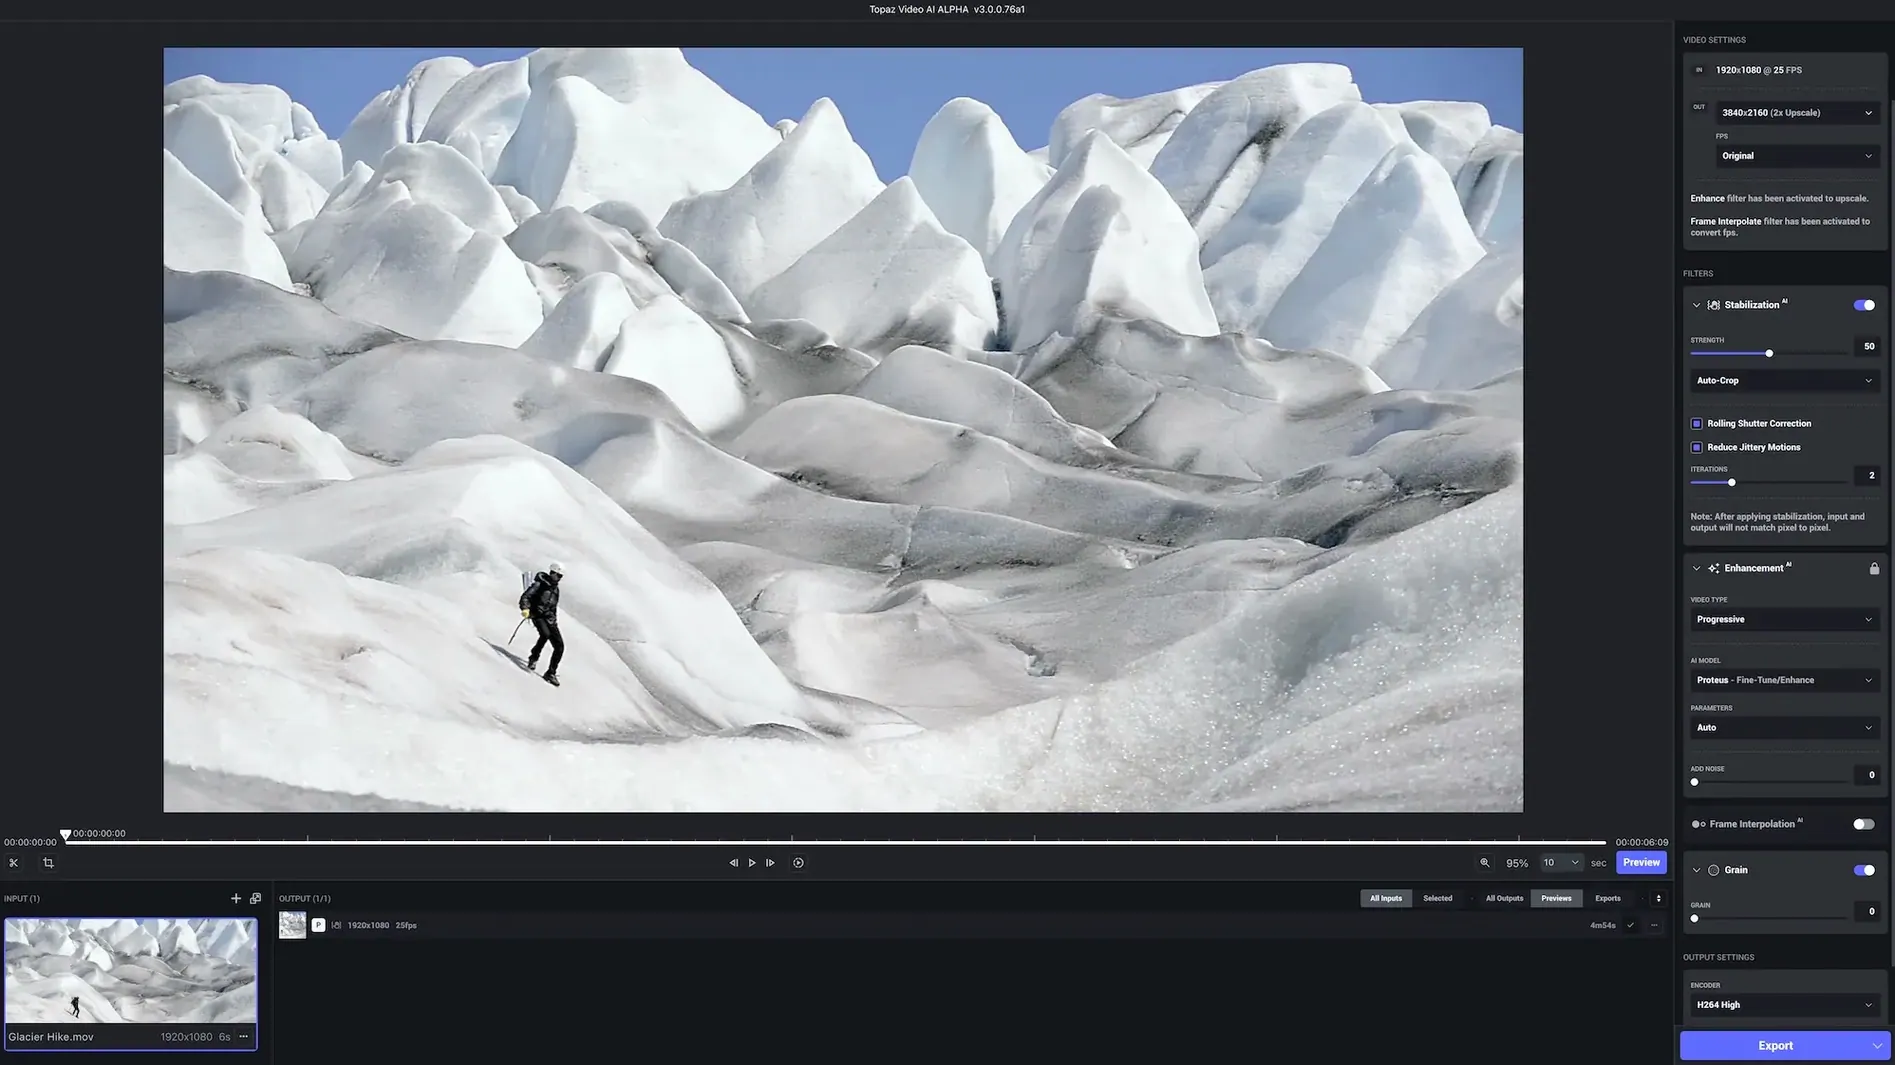
Drag a file in, pick an AI model from the gallery, preview the result and export. The interface stays out of the way — no timeline, no layers.
Adjust default preferences before regular use
After installing Topaz Video AI 1.7.1 and running through the setup, the default preferences work for a first test but benefit from adjustment if you plan regular use. Open the application, locate the preferences panel, and consider these changes before loading any footage.
Output format and codec
The default export format is often set to a high-bitrate ProRes or similar. If storage is a concern, switching to H.265 with a reasonable bitrate saves space while retaining most of the enhancement quality. For archival work, keep ProRes. For quick preview exports, a lower-bitrate H.264 is sufficient.
Auto-update and model downloads
Topaz Video AI checks for new models and updates on launch by default. Disabling automatic downloads in preferences prevents unexpected background traffic. Manually refreshing the model catalogue when you need a specific model is more predictable.
Preview quality and resolution
The preview window defaults to a moderate resolution. For a quicker assessment of denoising or sharpening, reduce the preview quality. For critical inspection of upscaling, increase it. The setting lives in the view options, not buried in menus.
Frame processing order
The application can process frames sequentially or in parallel depending on your hardware. On Apple Silicon Macs, leaving the default automatic detection is usually correct. On Intel machines, setting a manual thread count slightly below the core count often improves responsiveness during preview scrubbing.
Convert 2005 DV footage from 720x576 to clean 1080p
You have a folder of old DV camera footage shot at a family wedding in 2005. The clips are standard definition, 720x576, interlaced, and suffer from sensor noise and soft focus. The goal is a clean 1080p version with smoother motion for a family edit.
Start by dragging the first clip onto the application window. The interface loads it, showing a frame at the current timeline position. No automatic analysis runs — you stay in control.
Select the Upscaling model category first. The gallery shows several options: Gaia, Artemis, Proteus. For archival SD footage, Proteus tends to handle compression artefacts and grain better than the others. Click it once to apply. The preview updates after a few seconds, showing a single frame at the new resolution.
Scrub through the clip using the timeline below the preview. Check faces, text, and edges. If the result looks oversharpened or introduces ringing, switch to a lower-strength variant of Proteus or try Artemis. Each model has a small thumbnail preview in the gallery — hover to see a brief description of its intended use case.
Next, address the interlacing. The Deinterlacing model sits in its own category. Apply it. The preview now shows progressive frames. Check motion areas — a waving hand or a walking figure — to ensure the deinterlacer hasn't introduced combing artefacts.
For denoising, apply the FPS Denoise model. This one uses temporal information across frames, which gives cleaner results on static backgrounds than per-frame denoising. The preview will take slightly longer to calculate because it needs to analyse multiple frames. Watch the grain in shadow areas and on skin tones. Adjust the strength slider if one exists — the interface typically exposes a single intensity parameter per model.
Finally, frame-rate conversion. The preview now interpolates new frames. Check fast motion — a child running — for ghosting or artefacts.
Export. Choose a destination folder, set the output format to H.265 with a bitrate around 15 Mbps for 1080p, and start the process. The application shows a progress bar and estimated time remaining. For a 10-minute clip, expect processing to take longer than real-time — this is normal for neural network inference.
While the export runs, you can queue additional clips. The queue panel at the bottom of the window accepts new files. Set the same models and parameters for each, or adjust per clip. The queue processes sequentially, one export finishing before the next starts.
Test short clips and compare models side by side
- Test on a short clip first. A 30-second excerpt reveals model behaviour without committing hours to a full-length export. Use the same source type you plan to process at scale.
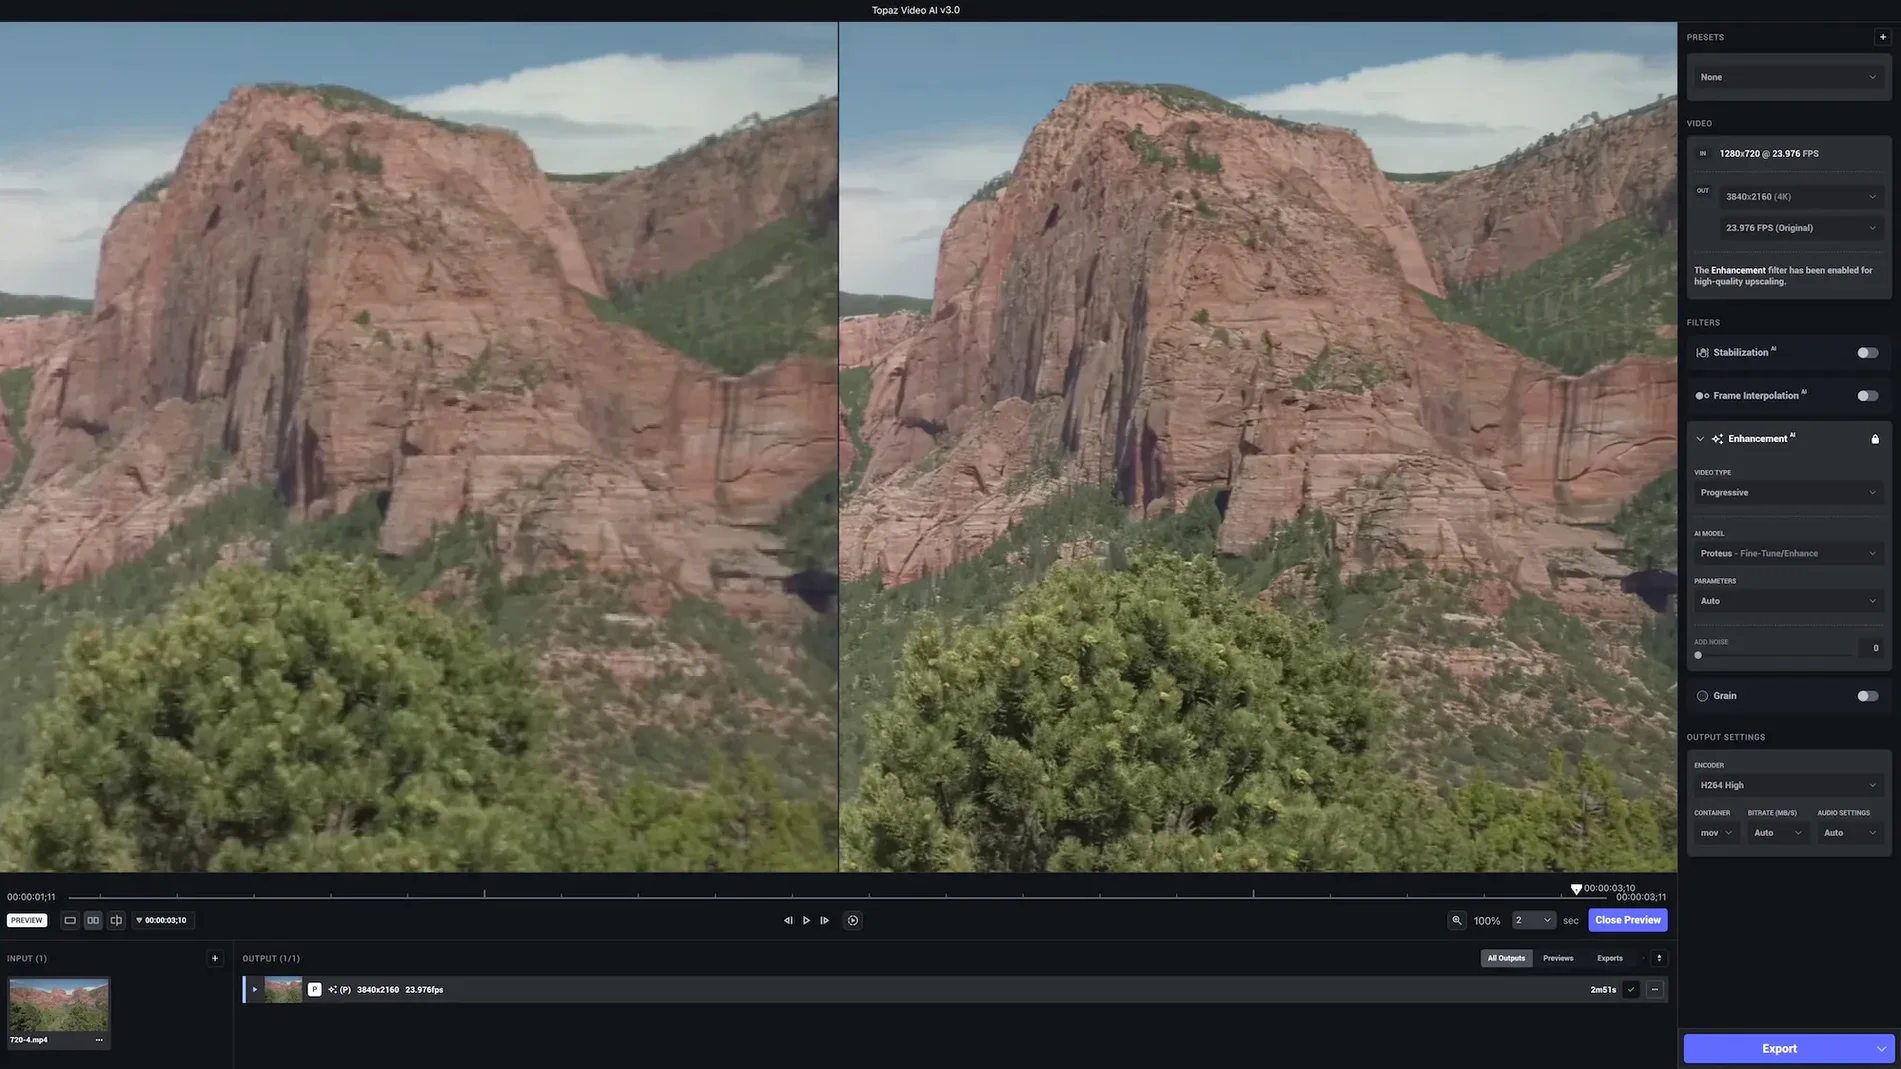
- Compare models side by side. The preview window supports toggling between the original and the processed result. Use this to judge whether the enhancement actually improves the image or merely changes it. Not every clip benefits from every model.
- Subsequent applications of the same model within a session are faster. If you switch models frequently, expect a pause each time.
- Keep the source files. Topaz Video AI creates enhanced copies. The original footage remains untouched. Delete the originals only after verifying the exports are complete and correct.
- Check aspect ratio. Upscaling SD 4:3 footage to HD 16:9 without cropping or pillar boxing produces stretched output. Set the output aspect ratio explicitly in the export settings, or crop the source beforehand.
- Use the gallery search. Typing a keyword like "denoise" or "upscale" filters the model list. Faster than scrolling through dozens of thumbnails.
A real-world scenario — archival restoration for a local history project
A small museum has a collection of VHS transfers from the 1980s — local news segments, community events, interviews. The tapes were digitised to standard-definition MPEG-2 files years ago. The artefacts are heavy: blocky compression, colour bleed, and the characteristic softness of VHS. The museum wants a 1080p version for a public screening and online archive.
The workflow starts with the Video Enhance AI model set, specifically the Gaia model for upscaling. Gaia handles the blockiness better than Proteus on this particular source. After upscaling, a light denoising pass with FPS Denoise cleans the remaining grain without removing the film-like texture.
The export uses ProRes 422 at 1080p for archival preservation, and a separate H.264 render for the website. The museum volunteer running the process appreciates that the application does not require a dedicated GPU or a render farm — a recent MacBook Pro handles the job overnight.
Work file-based: export from editor, process, then reimport
Topaz Video AI is a standalone tool, not a plugin. It does not integrate directly into Final Cut Pro, DaVinci Resolve, or Adobe Premiere. The workflow is file-based: export from your editor, process in Topaz, reimport the enhanced clip. For many post-production pipelines, this is the only realistic approach because the processing times are too long for real-time playback inside an NLE.
On macOS, the application respects standard file system conventions. Drag and drop works from Finder. Batch processing uses the built-in queue, not Automator or Shortcuts. The export destination can be any writable folder, including network volumes or external drives, though processing over a network share is slower than local storage.
For users who need to integrate with transcription or metadata tools, the exported files retain the original filename and creation date unless the export settings specify otherwise. This helps when re-linking clips in a project.
If you work with ProRes or DNxHD as intermediate formats, the export options cover both. For delivery to streaming platforms, H.264 and H.265 are present. The application does not handle audio processing — it passes the original audio track through unchanged, which is fine for most use cases. If the source audio needs repair, that happens separately in an audio editor.
On Apple Silicon Macs, the application runs natively. No Rosetta translation layer is needed. The Neural Engine is not directly used — the processing runs on the GPU and CPU — but the unified memory architecture of the M-series chips helps with the large frame buffers involved in 4K and 8K upscaling.
Before it goes on the Mac
- macOS 11 or newer
- Apple Silicon or Intel 64-bit Mac
- Interface language: English
Questions from the room
Does Topaz Video AI work on Apple Silicon Macs?
Yes, the application supports both Apple Silicon and Intel 64-bit Macs running macOS 11 or newer.
Can it handle old archival footage?
Yes, it is designed to recover and upscale old archival videos to 4K, including restoring focus and removing noise.
Installing it on the Mac
- Install
TopazVideo.pkgfirst. - Open
Patch.commandand enter your Mac password when prompted. - Note:
Patch.commandmay fail to open correctly on macOS Golden Gate.
Notes from the control room
Sign in or open a catalogue account to leave a note.
No notes from the room yet. If you have used this build for a week, a short note helps the next person.