Home › Mac Apps › Sound Siphon

Updated
The catalogue note
Sound Siphon 3.8.4 now runs on macOS 26, which is the main change in this release. For an audio utility that sits between your apps and your interface, keeping pace with the OS matters more than feature churn.
How do I route audio from one app to another?
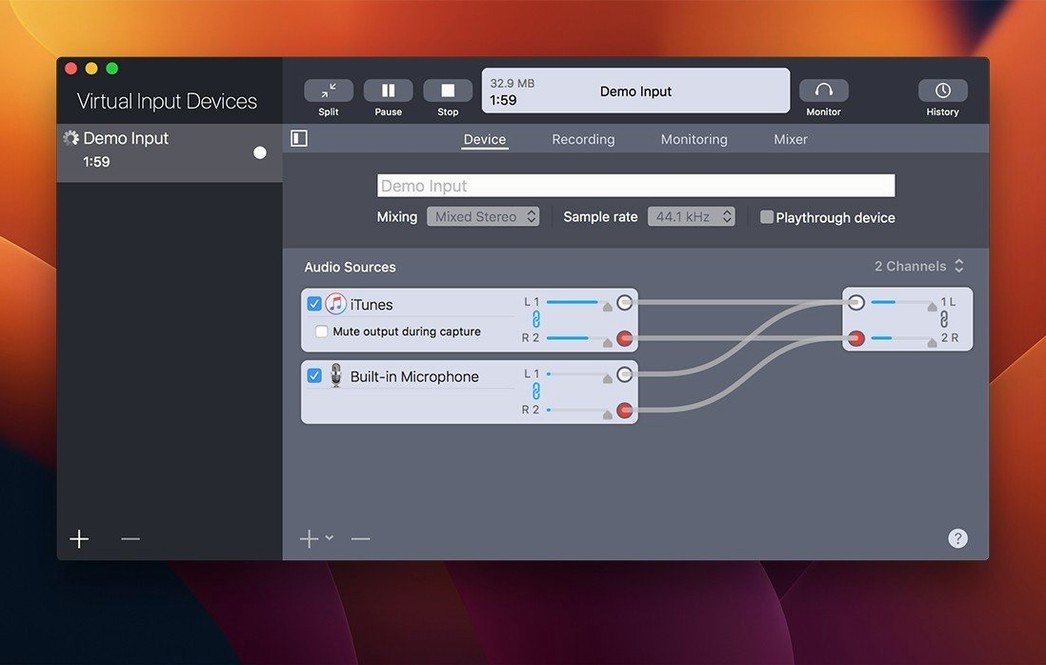
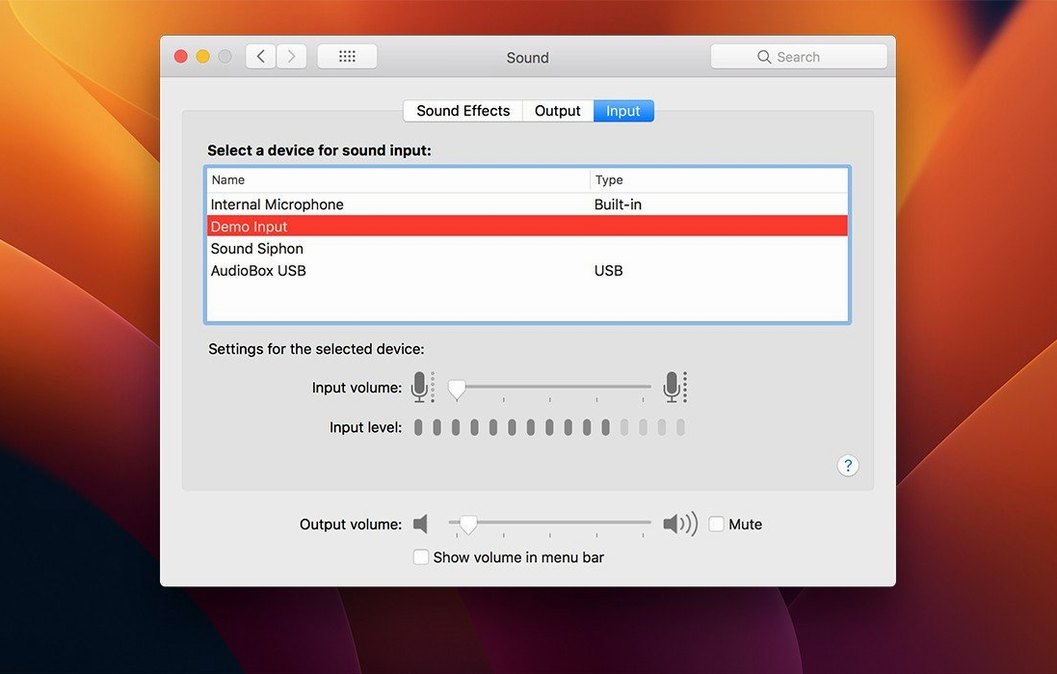
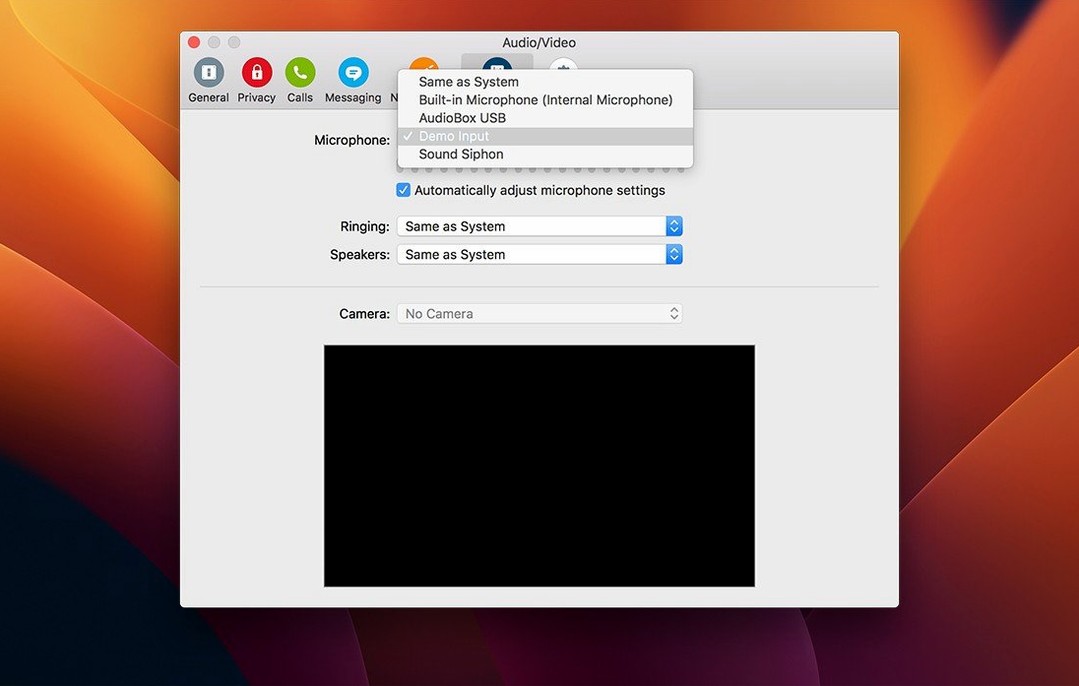
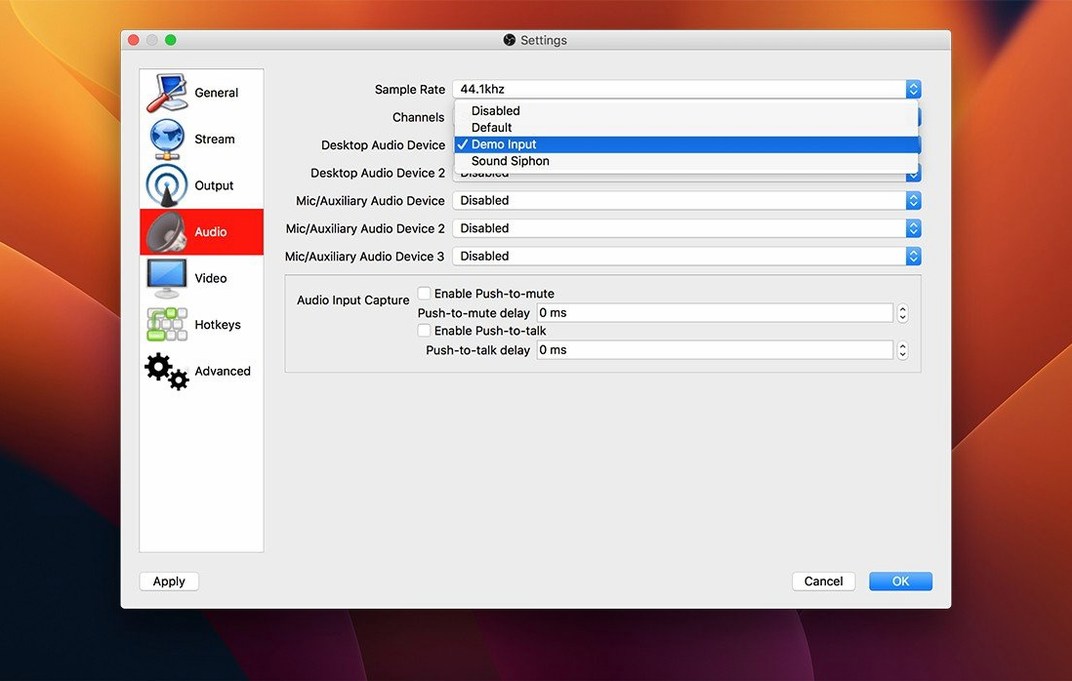
Sound Siphon creates a virtual input device on your Mac, so any app that can select an input can receive audio from another source. You pick the output in the sending app and the Sound Siphon device in the receiving app.
Can I capture a single app without the rest of the system?
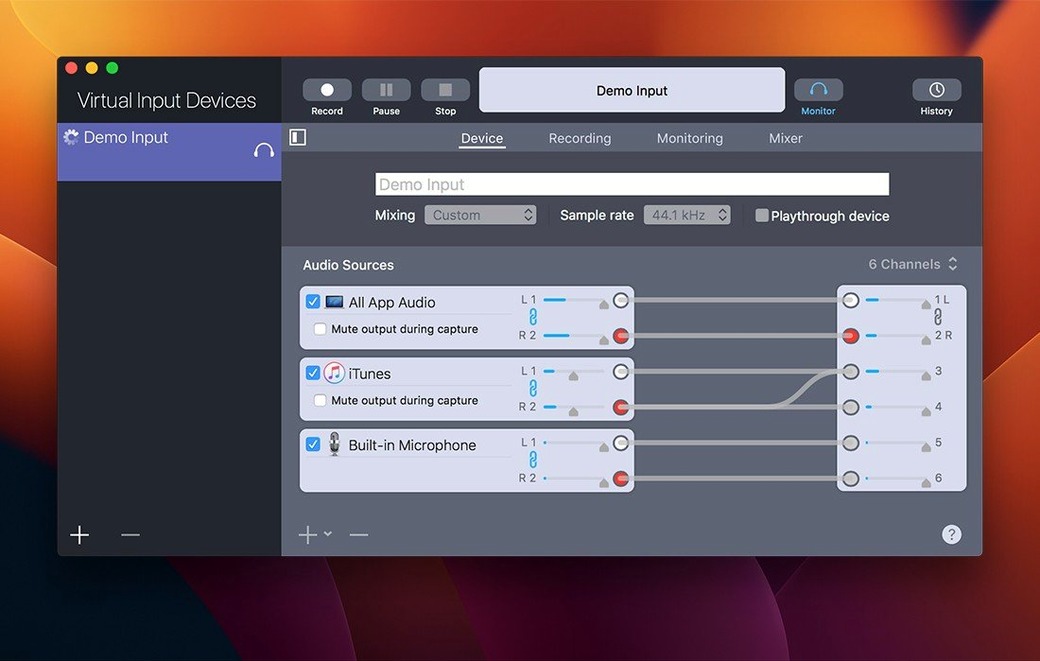
Yes. Sound Siphon can capture individual apps as separate channels, which is handy when you want to record a podcast call or a game while leaving notifications out. It also handles the whole Mac output when you need everything.
What does that mean for recording or processing?
Once the audio is an input device, you can record it in your DAW, send it to a streaming app, or run it through a processor. It works on Intel Macs running macOS 10.15 or later, and the interface is in English.
Dial in per-app volume with individual faders
The per-app level control is one of those features you might overlook until you actually need it. Each source gets its own fader, so you can dial in a game louder than a voice chat, or keep system alerts quiet while music plays through. The mute button per captured app is similarly tucked away — useful when an application insists on playing a startup sound that you do not want in the recording.
Sound Siphon can also deliver separate channels for each app rather than a single stereo mix. This matters if you plan to process or mix sources individually after capture, rather than committing to a blend beforehand. It is all Core Audio under the hood, so any Core Audio–aware app sees the virtual input as a normal device.
Forgetting to select Sound Siphon as the input in your receiving app
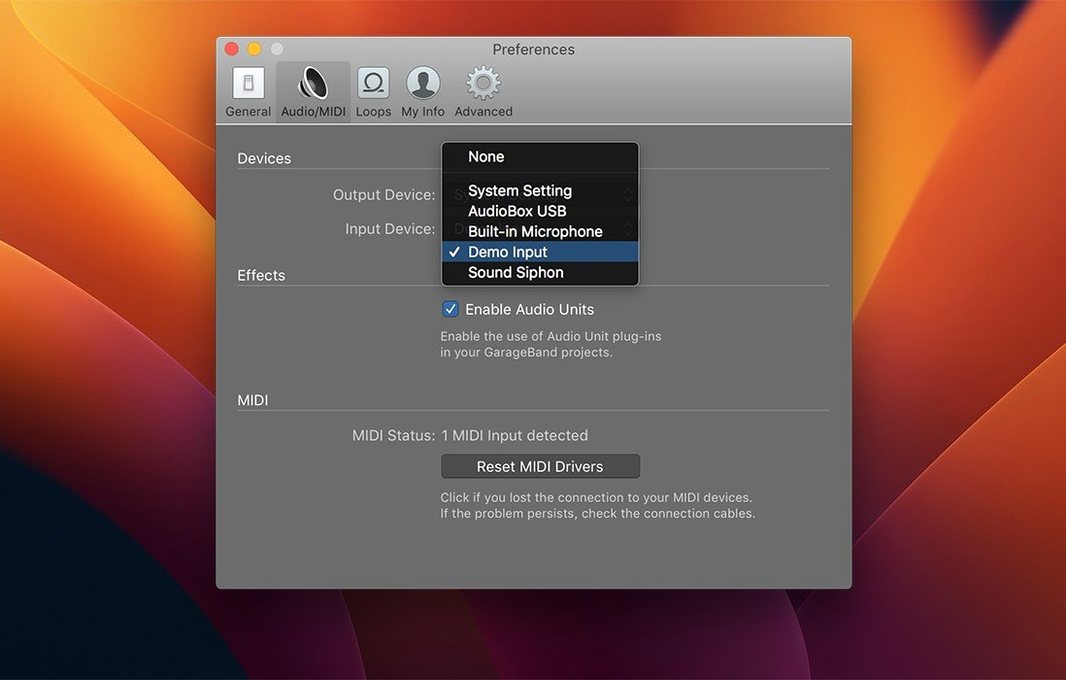
The most common slip is forgetting to select the Sound Siphon device as the input in the receiving application. You can route audio through it perfectly, but if your DAW or streaming software still listens to the built-in microphone, nothing arrives. Check the audio input settings in the target app first.
Another mistake is capturing system audio while also monitoring it through the same virtual device. This can create a loop that causes dropped audio or confusion about what is being recorded. Sound Siphon handles this cleanly if you mute the captured source during capture — but you have to remember to do that. Beginners often leave everything unmuted and wonder why the level is double or why there is feedback.
Route one app to another before trying multi-channel capture
Start simple: route one app to another before trying multi-channel capture. Open a music player, set its output to Sound Siphon, then open QuickTime Player and select Sound Siphon as the recording input. Record a short clip to confirm the path works. Once that is familiar, experiment with capturing two apps at once.
Use the per-app level meters (if your version shows them) to verify signal is actually flowing before you hit record. It saves time later when you realise a muted source was silent for the whole take. Sound Siphon for Mac free download routes audio between apps, ideal for podcasters recording system sound. Keep the disk image handy in case you need to reinstall after a system update.
Changes in this build
- Compatibility with macOS 26.
Before it goes on the Mac
- macOS 10.15 or later
- Intel 64-bit architecture
- English language interface
Questions from the room
Does Sound Siphon work with macOS 26?
Yes, version 3.8.4 is compatible with macOS 26. It requires macOS 10.15 or later and supports Intel 64-bit Macs.
Can I capture audio from only one app?
Yes, Sound Siphon can capture individual apps as separate channels, so you can isolate one app's audio from the rest of the system.
Installing it on the Mac
- Mount the disk image and run Open Gatekeeper friendly.
- Press Enter in the Terminal window to bypass Gatekeeper.
- Drag the app to the Applications folder.
- Open the app when installation is complete.
Notes from the control room
Sign in or open a catalogue account to leave a note.
No notes from the room yet. If you have used this build for a week, a short note helps the next person.