
Home › Mac Apps › Aiarty Image Enhancer

Aiarty Image Enhancer 3.14 (Mac)
Updated
The catalogue note
Shooting in low light or pulling frames from old video often leaves you with soft, noisy images that don't survive a crop. Aiarty Image Enhancer 3.14 tackles that directly: it denoises, deblurs, restores, and upscales stills, generating detail in skin, hair, and fabric rather than just stretching pixels.
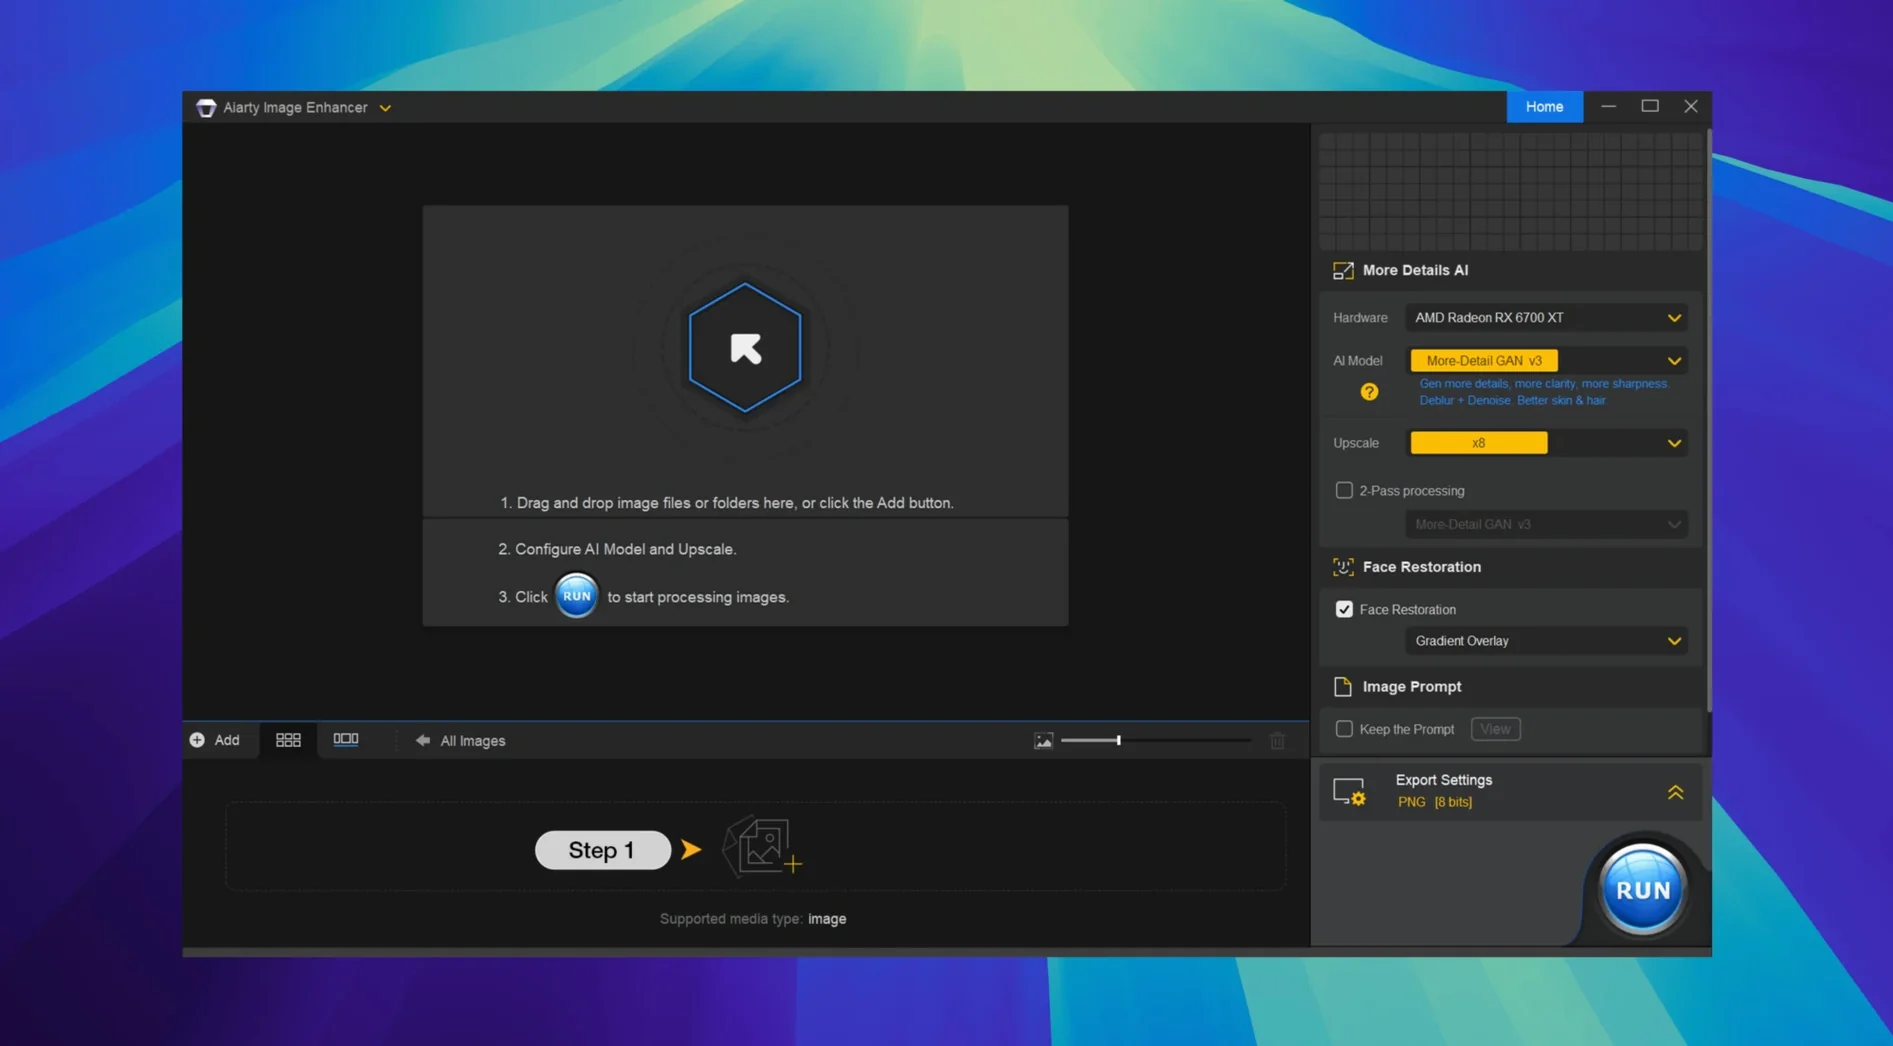
For a realistic task — cleaning up a grainy 1080p frame for print — the workflow is straightforward. Drop the image in, pick a target size (it goes up to 32K), and let the AI do its pass. You get a file that holds up at larger dimensions, with texture that looks generated but plausible. The current version also adds Lightroom Classic workflow improvements and EXIF metadata access, which helps if you're moving files between editors.
Upscaling old photos and cleaning noise for print or large displays
- Upscaling old or low-resolution photos for print or large displays.
- Cleaning up noise from high-ISO shots or compressed web images.
- Restoring damaged or blurry pictures from scans or video frames.
System requirements, interface languages, and resource use
- Runs on macOS 11 or later; supports both Apple Silicon and Intel 64-bit Macs.
- Interface is in English, German, Traditional Chinese, Simplified Chinese, or Japanese.
- Heavy upscaling tasks will use a fair amount of CPU and memory on older Macs.
A full upscaling and restoration workflow from start to finish
Let's walk through a realistic scenario: you have an old 1200×800 pixel JPEG from a 2010 compact camera, shot at ISO 1600 indoors. The image is soft, noisy, and the subject's jacket lacks any visible weave. You want a print at A4 size, which means a clean 300 DPI image around 3500×2500 pixels.
Open Aiarty Image Enhancer and drag the JPEG in. The interface shows you a preview pane. Before you touch any settings, check the EXIF metadata now accessible in version 3.14 — it confirms the original ISO and focal length, which gives you a baseline for how much noise the camera sensor produced.
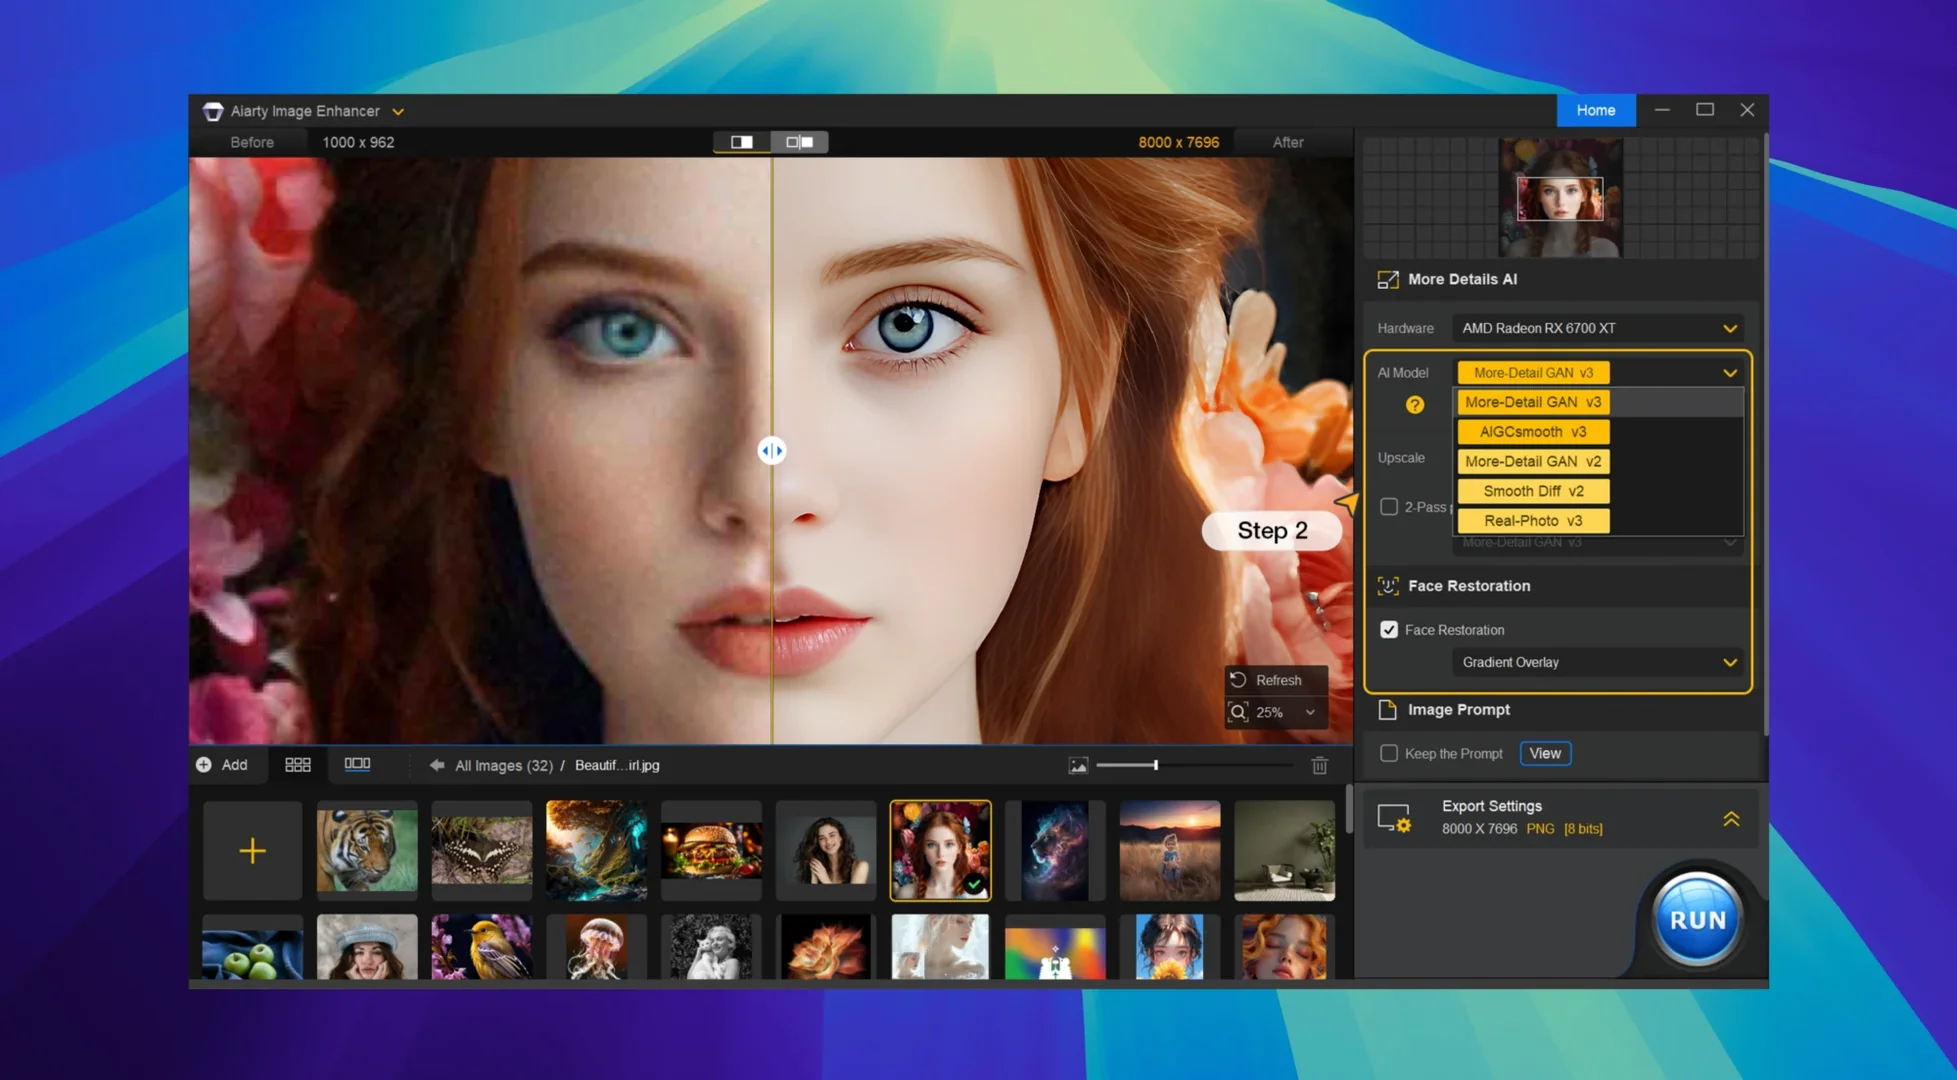
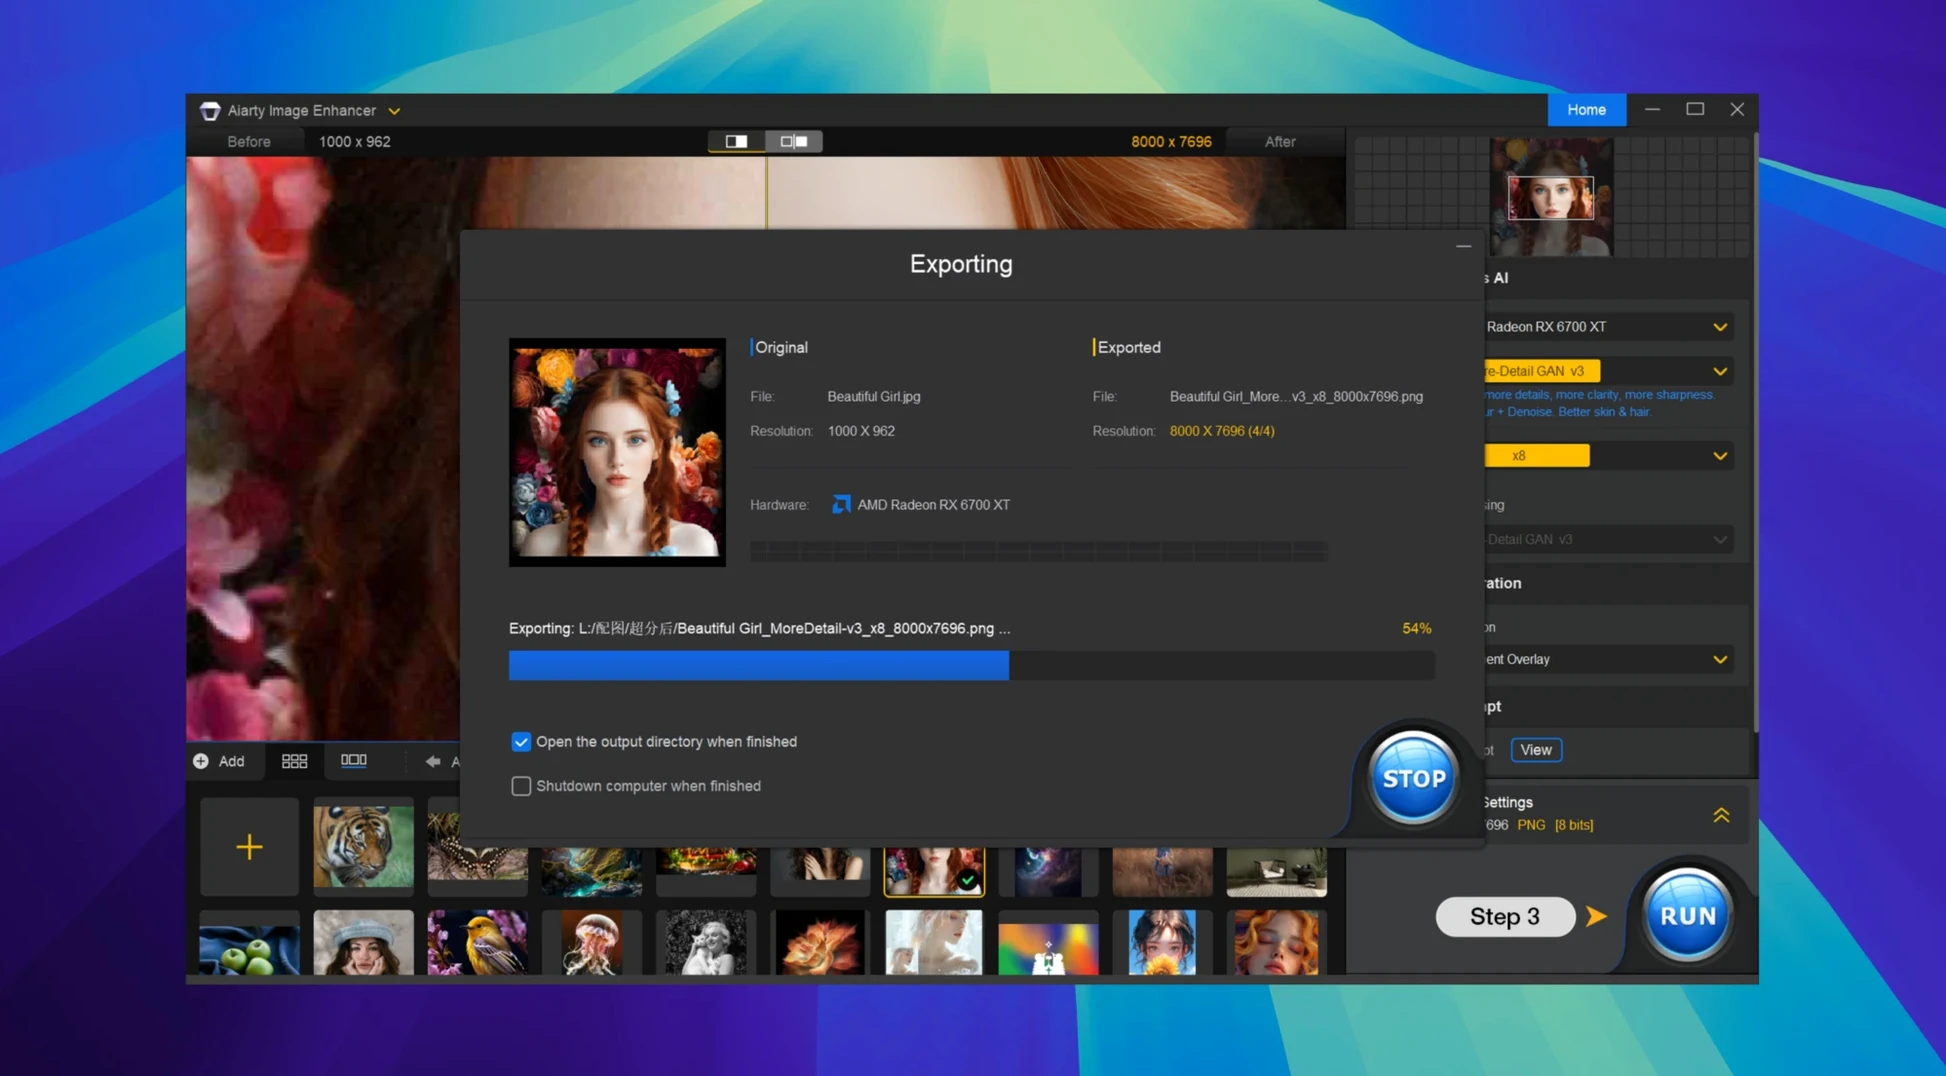
Select the upscale target. You do not need 32K here — that is for billboard work. A 4× upscale from 1200×800 lands at 4800×3200, well above your A4 requirement. Choose that option. The AI will generate the missing detail in the jacket fabric, sharpen the eyes, and reduce the chroma noise from the high ISO. Let it process. The output is a TIFF file that you can open in Lightroom Classic for final colour grading. The Lightroom workflow improvements in 3.14 make this handoff smoother than before.
Avoiding the 32K upscaling trap with low-resolution sources
- Upscaling everything to 32K — Just because the tool can do it does not mean you should. A 32K output from a 640×480 source creates a file with massive dimensions but no extra real detail; the AI hallucinates texture across empty canvas. Match the output size to the intended use.
- Ignoring the input format — Beginners drop in highly compressed WebP files from social media and expect magic. The AI works best when the source has at least some usable data. JPEG at quality 70 or higher, or better yet RAW, gives noticeably cleaner results than a heavily lossy source.
- Applying enhancement before correcting exposure — If the original is underexposed, the AI will amplify noise in the shadows. Adjust brightness and contrast in your photo editor first, then run the image through Aiarty.
- Not checking EXIF data — The metadata access in 3.14 tells you the original resolution and camera settings. Beginners skip this and then wonder why a 72 DPI web image looks worse than expected after upscaling.
Advantages over Topaz Photo AI, ON1 Resize AI, and Gigapixel AI
There are several AI upscalers on macOS. The three most common alternatives are Topaz Photo AI, ON1 Resize AI, and the older standalone Gigapixel AI. Here is how Aiarty Image Enhancer 3.14 stacks up.
Topaz Photo AI is the most polished all-in-one tool. It combines denoising, sharpening, and upscaling into a single model that often requires little manual tuning. Aiarty is closer to a dedicated upscaler with separate controls for each step. If you want a single pass that works most of the time, Topaz is easier. If you prefer to tweak denoising and upscaling independently, Aiarty gives you that control.
ON1 Resize AI focuses purely on upscaling with Genuine Fractals heritage behind it. It handles large batch jobs well and integrates with ON1 Photo RAW. Aiarty offers broader file format support — AVIF and WebP in particular — and the Lightroom workflow improvements that ON1 does not match. For photographers who work outside the ON1 ecosystem, Aiarty is more flexible.
Gigapixel AI (the standalone version) is older but still capable. It does one thing and does it adequately. Aiarty 3.14 adds denoising and deblurring in the same interface, which Gigapixel AI does not. You save a step by not running images through two separate tools.
Fixing the Gatekeeper block that prevents the app from launching
- Gatekeeper blocks the app on launch — The install steps mention bypassing Gatekeeper in Terminal. If you skipped that, the app will not open. Run the Terminal command as instructed, or right-click the app and select Open from the context menu, then confirm. This is a one-time step.
- Apple Silicon Macs show poor performance — If you are on an M1 or M2 Mac and the app feels slow, check whether it is running under Rosetta. Some older versions needed Rosetta for certain models; 3.14 supports native ARM, so ensure you have the correct build. If you must use Rosetta, the steps mention opening it that way alongside a VPN if needed.
- RAW files are not detected — Aiarty supports RAW files, but the camera model may not be in its decoder library. Convert to TIFF or 16-bit PNG using your camera's software first, then process the converted file.
- Output looks artificial or plastic — This happens when the AI over-generates texture. Dial back the upscale multiplier — 2× or 3× instead of 4× — and apply the denoise pass separately before upscaling. The model generates more natural results when it has less empty space to fill.
- EXIF data does not show — The metadata access in 3.14 requires the image to contain EXIF tags. Stripped web images or screenshots will not display any. Use the original camera file or a JPEG saved with metadata intact.
Switching the default JPEG output to TIFF or PNG for better quality
When you install Aiarty Image Enhancer 3.14, the defaults are conservative. A few adjustments improve results from the start.
- Set the output format to TIFF or PNG — The default may be JPEG, which recompresses the image and loses the quality the AI just added. TIFF preserves the full bit depth and detail for further editing.
- Enable EXIF metadata preservation — If you plan to keep working in Lightroom Classic, make sure metadata carries over. The option is available in version 3.14 and saves you from re-entering keywords or camera data.
- Choose a denoise level before upscaling — The AI applies denoising as part of the upscale model, but you can run a separate denoise pass first. Start with medium strength and check the preview. Too much denoise removes fabric texture; too little leaves grain visible at larger sizes.
- Select the correct language — The interface defaults to English. If you prefer German, Japanese, or Chinese, switch it in the preferences. The labels and model names stay consistent across languages, so muscle memory is not broken.
- Adjust the upscale model for the subject — A portrait benefits from a model tuned for skin and hair detail. A landscape needs a different texture focus. The model selection in the interface lets you choose. Do not leave it on the generic default for every image.
These adjustments take a few seconds but make the difference between a usable output and one that looks like an over-processed still frame. Aiarty Image Enhancer 3.14 is a capable tool when you set it up for the image in front of you rather than running every file through the same preset.
Before it goes on the Mac
- macOS 11 or later
- Apple Silicon or Intel 64-bit
Installing it on the Mac
- Mount the disk image and launch the installer via Open Gatekeeper friendly.
- Press Enter in Terminal to bypass Gatekeeper if needed.
- Drag the app into the Applications folder.
- Open the app from Applications.
- If the app doesn't launch, open it with Rosetta and enable a VPN.
Notes from the control room
Sign in or open a catalogue account to leave a note.
No notes from the room yet. If you have used this build for a week, a short note helps the next person.
Also filed under Mac Apps
The whole Mac Apps rack AI Transcription2.16 Mac Apps 5.1 GB
 Affinity Publisher2.6.5 Mac Apps 783 MB
 Affinity Photo2.6.5 Mac Apps 789 MB
 Affinity Designer2.6.5 Mac Apps 779 MB
 Adobe Substance 3D Painter12.1.5 Mac Apps 3 GB
 Adobe Premiere Rush1.5.62 Mac Apps 1.6 GB
 Adobe Photoshop28.0.0 Mac Apps 3.5 GB Updated
 Adobe Lightroom Classic15.6.0 Mac Apps 3.7 GB